


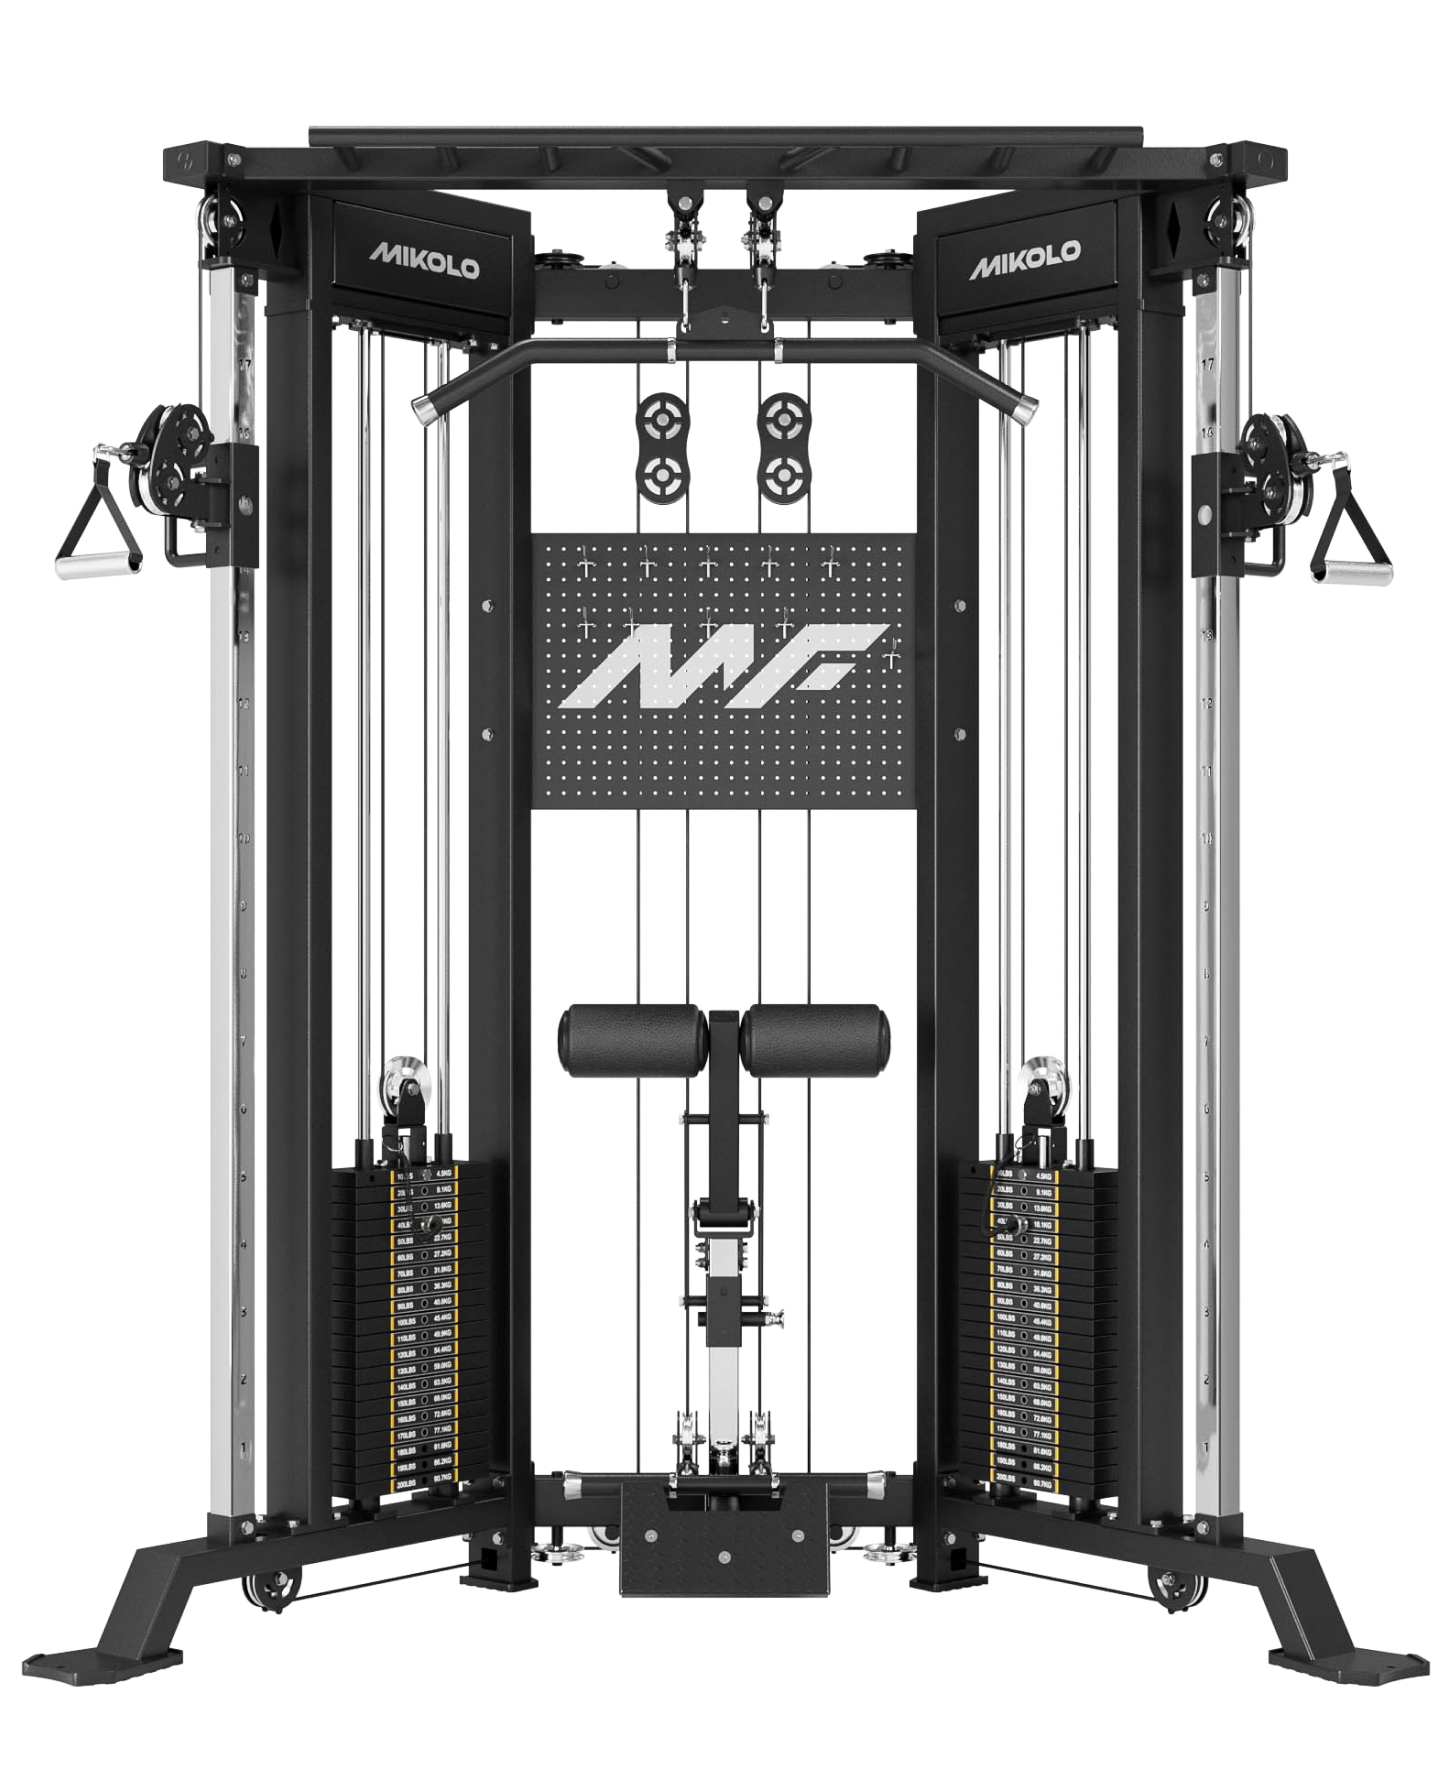


Strength training enthusiasts often find themselves in need of reliable equipment like squat racks and power racks. However, commercial options can be expensive, and not everyone has the budget to invest in high-end gym gear. The solution? Building your own weight rack! Whether you're looking to create a DIY outdoor squat rack, a homemade squat rack metal, or even a squat rack out of wood, this guide will walk you through the process. With the right tools, materials, and a bit of effort, you can construct a sturdy and functional DIY workout rack tailored to your needs.
Why Build Your Own Weight Rack?
Building your own weight rack offers several advantages:
-
Cost-Effective: Save money compared to buying a commercial rack.
-
Customization: Tailor the dimensions and features to fit your space and workout preferences.
-
Durability: Use high-quality materials like steel or wood to ensure longevity.
-
Satisfaction: Enjoy the pride of using equipment you built yourself.
Whether you're crafting a DIY power rack or a squat cage DIY, the process is both rewarding and practical.
Key Considerations Before Starting
-
Space and Location
Decide whether your rack will be indoors or outdoors. A DIY outdoor squat rack requires weather-resistant materials, while an indoor setup can use wood or steel. -
Materials
Choose between wood or metal for your rack. A DIY steel squat rack is incredibly durable, while a squat rack out of wood is more affordable and easier to work with. -
Dimensions
Proper DIY power rack dimensions are crucial for safety and functionality. Standard racks are around 7 feet tall, 4 feet wide, and 3-4 feet deep, but you can adjust these based on your needs. -
Features
Consider adding a pull-up bar or DIY power rack pins for added versatility. A DIY squat rack with pull-up bar is perfect for those who want a multi-functional setup.
Step-by-Step Guide to Building Your DIY Weight Rack
Materials Needed
-
Steel pipes or wooden beams (4x4 or 6x6 for wood)
-
Bolts, screws, and washers
-
Drill and drill bits
-
Saw (if using wood)
-
Measuring tape
-
Wrench set
-
Sandpaper (for wood)
-
Protective coating (paint or sealant)
Step 1: Design Your Rack
-
Sketch your design, including the DIY power rack dimensions.
-
Decide on features like a pull-up bar or spotter arms.
Step 2: Cut and Prepare Materials
-
For a DIY steel squat rack, cut steel pipes to the desired lengths.
-
For a squat rack out of wood, cut wooden beams to size and sand them smooth.
Step 3: Assemble the Frame
-
Build the base and uprights. Ensure the frame is square and level.
-
Use bolts and screws to secure the joints.
Step 4: Add Features
-
Install a pull-up bar if desired.
-
Add DIY power rack pins or spotter arms for safety.
Step 5: Secure the Rack
-
Anchor the rack to the ground or wall for stability.
-
Apply a protective coating to prevent rust (for metal) or weathering (for wood).
Safety Tips for Your DIY Weight Rack
-
Double-check all connections and joints.
-
Use high-quality materials to ensure durability.
-
Test the rack with lighter weights before going heavy.
-
Regularly inspect the rack for wear and tear.
Conclusion
Building your own weight rack is a practical and cost-effective way to enhance your home gym. Whether you opt for a DIY steel squat rack, a squat rack out of wood, or a DIY squat rack with pull-up bar, the process is straightforward with the right tools and materials. By following proper DIY power rack dimensions and incorporating features like DIY power rack pins, you can create a safe and functional piece of equipment that meets your strength training needs.


Leave a comment
This site is protected by hCaptcha and the hCaptcha Privacy Policy and Terms of Service apply.