


Want to build your own squat rack? This detailed squat rack DIY guide provides everything you need, from tools and materials to step-by-step instructions. Get ready to create a sturdy and reliable squat rack for your home gym.
Key Takeaways
-
Gather essential tools and materials like wood, steel brackets, and a drill press before starting your DIY squat rack.
-
Follow a step-by-step guide including cutting wood, drilling holes, and assembling for a sturdy squat rack that can hold significant weight.
-
Regular maintenance and inspections are crucial for ensuring safety and longevity of your DIY squat rack.
Essential Tools and Materials for Your DIY Squat Rack
Before you begin, gather all necessary tools and materials. High-quality gym equipment will enhance the durability and functionality of your squat rack, ensuring it withstands heavy weights over time.
You’ll need a variety of tools and materials, including wood, steel brackets, concrete, and a drill press. Let’s break it down further.
Gathering Your Supplies
First things first, grab your supplies. Common materials for your DIY squat rack include wood, steel brackets, and concrete. You can cut your wood pieces at Home Depot or purchase them at local hardware stores and big-box home improvement centers.
A drill press is recommended for precise holes. Lay out all tools and accessories to ensure you have everything needed for the process.
Preparing Your Workspace
Prepare your workspace by ensuring it is stable, well-lit, and spacious enough to accommodate your squat rack components and tools.
Reinforce the squat rack with corner braces for stability and regularly inspect for wear or damage. Keep tools handy and the workspace clean to streamline the building process.
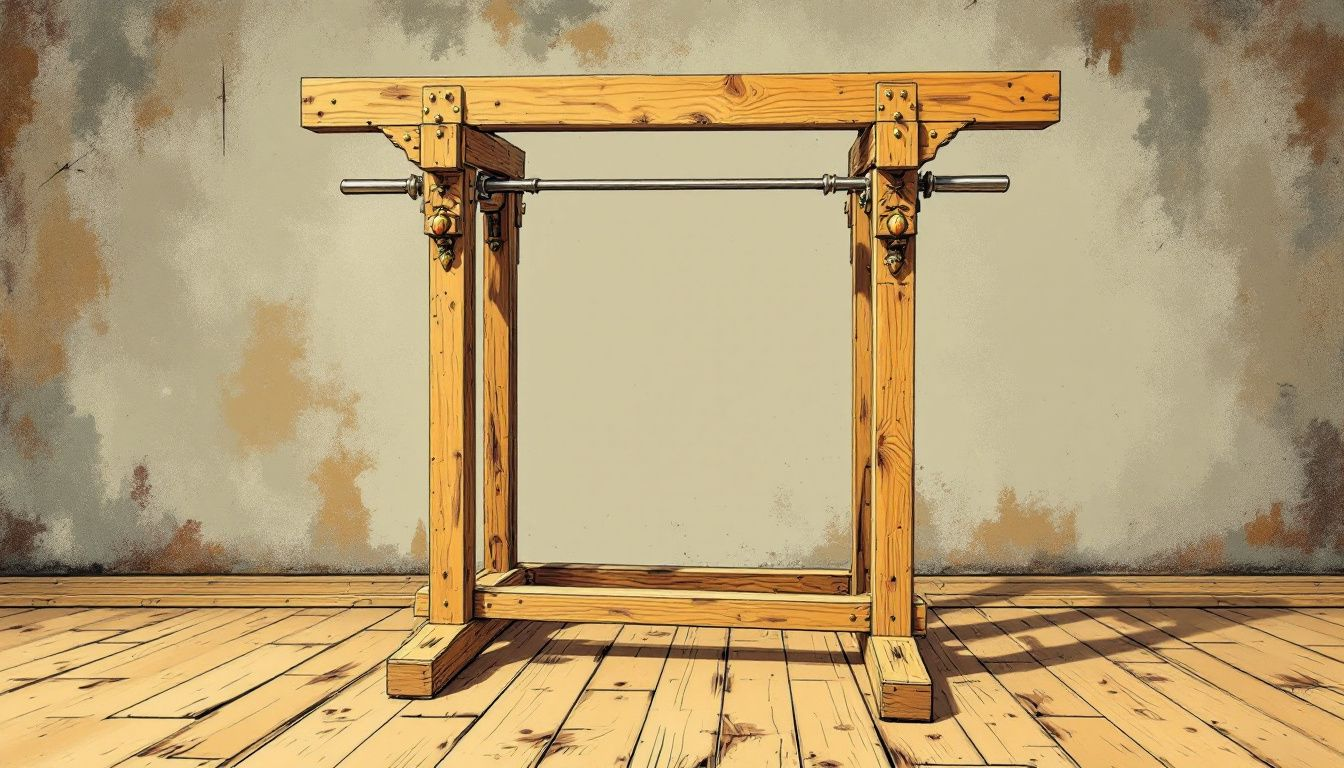
Step-by-Step Instructions for Building a Squat Rack
Building your squat rack can be done with basic tools, though power tools make the job easier and more precise. The total cost is approximately $38.23, and it should take about 1.25 hours to nail and pour cement for the assembly.
Wear proper personal protective equipment, such as ear, eye, and respiratory protection while building. Follow these instructions to create a sturdy and reliable squat rack.
Cutting the Wood Pieces
Cut the wood pieces according to your cut list. For the wooden power rack, cut two pieces to shoulder height minus two inches, two more pieces two inches longer, and two additional pieces to shoulder height.
Pre-drill holes and apply wood glue to enhance strength and stability during assembly.
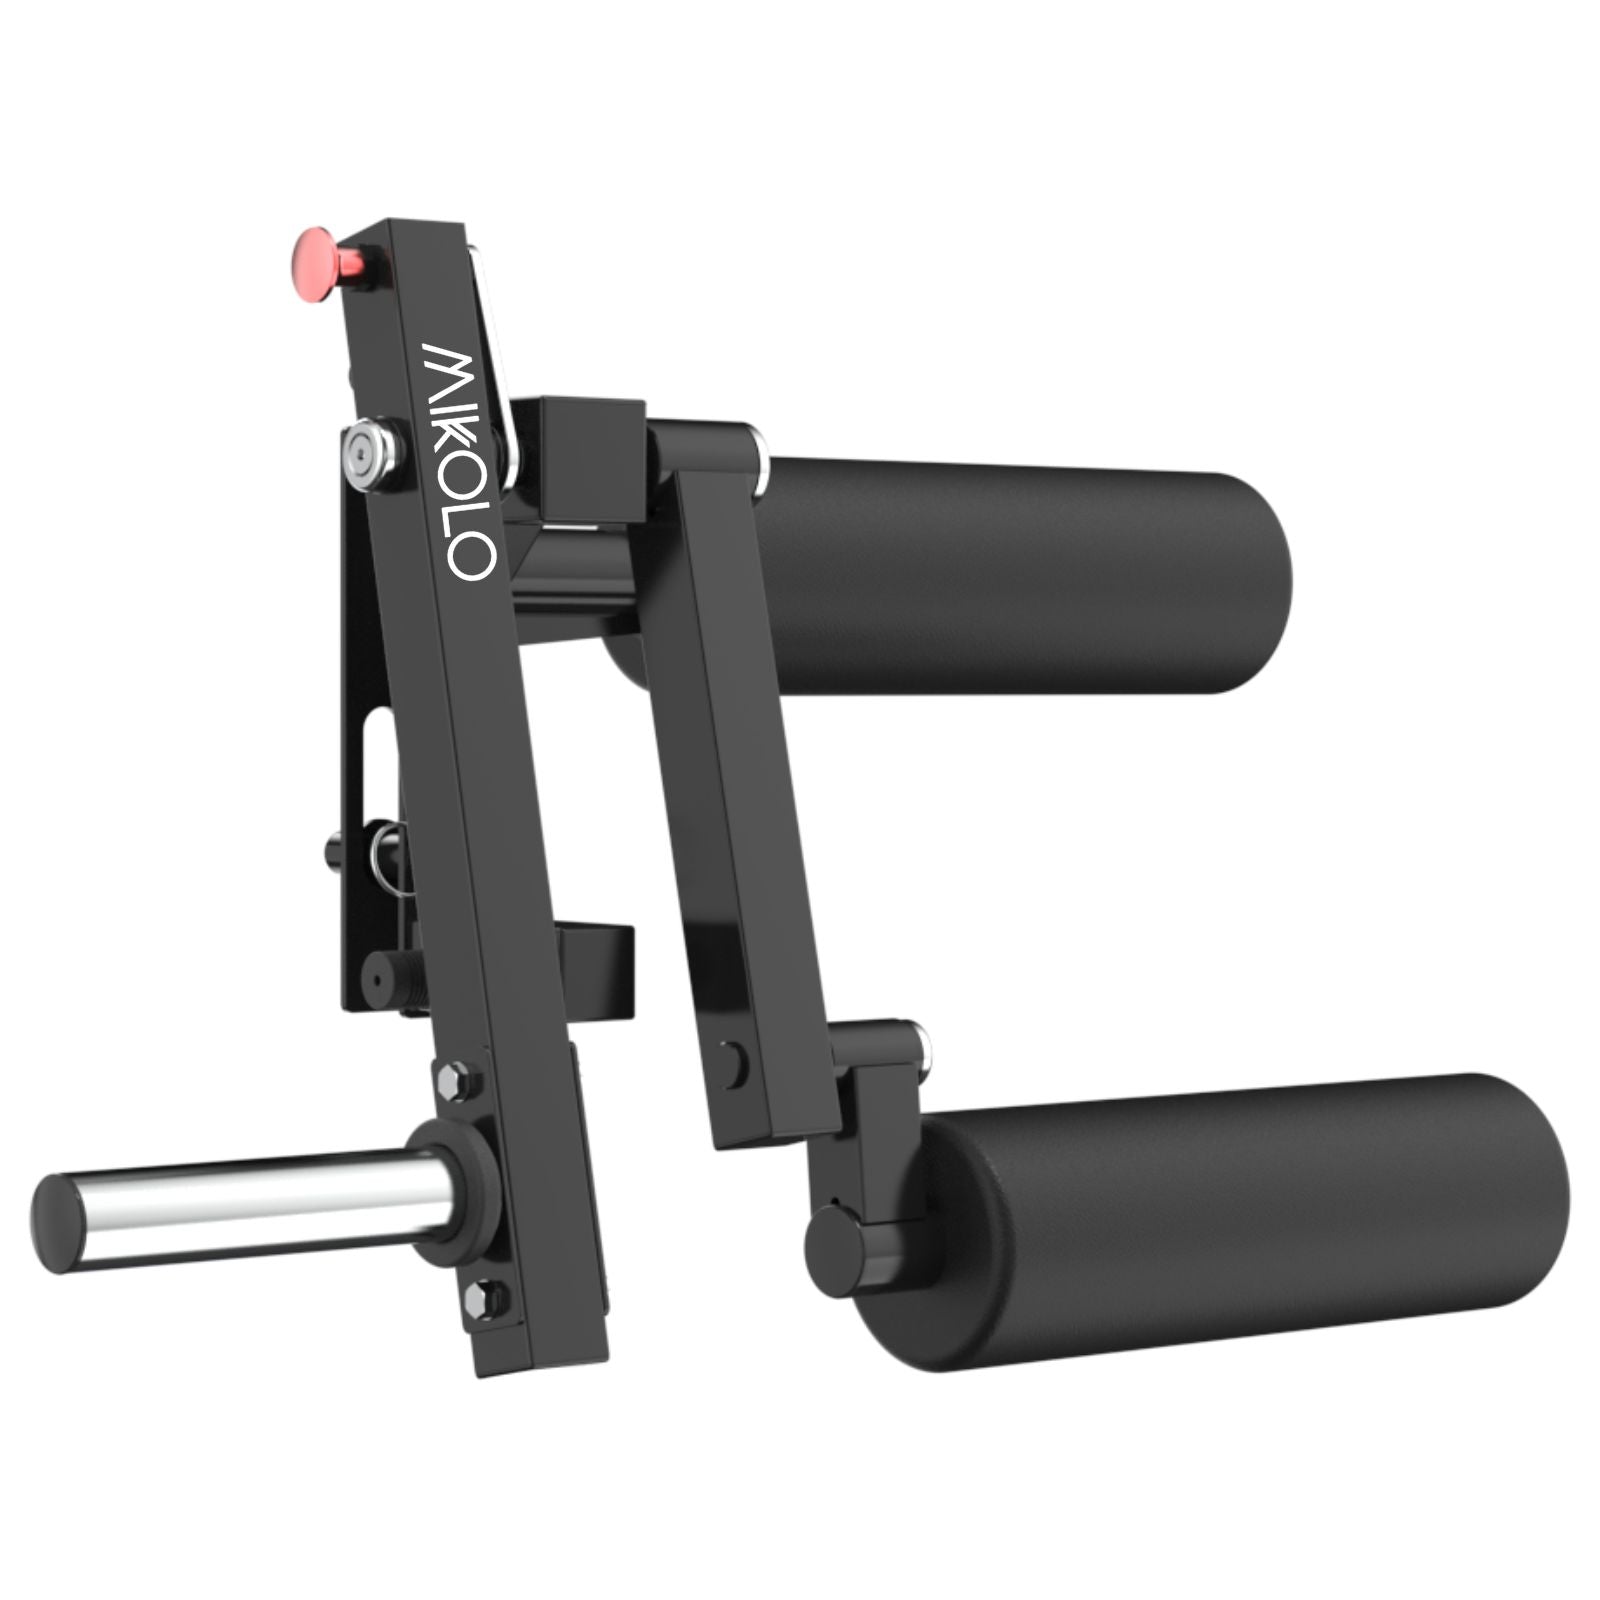
Drilling Holes for Spotter Arms and J-Hooks
Drill holes for the spotter arms and J-hooks, using a drill press to maintain accuracy. The holes for the weight bar brackets should be 1 1/4 inches in diameter.
Use a sacrificial scrap board and boards to prevent blow-out on the exit side of the holes. Ensure the holes are level to guarantee proper alignment of the J-hooks.
Assembling the Uprights and Cross Braces
Assemble the uprights and cross braces by attaching the top cross-brace support to the back of the uprights. Install the second cross-brace support 14 inches up from the base.
Apply wood glue to all wood-to-wood connections for added strength. Secure the joints with 2 1/2” self-drilling screws and install support braces using two 12-inch screws from both the front and rear for stability.
Adding Functional Features to Your Squat Rack
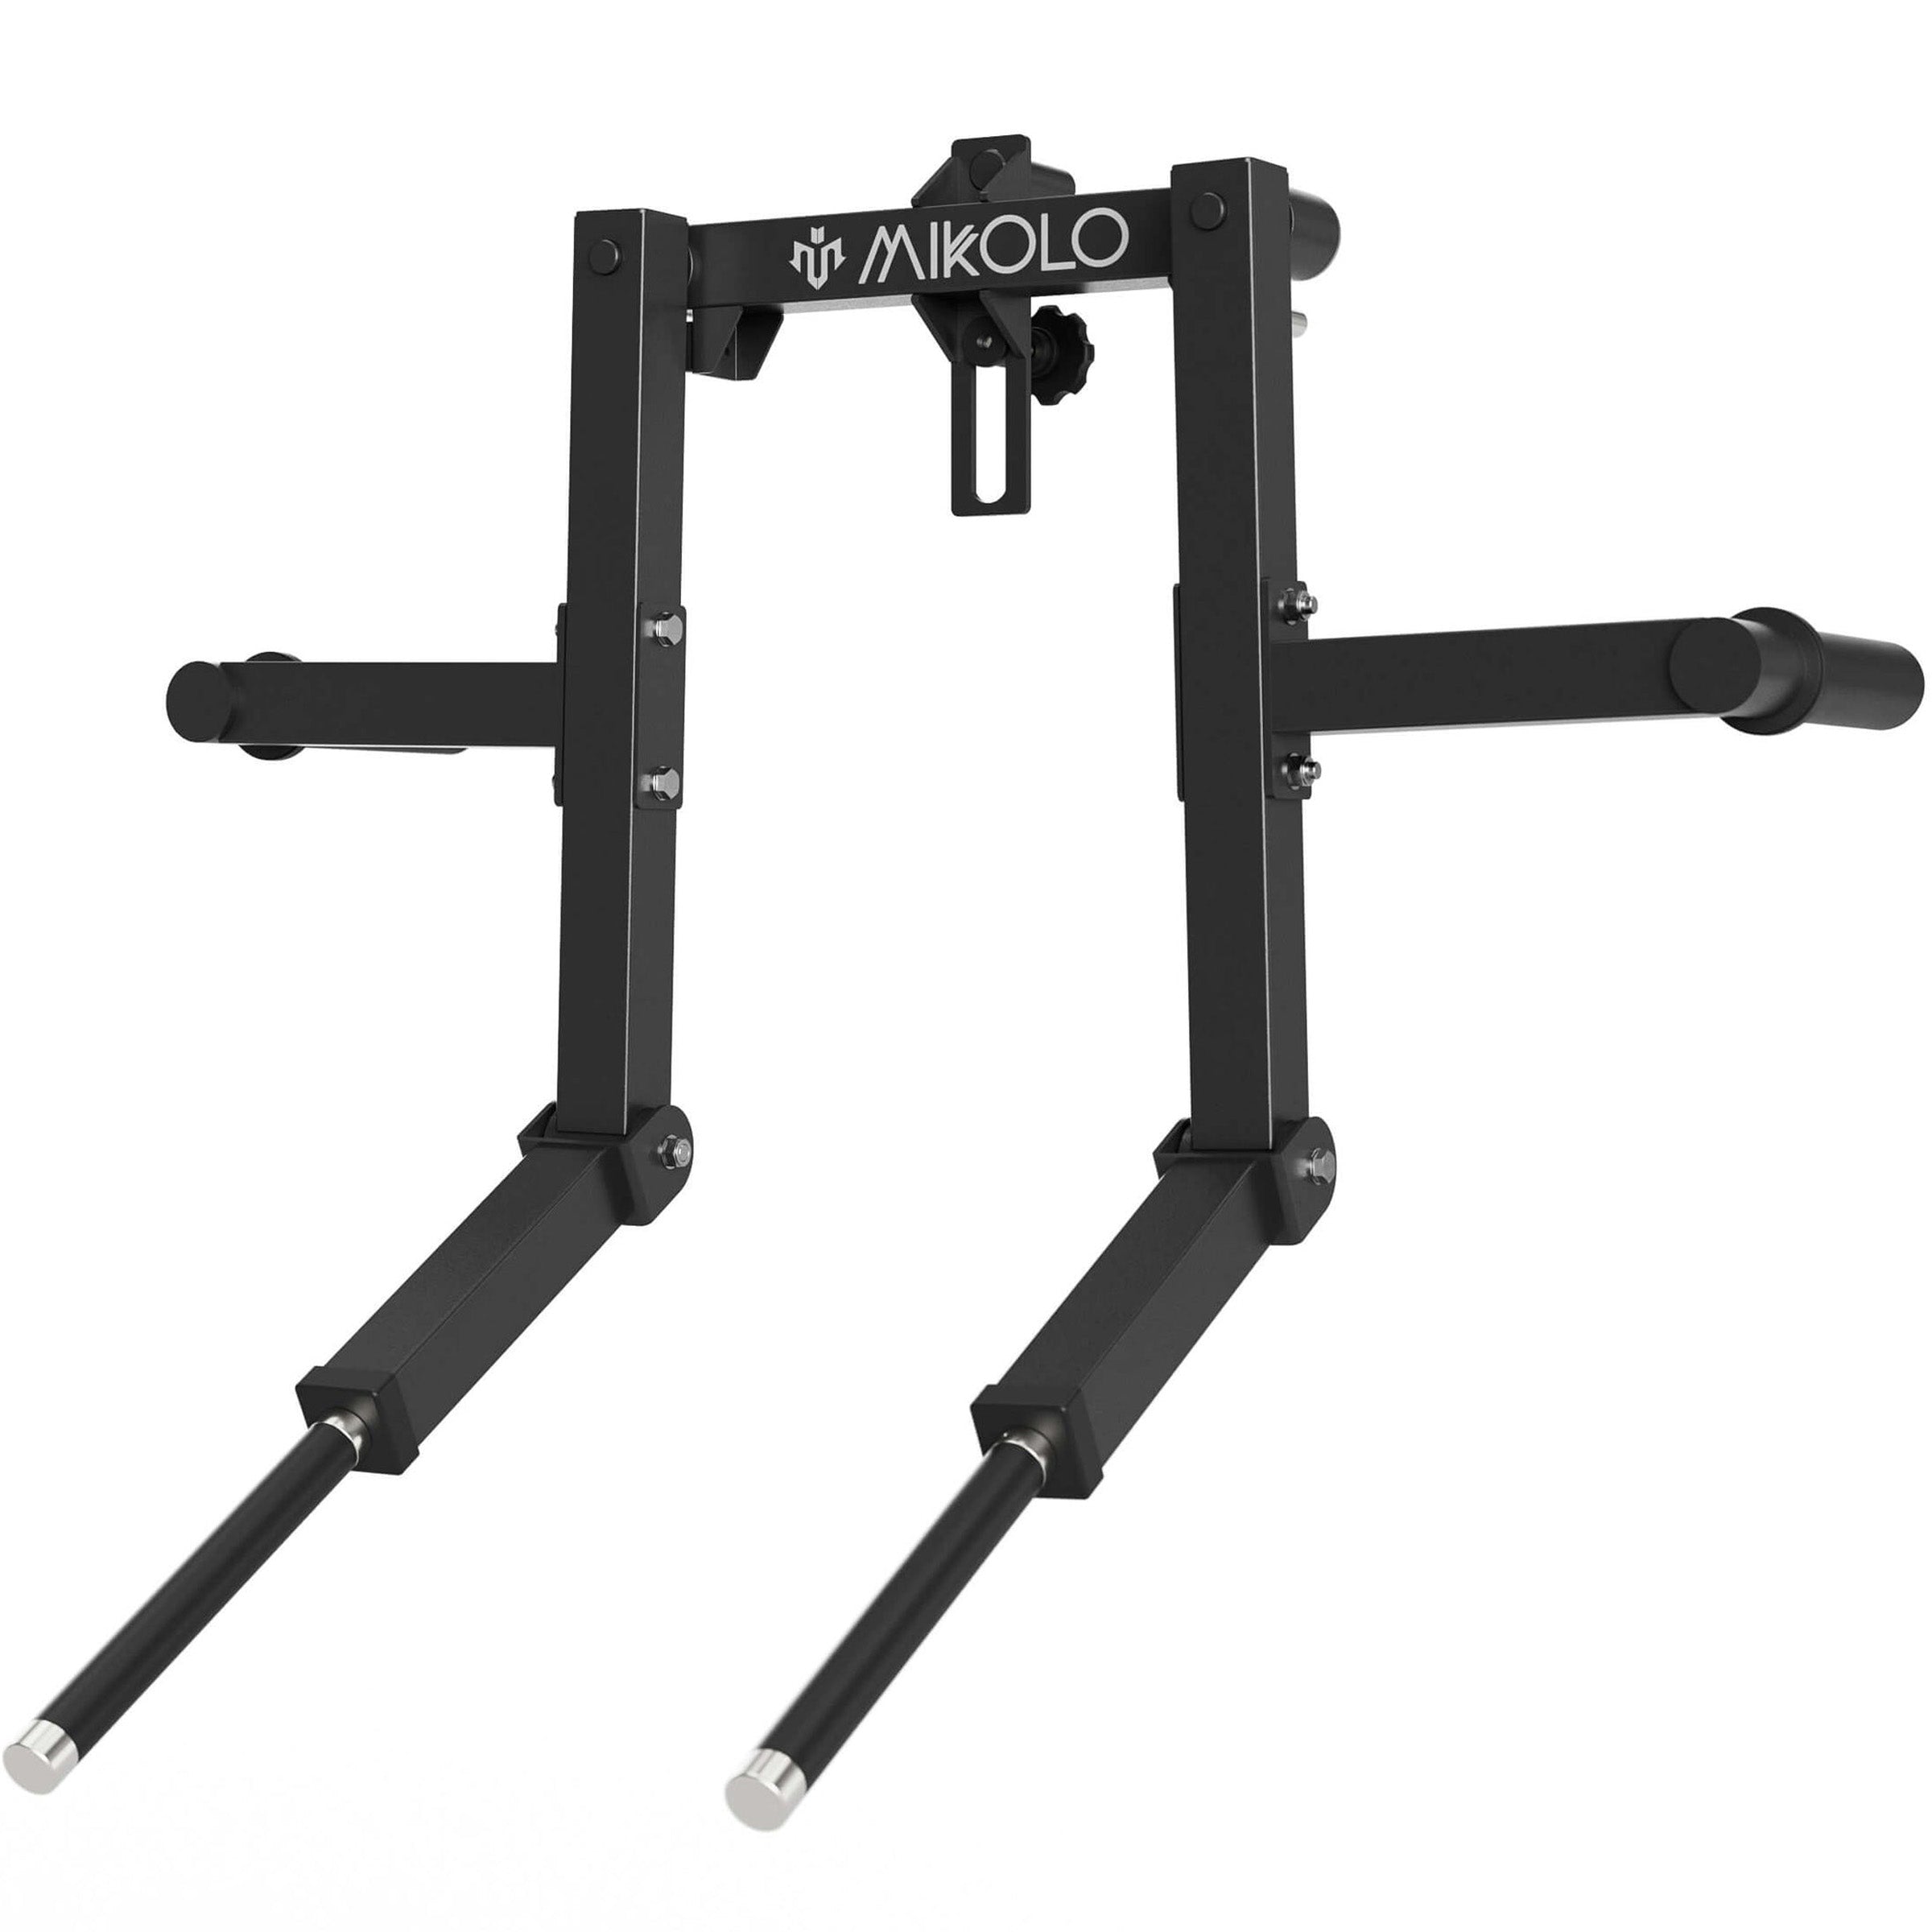
Enhance your squat rack’s versatility by adding features like a pull-up bar and adjustable weight bar pins.
These enhancements will allow for a broader range of workouts and exercises, increasing the overall utility of your squat rack.
Installing a Pull-Up Bar
A pull-up bar enhances the rack’s functionality. Use a 1/4 inch bit, 18 inches long, for drilling the holes and position the bar at an optimal height. Add caps on the threaded ends for safety.
If a spade bit isn’t sufficient, opt for a wood boring bit instead.
Creating Adjustable Weight Bar Pins
Adjustable weight bar pins add flexibility to your workouts. Use threaded pipes, which can be modified as needed, to create these pins. Different lengths allow for varied weight pin adjustments.
Ensuring Stability and Safety
Stability and safety are paramount. Secure all components tightly and regularly inspect attachments like weight plates, collars, and spotter arms. Address loose bolts and nuts promptly to maintain stability.
Periodically tighten screws and bolts to maintain the squat rack’s structural integrity and safety.
Reinforcing with Corner Braces
Corner braces minimize wobbling by adding structural support. Position them diagonally for maximum stability and ensure wood pieces are straight to maintain the rack’s structural integrity.
Reinforcement is crucial for heavy lifts.
Testing Weight Capacity
Know your squat rack’s weight capacity to ensure it can safely support your maximum loads. This capacity depends on material quality and construction methods.
Reinforce the structure with corner braces to enhance stability and prevent wobbling during workouts.
Customizing and Finishing Touches
Customize your squat rack to match your home gym’s aesthetic by incorporating personal elements like unique colors or designs.
Modify cut lengths and parts to add a personal touch, ensuring structural integrity is maintained.
Sanding and Staining the Wood
Sand the wood before staining for a smoother surface and enhanced final look. Start with medium grit sandpaper, then move to finer grits for smoothness. Proper sanding ensures even stain application.
Applying Protective Coating
Apply a protective sealant to safeguard your squat rack against wear and tear. A clear coat is recommended for optimal protection. Apply the sealant evenly to extend the rack’s life and maintain its appearance.
Maintenance Tips for Longevity
Regular maintenance keeps your squat rack safe and functional. A protective coating prevents moisture damage and extends the rack’s lifespan. Regular checks help catch issues early.
DIY squat racks require more upkeep than commercial ones, so be prepared for regular inspections and adjustments.
Regular Inspections
Conduct frequent checks to spot wear or damage early. Inspect joints and bolts regularly to ensure they are secure and functioning properly. Look for rust or corrosion on metal parts, as these can weaken the structure.
Tightening Screws and Bolts
Periodically tighten screws and bolts to maintain structural integrity. Regular checks help identify loose fittings that could jeopardize safety. Ensure all connections are secure and correctly fastened.
Alternatives to Building Your Own Squat Rack
If DIY isn’t for you, consider other options. Factors like available tools, market options, budget, and desired weight lifting capacity are important considerations.
Purchasing Commercial Racks
Commercial racks like the Rogue RML-390F Monster Lite Power Rack and the Rogue SML-2 Monster Lite Squat Stand offer stability and safety. These versatile racks suit various workout needs in a home gym.
The Rogue SML-2 features a pull-up bar, spotter arms, and weighs 166 pounds. The RML-390F includes a self-stabilizing base and customizable pull-up bar.
Hiring a Professional
Hiring a professional ensures proper construction, minimizing safety risks from DIY mistakes. Professionals have access to specialized tools and materials, resulting in a more durable and aesthetically pleasing squat rack.
This option saves time and effort, allowing you to focus on training instead of construction.
How Much Weight Can a DIY Squat Rack Hold?
The weight capacity of a DIY squat rack depends on material quality, structure, and build. Generally, a well-built wooden power rack can hold around 500 pounds. For lifting more than 350 to 400 pounds, consider using metal instead of wood.
Test the rack’s weight capacity with weights exceeding your typical load to ensure safety. Perform a dynamic load test for real-world accuracy. Gradually load the rack, testing with weights slightly above your maximum to ensure stability.
Potential Drawbacks of DIY Squat Racks
Building a DIY squat rack is cost-effective and customizable but has drawbacks. Tools and skills are needed for effective construction. Moisture can weather wood if not sealed, challenging for outdoor or damp environments.
Regular maintenance is required for longevity and safety, which might not be ideal for everyone.
Summary
Building your own DIY squat rack can be an incredibly rewarding experience, providing you with a custom piece of gym equipment that meets your unique needs. From gathering materials and preparing your workspace to cutting wood, drilling holes, and assembling the structure, each step brings you closer to a fully functional squat rack. Adding functional features like a pull-up bar and adjustable weight bar pins enhances versatility, while regular maintenance ensures its longevity. Whether you choose to build, buy, or hire a professional, the key is to prioritize safety and durability. So, get ready to lift, squat, and achieve your fitness goals with a personalized touch!
Frequently Asked Questions
Is it worth getting a squat rack at home?
Absolutely, getting a squat rack for your home gym is worth it! It’s super versatile and can really enhance your workouts, from squats to bench presses and deadlifts.
How high should the rack be for squats?
The rack should be set at a height that aligns the bar with the middle of your sternum, right between your collarbone and nipple line—that way, you’ll have the best position for your squats.
How to make a makeshift squat rack?
You can easily whip up a makeshift squat rack by gathering materials from a hardware store, cutting and drilling them for spotter arms and j-cups, and then assembling everything. Just make sure to sand it down for a smooth finish and enjoy your handy work!
How much does it cost to build a DIY squat rack?
Building a DIY squat rack will set you back around $38. Just grab some materials and get started!
What materials are needed to build a DIY squat rack?
To build a DIY squat rack, you'll need sturdy materials like wood, steel brackets, concrete, and a drill press. Just grab these essentials, and you'll be on your way to setting up a solid home gym!


Leave a comment
This site is protected by hCaptcha and the hCaptcha Privacy Policy and Terms of Service apply.