


Building a homemade gym rack is one of the smartest investments you can make if you’re serious about training at home. Not only does it save you money, but it also allows you to customize your space for your lifting goals, whether you’re focusing on heavy squats, bench presses, or pull-ups. A DIY power rack provides the foundation for safe, progressive strength training, without waiting for equipment at the gym.
Why a Power Rack Is Essential for Home Gyms
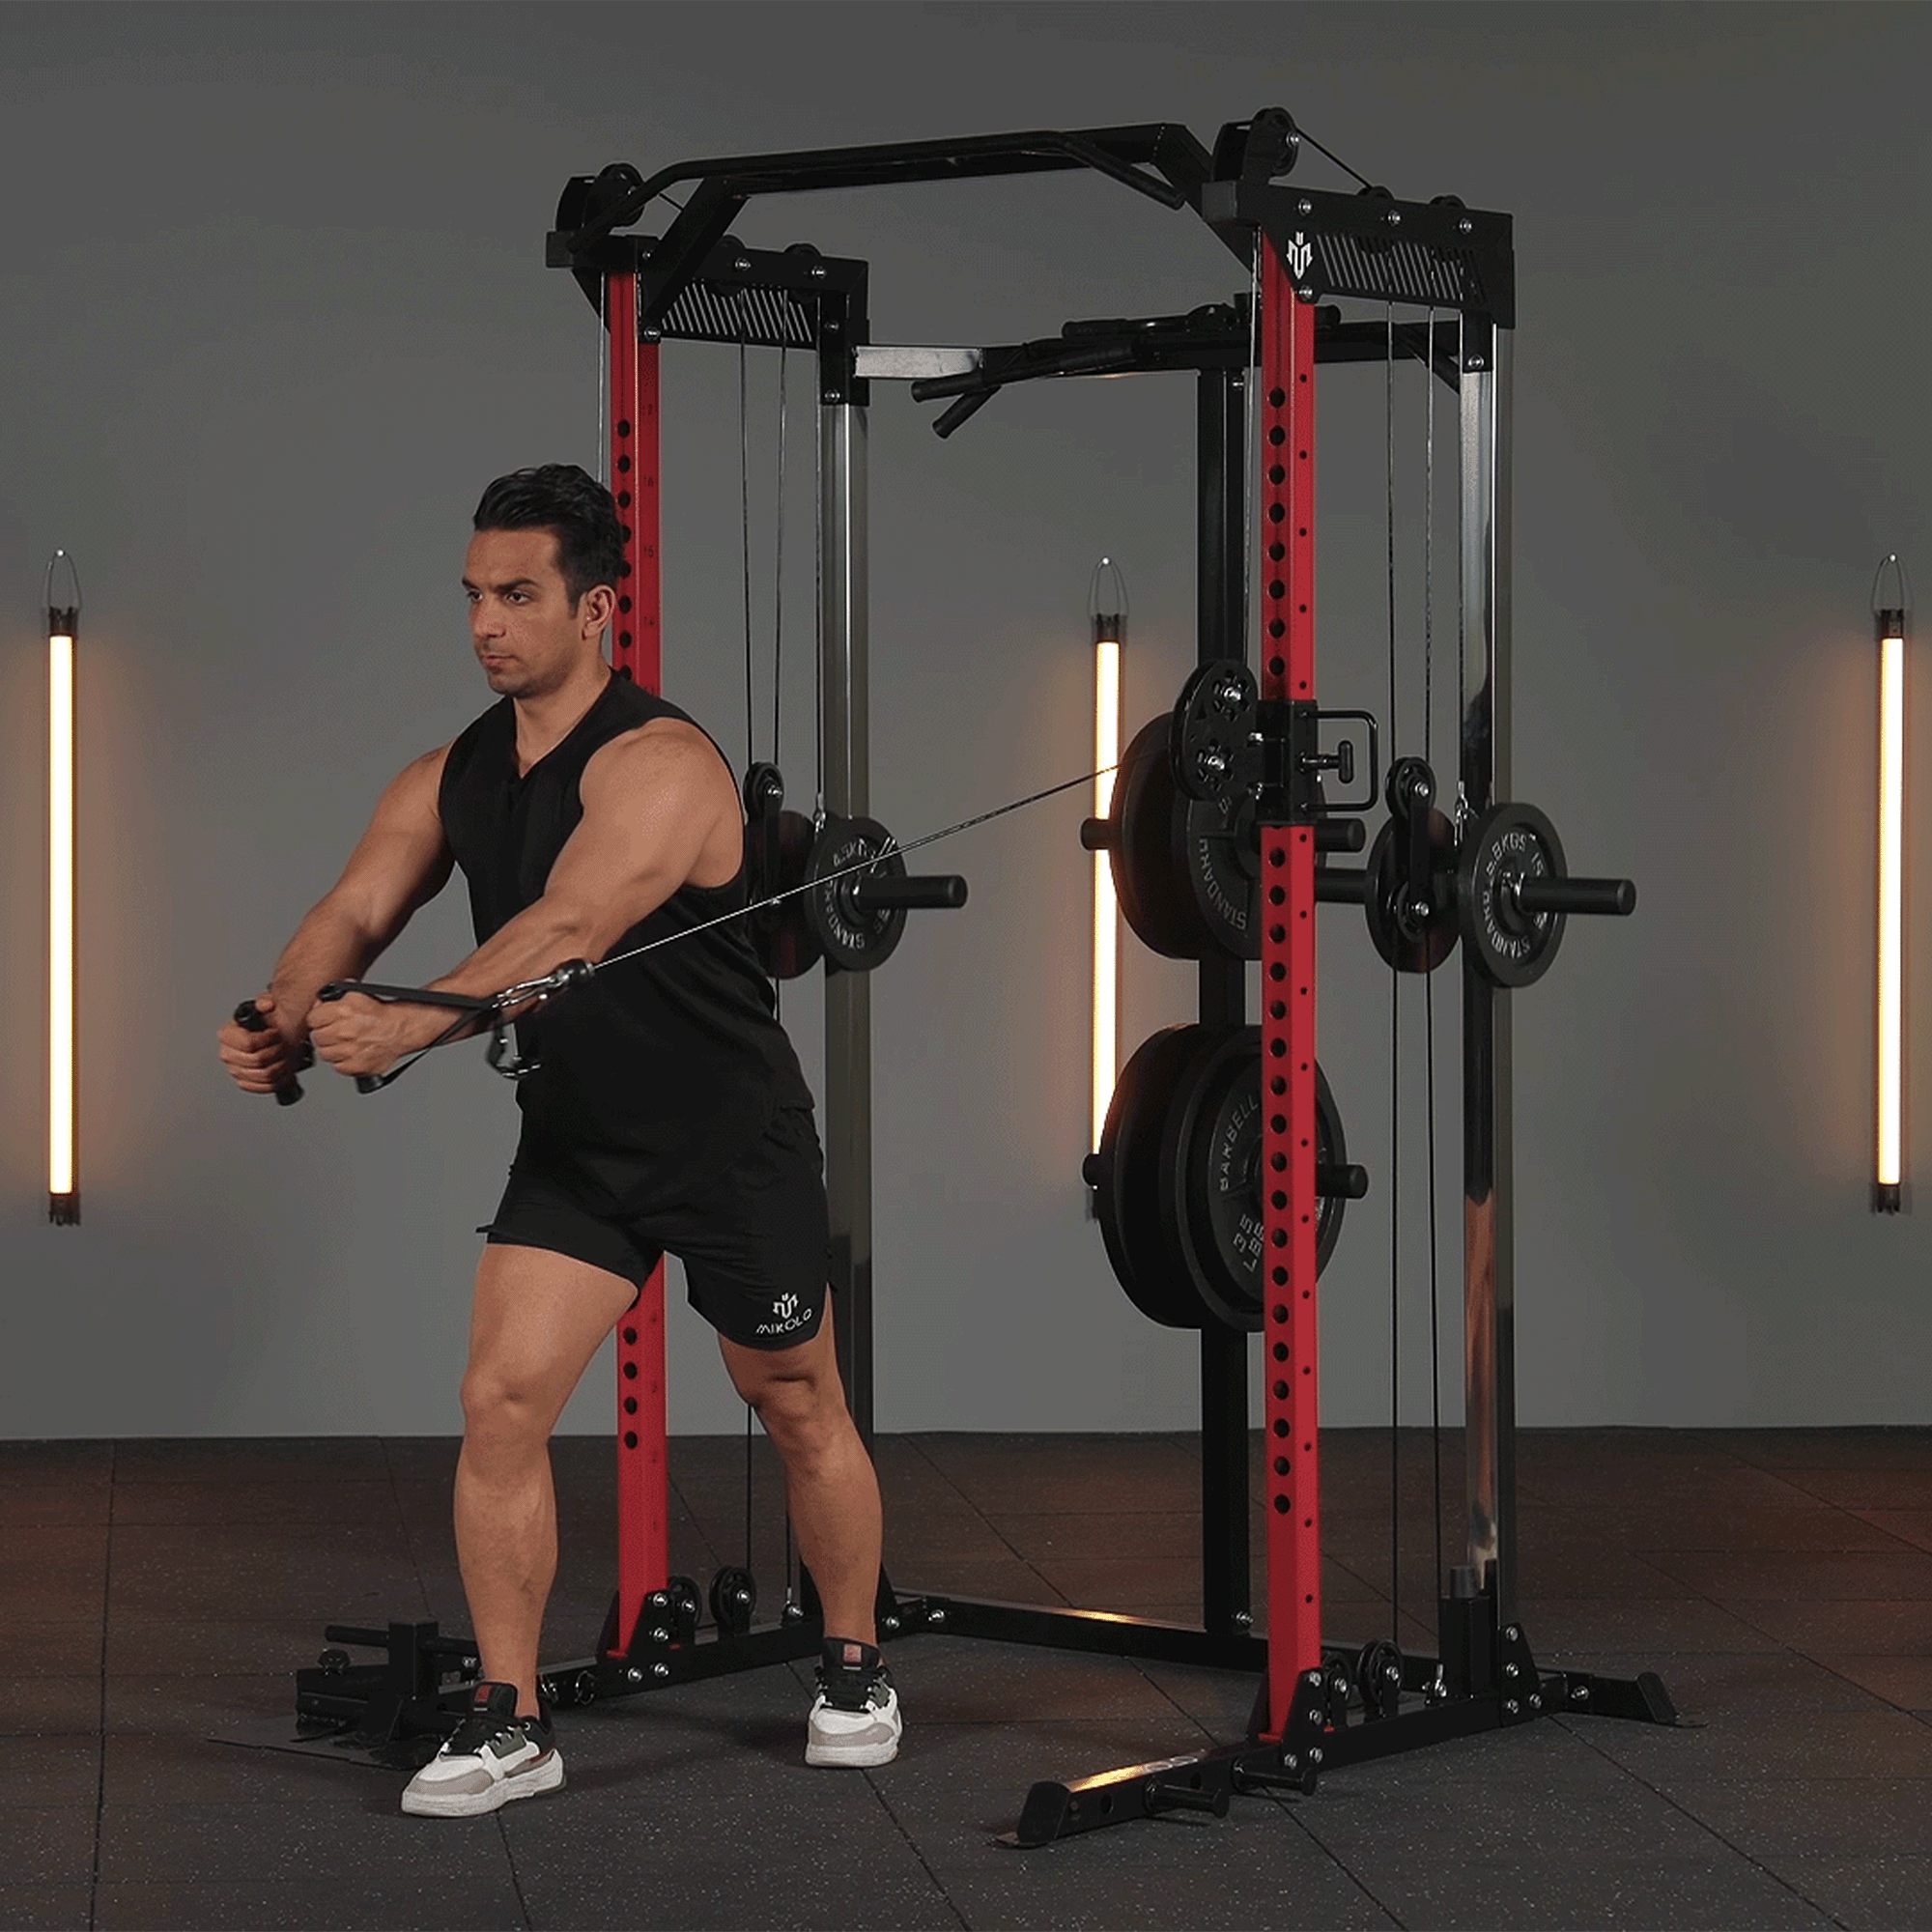
A power cage or power rack is the backbone of any strength program, enabling you to safely perform squats, bench presses, overhead presses, and rack pulls. The safety pins or spotter arms catch the bar if you fail a rep, letting you push your limits while training alone.
Commercial racks can be expensive, but with DIY power rack plans and the right materials, you can build a sturdy, effective rack that fits your budget and space.
How to Build a Power Rack at Home
1. Choose Your Design
Decide whether you want a full power cage DIY build or a homemade squat rack pipe structure to save space. A power cage encloses you on all sides with safety pins, while a simpler rack can still handle heavy squats and presses if built well.
2. Gather Materials
For most do it yourself power rack builds, you’ll need:
-
4x4 or 2x6 lumber or steel pipe (based on your budget and tools)
-
Heavy-duty bolts and washers
-
Steel safety pins or pipe for spotter arms
-
J-hooks (homemade or purchased)
-
Optional: pull-up bar, weight storage pegs
Using power rack blueprints or power cage plans ensures your dimensions are accurate and stable.
3. Cut and Assemble
Measure twice, cut once. For a homemade power cage, the usual height is around 7–8 feet with a 4-foot width and 4-foot depth, but you can adjust based on your ceiling height. Drill holes in 2-inch increments for adjustable safety bar positions.
4. Safety First
Before loading heavy weights, test your homemade power rack with lighter loads and ensure stability on your gym floor. Consider bolting it to the ground or adding plywood platforms to prevent wobble.
Personal Experience: Why I Built My Own Power Rack
When I decided to build my own power rack during a busy season of life, I had two goals: train safely at home and maintain consistency without commuting to the gym. I spent a weekend building a homemade power rack using 4x4 posts and steel pipes for safety pins, setting it up in my garage with a simple plywood platform. It felt empowering to squat heavy with the knowledge that the rack I built would catch the bar if I failed a rep. It also turned training into a ritual, reminding me that fitness is built one rep—and one project—at a time.
Benefits of a DIY Power Rack
-
Cost-effective: A DIY power rack is significantly cheaper than a commercial rack while maintaining function.
-
Customizable: Adjust height, depth, and add attachments like dip bars or landmine sleeves.
-
Space-saving: Design it to fit your ceiling and corner layout.
-
Skill-building: Building your rack is a rewarding project that adds pride to your training space.
Ready to Build?
If you’re looking for a homemade gym rack or diy power rack plans, start small: gather your tools, sketch your plan, and give yourself a weekend to complete your build. A sturdy DIY power rack will support your lifts for years to come, providing a safe, reliable, and satisfying training environment in your own home.


Leave a comment
This site is protected by hCaptcha and the hCaptcha Privacy Policy and Terms of Service apply.