Building your own squat rack can be a rewarding project that not only saves you money but also allows you to customize the equipment to fit your specific needs and space. Whether you're a fitness enthusiast looking to set up a home gym or a DIY aficionado eager to take on a new challenge, this guide will walk you through the essential steps to construct a sturdy and functional squat rack.
Understanding the Basics
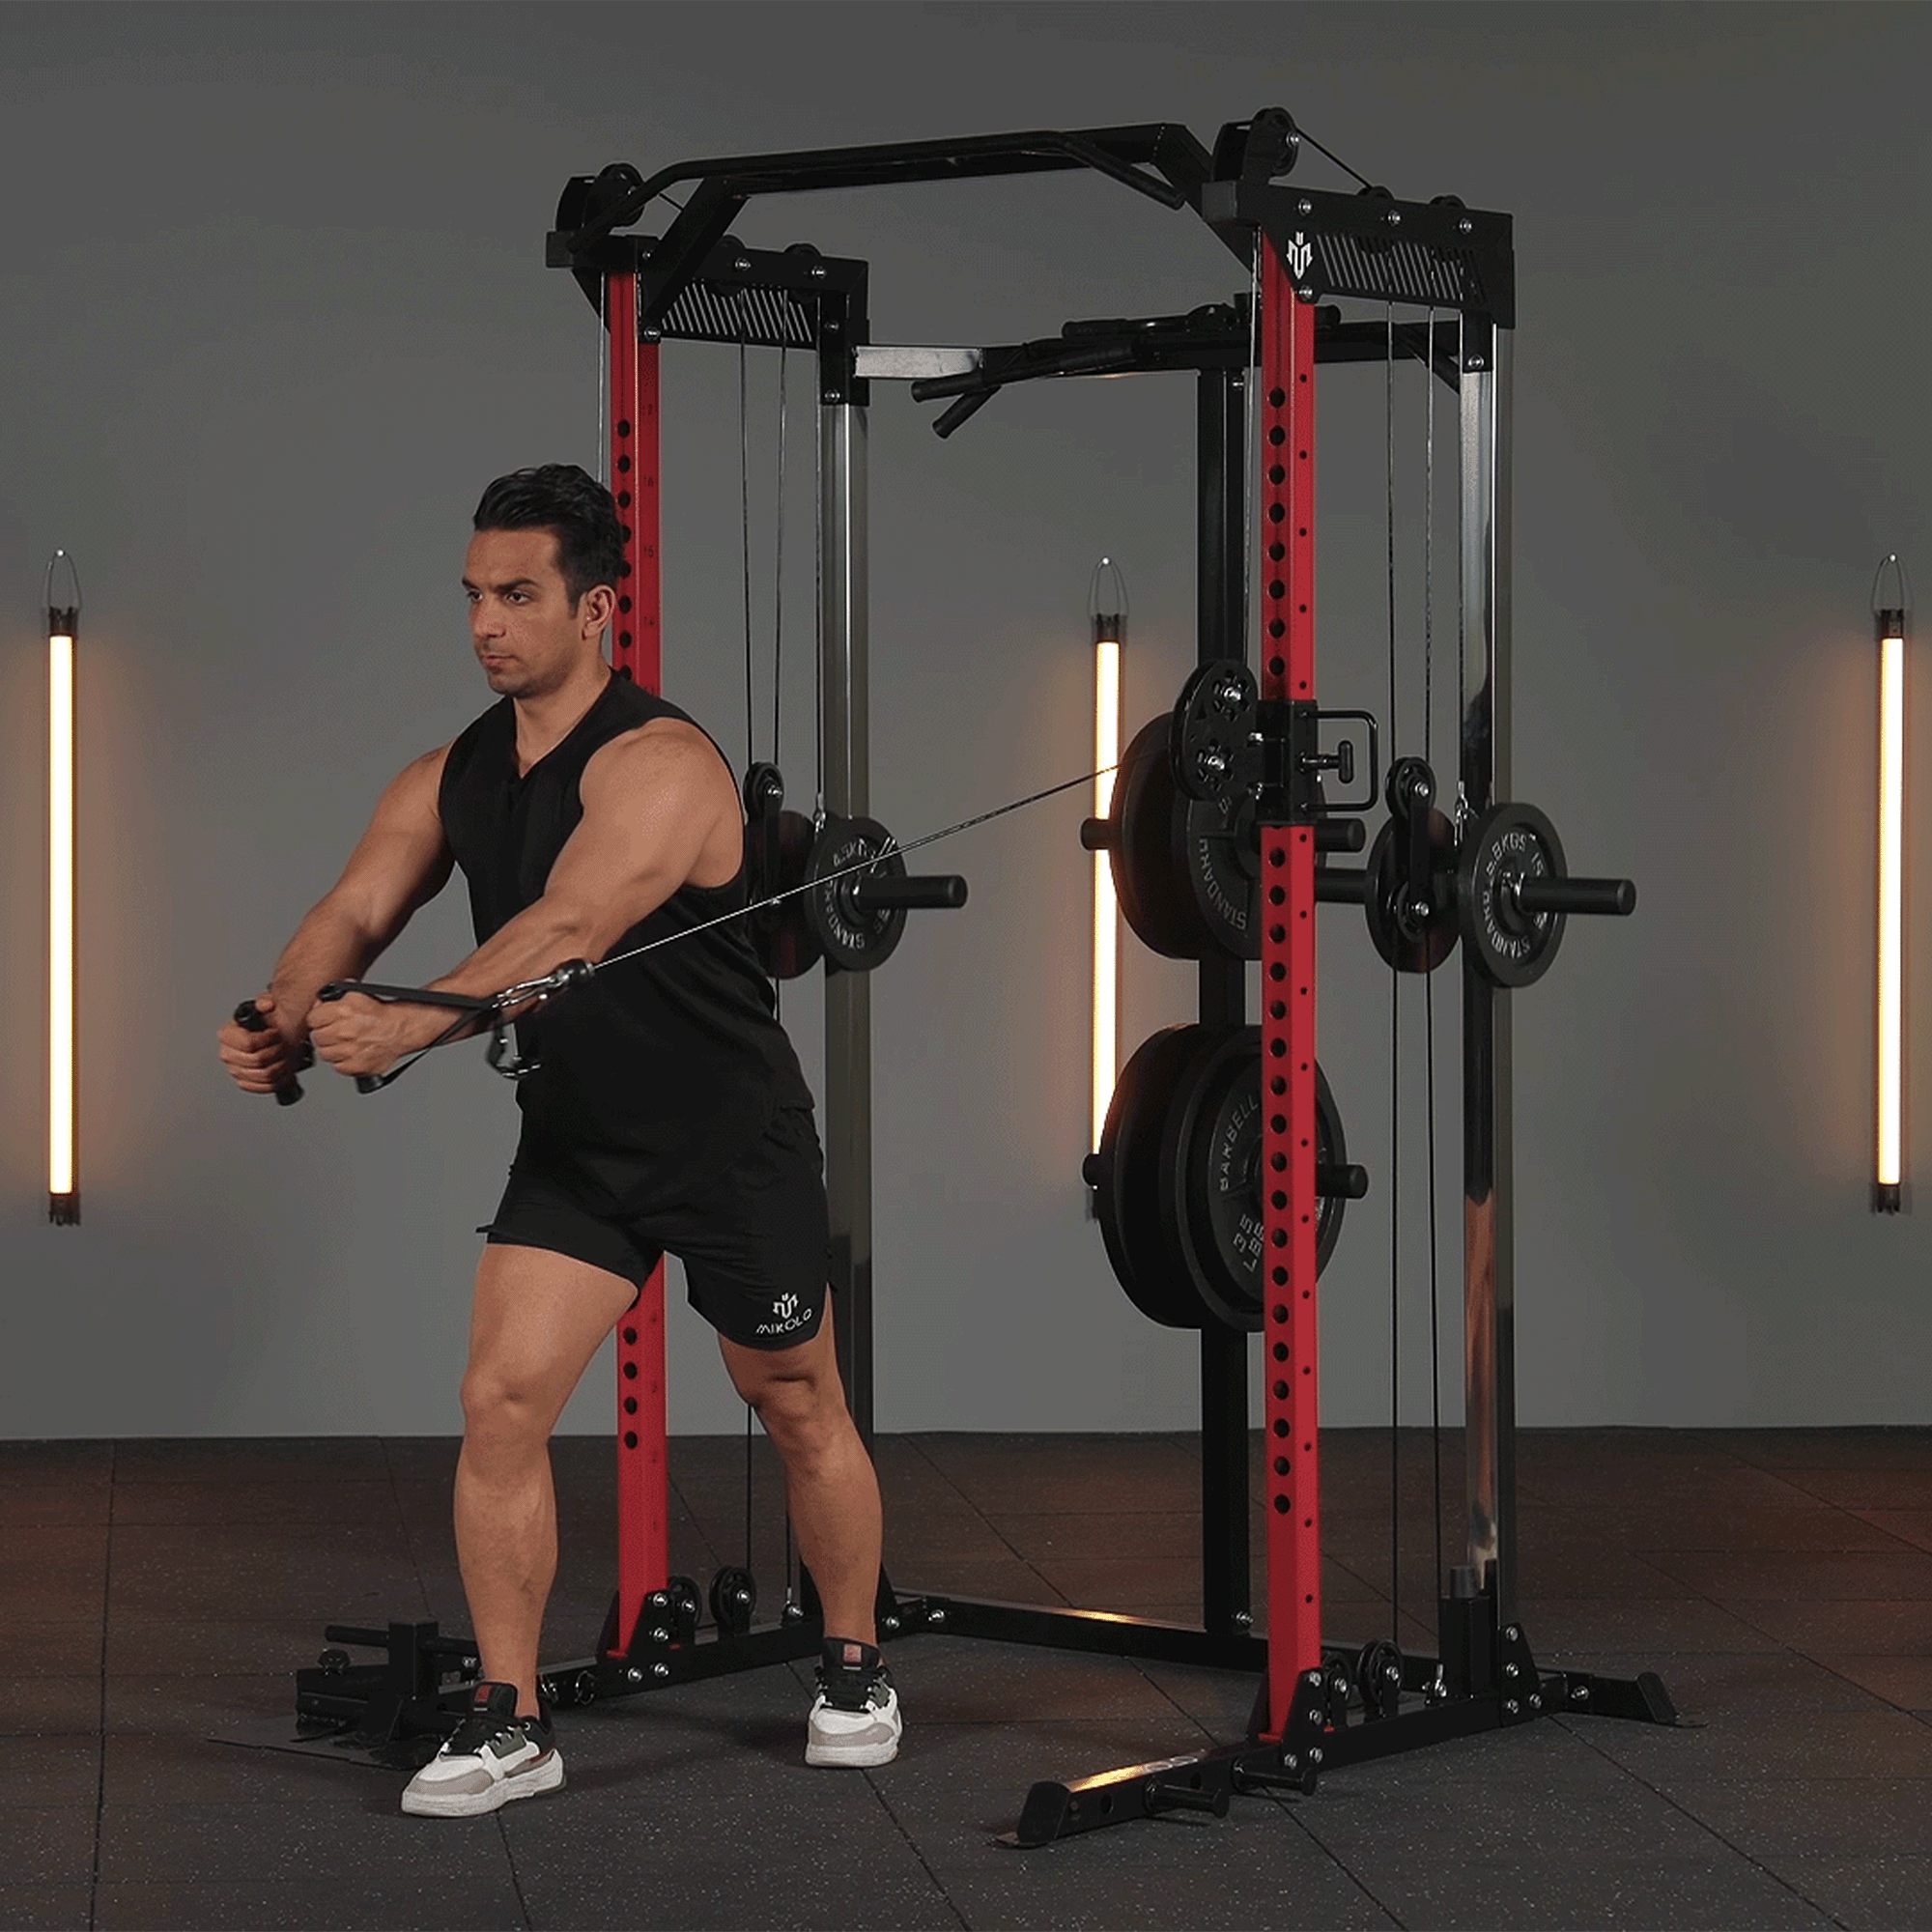
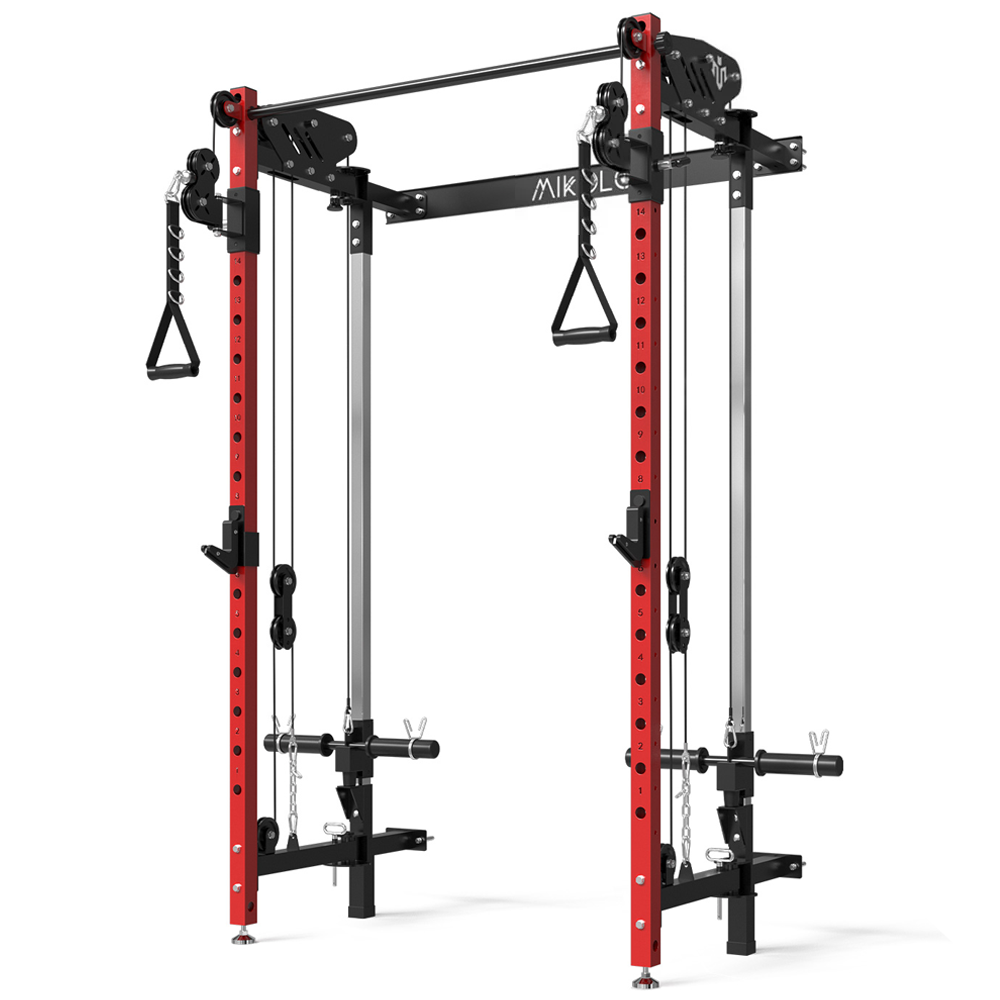
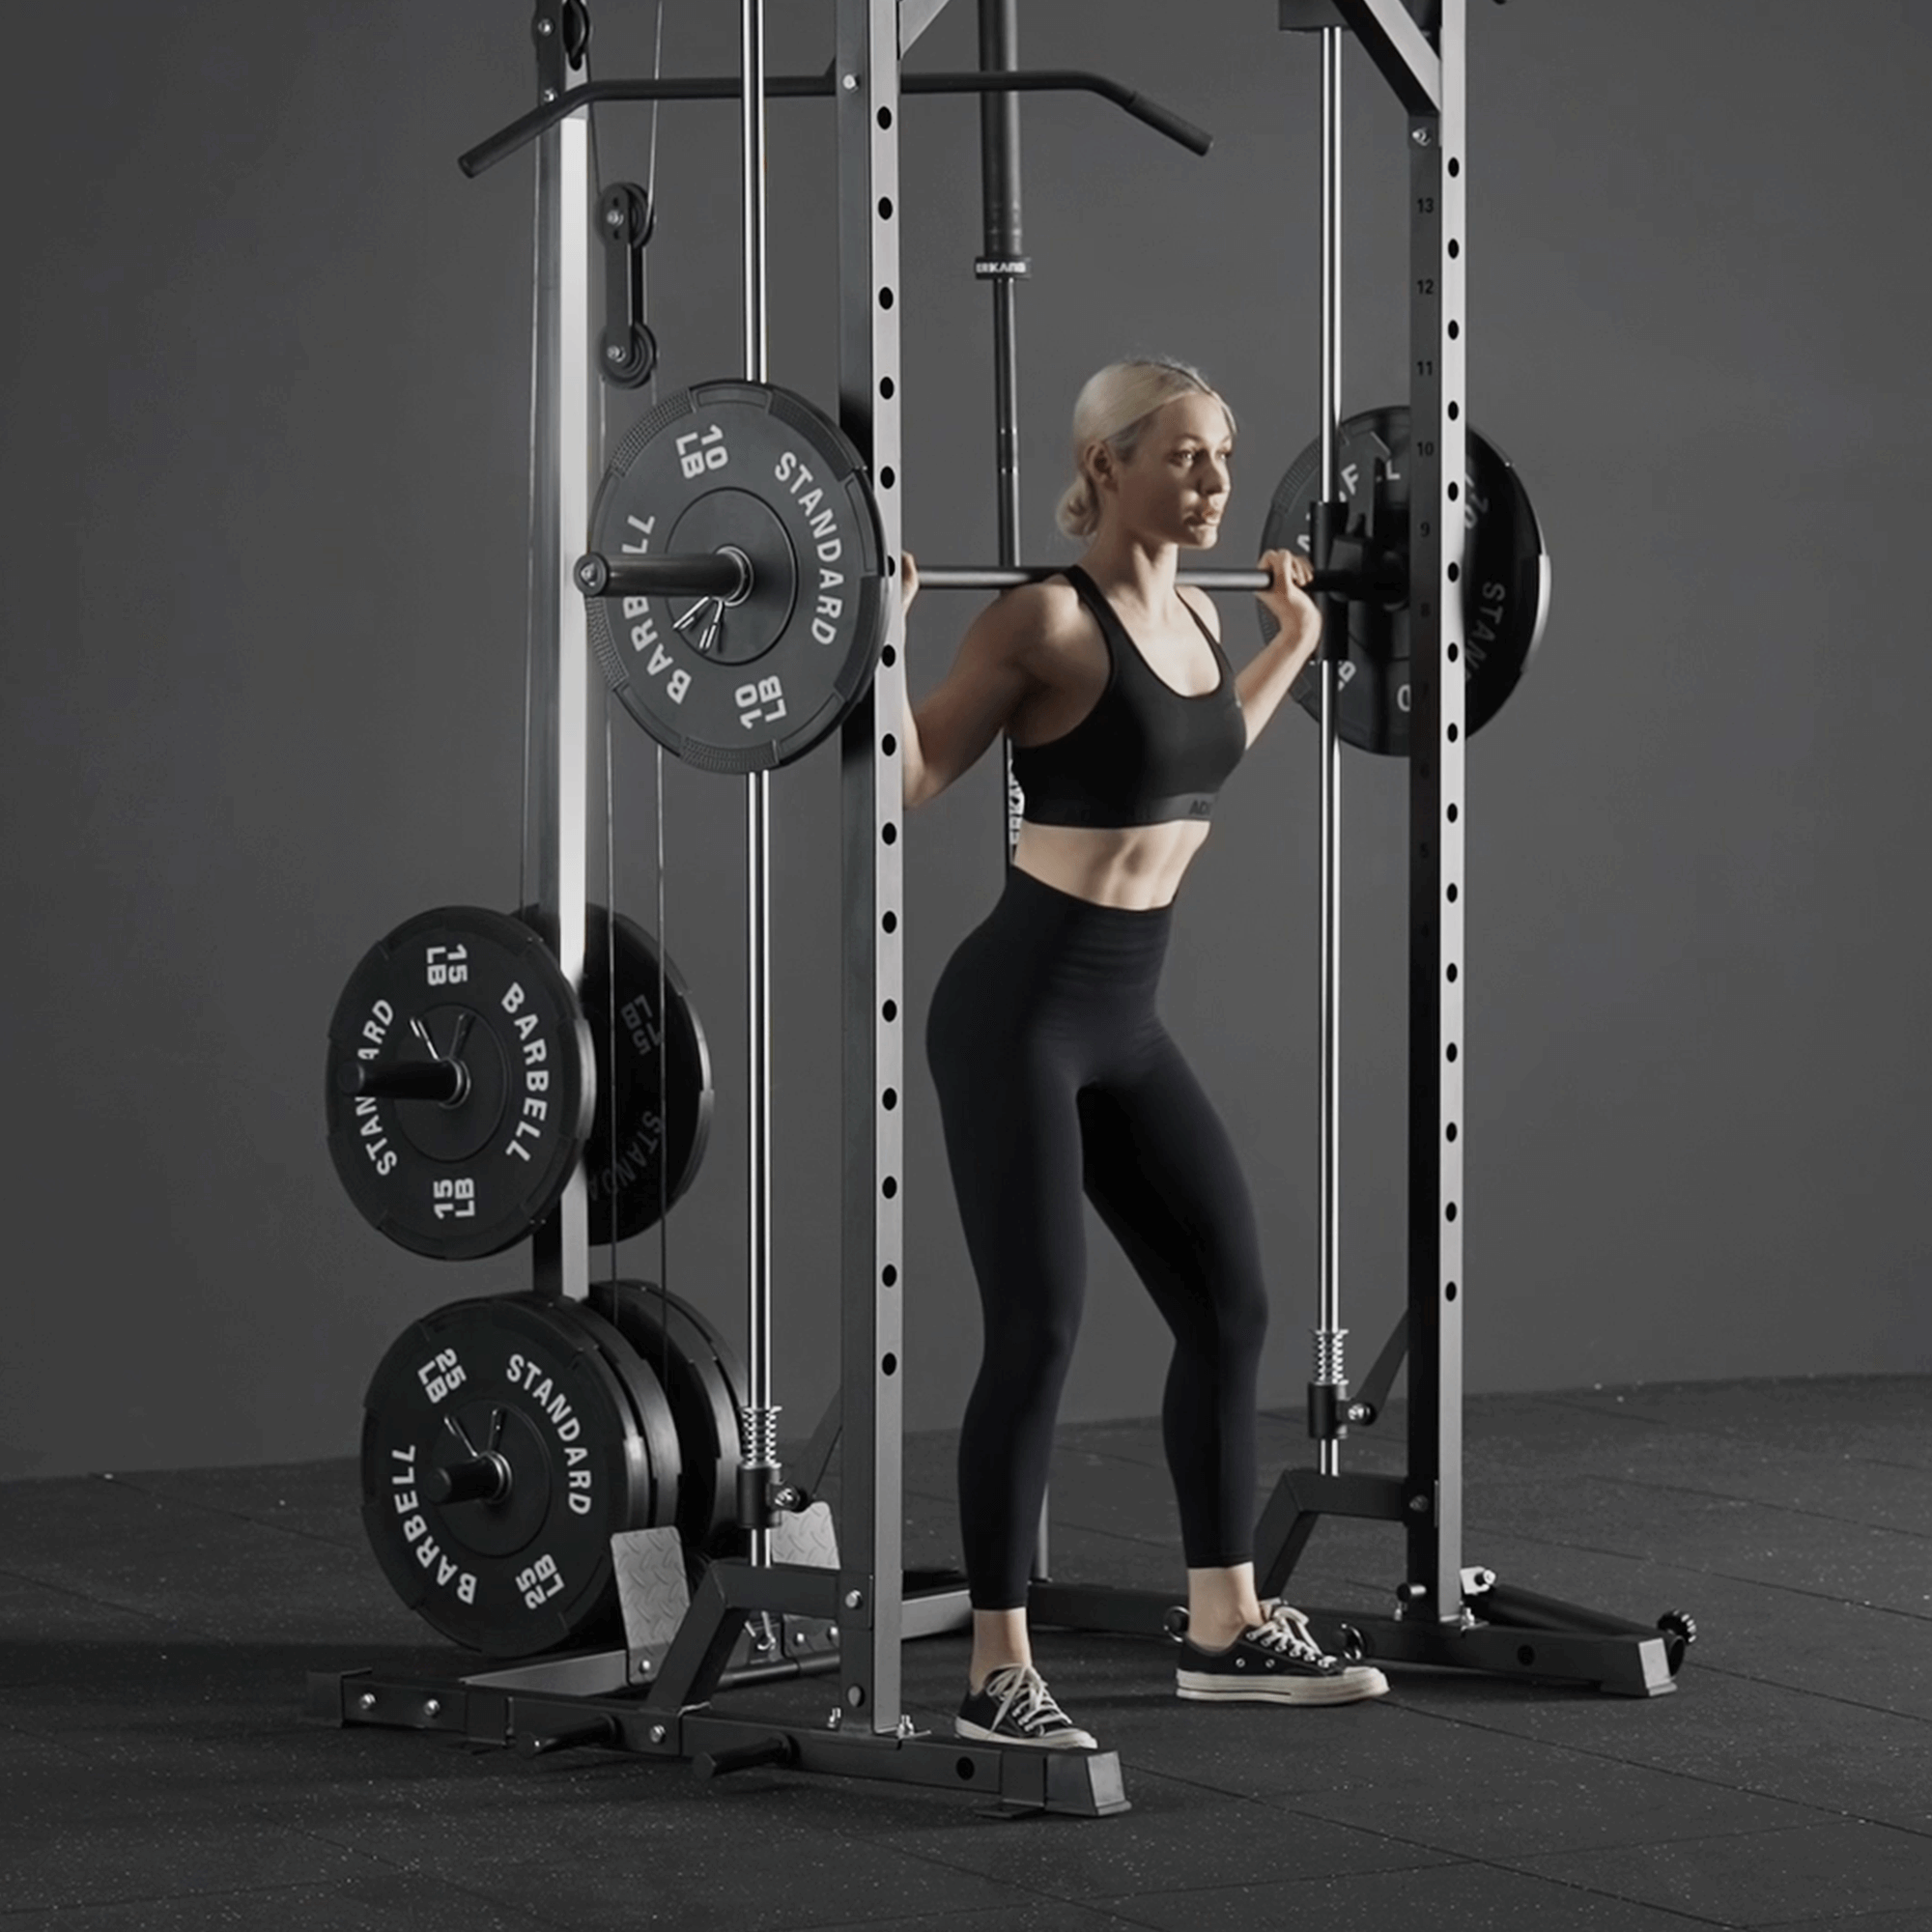
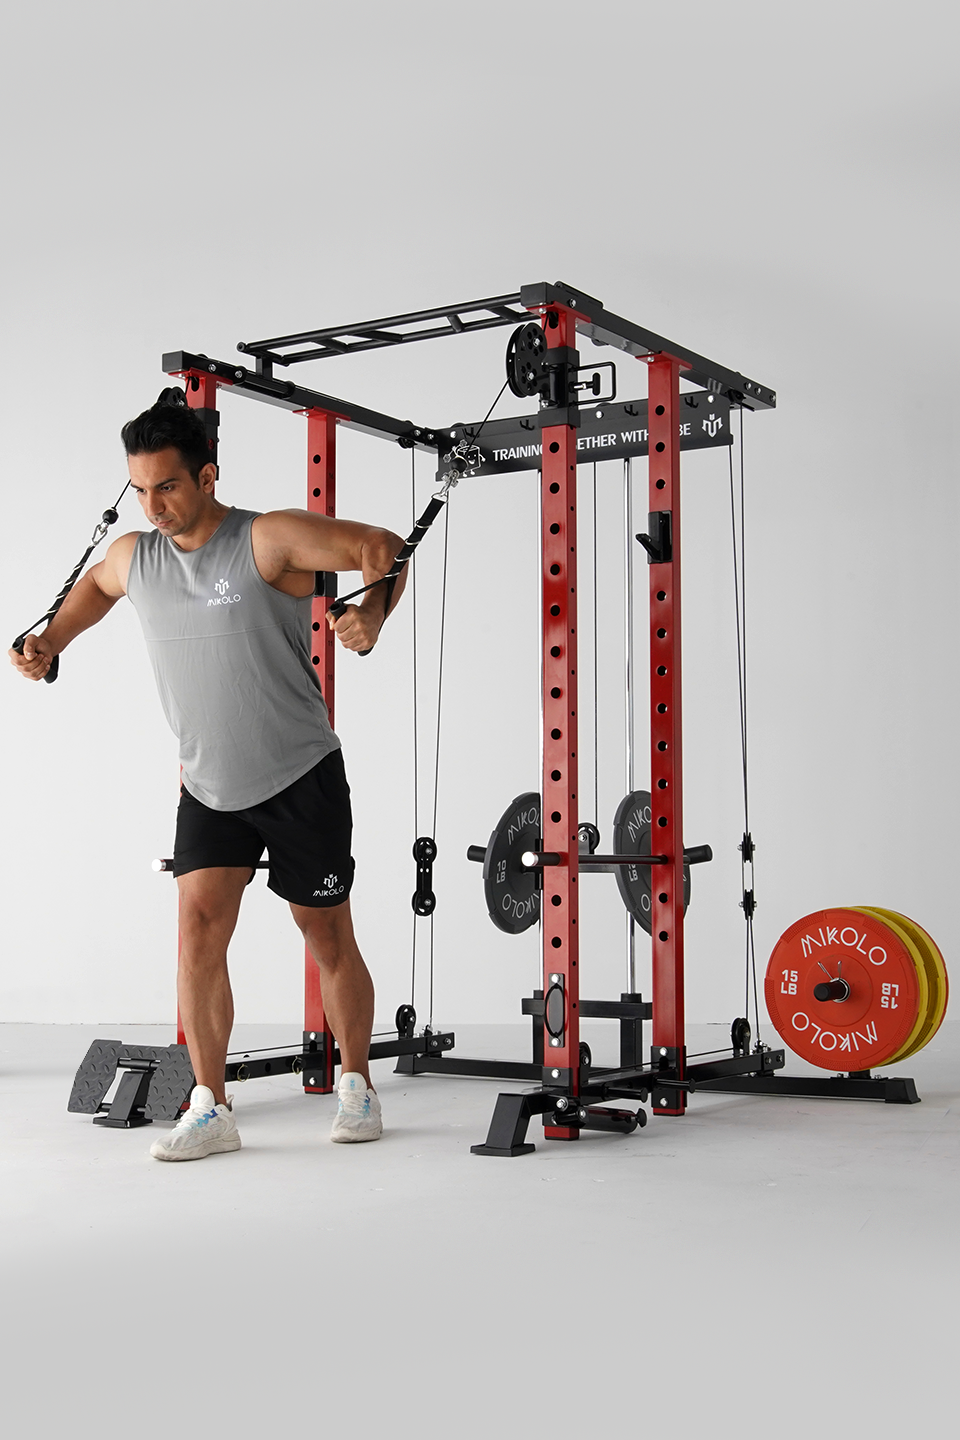
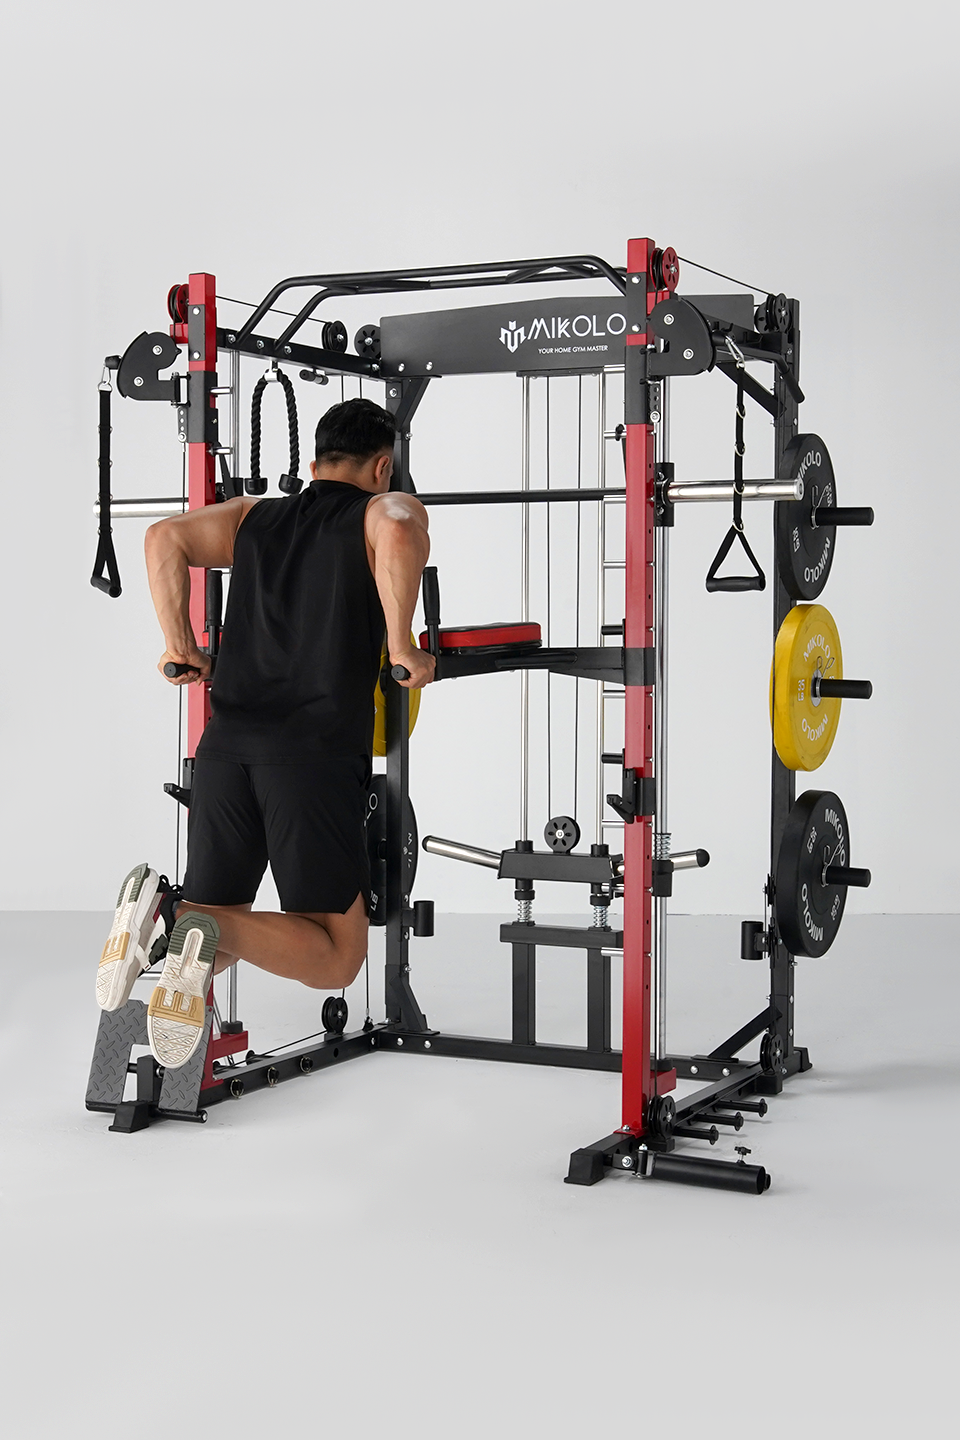
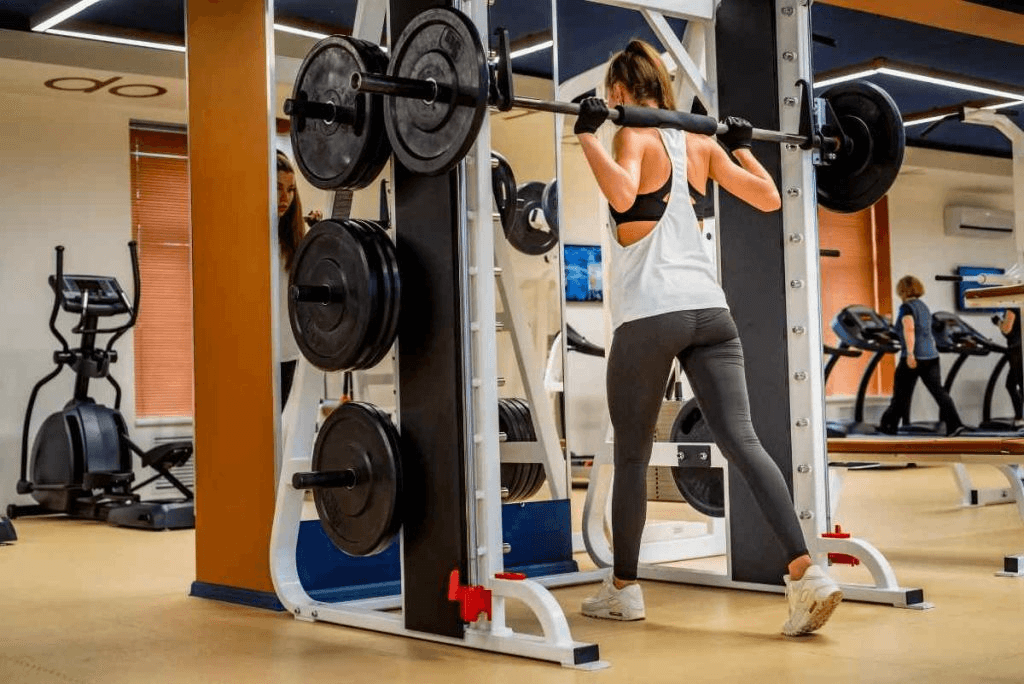
A squat rack, also known as a power rack or squat cage, is a versatile piece of weightlifting equipment designed to support heavy loads during exercises like squats, bench presses, and overhead presses. Building your own squat rack allows you to tailor its dimensions and features to match your workout regimen and available space.
Materials and Tools You'll Need
Materials:
- Steel Tubing: 2-inch square or rectangular steel pipes are commonly used for durability and strength.
- Plates: Weight plates or rubber mats for the base to prevent slipping and provide stability.
- Bolts and Nuts: High-strength bolts for assembling the frame.
- Safety Spotter Arms: Optional but recommended for added safety.
- Welding Supplies: If you plan to weld parts together.
Tools:
- Measuring Tape: For accurate measurements.
- Metal Saw or Angle Grinder: To cut steel tubing to size.
- Drill and Drill Bits: For making precise holes.
- Welding Machine: For welding components, if applicable.
- Wrench Set: For tightening bolts and nuts.
- Level: To ensure the rack is perfectly vertical and stable.
Designing Your Squat Rack
Before diving into construction, it's crucial to plan your squat rack design. Consider the following:
- Space: Measure the area where you intend to place the rack to ensure it fits comfortably with enough room for movement.
- Height and Width: Standard squat racks are typically around 7 feet tall and 4 feet wide, but you can adjust based on your needs.
- Features: Decide if you want additional features like pull-up bars, adjustable J-hooks, or storage hooks.
Sketching a simple blueprint can help visualize the final product and identify any potential challenges early on.
Step-by-Step Construction Guide
1. Cutting and Preparing the Steel Tubing
Begin by measuring and cutting the steel tubing according to your design specifications. Common components include:
- Uprights: Vertical pipes that form the main structure.
- Base Supports: Horizontal pipes that provide stability.
- Crossbars: Optional horizontal bars for additional support or features.
Use a metal saw or angle grinder to make precise cuts. Ensure all pieces are cut squarely to fit together seamlessly.
2. Assembling the Uprights
Position the upright pipes vertically, ensuring they are parallel and spaced evenly apart. Use a level to confirm they are perfectly vertical. Secure the uprights to the base supports using high-strength bolts or welding for a more permanent fixture.
3. Installing the Base Supports
Attach horizontal base supports to the bottom of the uprights. These supports are crucial for the stability of the squat rack. Depending on your design, you can create a rectangular base or add diagonal braces for extra support.
4. Adding Safety Spotter Arms
Safety spotter arms are essential for catching the barbell if you fail to complete a lift. Install these at an appropriate height, typically just below your shoulder level. Ensure they are securely fastened and can support the weight during heavy lifts.
5. Finishing Touches
- Sanding and Painting: Smooth any rough edges and paint the rack to prevent rust and enhance its appearance.
- Adding Accessories: Install J-hooks, barbell holders, or additional storage hooks based on your design preferences.
Safety Considerations
Building a squat rack involves handling heavy materials and ensuring structural integrity. Here are some safety tips:
- Use Quality Materials: Opt for high-grade steel tubing to withstand heavy weights.
- Proper Welding: If welding, ensure all joints are secure and free from defects.
- Stable Base: A solid foundation prevents wobbling or tipping during use.
- Regular Inspections: Periodically check bolts, welds, and overall structure for signs of wear or damage.
Customization Tips
Personalize your squat rack to better suit your training needs:
- Adjustable J-Hooks: Allow for different barbell heights.
- Pull-Up Bar: Integrate a pull-up bar into the design for added functionality.
- Storage Solutions: Include hooks or shelves for storing weights and accessories.
- Mobility: Add wheels to the base for easy movement, ensuring they lock securely in place during use.
Maintenance and Care
To extend the lifespan of your DIY squat rack:
- Regular Cleaning: Wipe down the rack after workouts to prevent sweat corrosion.
- Rust Prevention: Repaint or apply a rust-resistant coating as needed.
- Tighten Bolts: Periodically check and tighten all bolts and fasteners.
- Inspect for Damage: Look for any signs of structural weakness or wear and address them promptly.
Conclusion
Building your own squat rack is a fulfilling project that combines fitness goals with DIY craftsmanship. By carefully planning, using quality materials, and following safety protocols, you can create a sturdy and reliable piece of equipment tailored to your specific needs. Whether you're enhancing your home gym or embarking on a new DIY venture, constructing a squat rack offers both practicality and a sense of accomplishment.












Leave a comment
This site is protected by hCaptcha and the hCaptcha Privacy Policy and Terms of Service apply.