


If you’ve ever struggled with traditional pull-ups or hit a plateau in your back and arm development, cable pull-ups could be the breakthrough you need. Using a pull-up cable system, you can fine-tune resistance, improve control, and develop a fuller range of motion—all while reducing strain on your joints.
What Are Cable Pull-Ups?
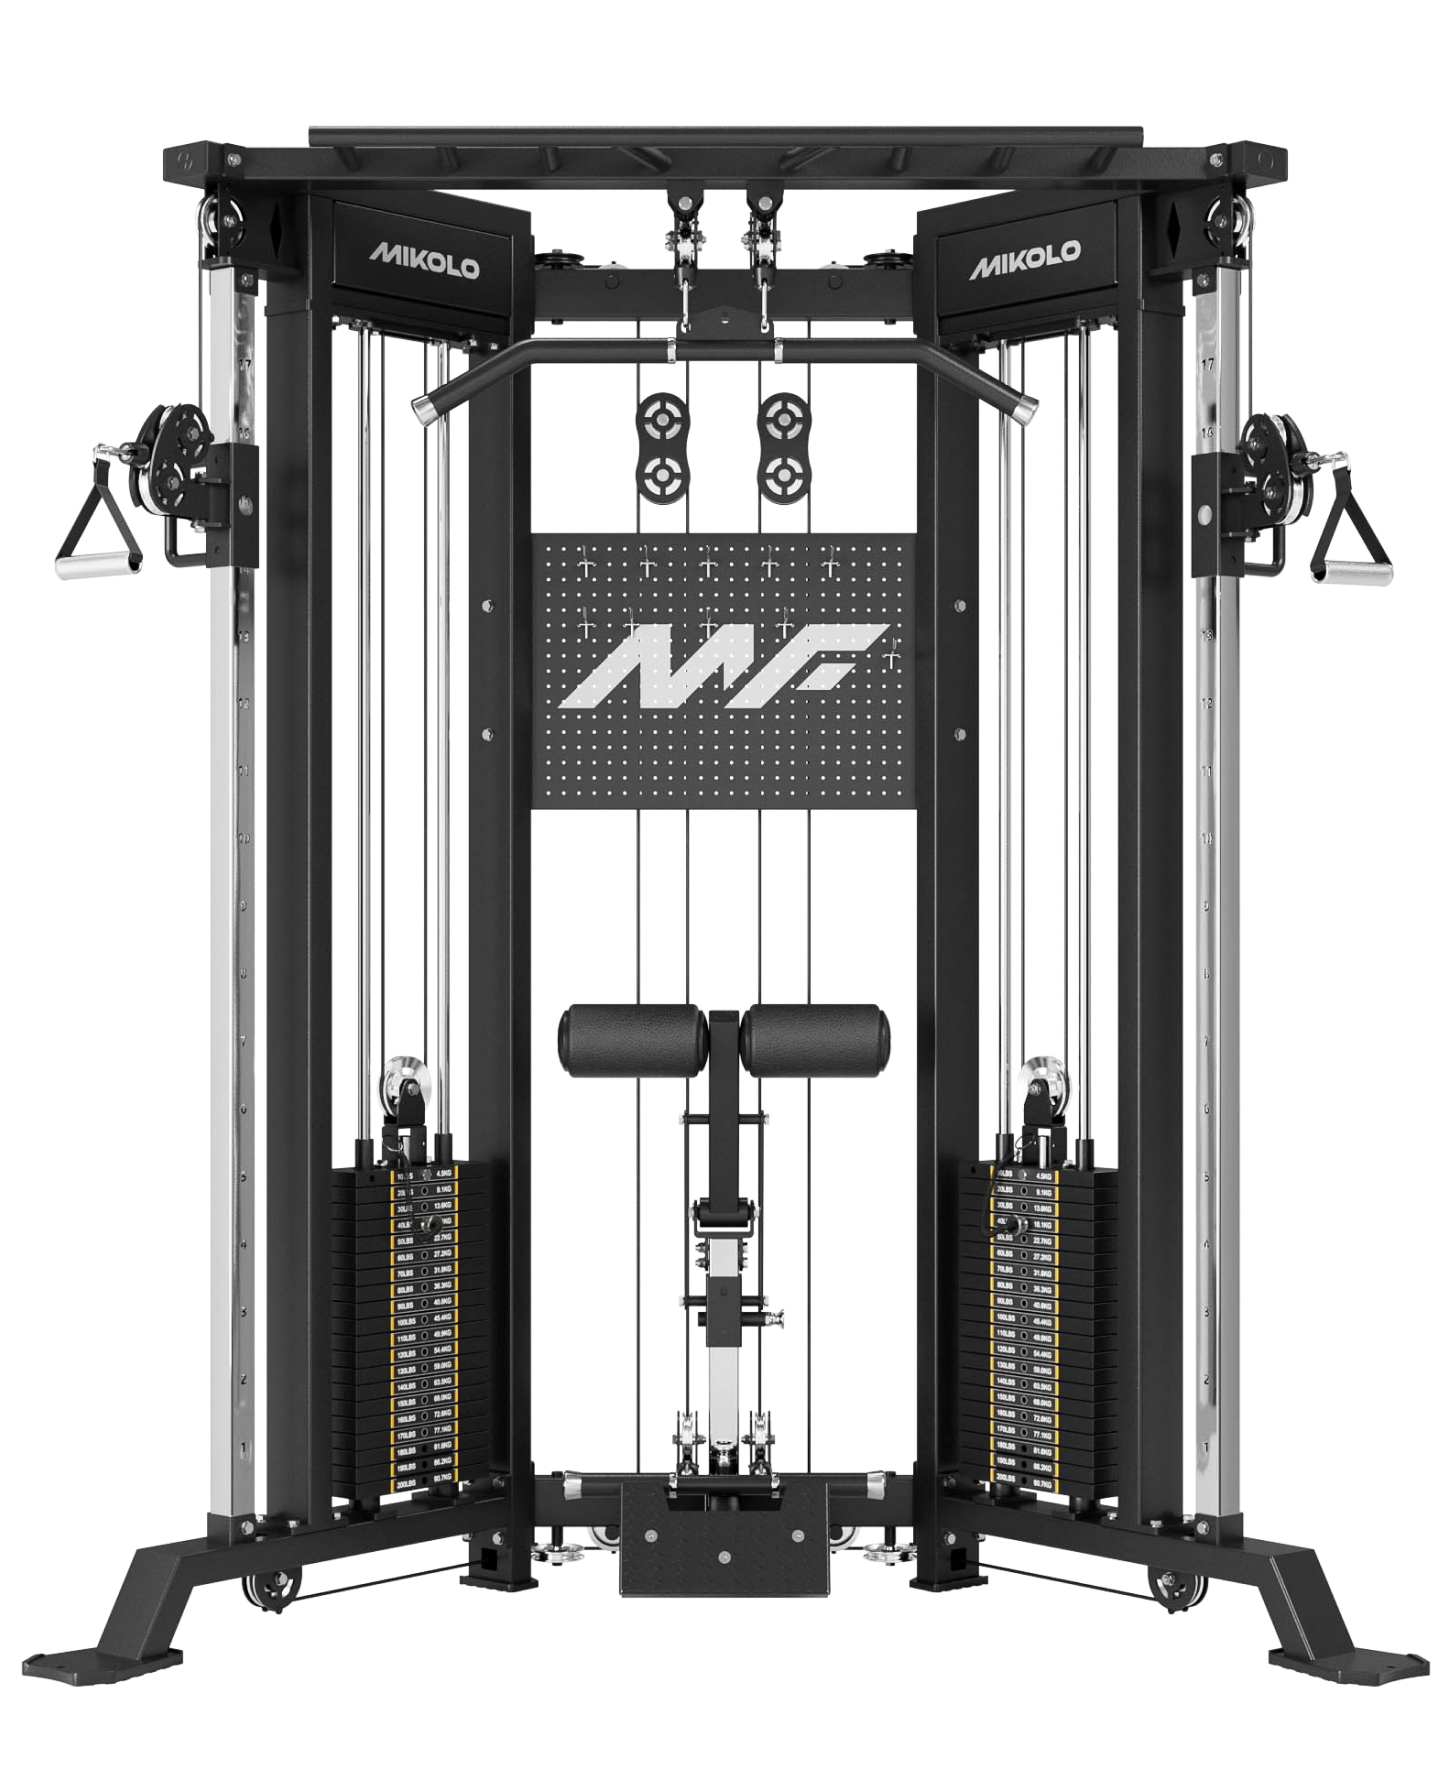
Cable pull-ups involve using a cable machine or a functional trainer to replicate the pulling motion of a standard pull-up. Instead of lifting your entire body weight, you can adjust the load using the weight stack or assistance band attached to the cable. This allows for smoother, more controlled repetitions and progressive strength building.
Cable pull-ups come in several forms:
-
Assisted cable pull-ups: Using the cable to offset body weight.
-
Weighted cable pull-ups: Attaching additional resistance through the cable for advanced lifters.
-
Isolated muscle focus: Single-arm or unilateral pull-up variations with cables.
Benefits of Training with a Pull-Up Cable
Compared to regular pull-ups, a cable pull-up offers several unique benefits:
-
Adjustable Resistance: Perfect for beginners working up to their first pull-up, or for advanced athletes chasing higher volume.
-
Improved Muscle Activation: The constant tension from the cable system keeps your lats, biceps, and core engaged throughout the entire movement.
-
Reduced Joint Stress: The controlled motion of the cable reduces momentum, making the movement smoother and easier on your shoulders and elbows.
-
Versatility: You can perform variations like neutral grip, wide grip, or even supinated grip pull-ups, all with customizable resistance.
My Personal Experience with Cable Pull-Ups
After years of heavy lifting, I developed nagging shoulder tightness that made traditional pull-ups uncomfortable. Switching to cable pull-ups completely changed my approach. I could isolate my lats more effectively, adjust resistance on the fly, and focus on strict form without compensating with other muscle groups. Within two months, I noticed not only better back definition but also healthier shoulders with less strain after workouts. Cable pull-ups became a staple in my routine, especially during high-volume training blocks.
How to Perform Cable Pull-Ups Correctly
Here’s a simple step-by-step guide to mastering the cable pull-up:
-
Set Up: Attach a straight bar or pull-up handle to a high pulley cable machine.
-
Grip: Use a shoulder-width or wider grip, depending on your focus (wider targets upper lats, closer hits mid-back and biceps).
-
Position: Kneel or stand on a stable surface if needed, or use an assisted cable setting to reduce resistance.
-
Movement: Pull your chest toward the bar while keeping your elbows driving down and slightly back. Avoid swinging or using momentum.
-
Control the Descent: Lower yourself slowly, feeling the stretch in your lats.
Aim for 3-4 sets of 8-12 reps, adjusting the resistance based on your current strength level.
Best Practices and Pro Tips
-
Start lighter than you think to perfect your form.
-
Focus on a full range of motion—chin over the bar and full extension at the bottom.
-
Use slow, controlled reps to maximize muscle engagement.
-
Pair with rows or face pulls for a complete back workout.
Final Thoughts
Cable pull-ups are more than just an alternative—they are a powerful tool for building pull-up strength, protecting your joints, and targeting your back muscles with precision. Whether you’re a beginner working towards unassisted pull-ups or an experienced lifter seeking variety, the pull-up cable can help you achieve your goals more efficiently.
If you’re looking to break through plateaus or build a bigger, stronger back, don’t overlook the value of cable pull-ups. They’ve transformed my training, and they can do the same for you.


Leave a comment
This site is protected by hCaptcha and the hCaptcha Privacy Policy and Terms of Service apply.