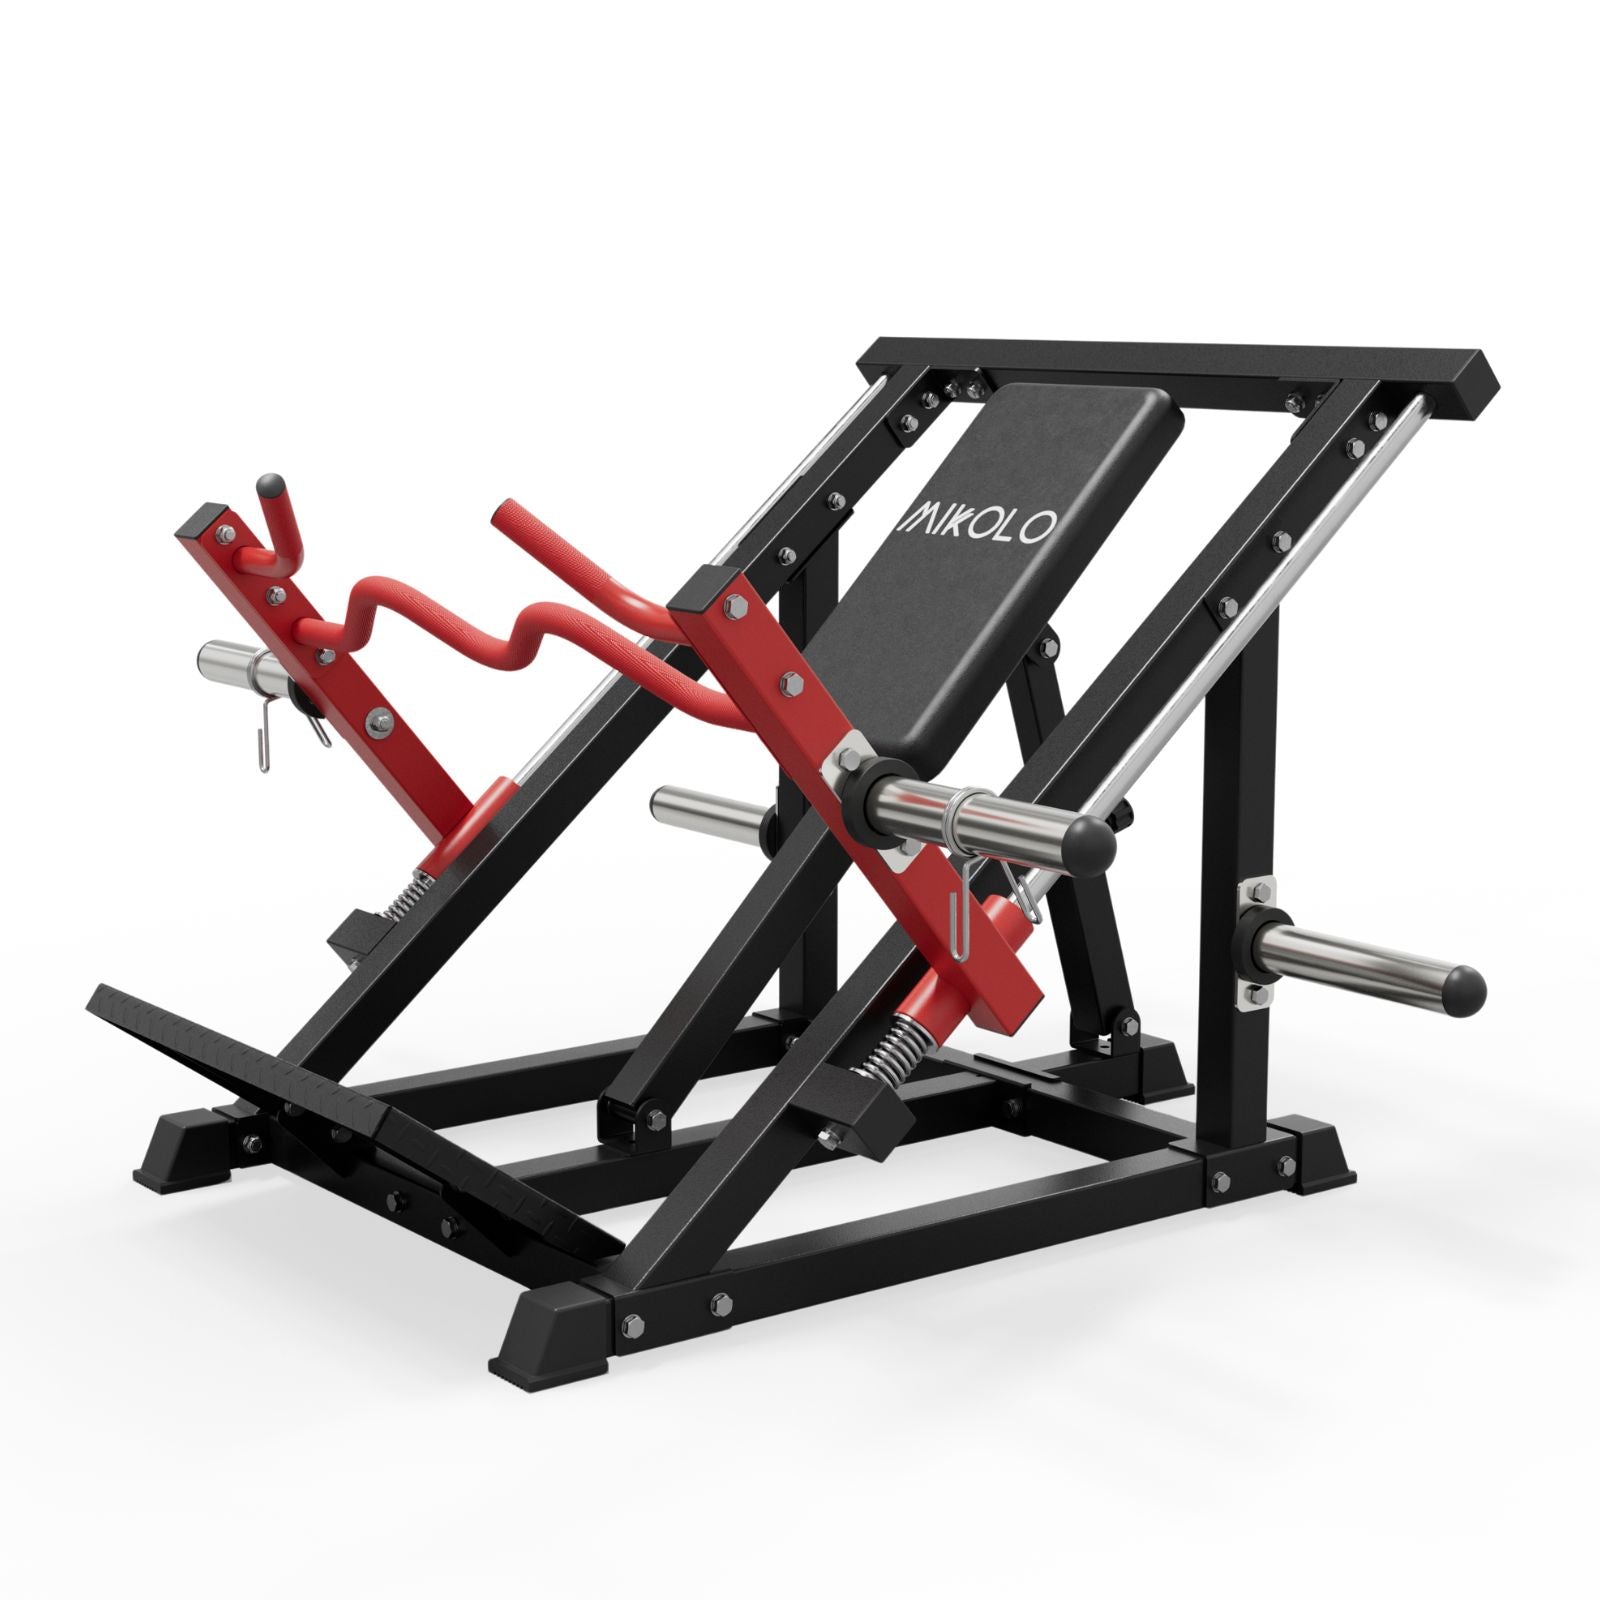
When it comes to building powerful legs, the angled leg press is one of the most efficient, joint-friendly tools in the gym. Unlike squats that require total body balance and spine compression, an angled leg press machine isolates the lower body while offering more control and safety—especially for beginners, lifters with back issues, or those recovering from injuries.
What Is an Angled Leg Press?
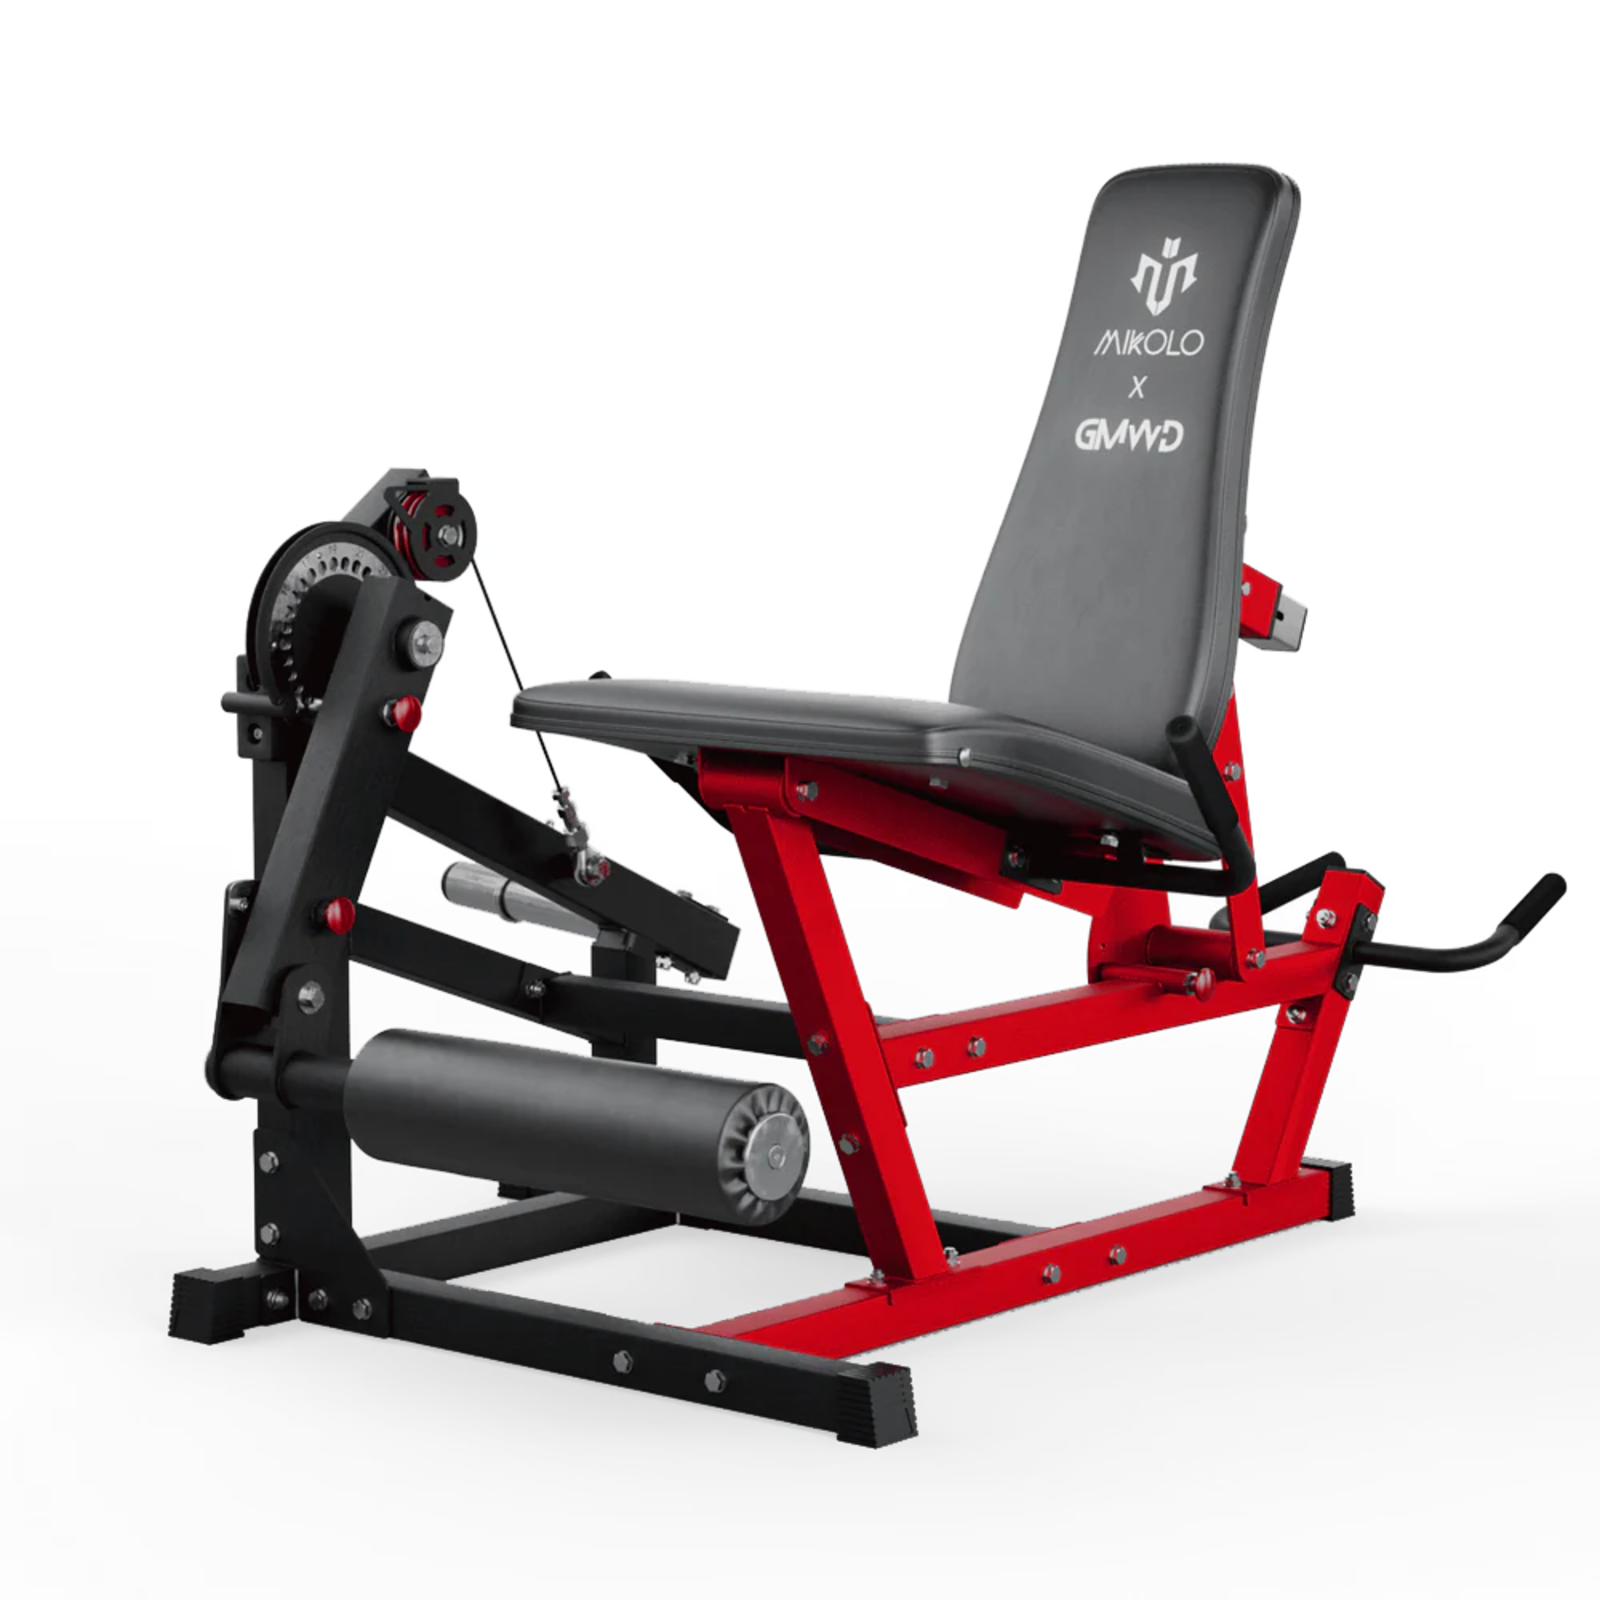
The angled leg press is a type of leg press machine where the seat and sled are set at an incline—usually around 45 degrees. This angled design uses gravity and sled resistance to simulate a squat-like movement without placing direct load on the spine. The incline encourages natural joint movement, making it easier on the knees and lower back.
But there’s more to this machine than simply pushing weight up and down.
Why Leg Press Angle Matters
The leg press angle directly affects muscle engagement and joint stress. A steeper angle (closer to vertical) shifts more load to your quads, while a more reclined leg press seat angle may recruit more glutes and hamstrings. Understanding these variations helps you train smarter, not just harder.
Even the leg press back angle—how far back your seat is reclined—plays a key role. A more upright position tends to limit hip flexion, whereas a deeper recline allows for a greater range of motion, which can lead to better glute and hamstring activation.
How to Use an Angled Leg Press Properly
Using an angle machine leg press is straightforward, but your form determines whether you're building strength or risking injury. Here’s how to get it right:
-
Set the Seat Angle: Start with a moderate backrest position. Too upright and you may strain your lower back; too reclined and you risk losing control at the bottom of the rep.
-
Foot Placement: Wide and high targets the glutes and hamstrings. Narrow and low emphasizes the quads.
-
Control the Descent: Lower the sled slowly until your knees are just below 90 degrees.
-
Push Through Heels: Engage your posterior chain and avoid shifting pressure to your toes or knees.
-
Don’t Lock Out: Always stop just short of full knee extension to protect your joints.
This is the foundation of proper angled leg press form—control, alignment, and intent.
Exploring Leg Press at Different Angles
Changing leg press different angles isn't just about adjusting the seat or sled. It’s a strategic way to target specific muscle groups:
-
High foot position: More glutes and hamstrings.
-
Low foot position: Primarily quads.
-
Wide stance: Inner thighs and glutes.
-
Narrow stance: Outer quads and knees.
Rotating these setups throughout your training week can help you develop balanced leg strength and avoid plateaus.
Personal Experience: Finding the Right Angle
I vividly remember rehabbing a knee injury years ago. Squats were out of the question, but I didn’t want to stop training legs. The angled leg press machine became my go-to. I started light, experimenting with leg press seat angle to find the sweet spot where my knees felt stable and my glutes could fully engage. Over weeks, I adjusted the setup—sometimes lowering the backrest or raising my feet slightly—and it changed everything. My strength came back, my knees felt stronger, and I was finally back to loading up plates pain-free.
It taught me one thing: sometimes it’s not the weight that matters most—it’s the angle.
Final Thoughts
The angled leg press isn’t just a backup plan when squats aren’t an option—it’s a valuable strength-building machine in its own right. Whether you’re a beginner learning how to use an angled leg press or a seasoned lifter refining your setup, understanding the role of leg press angle can elevate your training and protect your joints long-term.
So next time you're adjusting that seat or footplate, remember—it’s not just comfort. It’s performance.












Leave a comment
This site is protected by hCaptcha and the hCaptcha Privacy Policy and Terms of Service apply.