When it comes to strength training, the squat rack is an indispensable piece of equipment. Whether you're a seasoned lifter or just starting your fitness journey, understanding how to properly use squat rack safety bars is crucial for both performance enhancement and injury prevention. This comprehensive guide delves into the essentials of squat rack safety bars, offering practical tips and best practices to ensure a safe and effective workout.
What Are Squat Rack Safety Bars?
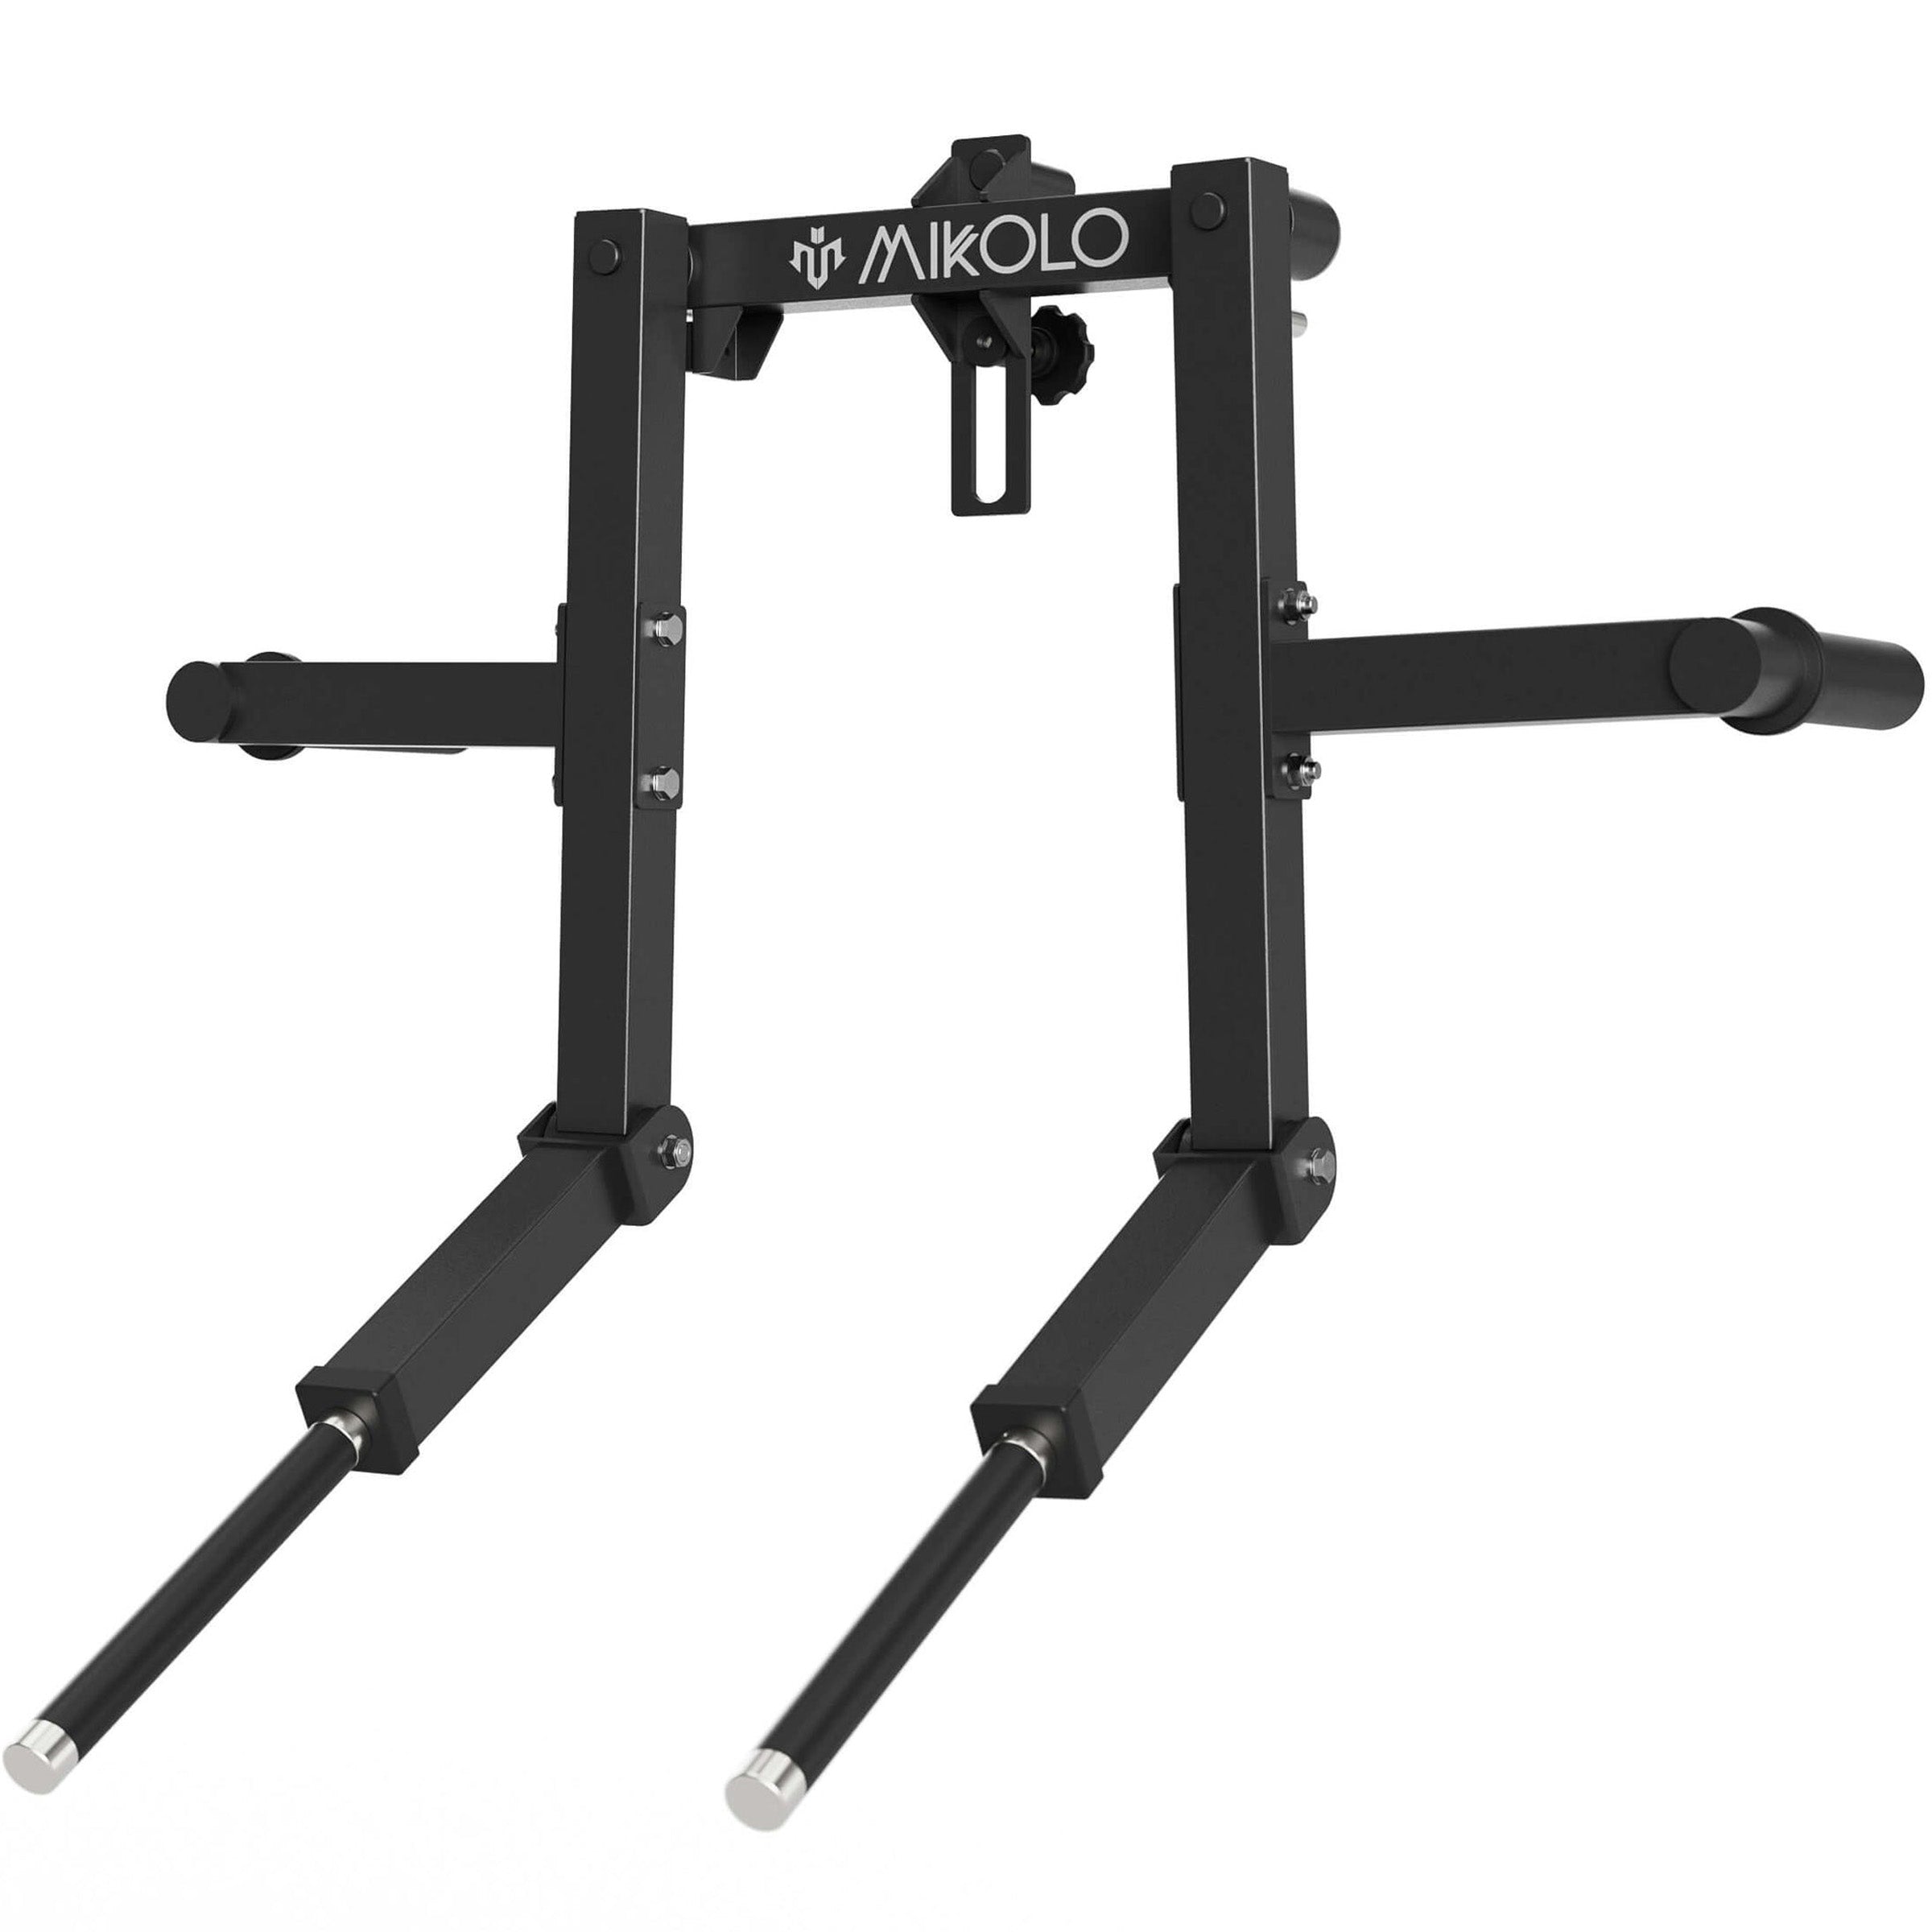
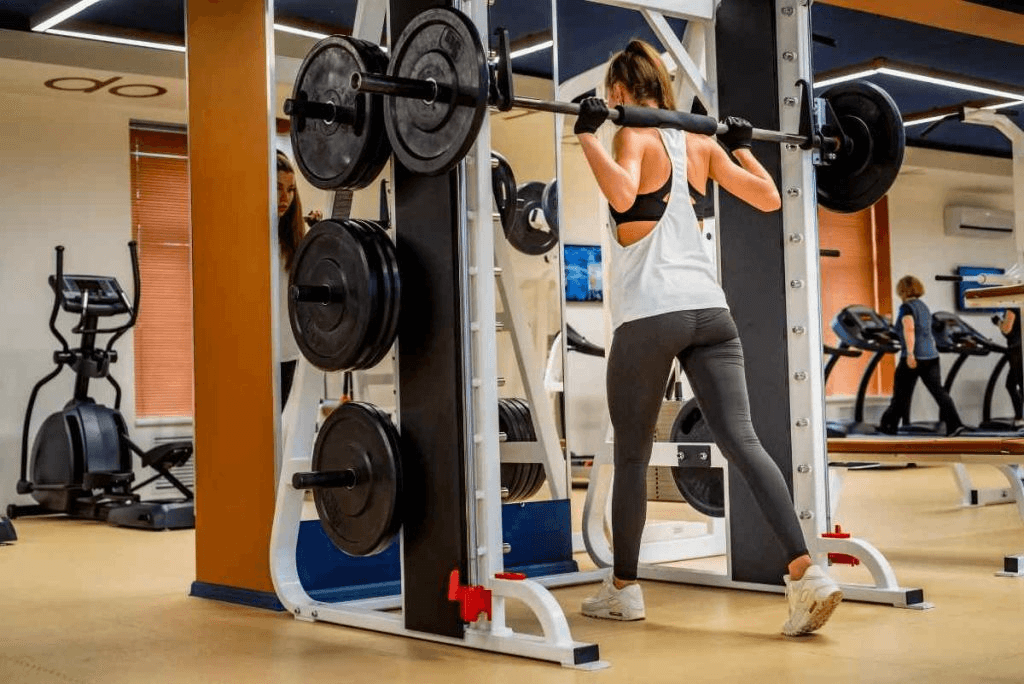
Squat rack safety bars, also known as safety spotters or J-hooks, are horizontal bars attached to a squat rack. They serve as a critical safety feature, allowing lifters to perform exercises like squats, bench presses, and overhead presses with an added layer of protection. By providing a fail-safe mechanism, safety bars help prevent accidents in case the weight becomes too heavy to lift or if form breaks down during a set.
Benefits of Using Safety Bars
- Enhanced Safety: The primary advantage of safety bars is the prevention of injuries. They catch the barbell if you fail to complete a lift, reducing the risk of dropping heavy weights on yourself.
- Confidence Boost: Knowing that safety bars are in place can boost your confidence, allowing you to push your limits without fear of mishaps.
- Training Flexibility: Safety bars enable lifters to attempt heavier weights and more challenging exercises safely.
- Solo Workouts: For those who train alone, safety bars are indispensable as they eliminate the need for a spotter.
Setting Up Squat Rack Safety Bars
Proper setup of safety bars is essential to maximize their effectiveness. Follow these steps to ensure your safety bars are correctly positioned:
1. Adjusting Height
- Determine Your Squat Depth: Set the safety bars slightly below your lowest squat position. This ensures that in case of a failed lift, the barbell is safely caught without obstructing your movement.
- Use a Mirror or Spotter: If unsure, use a mirror or have a training partner help you set the correct height.
2. Positioning
- Parallel Alignment: Ensure the safety bars are parallel to each other and aligned with the barbell's path.
- Even Spacing: The distance between the safety bars should be consistent to accommodate different shoulder widths and grip positions.
3. Stability Check
- Tighten All Bolts: Ensure all screws and bolts securing the safety bars are tightened to prevent any wobbling or shifting during lifts.
- Inspect Regularly: Regularly check the integrity of the safety bars to maintain a safe workout environment.
Proper Usage Techniques
1. Setting Up the Barbell
- Load Evenly: Distribute the weight evenly on both sides of the barbell to maintain balance.
- Secure the Bar: Place the barbell on the safety bars before commencing your set to ensure it's properly positioned.
2. Executing the Lift
- Maintain Proper Form: Focus on maintaining correct posture and form throughout the lift to minimize the risk of injury.
- Controlled Movements: Perform each repetition with controlled movements, avoiding sudden jerks or drops.
3. Failing Safely
- Lower the Bar Slowly: If you feel unable to complete a lift, lower the barbell slowly to the safety bars rather than letting it drop.
- Re-Rack Carefully: Once the lift is completed or failed, ensure the barbell is securely racked before releasing your grip.
Common Mistakes to Avoid
- Improper Height Adjustment: Setting the safety bars too high or too low can compromise their effectiveness. Always tailor the height to your specific lifting style and range of motion.
- Neglecting Regular Inspections: Failing to regularly check the stability and integrity of safety bars can lead to unexpected failures.
- Overloading Beyond Capacity: Avoid loading the squat rack beyond its maximum weight capacity, as this can strain the safety bars and the rack itself.
- Incorrect Bar Placement: Placing the barbell unevenly or improperly on the safety bars can lead to instability and potential accidents.
Advanced Tips for Optimal Safety
1. Use Collars
Always use collars on your barbell to prevent weights from slipping off during lifts. This adds an extra layer of security and maintains balance.
2. Incorporate Safety Pins
Some squat racks come with additional safety pins or straps. Utilize these features to further secure the barbell during heavy lifts.
3. Practice Good Gym Etiquette
Ensure that others are aware of your setup and intended lifts. Communicate with fellow gym-goers to maintain a safe workout environment for everyone.
4. Invest in Quality Equipment
High-quality squat racks with robust safety bars are essential for long-term safety and reliability. Invest in reputable brands that offer durable and well-designed equipment.
Conclusion
Squat rack safety bars are a vital component of any strength training regimen, offering unparalleled safety and support. By understanding their benefits, properly setting them up, and adhering to best practices, you can enhance your workouts while minimizing the risk of injury. Whether you're lifting solo or with a partner, mastering the use of safety bars will empower you to achieve your fitness goals with confidence and security.












Leave a comment
This site is protected by hCaptcha and the hCaptcha Privacy Policy and Terms of Service apply.