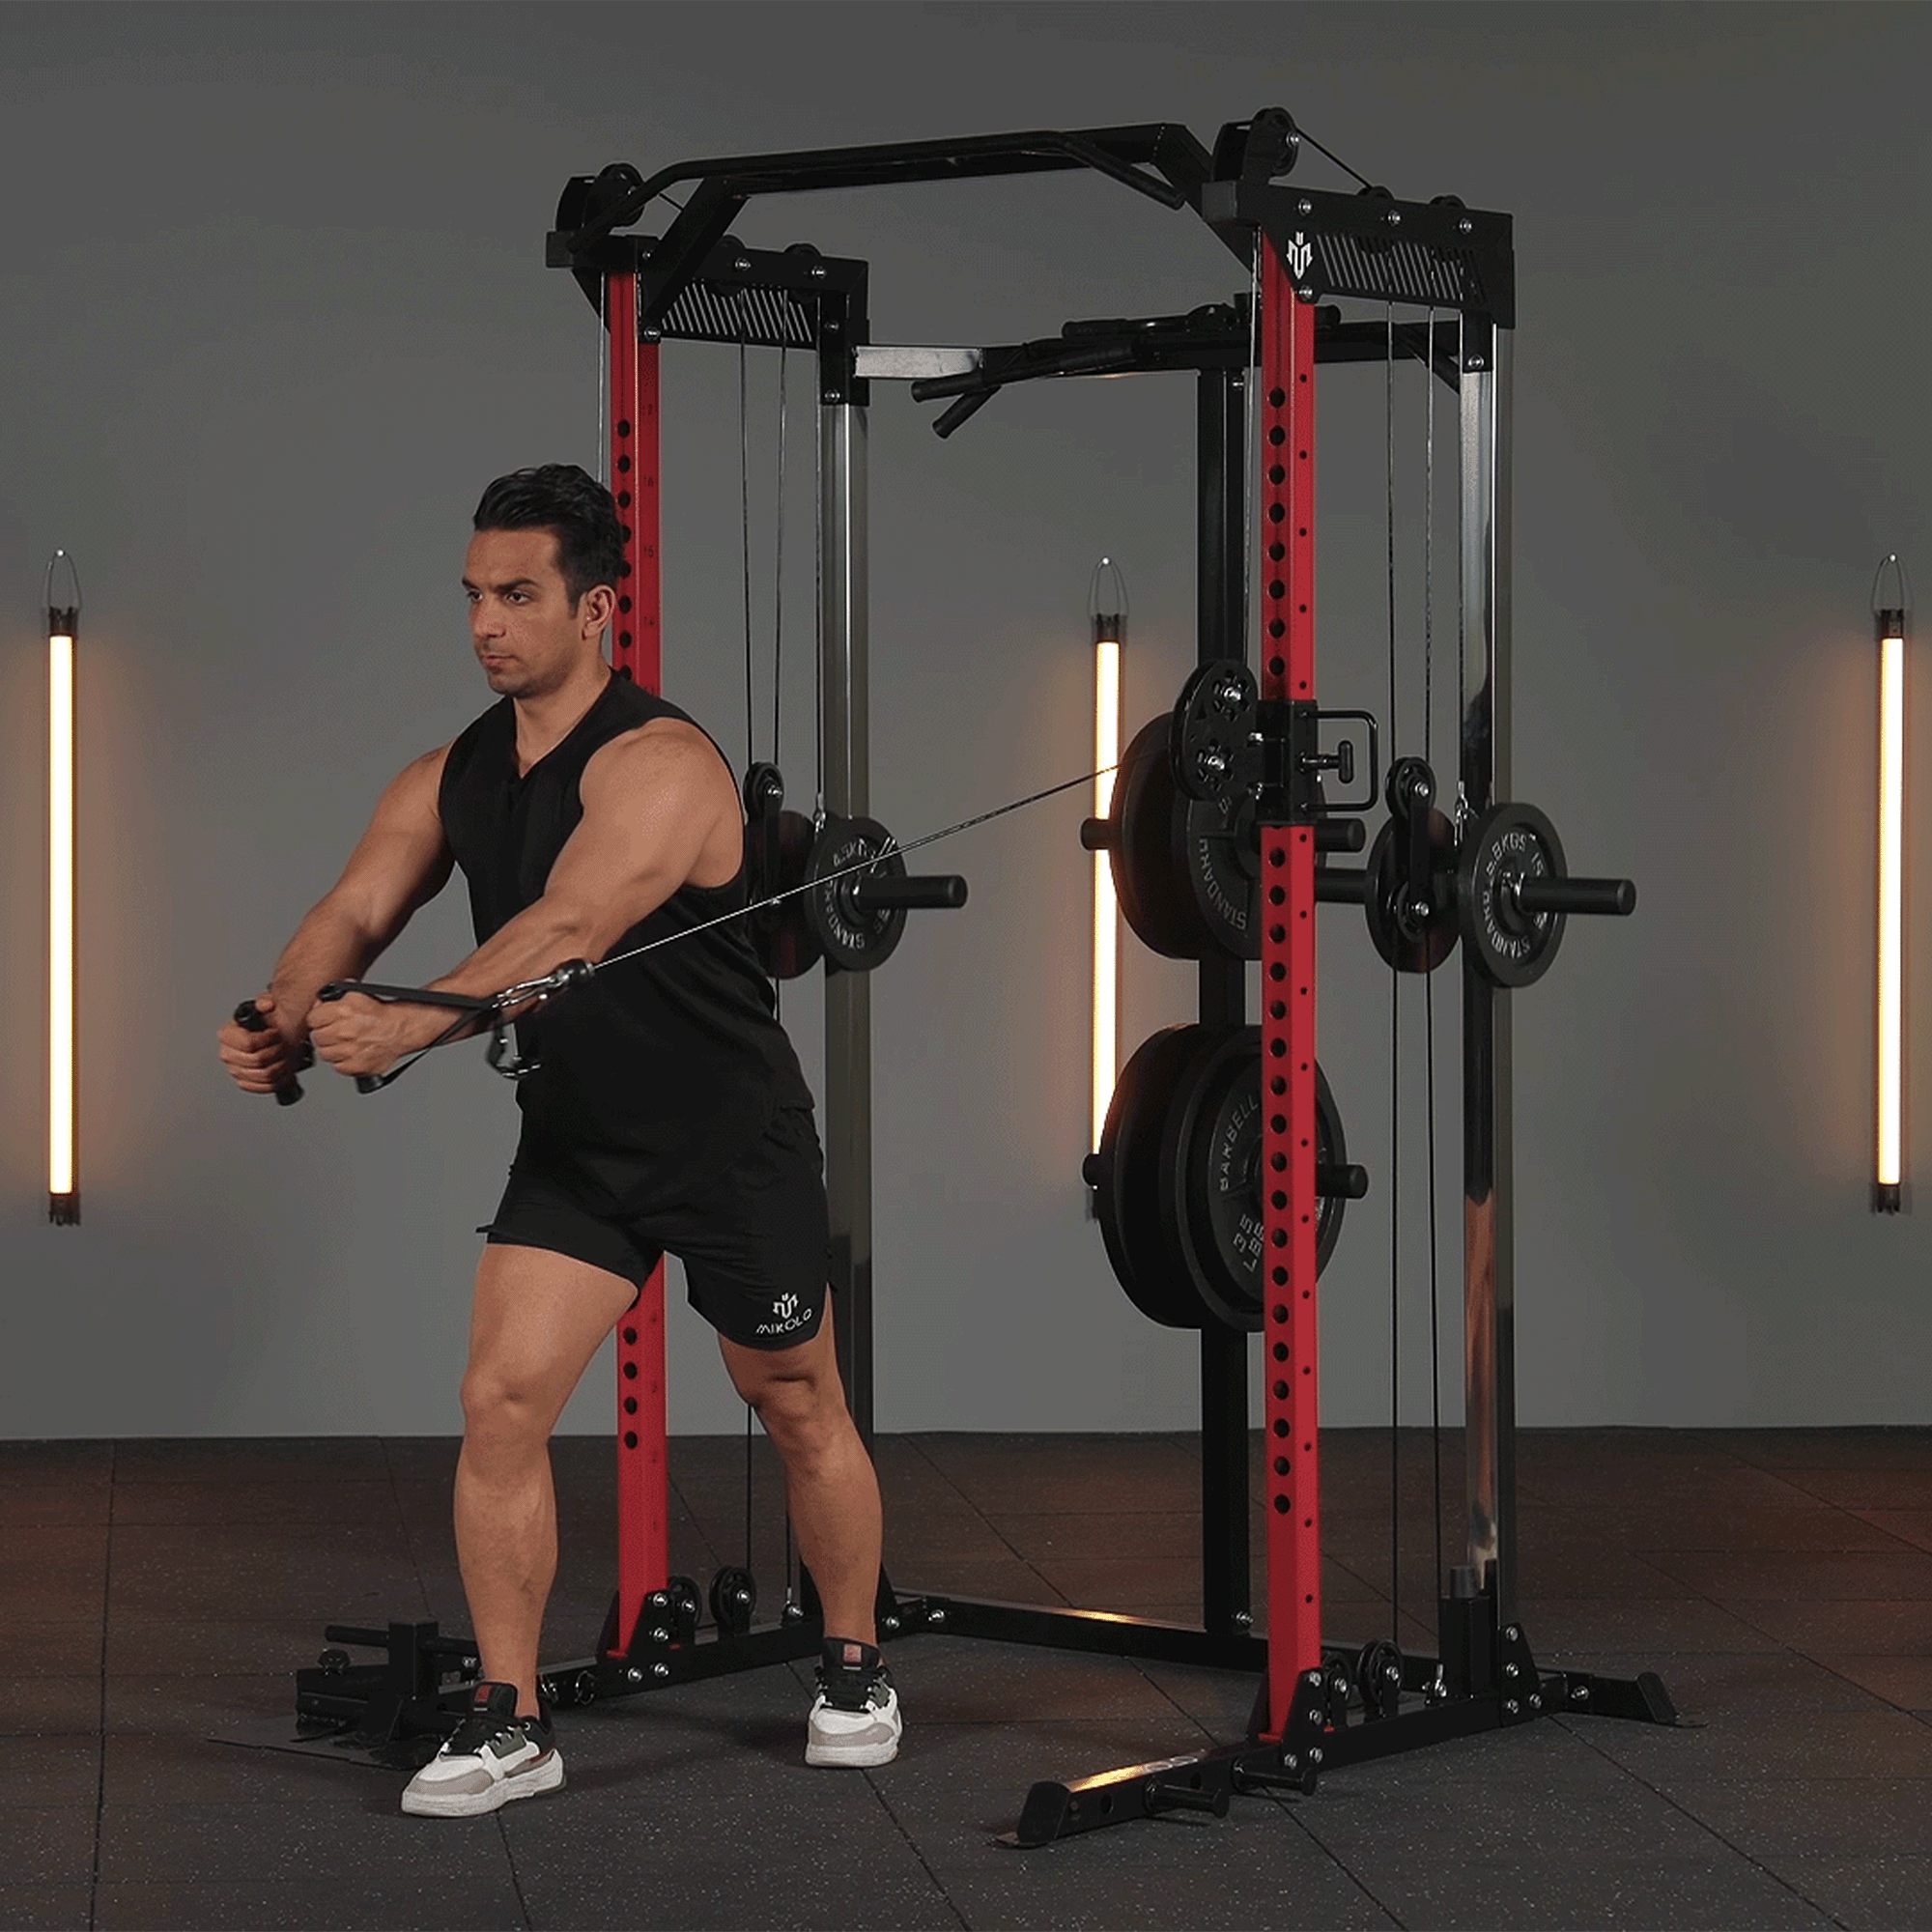


The Smith Machine is a versatile piece of gym equipment that allows users to perform various strength training exercises safely. Assembling a Smith Machine requires careful attention to detail to ensure stability and safety. This guide provides step-by-step assembly instructions, necessary tools, and helpful tips to make the process smooth and efficient.
Tools and Components Required
Before starting the assembly process, gather the following tools and components:
Tools:
-
Adjustable wrench
-
Allen wrench set
-
Phillips screwdriver
-
Rubber mallet (optional)
-
Measuring tape
Components:
-
Base frame
-
Vertical support posts
-
Guide rods
-
Barbell and weight carriage
-
Safety catches and hooks
-
Cable system (if applicable)
-
Bolts, washers, and nuts
Step-by-Step Assembly Instructions
Step 1: Unpack and Organize Parts
-
Lay out all components and check against the manufacturer’s manual.
-
Ensure that all bolts, screws, and small parts are accounted for.
-
Clear a large space for assembly.
Step 2: Assemble the Base Frame
-
Connect the base frame pieces using the provided bolts and washers.
-
Tighten all connections but avoid over-tightening until the entire frame is assembled.
-
Ensure the base is level to prevent wobbling.
Step 3: Attach the Vertical Support Posts
-
Secure the vertical posts to the base frame with the designated bolts.
-
Ensure the posts are upright and aligned before tightening completely.
Step 4: Install the Guide Rods
-
Insert the guide rods into the designated slots on the frame.
-
Secure them with the provided brackets and screws.
-
Apply a light coat of lubricant to facilitate smooth barbell movement.
Step 5: Mount the Barbell and Weight Carriage
-
Slide the barbell onto the guide rods, ensuring it moves freely.
-
Attach the safety catches and hooks at the desired height.
-
Test the barbell movement to ensure it locks properly.
Step 6: Install the Cable System (If Applicable)
-
Route the cables through the designated pulleys and attach them securely.
-
Adjust tension to ensure smooth operation.
Step 7: Final Tightening and Safety Checks
-
Go over all bolts and connections, tightening them securely.
-
Double-check stability and alignment.
-
Test the movement of the barbell and safety catches.
Safety Tips
-
Always follow the manufacturer’s manual for specific instructions.
-
Assemble on a flat, stable surface.
-
Use a partner to assist with heavy lifting.
-
Regularly check and tighten bolts to maintain structural integrity.
Conclusion
Assembling a Smith Machine requires patience and precision, but by following these step-by-step instructions, you can ensure a safe and stable setup. Proper assembly will enhance your workout experience and maximize the longevity of your equipment. Happy lifting!


Leave a comment
This site is protected by hCaptcha and the hCaptcha Privacy Policy and Terms of Service apply.