Whether you're a seasoned lifter or just beginning your fitness journey, setting up a squat rack is essential for a safe and effective workout. A properly installed squat rack not only enhances your strength training routine but also ensures safety during heavy lifts. This comprehensive guide will walk you through the steps to set up a squat rack, covering everything from choosing the right location to assembling the equipment and optimizing your workout space.
1. Understanding the Importance of a Squat Rack
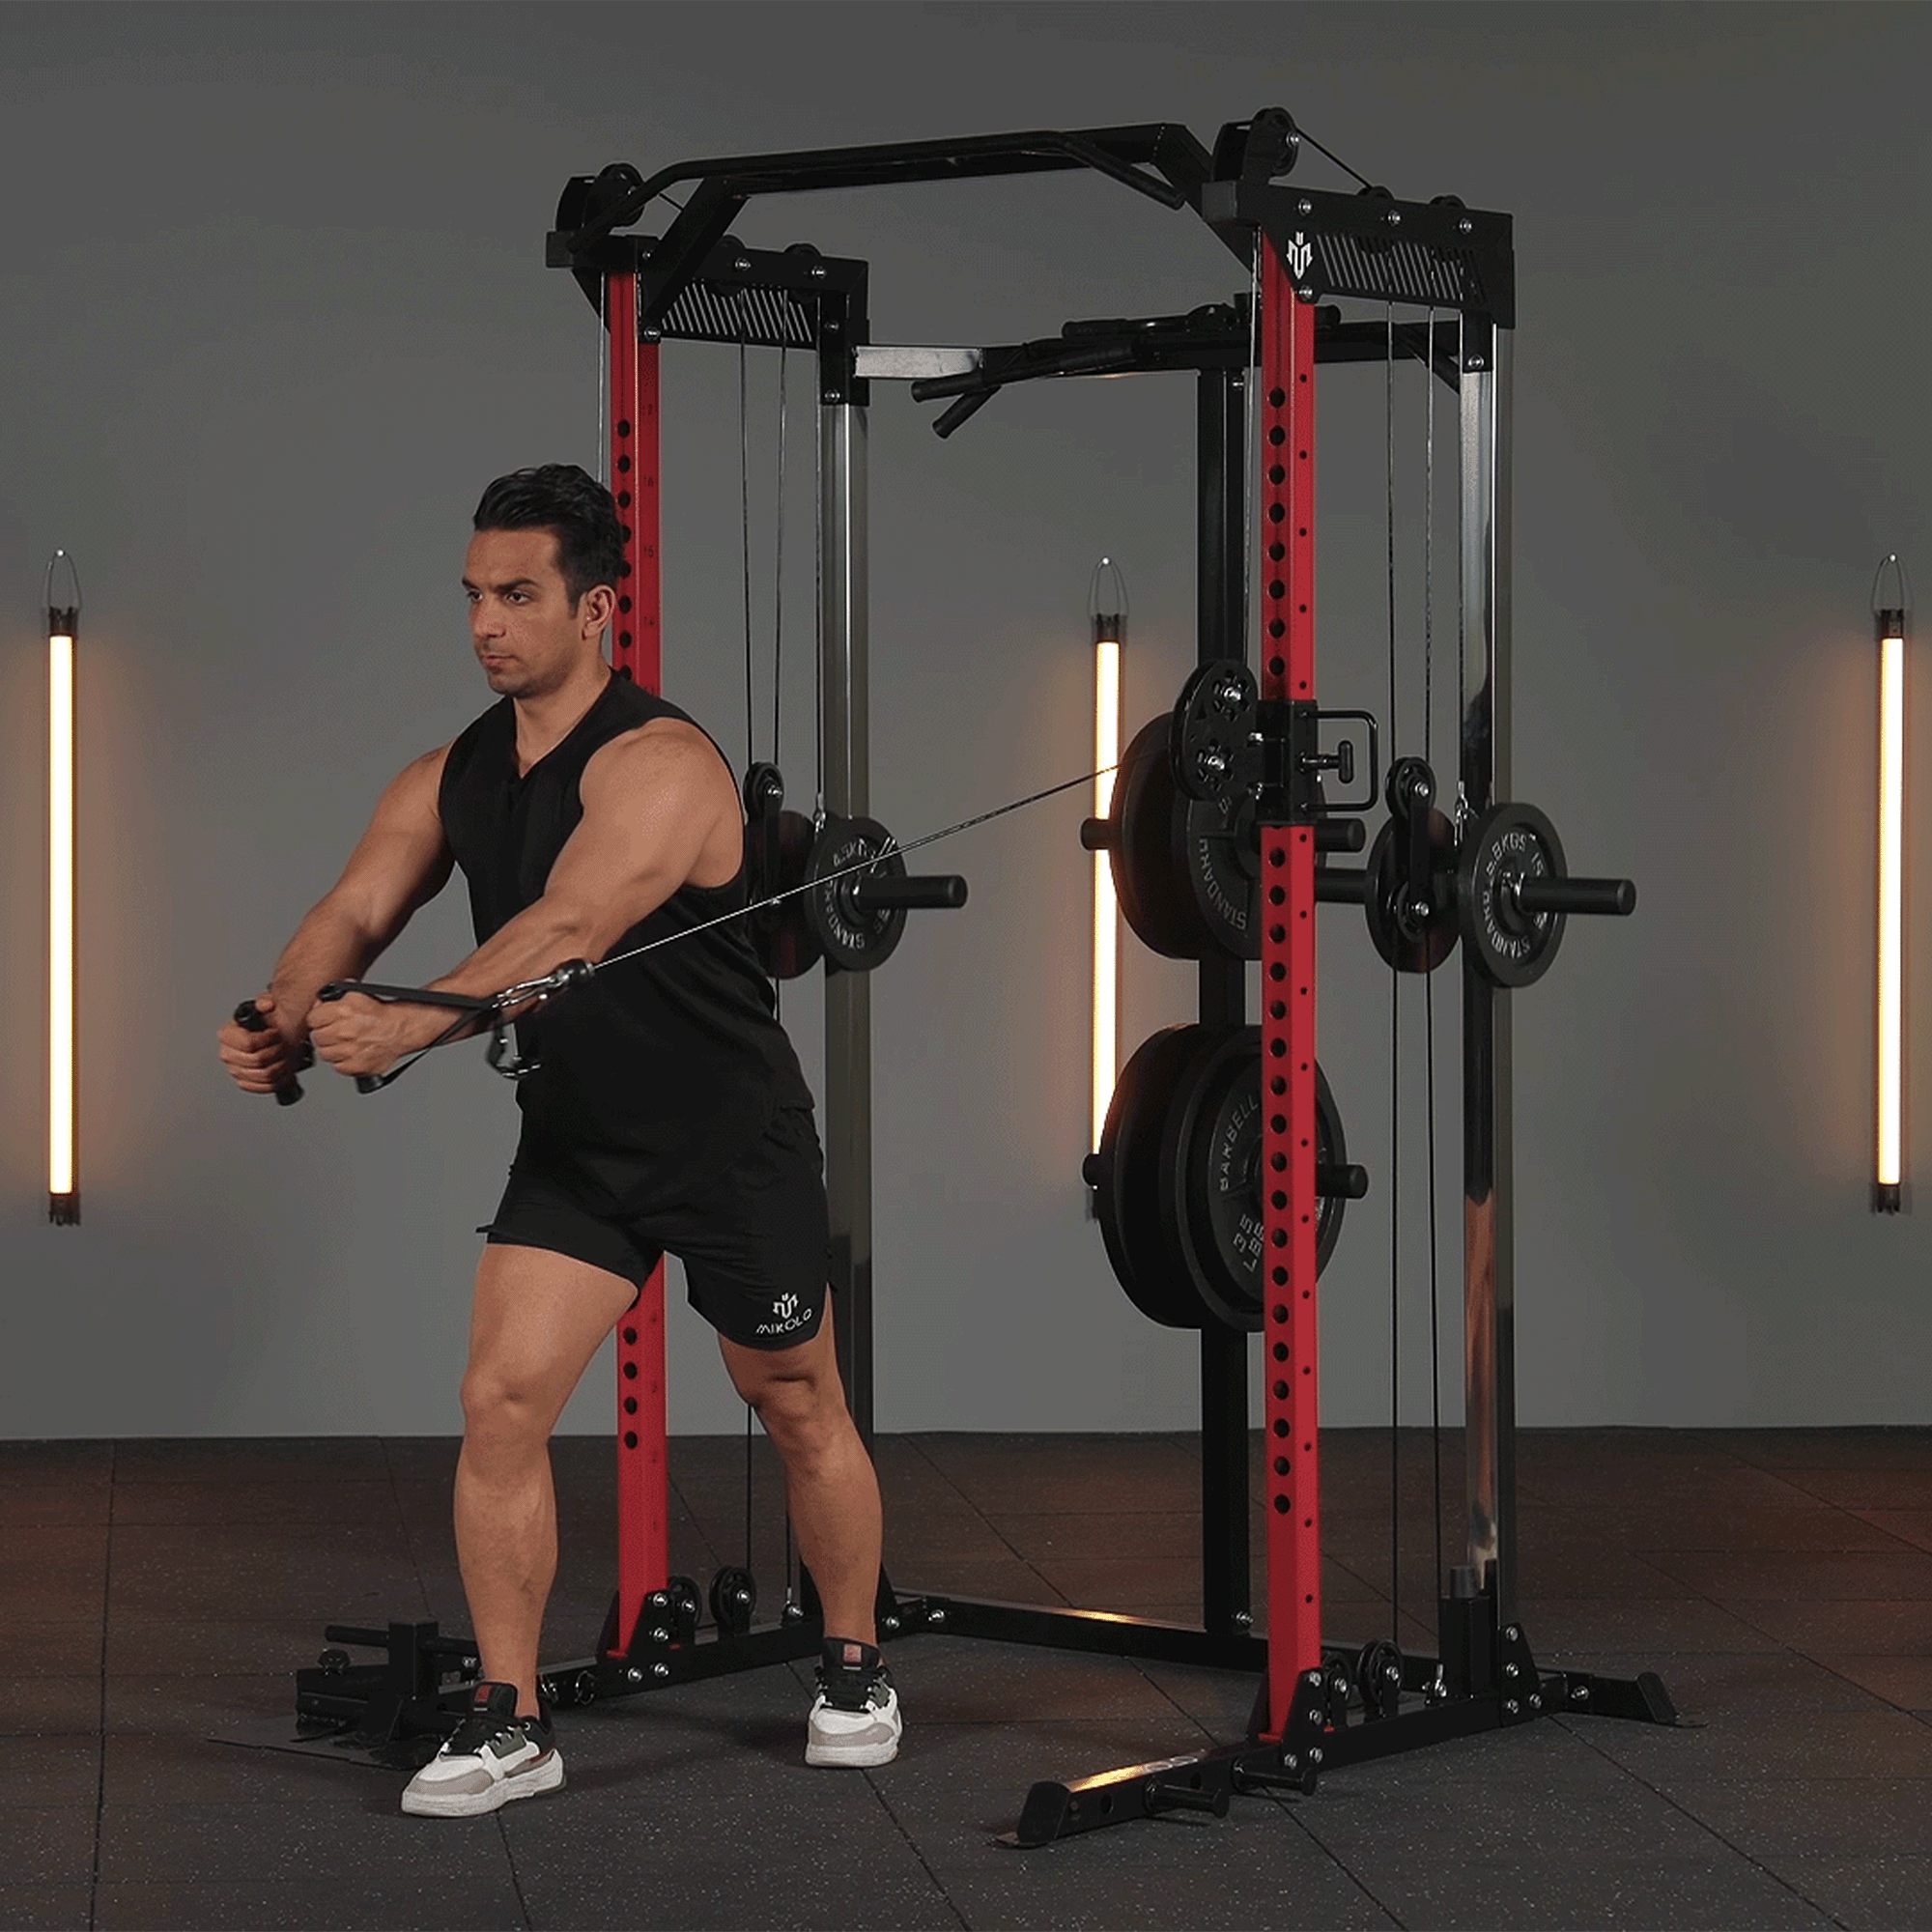
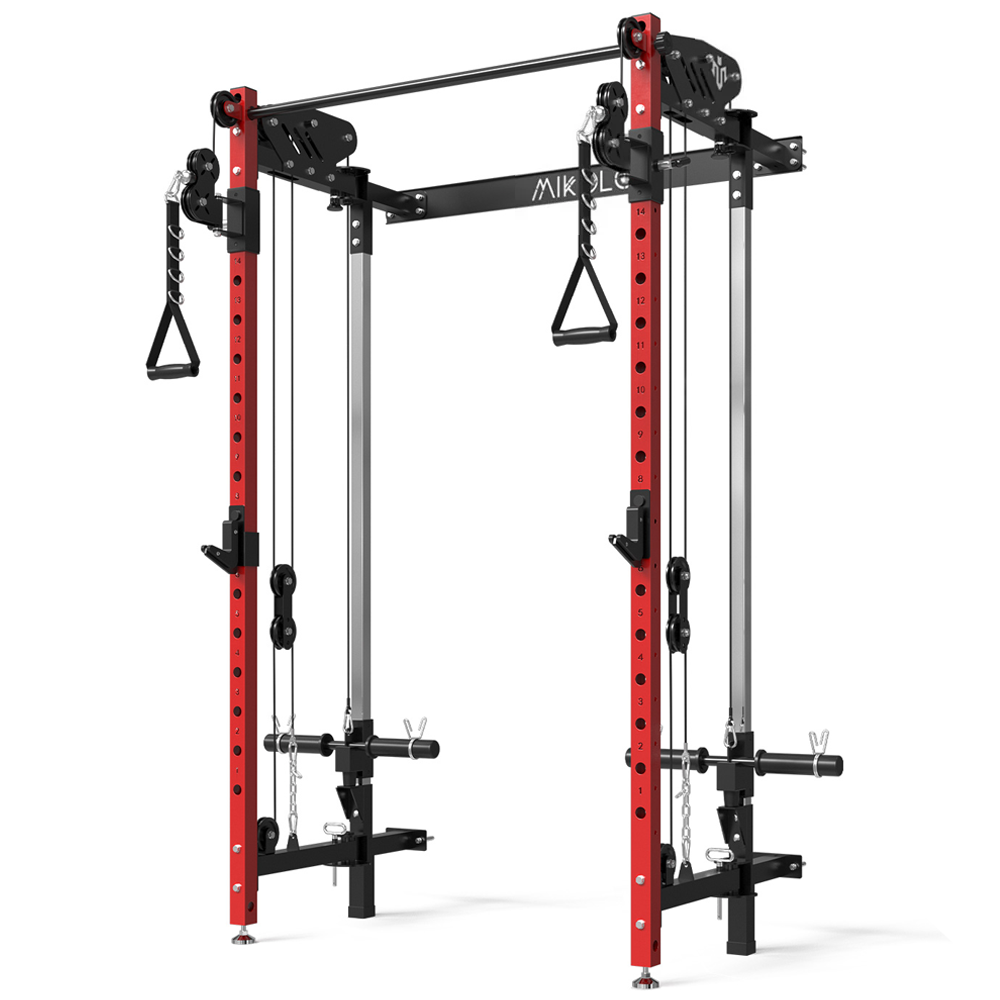
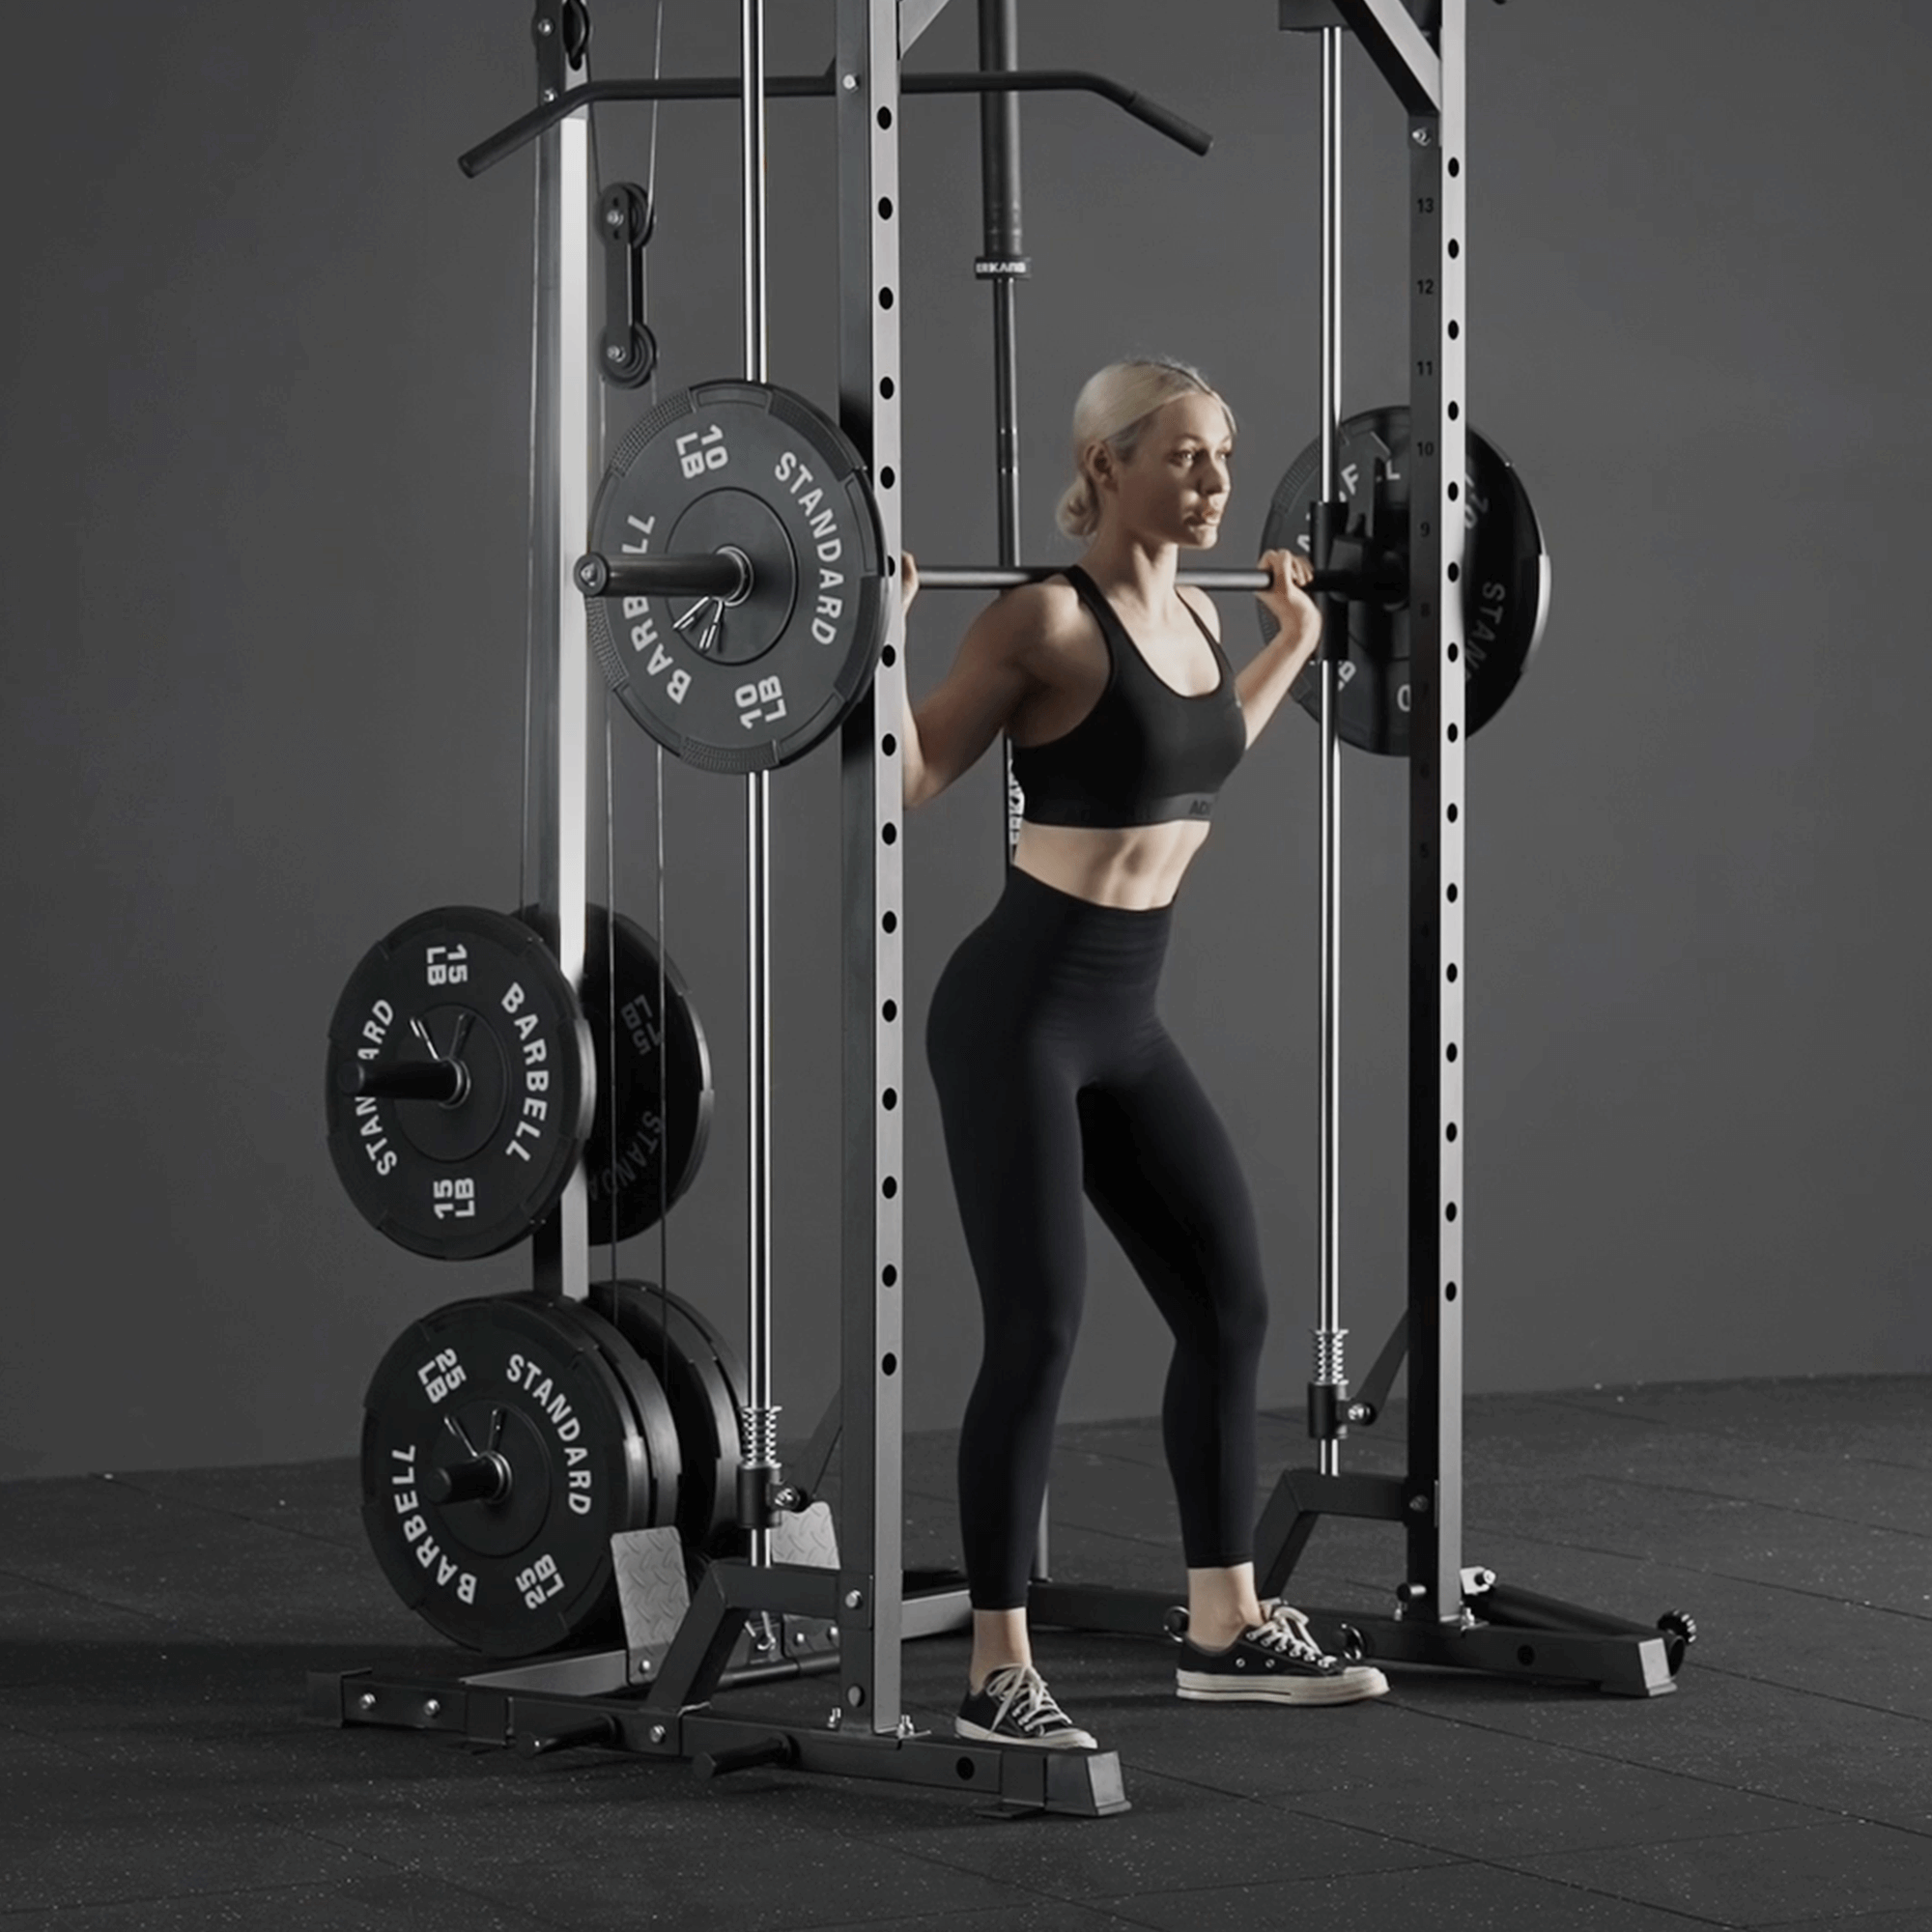
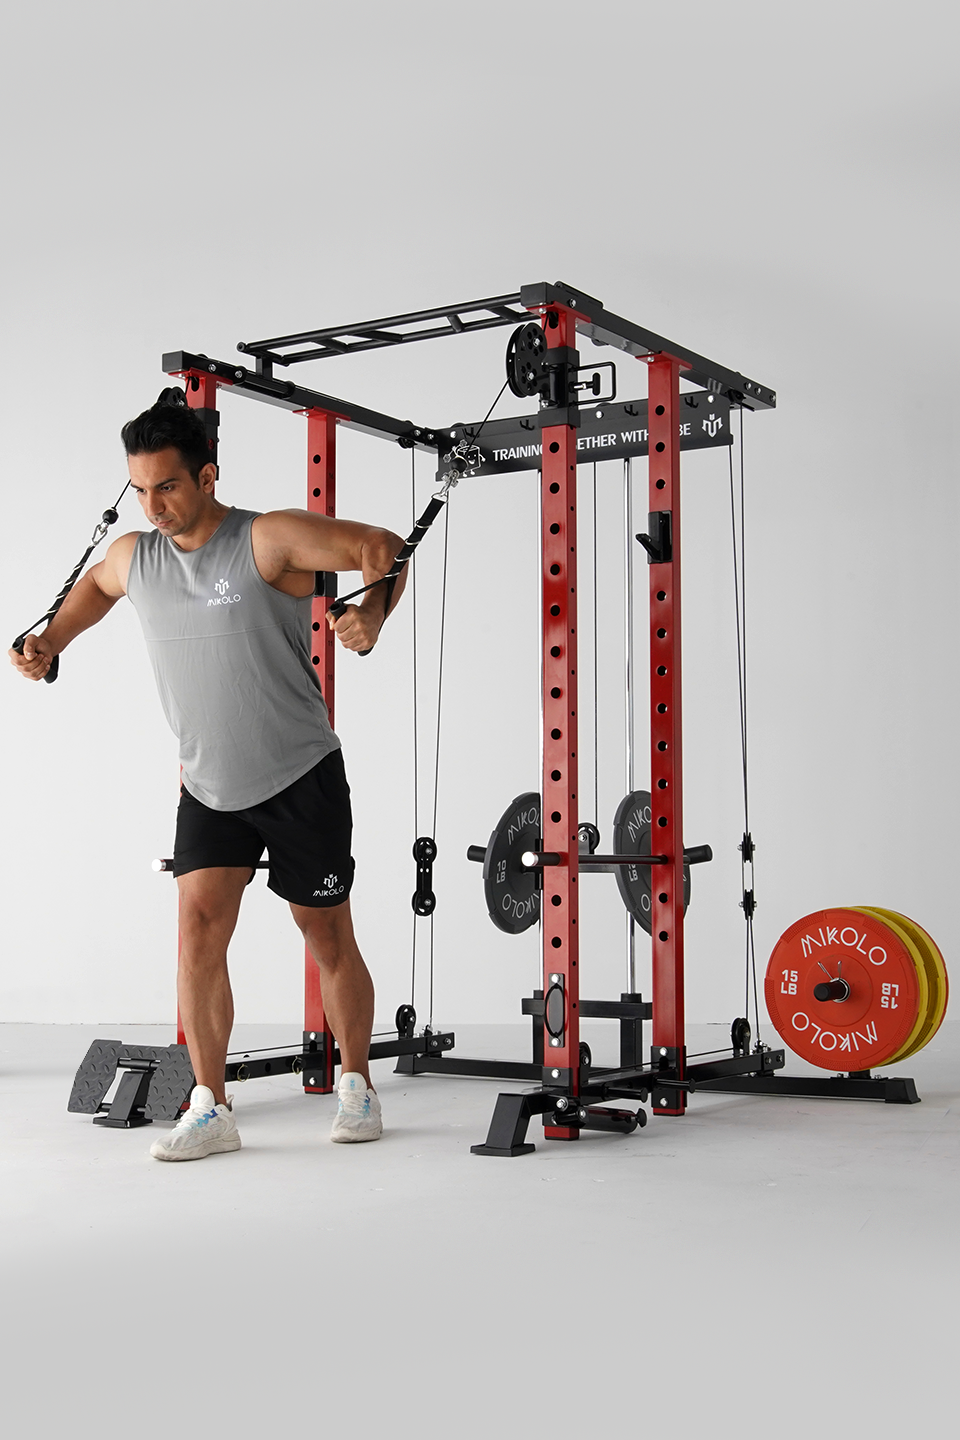
A squat rack, also known as a power rack or squat cage, is a fundamental piece of strength training equipment. It provides a stable and secure environment for performing squats, bench presses, overhead presses, and other compound movements. Key benefits include:
- Safety: Prevents accidents by offering support during heavy lifts.
- Versatility: Accommodates various exercises, enhancing workout diversity.
- Progress Tracking: Allows for incremental weight increases, aiding in strength progression.
2. Choosing the Right Squat Rack for Your Needs
Before setting up a squat rack, it's crucial to select one that aligns with your fitness goals and space constraints. Consider the following factors:
-
Type of Squat Rack:
- Power Rack: Offers extensive support and multiple attachments.
- Half Rack: More compact, suitable for smaller spaces.
- Squat Stand: Lightweight and portable, ideal for home gyms.
-
Weight Capacity: Ensure the rack can handle your current and future lifting weights.
-
Adjustability: Look for racks with adjustable height settings for versatility.
-
Material and Build Quality: Opt for sturdy steel constructions for durability and stability.
3. Selecting the Perfect Location
Choosing the right spot for your squat rack is vital for an efficient workout environment. Here's what to consider:
- Space Availability: Ensure ample room around the rack for movement and additional equipment.
- Flooring: Install on a flat, stable surface. Consider using rubber mats to protect the floor and reduce noise.
- Lighting: Adequate lighting enhances safety and visibility during workouts.
- Ventilation: Proper airflow keeps the area comfortable, especially during intense sessions.
4. Essential Tools and Materials for Assembly
Gather all necessary tools and materials before starting the assembly process to ensure a smooth setup:
-
Tools:
- Wrench set
- Screwdrivers (Phillips and flat-head)
- Allen keys
- Hammer
- Measuring tape
-
Materials:
- Squat rack kit (including all bolts, nuts, and hardware)
- Rubber floor mats (optional)
- Chalk or grip-enhancing gloves
5. Step-by-Step Guide to Assembling Your Squat Rack
Follow these steps to assemble your squat rack efficiently:
Step 1: Unboxing and Inventory
- Carefully unbox all components.
- Verify that all parts are present by referring to the instruction manual.
Step 2: Assemble the Base
- Start by assembling the base frame, ensuring all bolts are tightened securely.
- Attach any stabilizing bars or supports included in the kit.
Step 3: Install Uprights
- Position the uprights vertically on the base.
- Secure them firmly using the provided hardware, ensuring they are plumb (vertically straight).
Step 4: Attach Horizontal Supports
- Install horizontal bars or safety spotters as per the manual.
- Adjust the height settings to accommodate your stature and exercise needs.
Step 5: Add Accessories
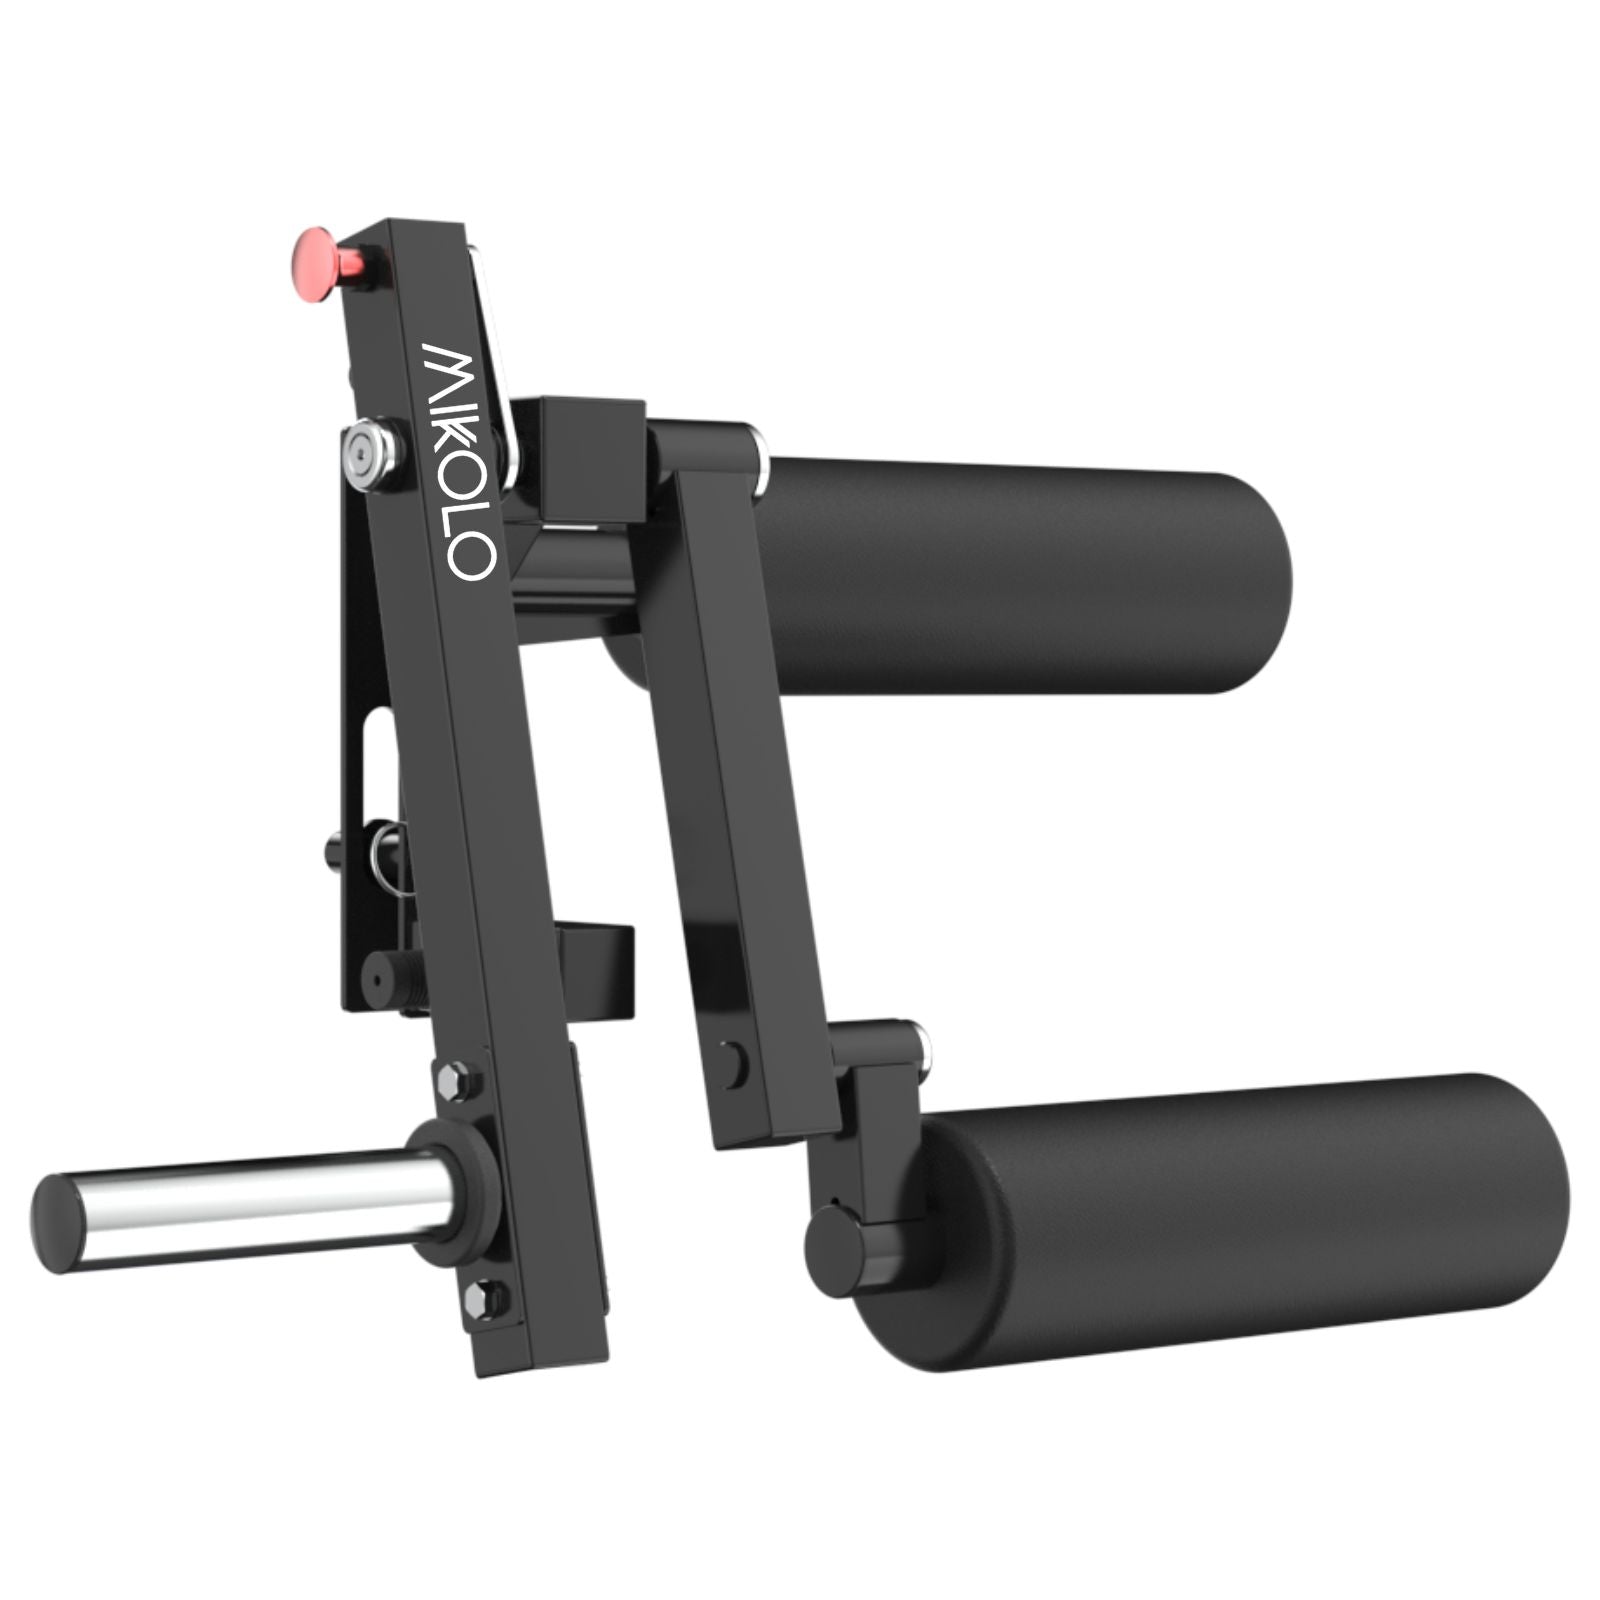
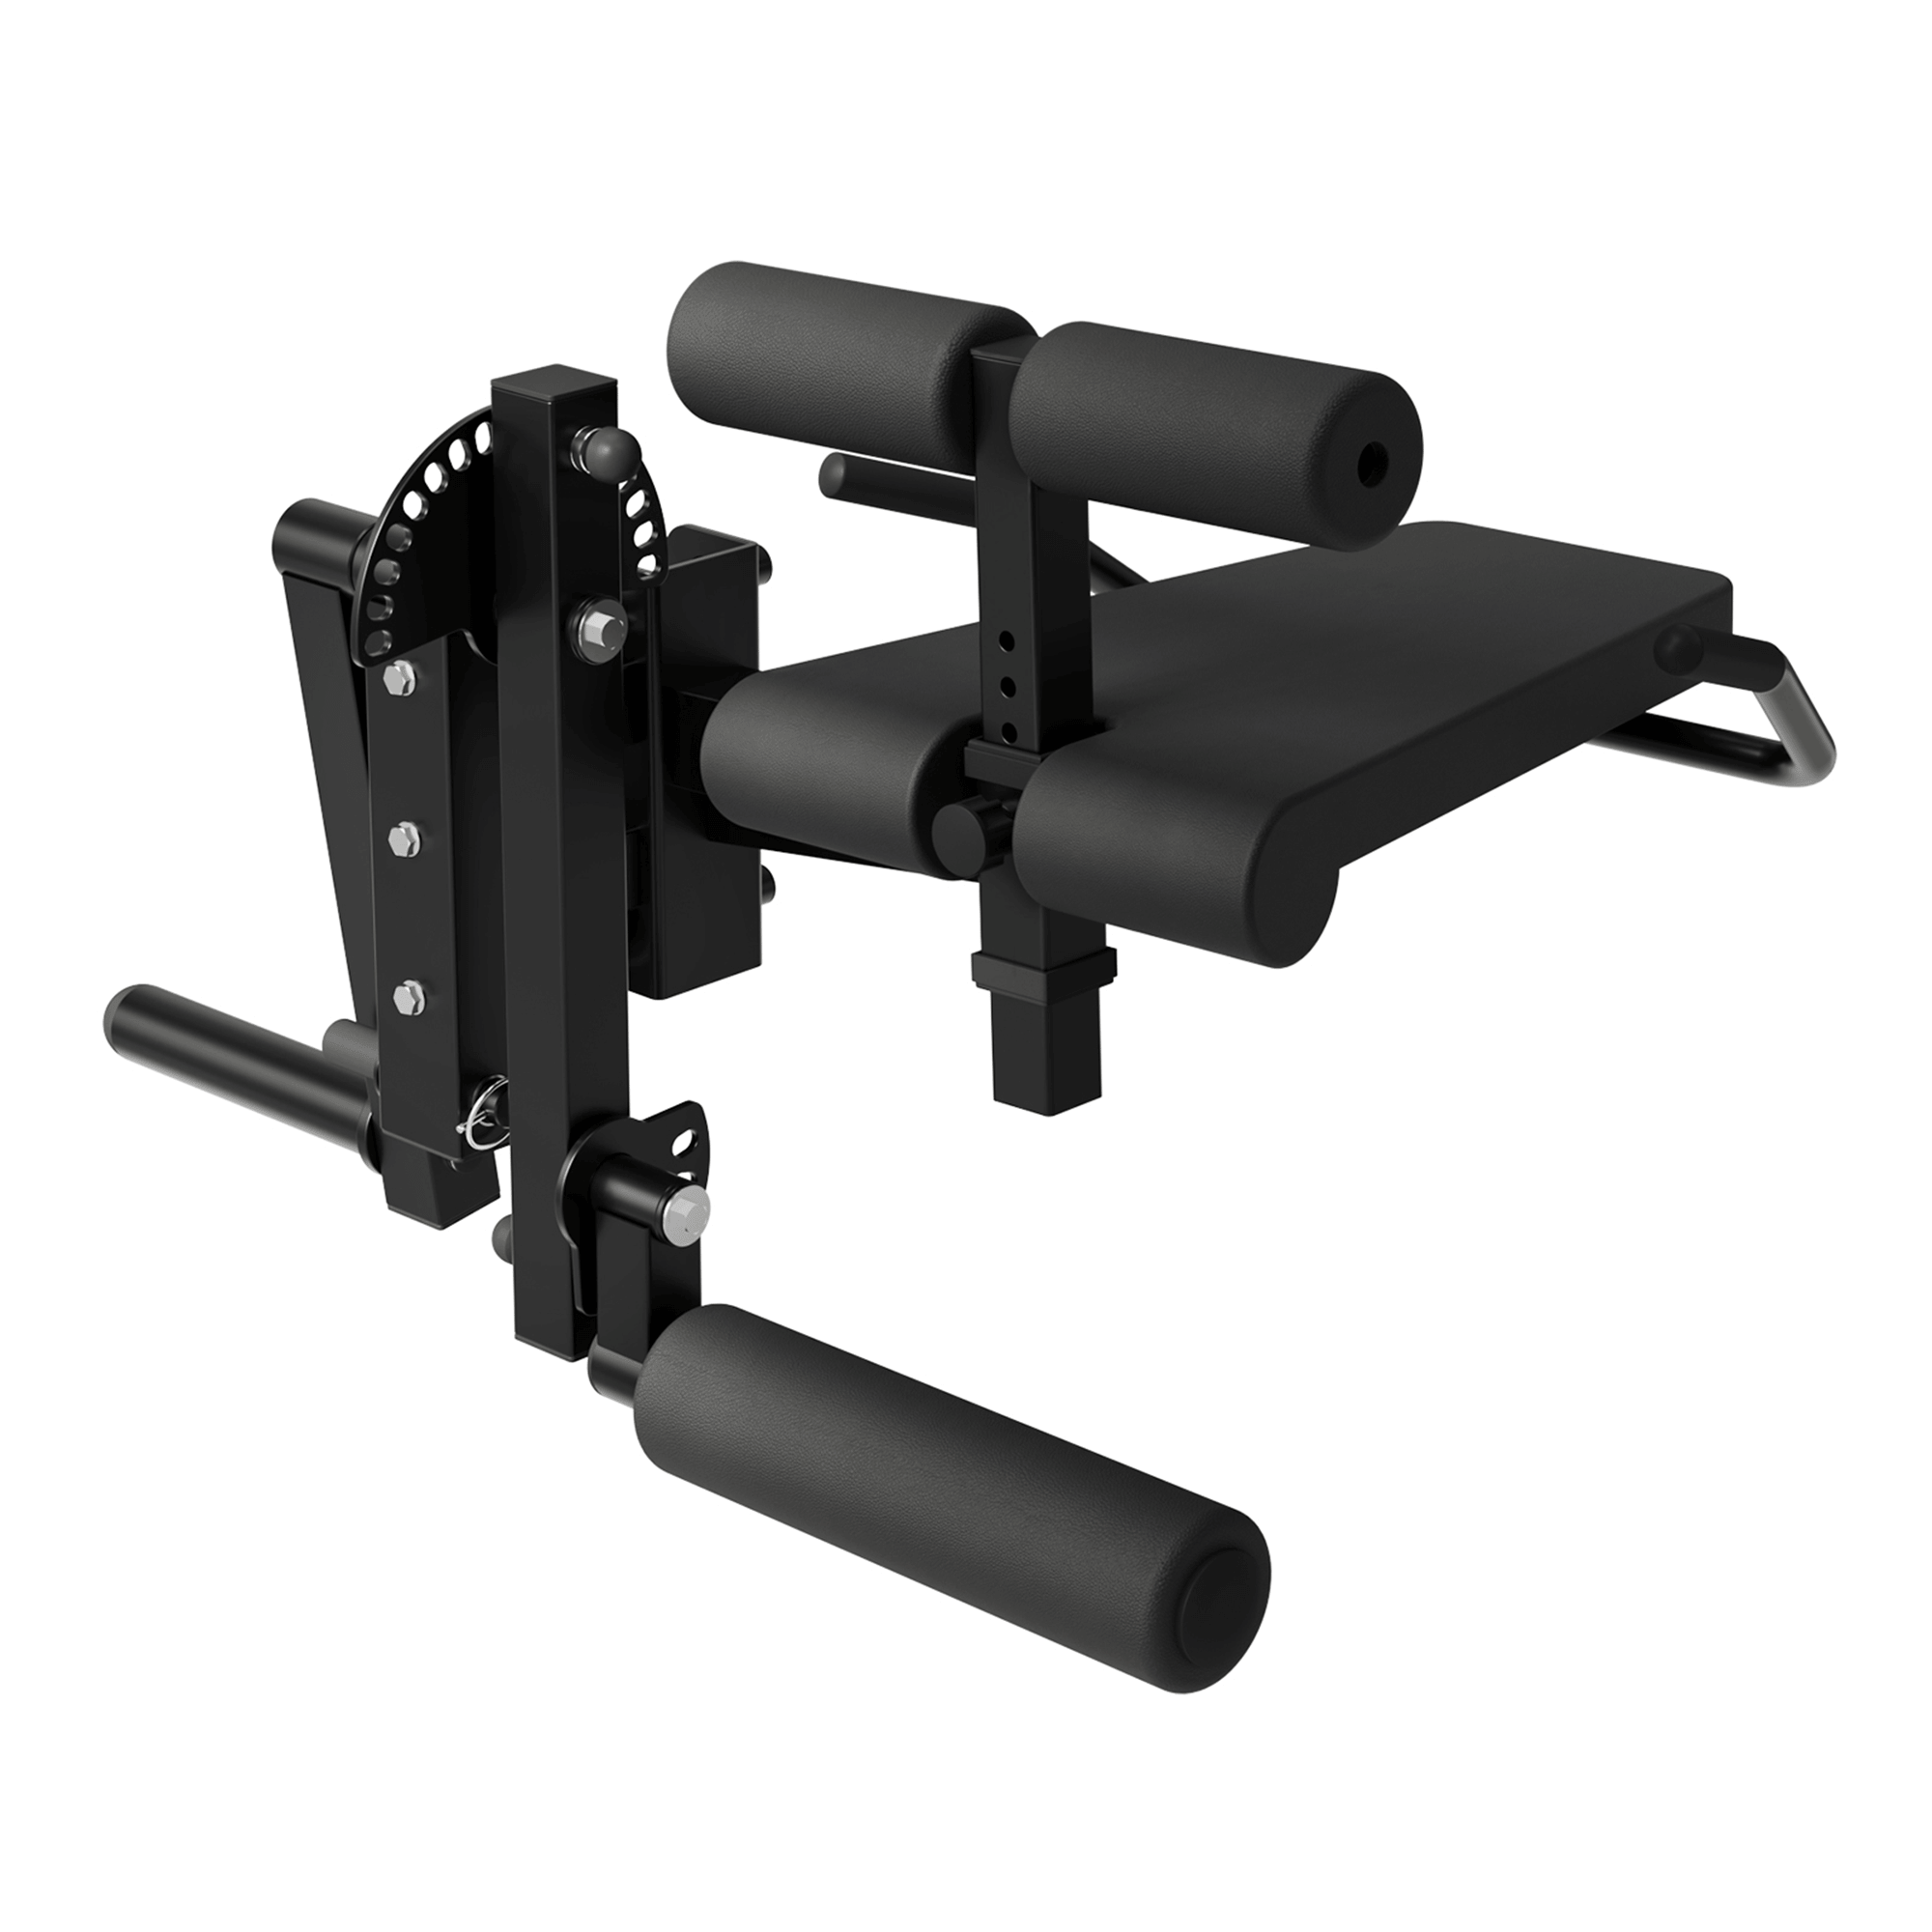
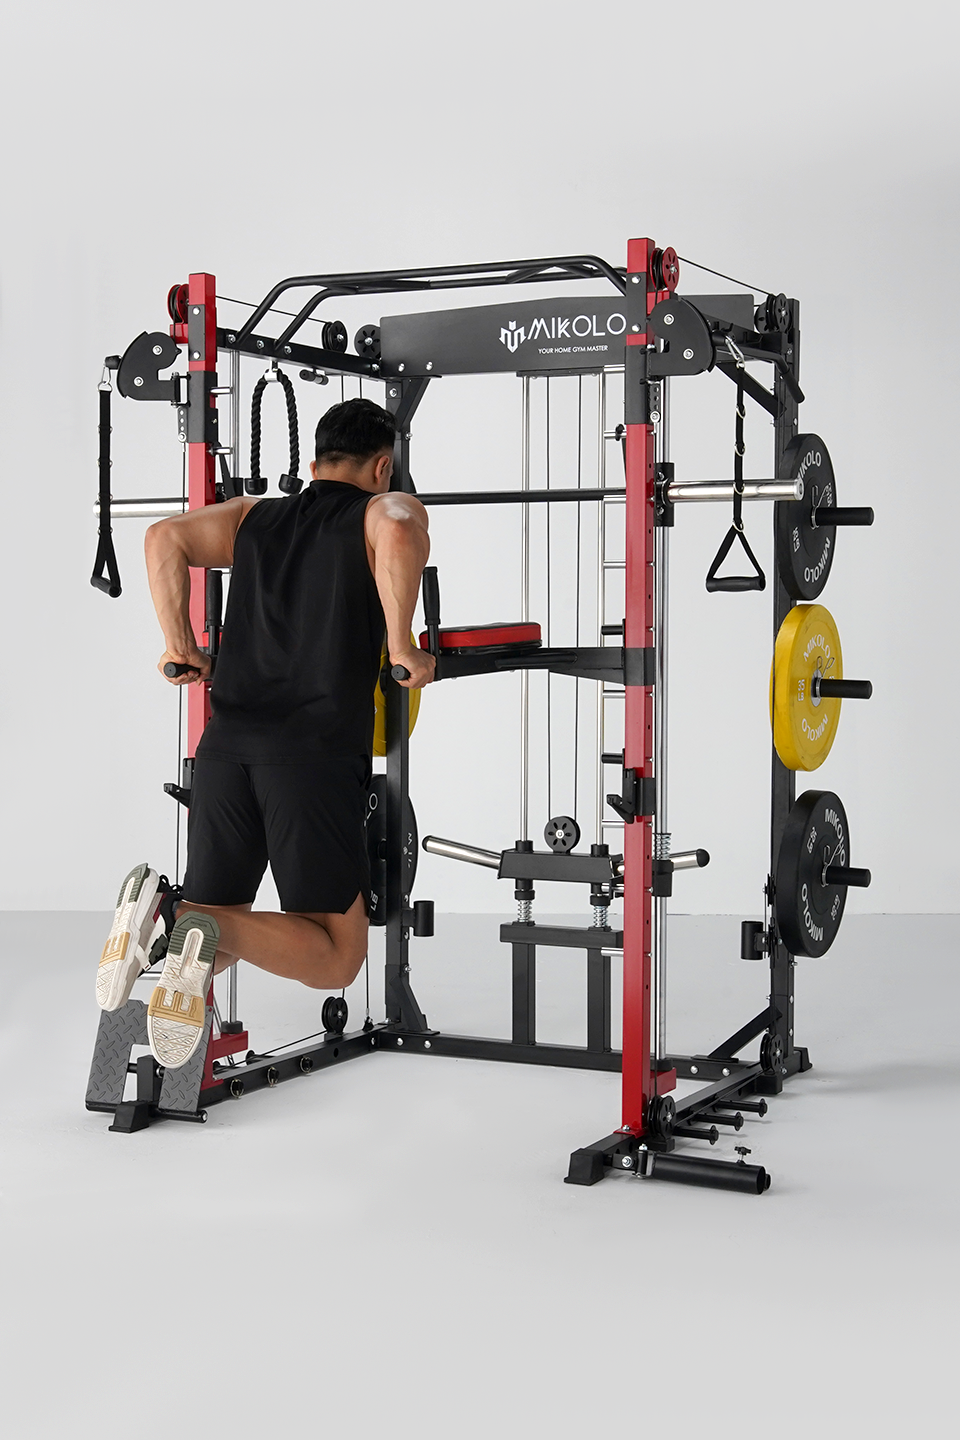
- Attach pull-up bars, dip bars, or weight storage pegs if included.
- Ensure all accessories are securely fastened to prevent movement during use.
Step 6: Final Checks
- Double-check all connections and tighten any loose bolts.
- Test the rack's stability by applying gentle pressure before loading weights.
6. Safety Tips and Best Practices
Ensuring safety during your workouts is paramount. Here are some essential tips:
- Proper Setup: Always ensure the squat rack is assembled correctly and is stable before use.
- Weight Distribution: Evenly distribute weights on both sides to maintain balance.
- Spotters: Use safety bars or have a workout partner act as a spotter during heavy lifts.
- Technique: Maintain proper form to prevent injuries. Consider consulting a trainer if you're unsure.
7. Optimizing Your Workout Space
Maximize the efficiency of your workout area with these optimization strategies:
- Storage Solutions: Use shelves or hooks to organize weights, bars, and accessories.
- Mirrors: Install mirrors to monitor your form and technique.
- Lighting: Incorporate adjustable lighting to suit different workout intensities.
- Climate Control: Ensure the area is well-ventilated and temperature-controlled for comfort.
8. Maintenance and Care for Longevity
Proper maintenance extends the life of your squat rack and ensures it remains safe to use:
- Regular Inspections: Check for loose bolts, rust, or wear and tear periodically.
- Cleaning: Wipe down the rack after use to remove sweat and grime.
- Lubrication: Apply lubricant to moving parts to prevent stiffness and rust.
- Weight Management: Avoid overloading beyond the rack's weight capacity to prevent structural damage.
9. Frequently Asked Questions
Q1: Can I set up a squat rack in a garage?
A: Yes, garages often provide ample space and sturdy flooring, making them suitable for squat rack setups. Ensure the area is well-ventilated and protected from extreme temperatures.
Q2: Do I need professional help to assemble a squat rack?
A: While many squat racks are designed for DIY assembly with clear instructions, seeking professional assistance can ensure safety and proper setup, especially for more complex models.
Q3: How much space should I allocate for a squat rack?
A: Ideally, allocate at least 10 feet in length and 8 feet in width to accommodate the rack and allow for safe movement around it.
Q4: What accessories can enhance my squat rack setup?
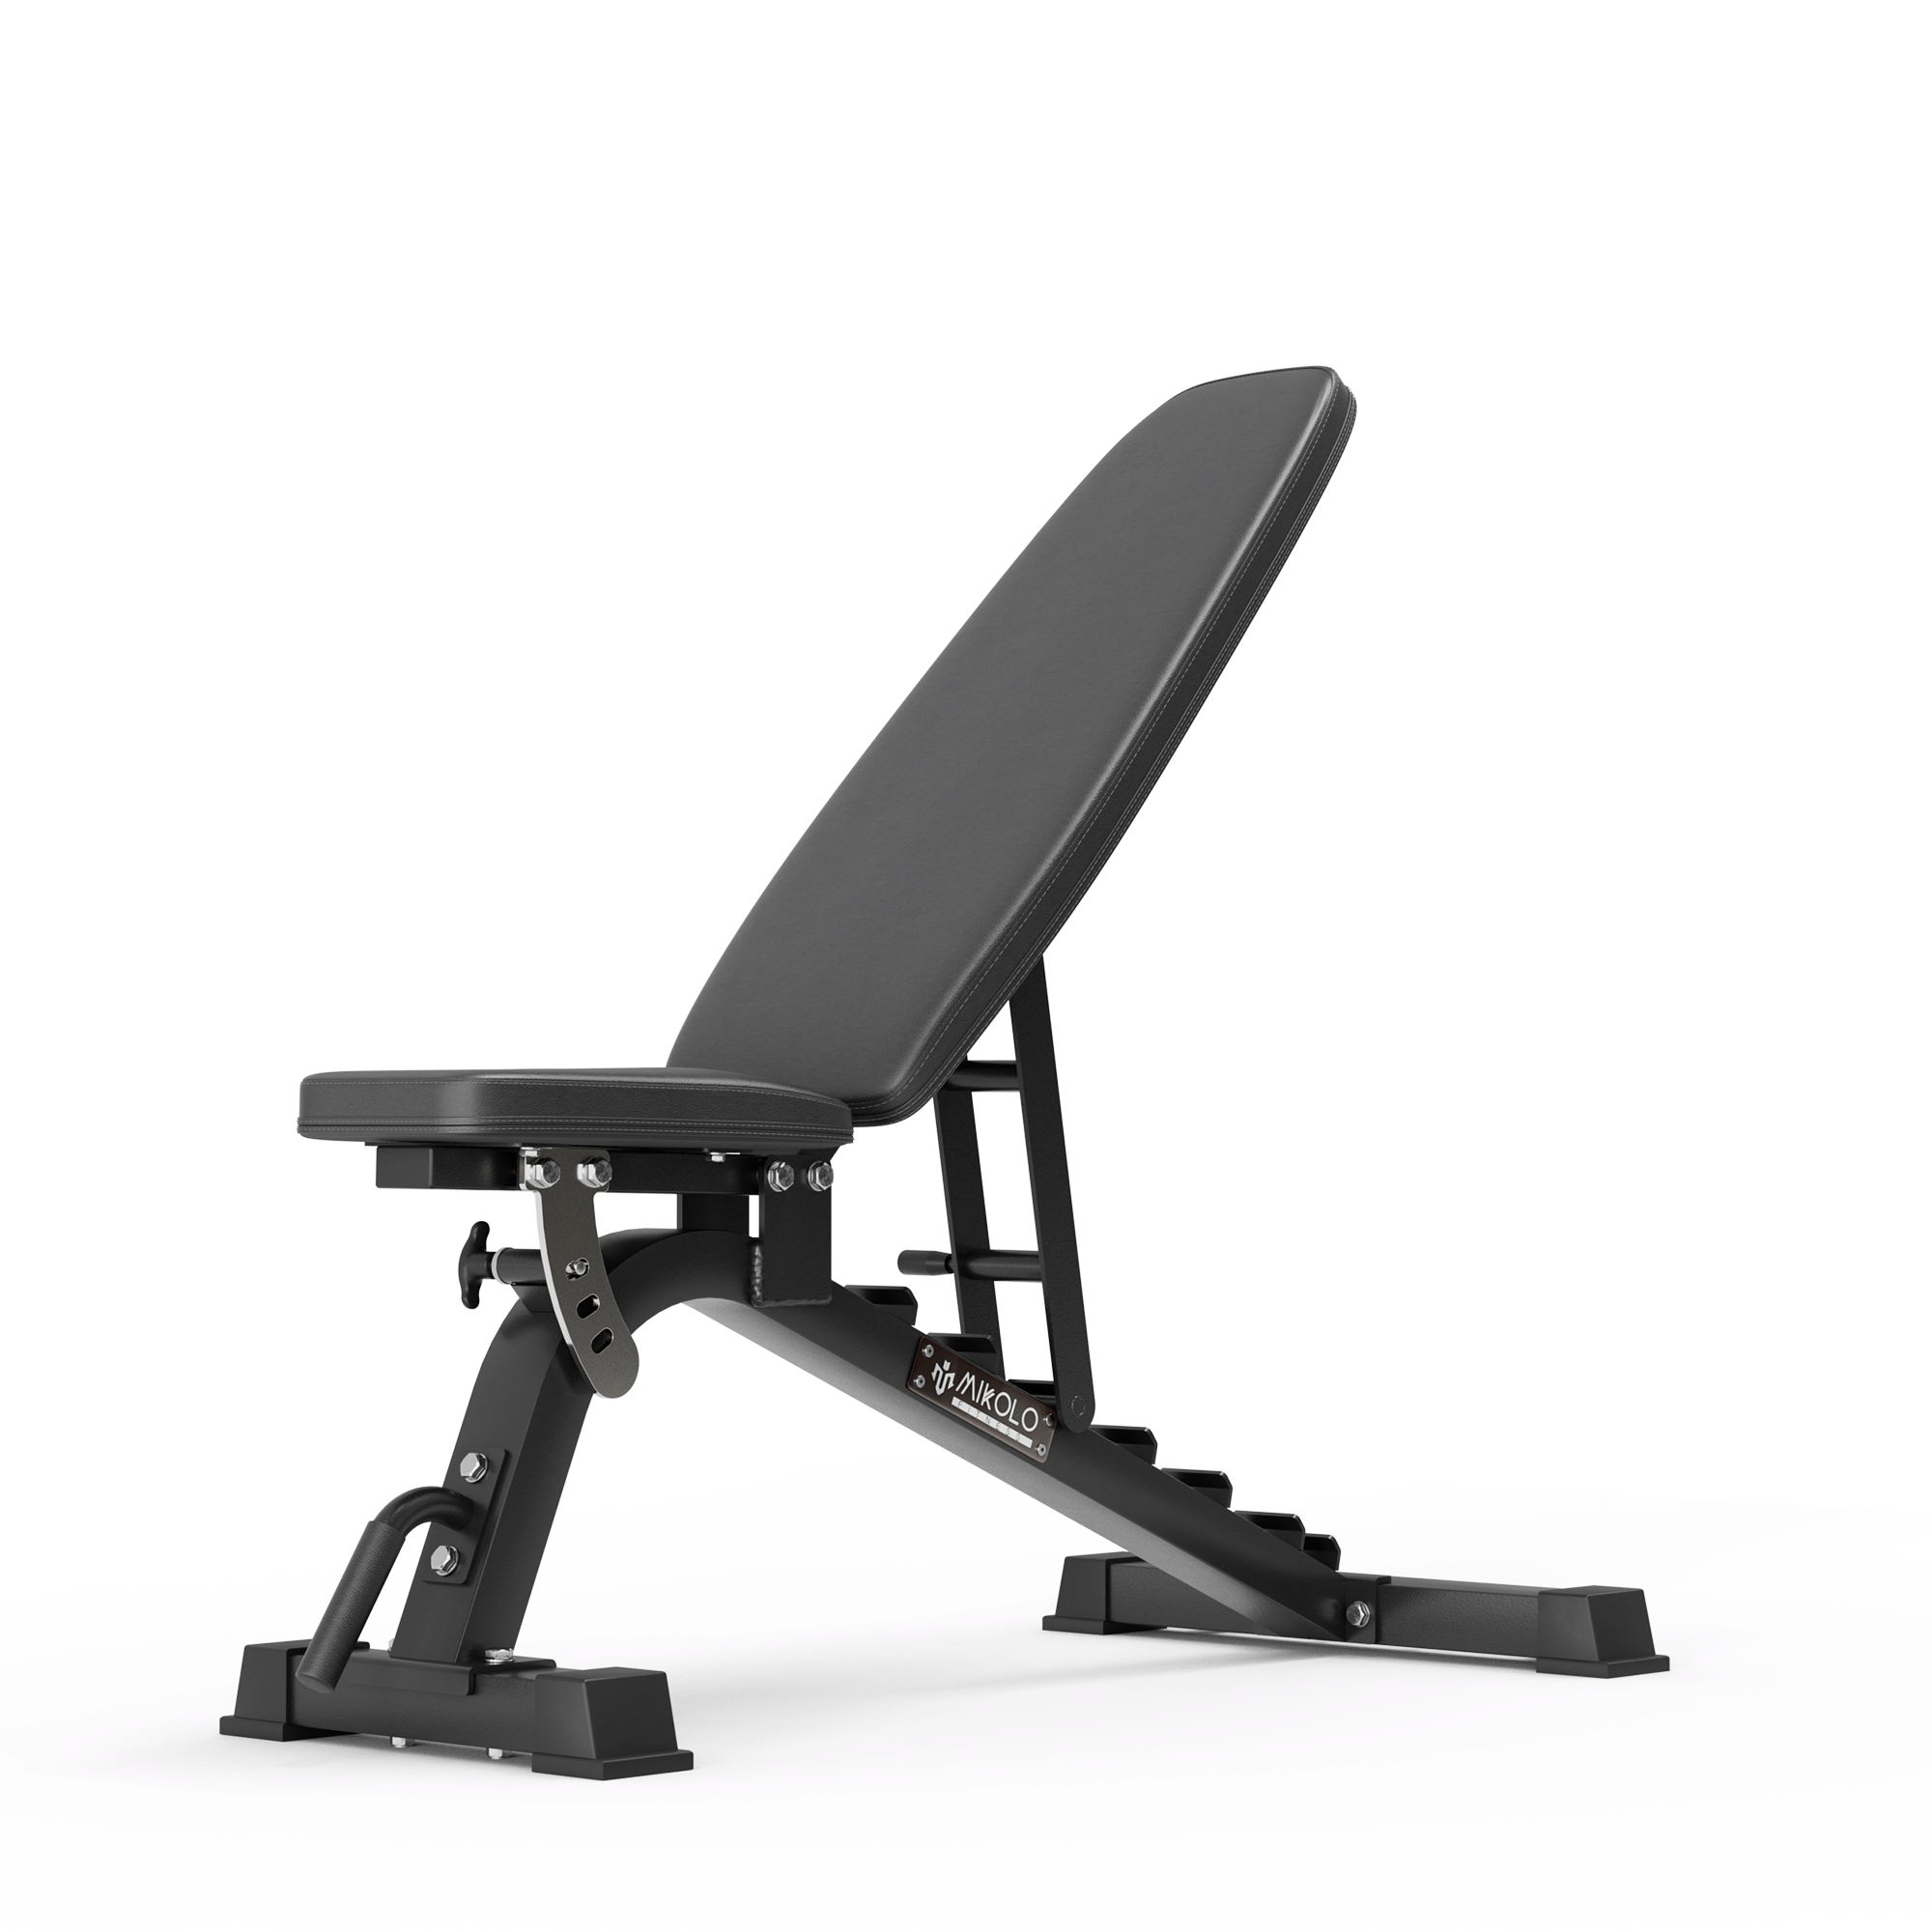
A: Consider adding a pull-up bar, dip attachments, weight storage pegs, resistance bands, and a bench to expand your workout capabilities.
10. Conclusion
Setting up a squat rack is a straightforward process that can significantly elevate your strength training regimen. By selecting the right equipment, choosing an optimal location, following assembly instructions meticulously, and adhering to safety practices, you can create a functional and safe workout space. Regular maintenance and thoughtful organization will ensure your squat rack remains a valuable asset in your fitness journey for years to come. Whether you're aiming to build muscle, increase strength, or enhance overall fitness, a well-installed squat rack is a cornerstone of effective training.













Leave a comment
This site is protected by hCaptcha and the hCaptcha Privacy Policy and Terms of Service apply.