Searching for the best male glutes workout? This guide provides top exercises for enhancing glute strength and size. Strong glutes are crucial for athletic performance and injury prevention. Discover effective workouts and tips to achieve impressive glute development.
Key Takeaways
-
Strong glutes are essential for athletic performance, posture, and injury prevention; prioritize glute development in your fitness routine.
-
Incorporate a variety of glute-targeting exercises like hip thrusts, Bulgarian split squats, and single-leg deadlifts to maximize strength and muscle growth.
-
Focus on proper form and progressive overload in your workouts, along with adequate nutrition, to ensure optimal glute development and overall muscle health.
Understanding Glute Muscles and Their Importance
The glute muscles, comprising the gluteus maximus, gluteus medius, and gluteus minimus, are some of the most powerful muscles in the body:
-
Gluteus maximus: The largest muscle, crucial for high-force activities like sprinting and jumping.
-
Gluteus medius: Partially covered by the gluteus maximus, it plays a vital role in stabilizing the pelvis and aiding in hip abduction.
-
Gluteus minimus: The smallest of the trio, it assists with hip abduction and medial rotation. The glute max is essential for overall strength and athletic performance.
Together, these muscle group muscles form the powerhouse of your lower body, essential for various movements and overall stability.
Strong glutes are more than just a symbol of fitness; they are critical for maintaining good posture and spinal alignment. Weak gluteal muscles can lead to instability in the pelvis, causing issues such as the Trendelenburg sign, which affects gait and balance. Additionally, an underdeveloped gluteus maximus can increase the risk of injuries during activities that require significant force. Thus, focusing on glute strength is not just about aesthetics but also about preventing injuries and enhancing functional movements.
For men, developing strong glutes is essential for improving strength, aesthetics, and overall athletic performance. Whether you’re lifting weights, running, or engaging in daily activities, the glutes play a pivotal role. Incorporating targeted glute exercises into your routine enhances lower body strength, improves posture, and contributes to a more commanding physique.
Effective Glute Workouts for Men
Effective glute workouts are the foundation for building strength and size, enhancing both athletic performance and aesthetics. While squats are a popular choice, a well-rounded glute workout routine should include a variety of exercises that target the glutes from different angles. This approach ensures comprehensive muscle engagement and prevents plateaus in your progress. Incorporating exercises like barbell hip thrusts, Bulgarian split squats, and single-leg Romanian deadlifts can significantly enhance glute development.
Proper form is crucial when performing glute exercises. Gradually increasing the weight and ensuring correct technique can prevent injuries and promote effective strength development.
Typically, a glute-centric training session should include 3 to 6 exercises, lasting about 20 to 30 minutes. This allows for a balanced workout that targets all the major glute muscles effectively.
Barbell Hip Thrust
The barbell hip thrust is renowned for its ability to isolate and develop the gluteus maximus. Here’s how to perform it and some recommendations:
-
Place a barbell across your hips.
-
Thrust your hips upwards to specifically target and strengthen your glutes.
-
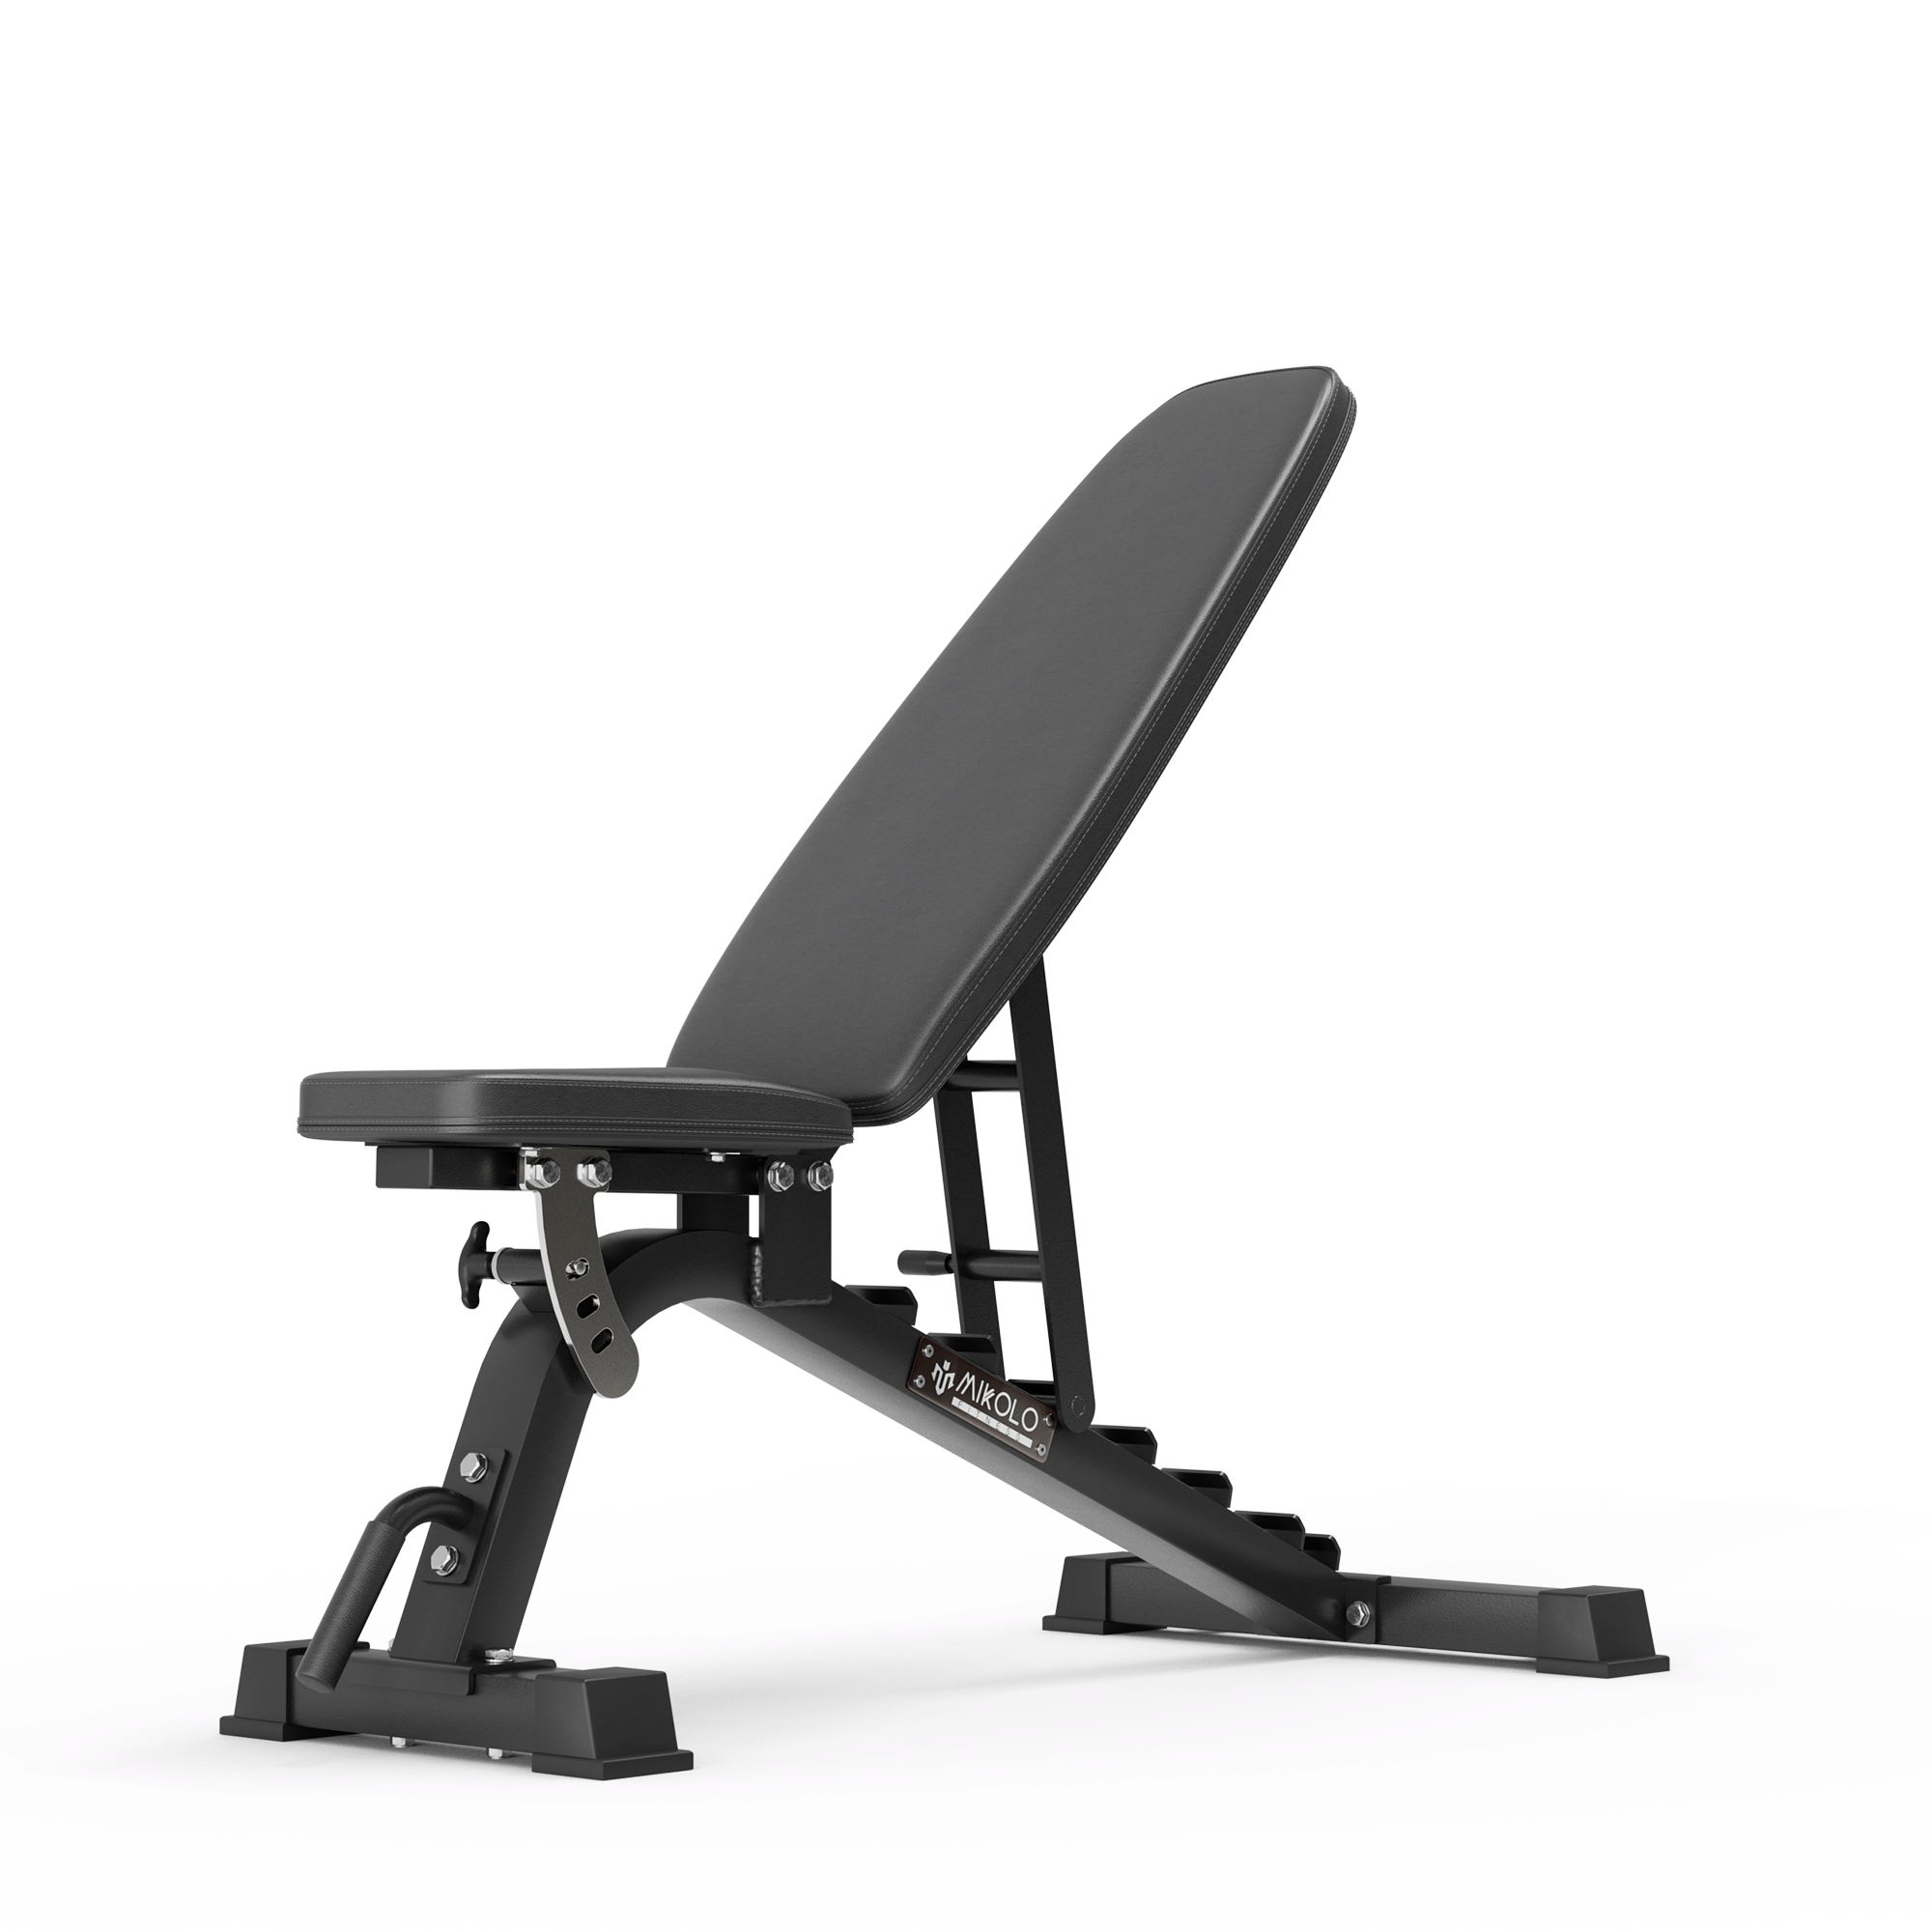
Maintain proper technique by driving your hips upwards while keeping your upper back on a bench.
-
Ensure your hips and shoulders create a straight line.
-
For beginners, perform 2-3 sets of 8-10 reps to build a solid foundation.
Intermediate lifters should aim for 3 to 4 sets of 8 to 12 reps, gradually increasing the weight to continue challenging the muscles. Advanced lifters can take it up a notch with 4-5 sets of 12-15 reps to maximize glute hypertrophy. Performing hip thrusts 3 to 4 times per week can significantly enhance glute strength and size.
Barbell hip thrusts are considered one of the best moves for glute hypertrophy, making them essential for any serious training plan. This exercise not only builds impressive glutes but also improves overall lower body strength, contributing to better performance in other lifts and athletic movements, including the single leg hip thrust.
Bulgarian Split Squat
Bulgarian split squats and the classic split squat are highly effective for targeting the glutes, particularly when performed with a vertical front shin and a focus on glute contraction. This single-leg exercise improves balance and strength, challenging both the glutes and quads. Maintain a vertical front shin and squeeze your glutes when standing up from the squat position. This enhances glute engagement and stabilizes the body, helping you return to a standing position.
For optimal results, perform 3 sets of 8-10 reps, allowing for about 60 seconds of rest between sets. This exercise can be incorporated into your glute workout routine to enhance functional strength and achieve a well-defined lower body.
Single Leg Romanian Deadlift
The single-leg Romanian deadlift primarily targets the glutes and hamstrings, making it an excellent addition to your glute workout routine. This exercise involves hip extension under load, which effectively engages and strengthens the gluteal muscles. Hinge at the hips while balancing on one leg, lower the weight towards the ground, and then return to the starting position.
It is recommended to perform 3 to 4 sets of 8 to 10 reps per leg, with a rest period of 60 seconds between sets. This exercise not only builds glute strength but also improves balance and stability, contributing to overall lower body strength.
Glute Activation Exercises
Glute activation exercises are crucial for ensuring that your glute muscles are properly engaged during your workouts. Neglecting glute activation can lead to weak and underdeveloped glutes, often referred to as ‘dead butt syndrome’. Incorporating activation exercises during warm-ups can enhance muscle engagement and prevent this issue.
Using resistance bands can significantly improve the effectiveness of glute activation exercises by adding tension throughout the movements. Isometric holds in single-leg glute bridges can also enhance muscle engagement, focusing on stability and balance alongside glute strength.
Glute Bridge
The glute bridge is a foundational exercise for activating and strengthening the gluteus maximus. Proper execution involves driving through the heels and ensuring that your hips and shoulders form a straight line during the lift. This exercise is not only effective for glute activation but also helps reduce lower back pain and improve balance and strength in the lumbar region.
Incorporating the glute bridge into your workout routine can lead to significant improvements in glute strength and stability, which are crucial for maintaining proper posture and enhancing performance in various lifts, including squats and deadlifts.
Lateral Band Walk
Lateral band walks are an excellent exercise for targeting the gluteus medius and improving hip stability. Place a resistance band around your legs and take small, controlled steps to the side. This movement effectively engages the gluteus medius and adductors, enhancing overall glute strength.
For optimal results, perform 3 sets of lateral band walks with a rest time of 60 seconds between each set. This exercise can be a valuable addition to your warm-up routine, ensuring that your glutes are properly activated before more intense workouts.
Advanced Glute Exercises
For those looking to further challenge their glutes, advanced exercises offer a way to push the limits of your strength and development. These exercises, such as hip thrusts and hyperextensions, uniquely isolate the glutes and allow for quicker recovery compared to other leg workouts. Incorporating advanced exercises can significantly enhance glute strength and power, contributing to overall athletic performance. Additionally, including the best glute exercises can further optimize your training routine.
Additionally, exercises like the reverse hyper and 45-degree hyperextension are vital for strengthening the lower back and glutes, which are essential for explosive movements. These advanced moves require proper technique and positioning to ensure effective glute engagement and prevent injuries.
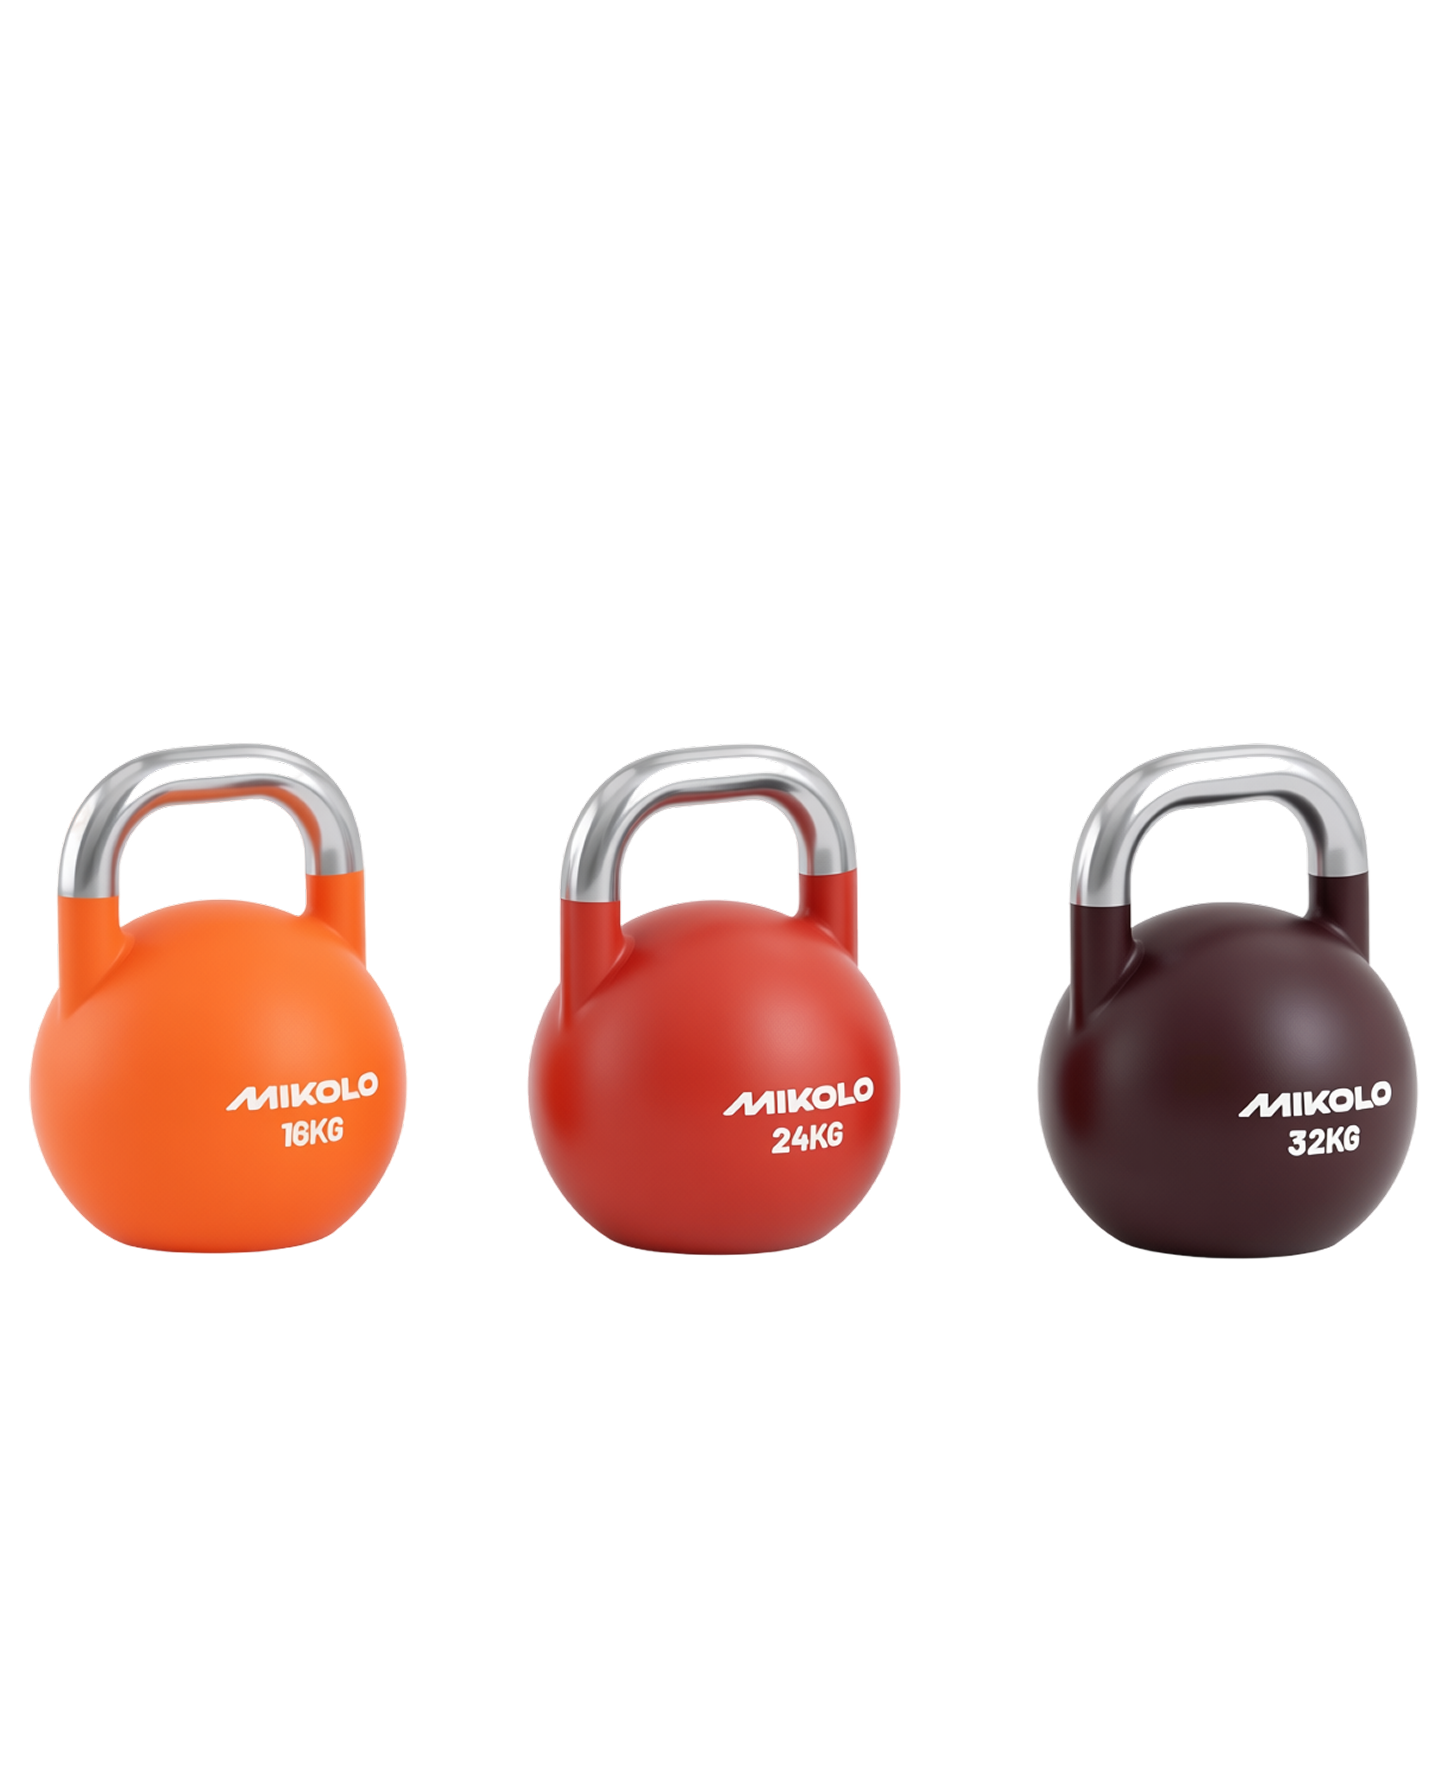
Kettlebell Swing
Kettlebell swings are a dynamic exercise that enhances power and explosiveness in the glute muscles through a dynamic hip extension movement. Hinge at the hips and swing the kettlebell between your legs, then drive your hips forward to propel the kettlebell to shoulder height. This movement engages the glutes, hamstrings, and core.
For optimal results, perform 3 to 5 sets of 3 to 5 reps for dead-stop kettlebell swings, with a rest time of 60 seconds between sets. This exercise can be a powerful addition to your glute workout routine, enhancing overall strength and athletic performance.
Goblet Squat
Goblet squats are a versatile exercise that targets the quads, hamstrings, glutes, core, and forearms. Hold a dumbbell or kettlebell close to your chest and squat down, keeping your knees bent, your chest up and your weight on your heels. This exercise engages multiple muscle groups, making it an excellent addition to any squat variation glute workout routine.
For beginners, it is recommended to perform 2-4 sets of around 6 reps. Advanced individuals should aim for 5 sets of over 15 reps to maximize muscle engagement and strength. Proper form is crucial to ensure the effectiveness of the exercise and prevent injuries.
Walking Lunges
Walking lunges are a dynamic exercise that helps build strength and stability in the lower body, focusing on the glutes and quads. To perform dumbbell lunges in the lunge position:
-
Step forward with one leg.
-
Lower your hips until both knees are bent at about a 90-degree angle.
-
Push off the front foot.
-
Bring the back foot forward into the next lateral lunge.
This movement enhances glute engagement and stability while ensuring the core engaged.
To increase the intensity, try adding weights, performing reverse lunges, or incorporating pauses at the bottom of each rep. These variations can slowly lower further challenge your glutes and contribute to overall lower body strength.
Home Glute Workouts
You don’t need a gym to build impressive glutes. Bodyweight exercises can be highly effective for developing glute strength without the need for equipment. Home glute workouts can include exercises like single-leg glute bridges and seated banded hip abductions, which focus on engaging and strengthening the glute muscles.
It’s important to avoid relying exclusively on cardio workouts, as they may not be as effective for glute muscle development. Incorporating specific glute exercises into your home workout routine ensures that you continue to build strength and achieve your fitness goals.
Single Leg Glute Bridge
The single-leg glute bridge is an excellent exercise for targeting the glutes and hamstrings. Here’s how to perform it:
-
Lie on your back with one leg bent and the other leg extended.
-
Drive through the heel of the bent leg to lift your hips off the ground.
-
Squeeze your glutes at the top of the movement.
This exercise promotes balanced glute development through unilateral training.
It is recommended to perform 3 to 4 sets of 10 to 12 reps per leg, with a rest period of 60-120 seconds between sets. This exercise can be a valuable addition to your home workout routine, ensuring effective glute engagement and strength.
Seated Banded Hip Abduction
Seated banded hip abductions are an effective exercise for targeting the glutes with resistance in both directions. To perform the exercise:
-
Sit on a bench with a resistance band around your thighs.
-
Push your knees outward against the band’s resistance.
-
Slowly return to the starting position.
This movement helps stabilize the body for focused glute work and core stability while squeezing your glutes.
Incorporating seated banded hip abductors and hip adductors into your home workout routine can enhance glute activation and strength, contributing to overall lower body development and improving hip width.
Tips for Maximizing Glute Growth
To achieve optimal glute growth, consider the following guidelines:
-
Train your glutes at least two to three times a week.
-
Blend both compound and isolation exercises to target the muscles comprehensively.
-
Incorporate variety in your exercises to prevent plateaus and ensure continuous muscle development.
-
Use techniques like drop sets to push muscle fatigue further and increase workout intensity.
A proper diet is crucial for muscle growth and recovery. Key points include:
-
Sufficient protein intake, particularly after resistance training, promotes significant increases in muscle strength and size.
-
Consuming protein throughout the day can enhance muscle protein synthesis.
-
These practices contribute to overall muscle health.
Combining a well-rounded workout routine with proper nutrition maximizes your glute growth and helps achieve impressive results.
Common Mistakes in Glute Training
Many men fail to train their glutes properly, which hinders their strength and development. One common mistake is not engaging all three glute muscles—gluteus maximus, medius, and minimus. Each muscle plays a unique role in overall glute strength and function. Neglecting any of these muscles can lead to muscle imbalances and suboptimal results.
Improper exercise form is another frequent mistake that can lead to injuries and diminish the effectiveness of glute workouts. To avoid this, focus on maintaining proper form, engaging all glute muscles, and progressively challenging yourself with increased weights or volume.
Addressing these common mistakes can enhance your glute training, leading to stronger, more balanced glutes.
Sample Glute Workout Routine
A well-rounded glute workout routine begins with a proper warm-up to increase range of motion, body temperature, and activate the central nervous system. An effective routine can include exercises like sumo deadlifts, hip thrusts, and lateral lunges to optimize glute development. For instance, do 4 sets of 6 to 8 reps of sumo deadlifts and 3 sets of 6 to 8 reps per side of lateral lunges.
Consistency is key for achieving effective results. It’s recommended to perform glute exercises every other day or two to three times a week, with a rest period of 24 to 48 hours between workouts.
Incorporating a variety of glute exercises into your routine helps avoid overuse injuries and promotes overall muscle health. This approach ensures continuous progress and impressive glute development.
Cool Down and Stretching
Cooling down after a workout allows your heart and blood pressure to gradually return to pre-exercise levels, reducing stress on the cardiovascular system. Engaging in a cool-down routine helps manage blood flow more effectively, particularly for endurance sports. While cooling down may not directly prevent muscle soreness, it is still a valuable practice for muscle recovery.
Stretching post-workout can enhance flexibility and range of motion, which is beneficial for overall performance in physical activities. Incorporating stretches that target the glutes and lower body can aid in muscle recovery and prevent tightness. This practice ensures that your muscles remain flexible, reducing the risk of injuries and improving your overall fitness.
Nutrition for Glute Growth
Proper nutrition plays a vital role in muscle growth, particularly for building strength and size in the glutes. Consuming sufficient protein is crucial for muscle repair and growth. Timing and distribution of protein intake throughout the day can significantly influence muscle protein synthesis, contributing to overall muscle health.
In addition to protein, maintaining a balanced diet with essential nutrients supports overall health and muscle growth. Combining a well-rounded workout routine with proper nutrition maximizes your glute growth and helps achieve impressive results.
Summary
Strengthening and building your glutes is a multifaceted process that involves understanding the anatomy and importance of the glute muscles, incorporating effective exercises, and avoiding common training mistakes. A balanced workout routine that includes both compound and isolation exercises, along with proper glute activation techniques, can ensure comprehensive muscle engagement and development.
Combining your workout efforts with proper nutrition, particularly adequate protein intake, significantly enhances muscle growth and recovery. By following these guidelines and maintaining consistency in your training and diet, you can achieve stronger, more impressive glutes that support your overall fitness goals.
Frequently Asked Questions
How often should I train my glutes for optimal growth?
To achieve optimal growth in your glutes, aim to train them two to three times a week. Consistency is key, so get ready to put in the effort and watch your progress soar!
What are the best glute exercises for beginners?
To build your glutes effectively as a beginner, focus on glute bridges, barbell hip thrusts, and Bulgarian split squats. These exercises will help you develop strength and shape in no time!
How can I avoid common mistakes in glute training?
To avoid common mistakes in glute training, focus on engaging all three glute muscles and prioritize maintaining proper form. Remember to progressively challenge yourself with increased weights or volume to see the best results!
What role does nutrition play in glute growth?
Nutrition plays a vital role in glute growth by ensuring you're getting enough protein for muscle repair and development. Prioritize a balanced diet to maximize your results and watch your glutes thrive!
Can I build strong glutes with home workouts?
Absolutely, you can build strong glutes with home workouts! Incorporate bodyweight exercises like single-leg glute bridges and seated banded hip abductions for effective results.





















Leave a comment
This site is protected by hCaptcha and the hCaptcha Privacy Policy and Terms of Service apply.