Searching for an effective way to build your chest muscles? The cable press for chest is a fantastic exercise to incorporate into your routine. This movement ensures consistent tension on your chest muscles throughout the entire range of motion, leading to superior muscle engagement and growth. In this article, you’ll discover the benefits of the cable chest press, learn about various exercise techniques, and get tips to maximize your workout.
Key Takeaways
-
Cable chest presses provide continuous tension throughout the movement, enhancing muscle engagement and growth compared to traditional free weights.
-
Understanding the anatomy of the chest muscles helps in targeting specific areas effectively, with exercises tailored for the pectoralis major and minor.
-
Proper setup, execution, and avoiding common mistakes during cable chest exercises are crucial for maximizing effectiveness and reducing injury risk.
Benefits of Cable Press for Chest
One of the standout benefits of cable chest press exercises is the consistent tension they provide throughout the entire range of motion. Unlike traditional bench presses where the resistance can vary, cables maintain a steady load on the muscles, ensuring they are engaged from start to finish. This continuous tension leads to a better muscle pump and can potentially enhance muscle growth more effectively than free weights alone. Additionally, incorporating a cable bench press can further diversify your workout routine.
Cables also allow for a more natural, arcing movement during workouts, which can lead to better muscle activation. This is particularly beneficial for those looking to target specific areas of the chest, such as the inner chest or lower chest. The ability to control angles and resistance precisely means you can tailor each exercise to suit your specific goals, optimizing muscle engagement and growth.
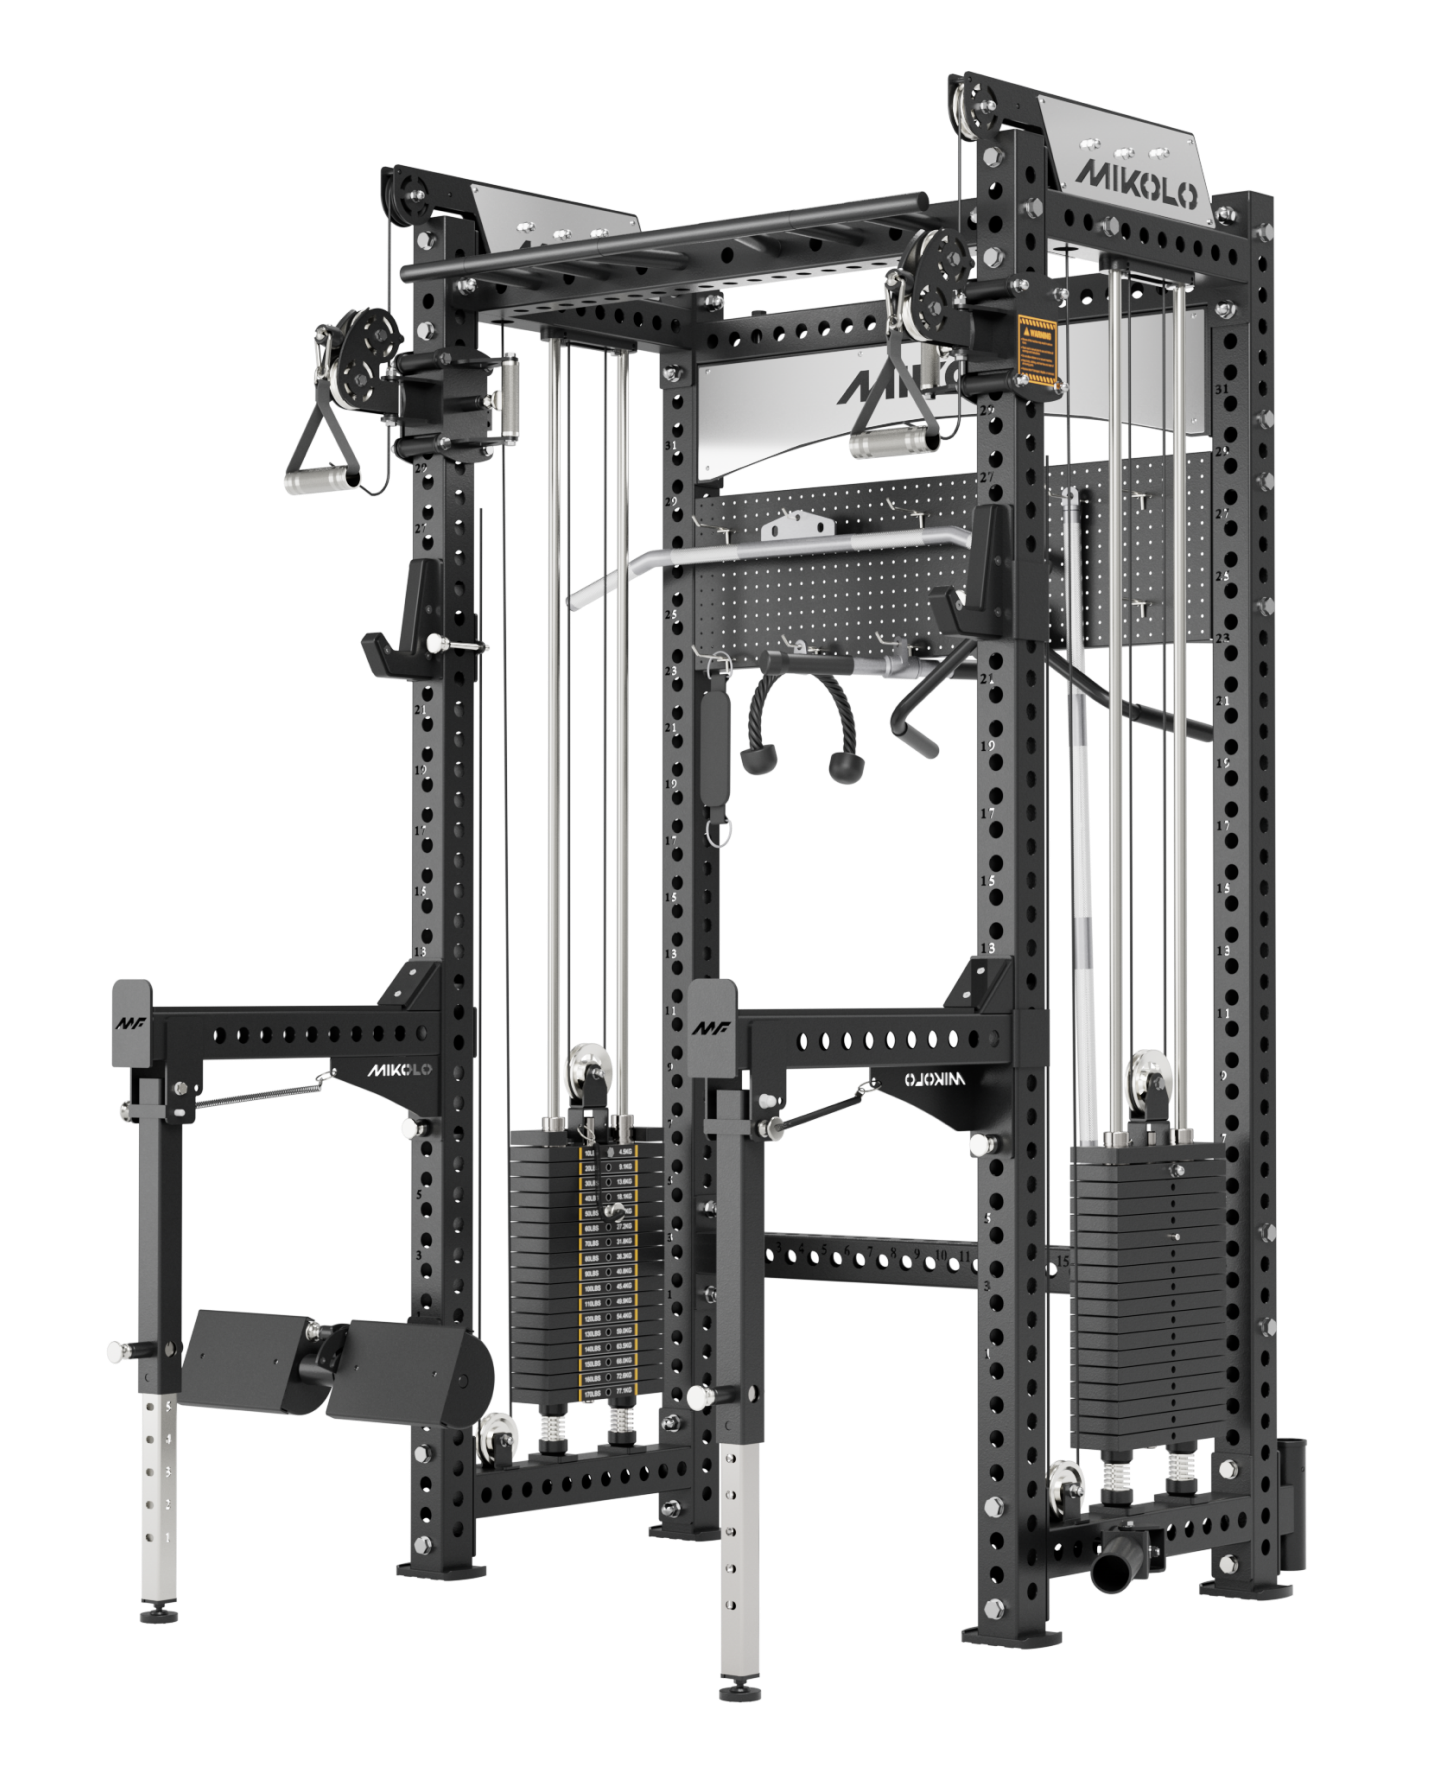
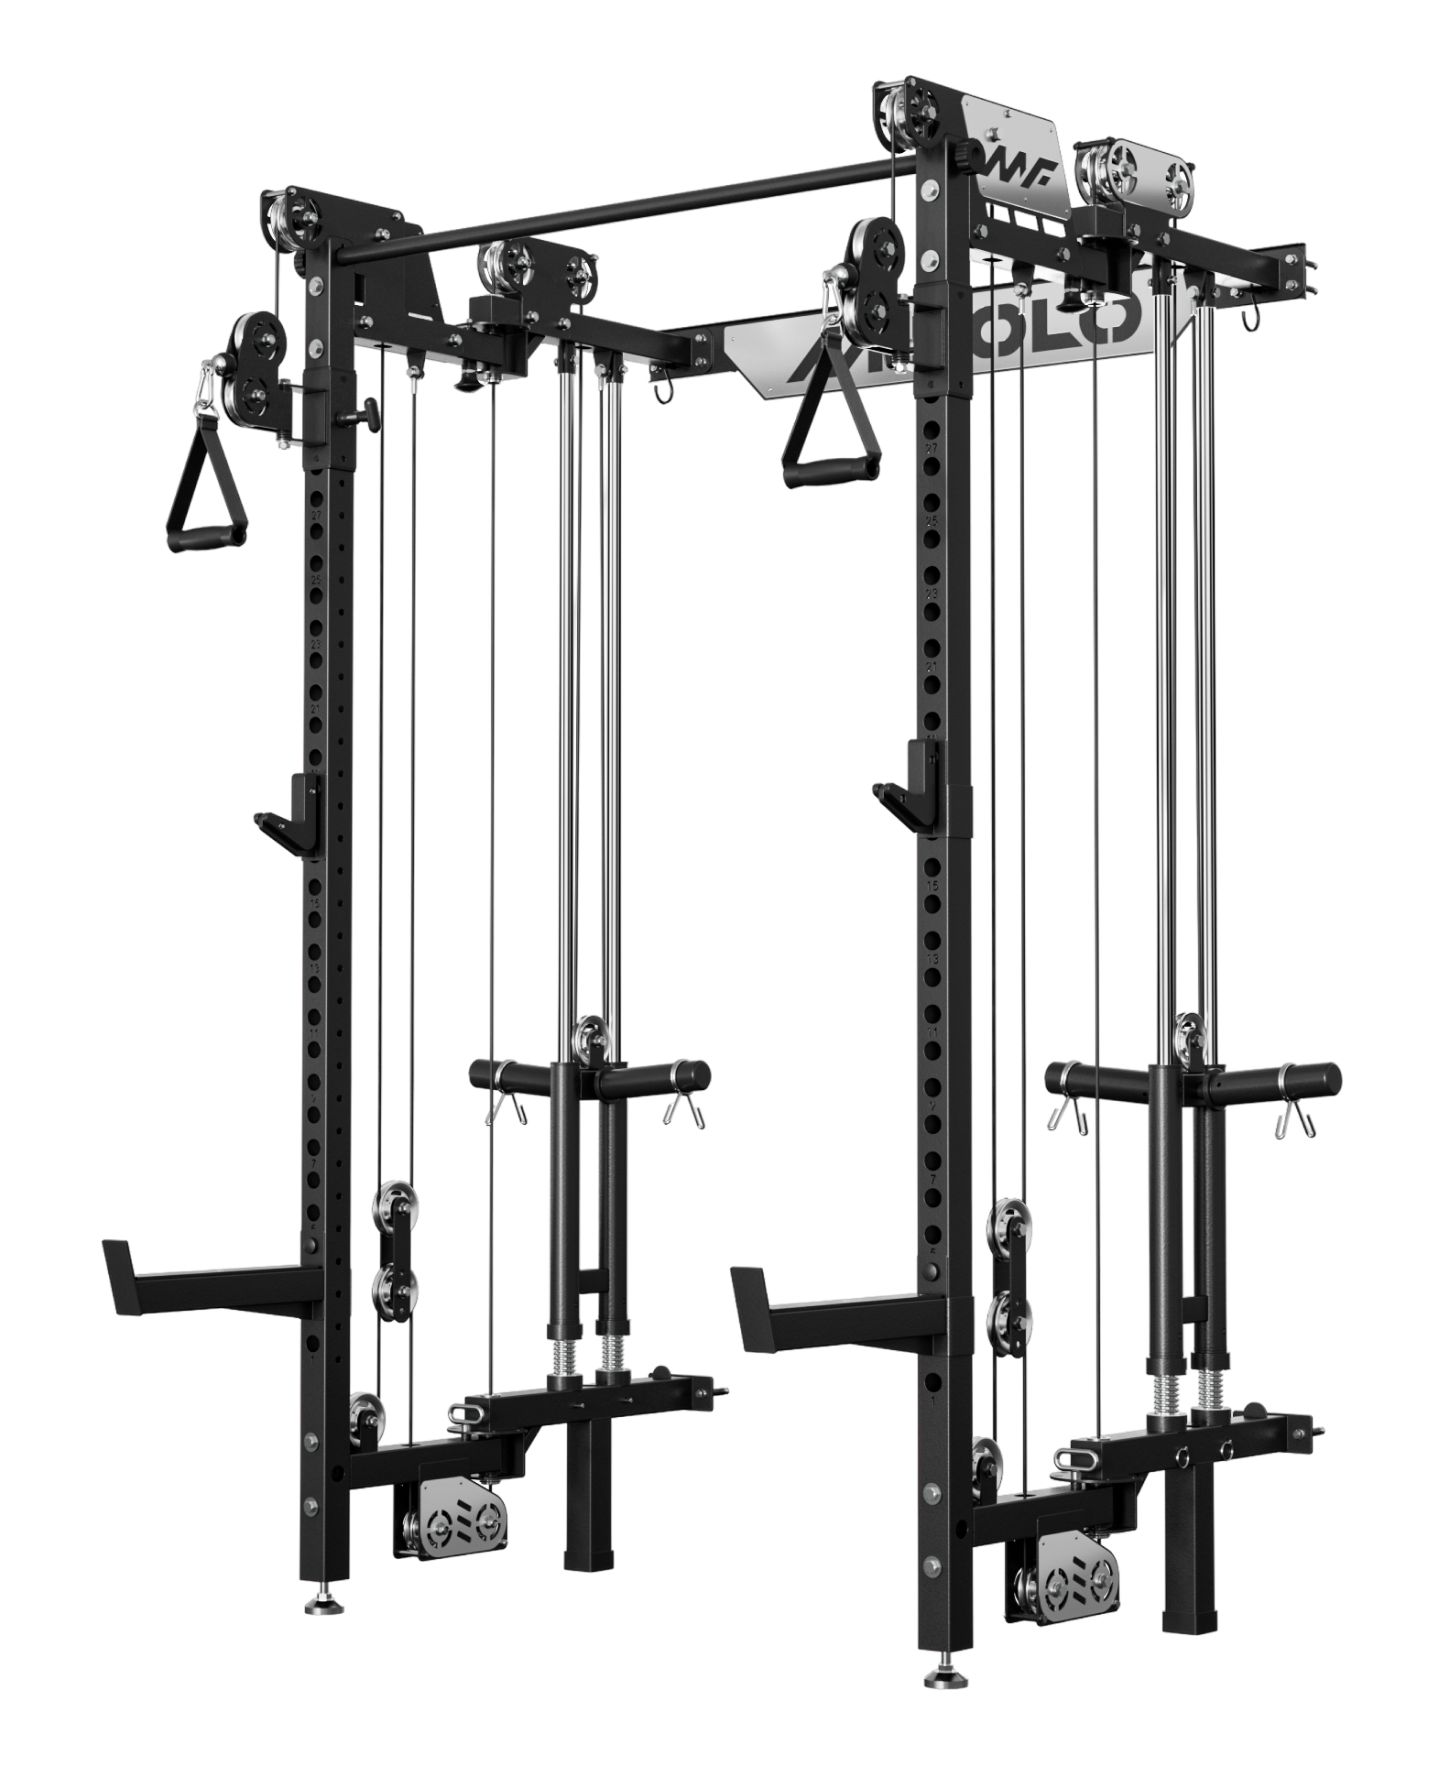
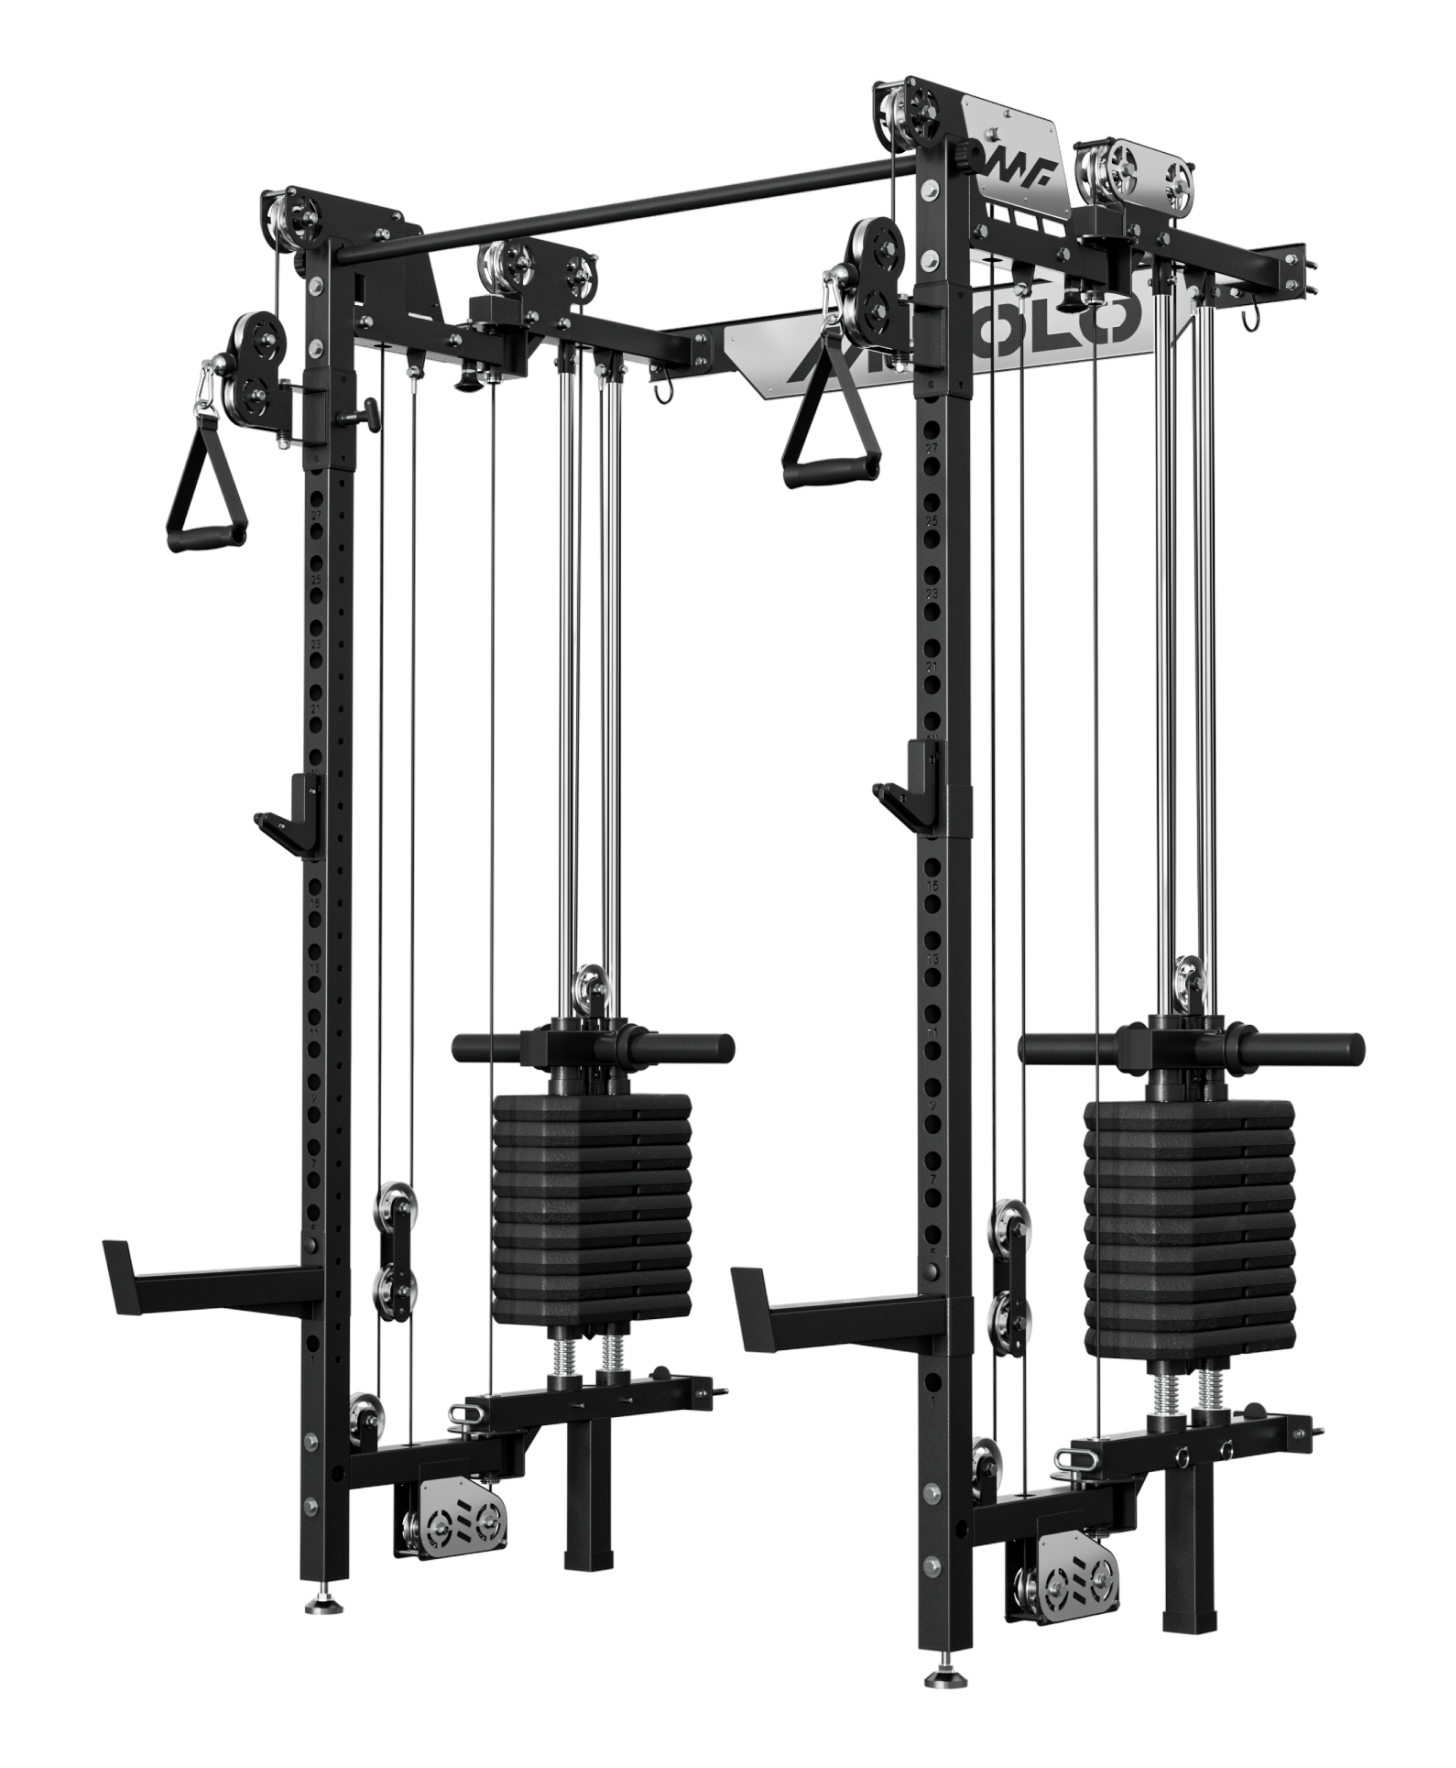
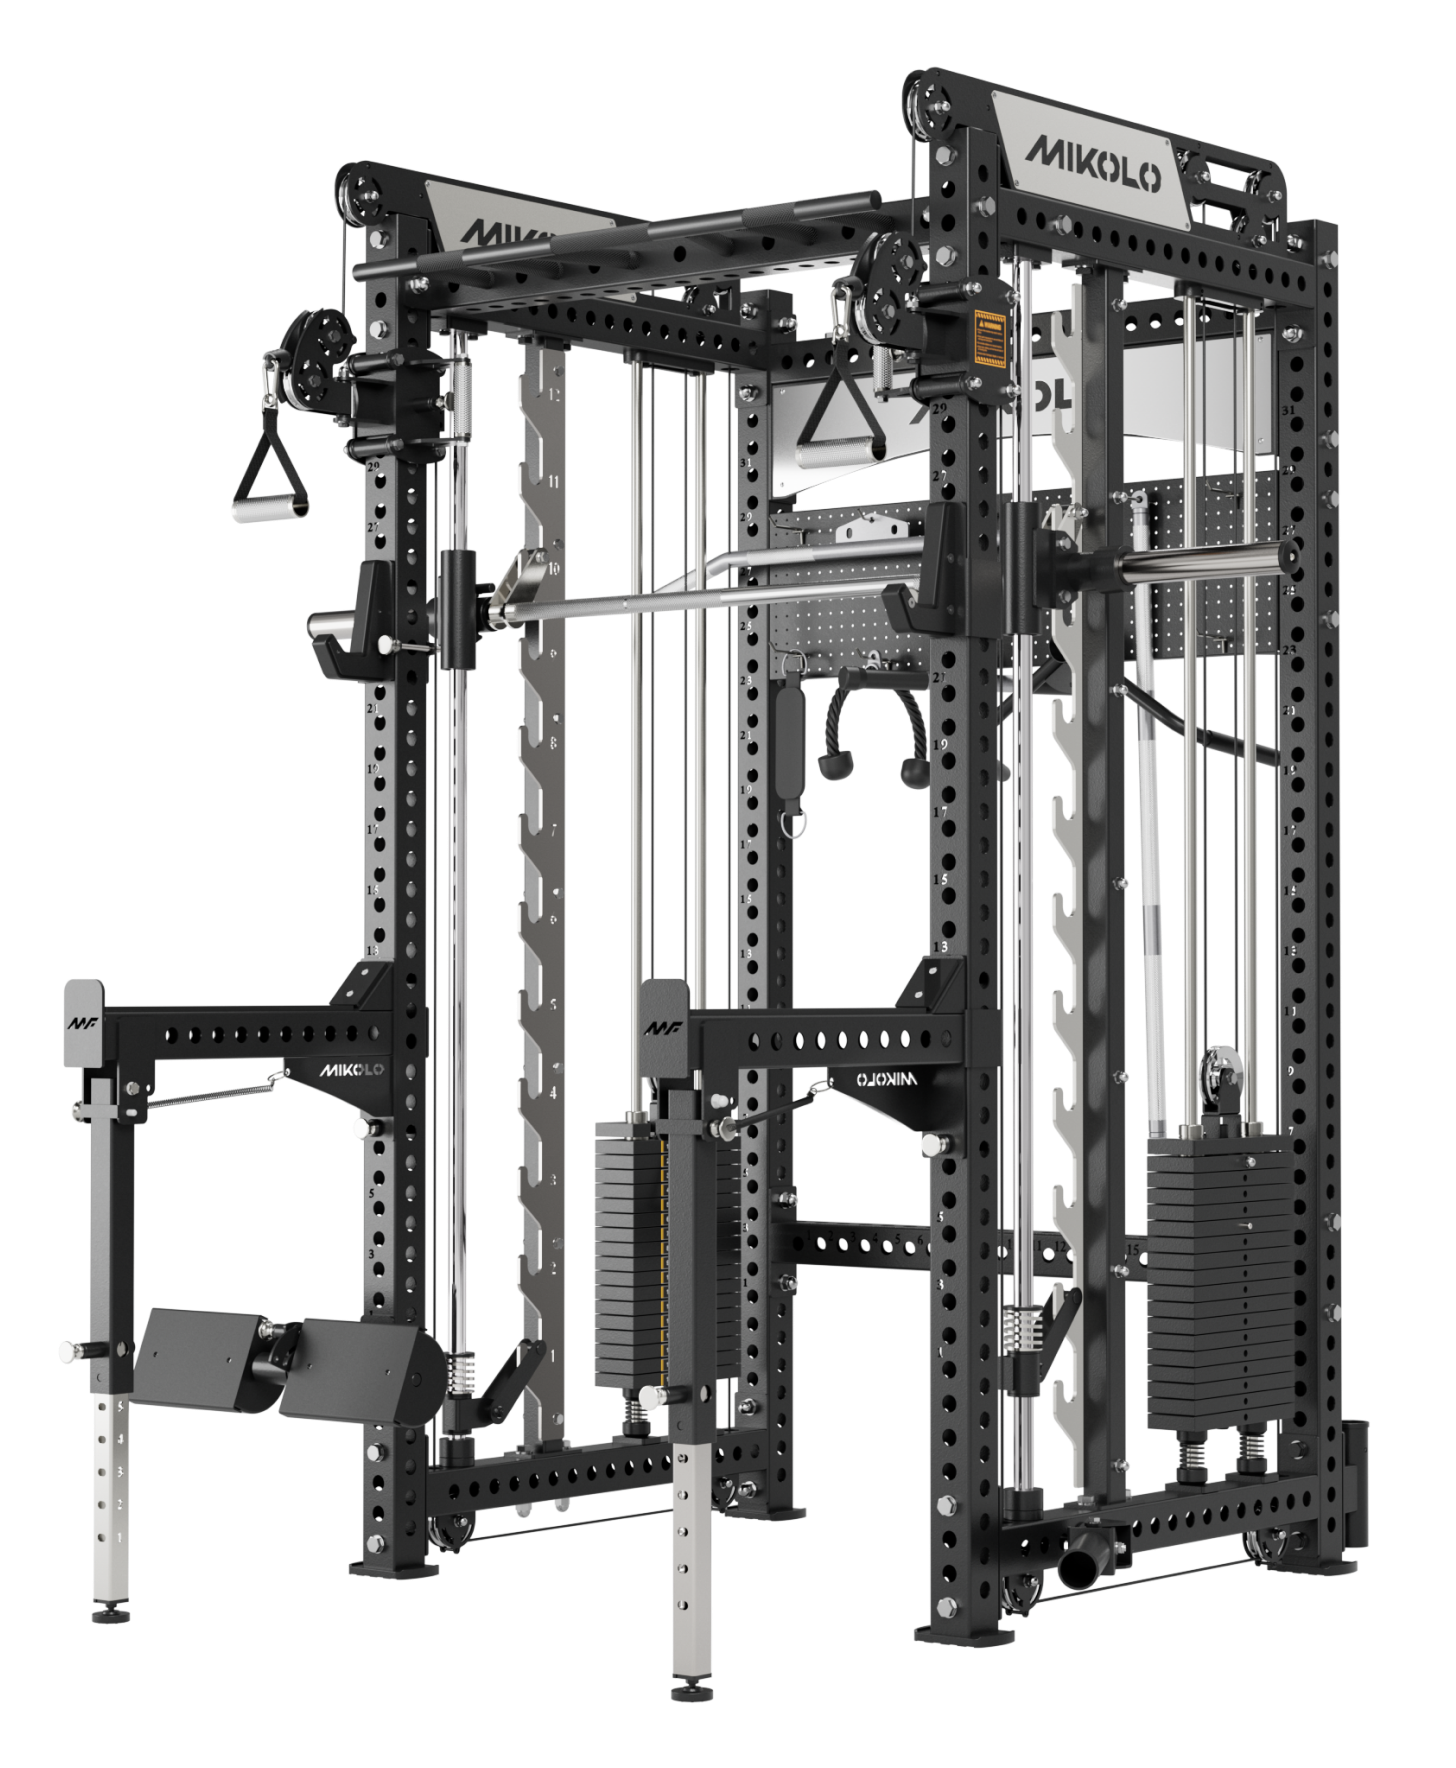
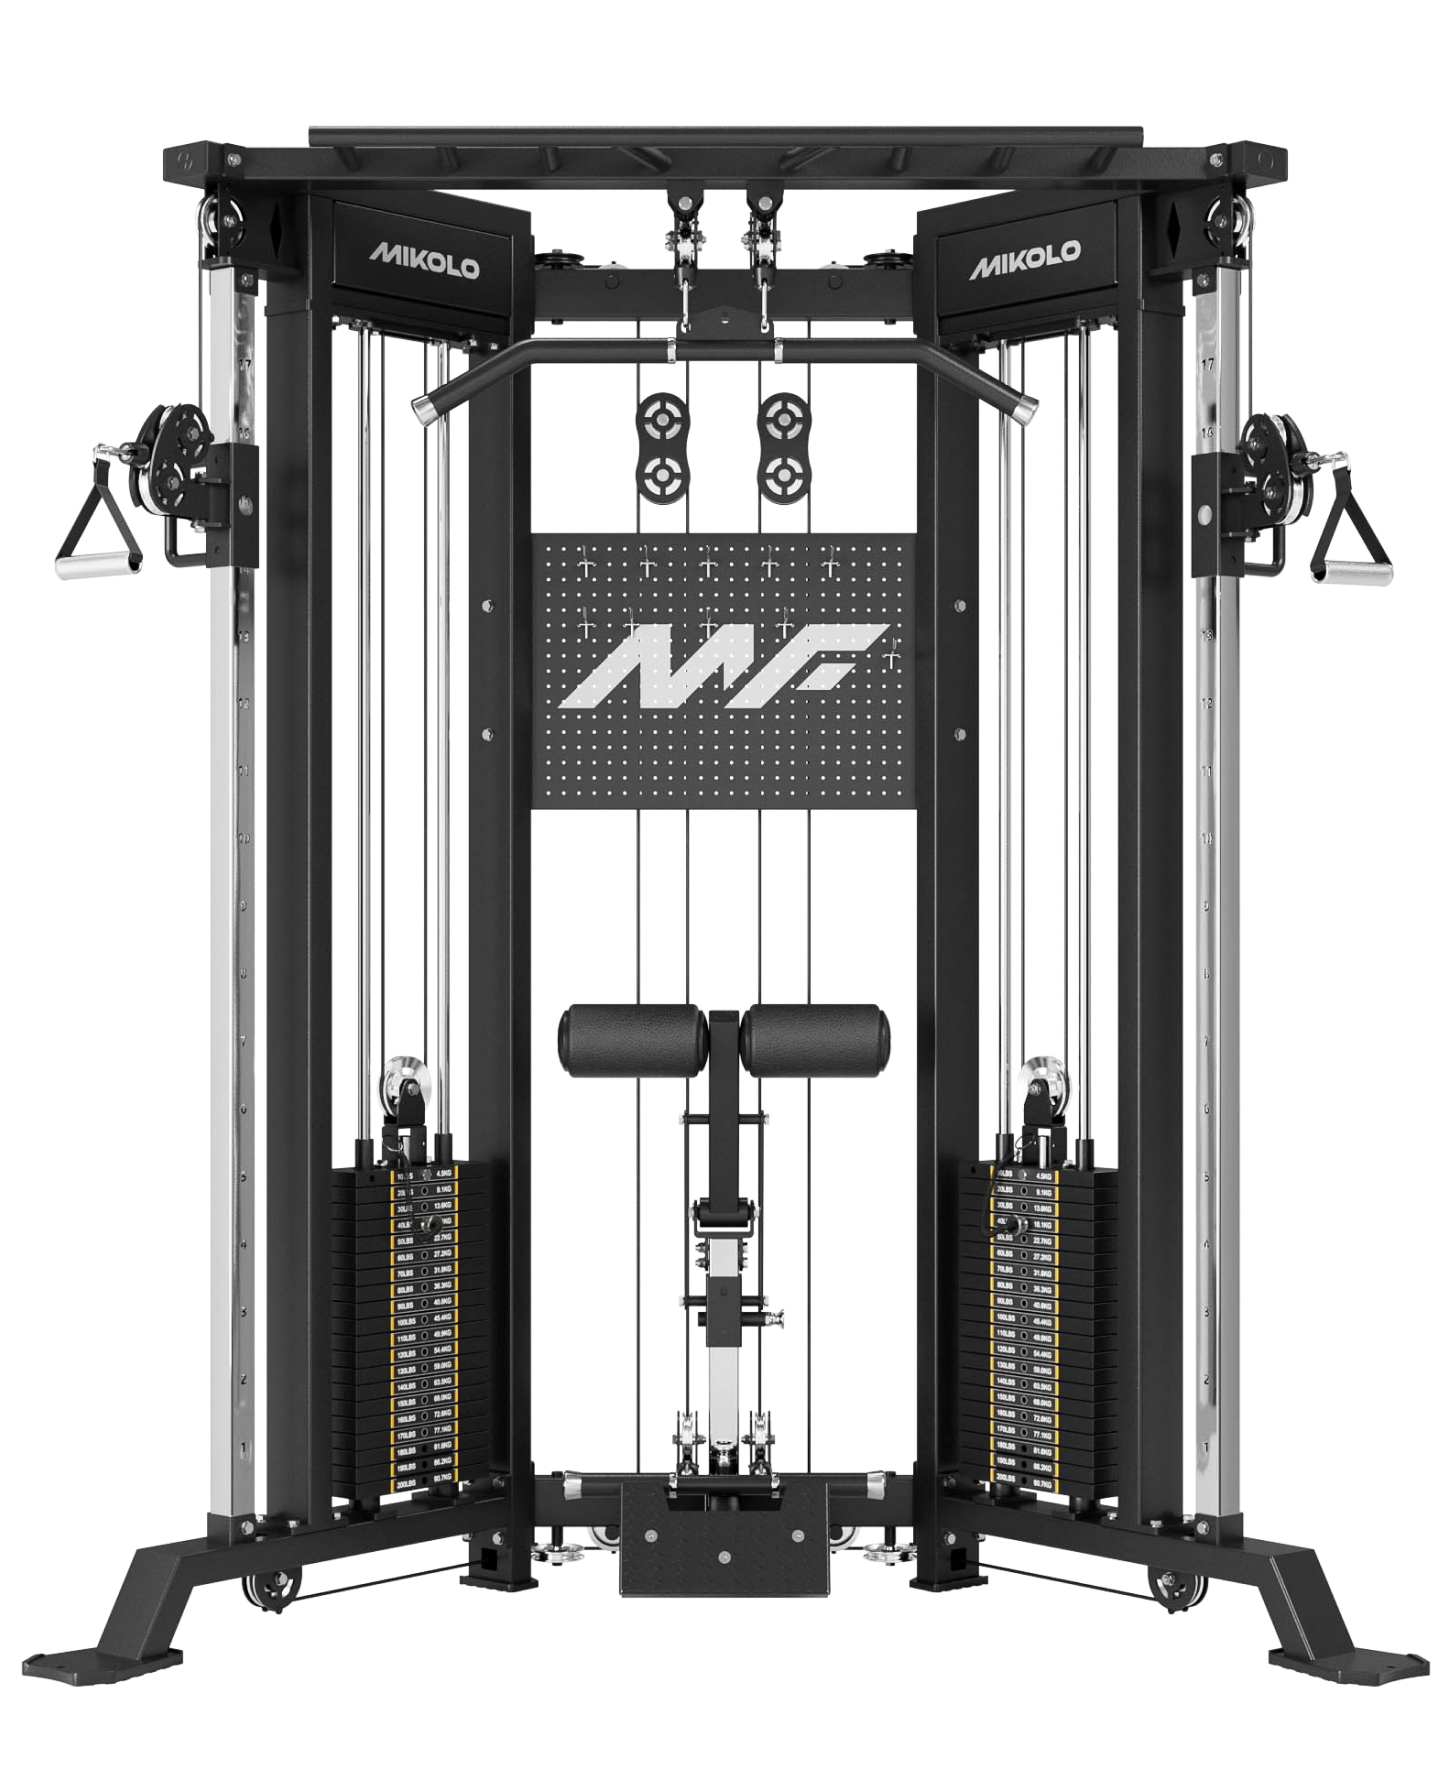
Another significant advantage of cable chest presses is their versatility. With a cable machine, you can perform a wide range of exercises that target the chest from various angles, ensuring comprehensive development. Whether you’re working on the mid chest, inner chest, or lower chest, cable crossover machine exercises provide the flexibility to switch between exercises seamlessly, keeping your workouts dynamic and effective.
Finally, the consistent resistance provided by cables not only improves muscle recruitment but also enhances overall control and stability during exercises. This makes cable chest presses an excellent option for both beginners and advanced lifters looking to improve their chest strength and muscle development. Incorporating cable exercises into your routine helps break through plateaus, reduce injury risk, and achieve a more sculpted, powerful chest.
Anatomy of Chest Muscles
Knowing the anatomy of the chest muscles is crucial for optimizing workouts and achieving maximum muscle growth. The chest is primarily composed of two major muscles: the pectoralis major and the pectoralis minor. These muscles work together to facilitate various movements of the shoulder and arm, making them essential for upper body strength and functionality.
The pectoralis major is the larger of the two muscles and is responsible for the bulk of the chest’s size and shape. It is divided into two parts: the clavicular head (upper chest) and the sternal head (mid and lower chest). This muscle plays a key role in movements such as flexion, adduction, and rotation of the shoulder joint. Understanding its structure helps in targeting specific areas during workouts, ensuring comprehensive chest development.
The pectoralis minor, on the other hand, is a smaller, triangular muscle located beneath the pectoralis major. Despite its size, it plays a vital role in stabilizing the shoulder girdle and assisting in movements that involve the scapula. Engaging this muscle effectively during workouts can enhance overall chest development and contribute to a balanced, symmetrical physique.
Cable exercises are particularly effective for targeting these muscles due to the constant tension they provide. By incorporating a variety of cable chest presses into your routine, you can ensure that all parts of the chest are adequately stimulated, leading to improved muscle recruitment and growth.
Now, let’s explore the specifics of the pectoralis major and minor to understand how to target these muscles effectively.
Pectoralis Major
The pectoralis major, or pec major, is a powerhouse muscle that plays a crucial role in various upper body movements. It is responsible for actions such as flexion, adduction, and rotation of the shoulder joint. This muscle is essential for exercises like the bench press and cable chest press, where pushing motions are predominant, engaging the pec muscles.
The pectoralis major is divided into two main parts: the clavicular head and the sternal head. The clavicular head, also known as the upper chest, originates from the clavicle and is primarily targeted through incline movements like the incline cable chest press. The sternal head, or mid and lower chest, originates from the sternum and upper six costal cartilages. This part of the muscle is engaged during flat and decline presses.
Incline cable chest presses are essential for targeting the upper part of the pectoralis major. These exercises specifically engage the clavicular head, promoting balanced chest development and enhancing overall upper body strength. Understanding the structure and function of the pectoralis major allows you to tailor your workouts to ensure all parts of this muscle are adequately stimulated.
Pectoralis Minor
The pectoralis minor, though smaller than the pectoralis major, plays a significant role in chest workouts and overall upper body mechanics. Located beneath the pectoralis major, this thin, triangular muscle is primarily involved in the movement and stabilization of the shoulder girdle. Its function is essential for maintaining proper shoulder mechanics and stability during various exercises.
Functionally, the pectoralis minor helps in moving the scapula forward and downward, contributing to overall shoulder mechanics and stability. This makes it a critical muscle for exercises that involve pushing and pressing movements, such as the cable chest press. By stabilizing the shoulder joint, the pectoralis minor allows for better control and power during these movements, enhancing the effectiveness of your workouts.
Engaging the pectoralis minor effectively in your workouts enhances overall chest development, contributing to a balanced and symmetrical physique. Understanding the role of this muscle and incorporating targeted exercises ensures comprehensive chest development and improved upper body strength.
Standing Cable Chest Press
The standing cable chest press is a versatile and effective exercise that targets the pectoralis major while also engaging the core for overall stability. This exercise allows for a greater range of motion compared to traditional bench presses, enabling you to target different areas of the chest more effectively. Maintaining a stable core optimizes performance and reduces the risk of injury.
Setting up for the standing cable chest press involves key steps to ensure proper form and effectiveness. First, adjust the pulley height to hip to chest level, depending on the portion of the chest you aim to target. Utilize single grip handles if necessary and ensure the handles are set at a height that allows for a comfortable grip while starting the press. Focus on achieving a good stretch and strong contraction with every repetition to maintain proper form.
Execute the standing cable chest press with controlled and deliberate movements to maximize muscle engagement. Keep your core engaged and maintain a natural arch in your low back to avoid any strain. Press the handles forward in a controlled manner, ensuring your elbows are in line with your wrists to avoid any ineffective movements or potential injuries. Slowly return to the starting position, maintaining tension on the muscles throughout the movement.
Common mistakes in the standing cable chest press include failing to maintain a stable core and using excessive weight. These errors can compromise your form and reduce the effectiveness of the exercise. Keeping your elbows in line with your wrists is also crucial for proper muscle engagement and injury prevention. Avoiding these common mistakes ensures a safe and effective workout.
Setup and Starting Position
To set up for the standing cable chest press, start by adjusting the pulley height to hip to chest level, which allows for optimal targeting of the chest muscles. Use single grip handles if required and ensure the handles are set at a height that allows for a comfortable grip.
Stand with a shoulder-width stance, keeping your feet flat on the ground and your core engaged. Focus on a good stretch and strong contraction with every repetition to maximize muscle engagement.
Execution
During the execution of the standing cable chest press, maintain a controlled manner throughout the movement. Start with your arms at shoulder level, elbows slightly bent, and push the handles forward, keeping your core engaged. Ensure your elbows stay in line with your wrists to avoid any ineffective movements or potential injuries.
Slowly return to the starting position, maintaining tension on the muscles throughout the exercise. This controlled tempo maximizes muscle engagement and ensures a safe workout.
Common Mistakes
Avoiding common mistakes during the standing cable chest press is crucial for maximizing muscle engagement and preventing injuries. One frequent error is failing to maintain a stable core, which can compromise form and reduce the effectiveness of the exercise.
Another common mistake is using excessive weight, leading to poor form and increasing the risk of injury. Additionally, not keeping the elbows in line with the wrists can result in ineffective movement and potential injury. By focusing on proper form and moderate weight, you can ensure a safe and effective workout.
Seated Cable Chest Press
The seated cable chest press is an excellent exercise for targeting the chest muscles while providing constant tension throughout the movement. This exercise allows for better control and stability, making it suitable for both beginners and advanced lifters. By maintaining a natural arch in your back and keeping your wrists neutral, you can ensure proper alignment and effective muscle engagement.
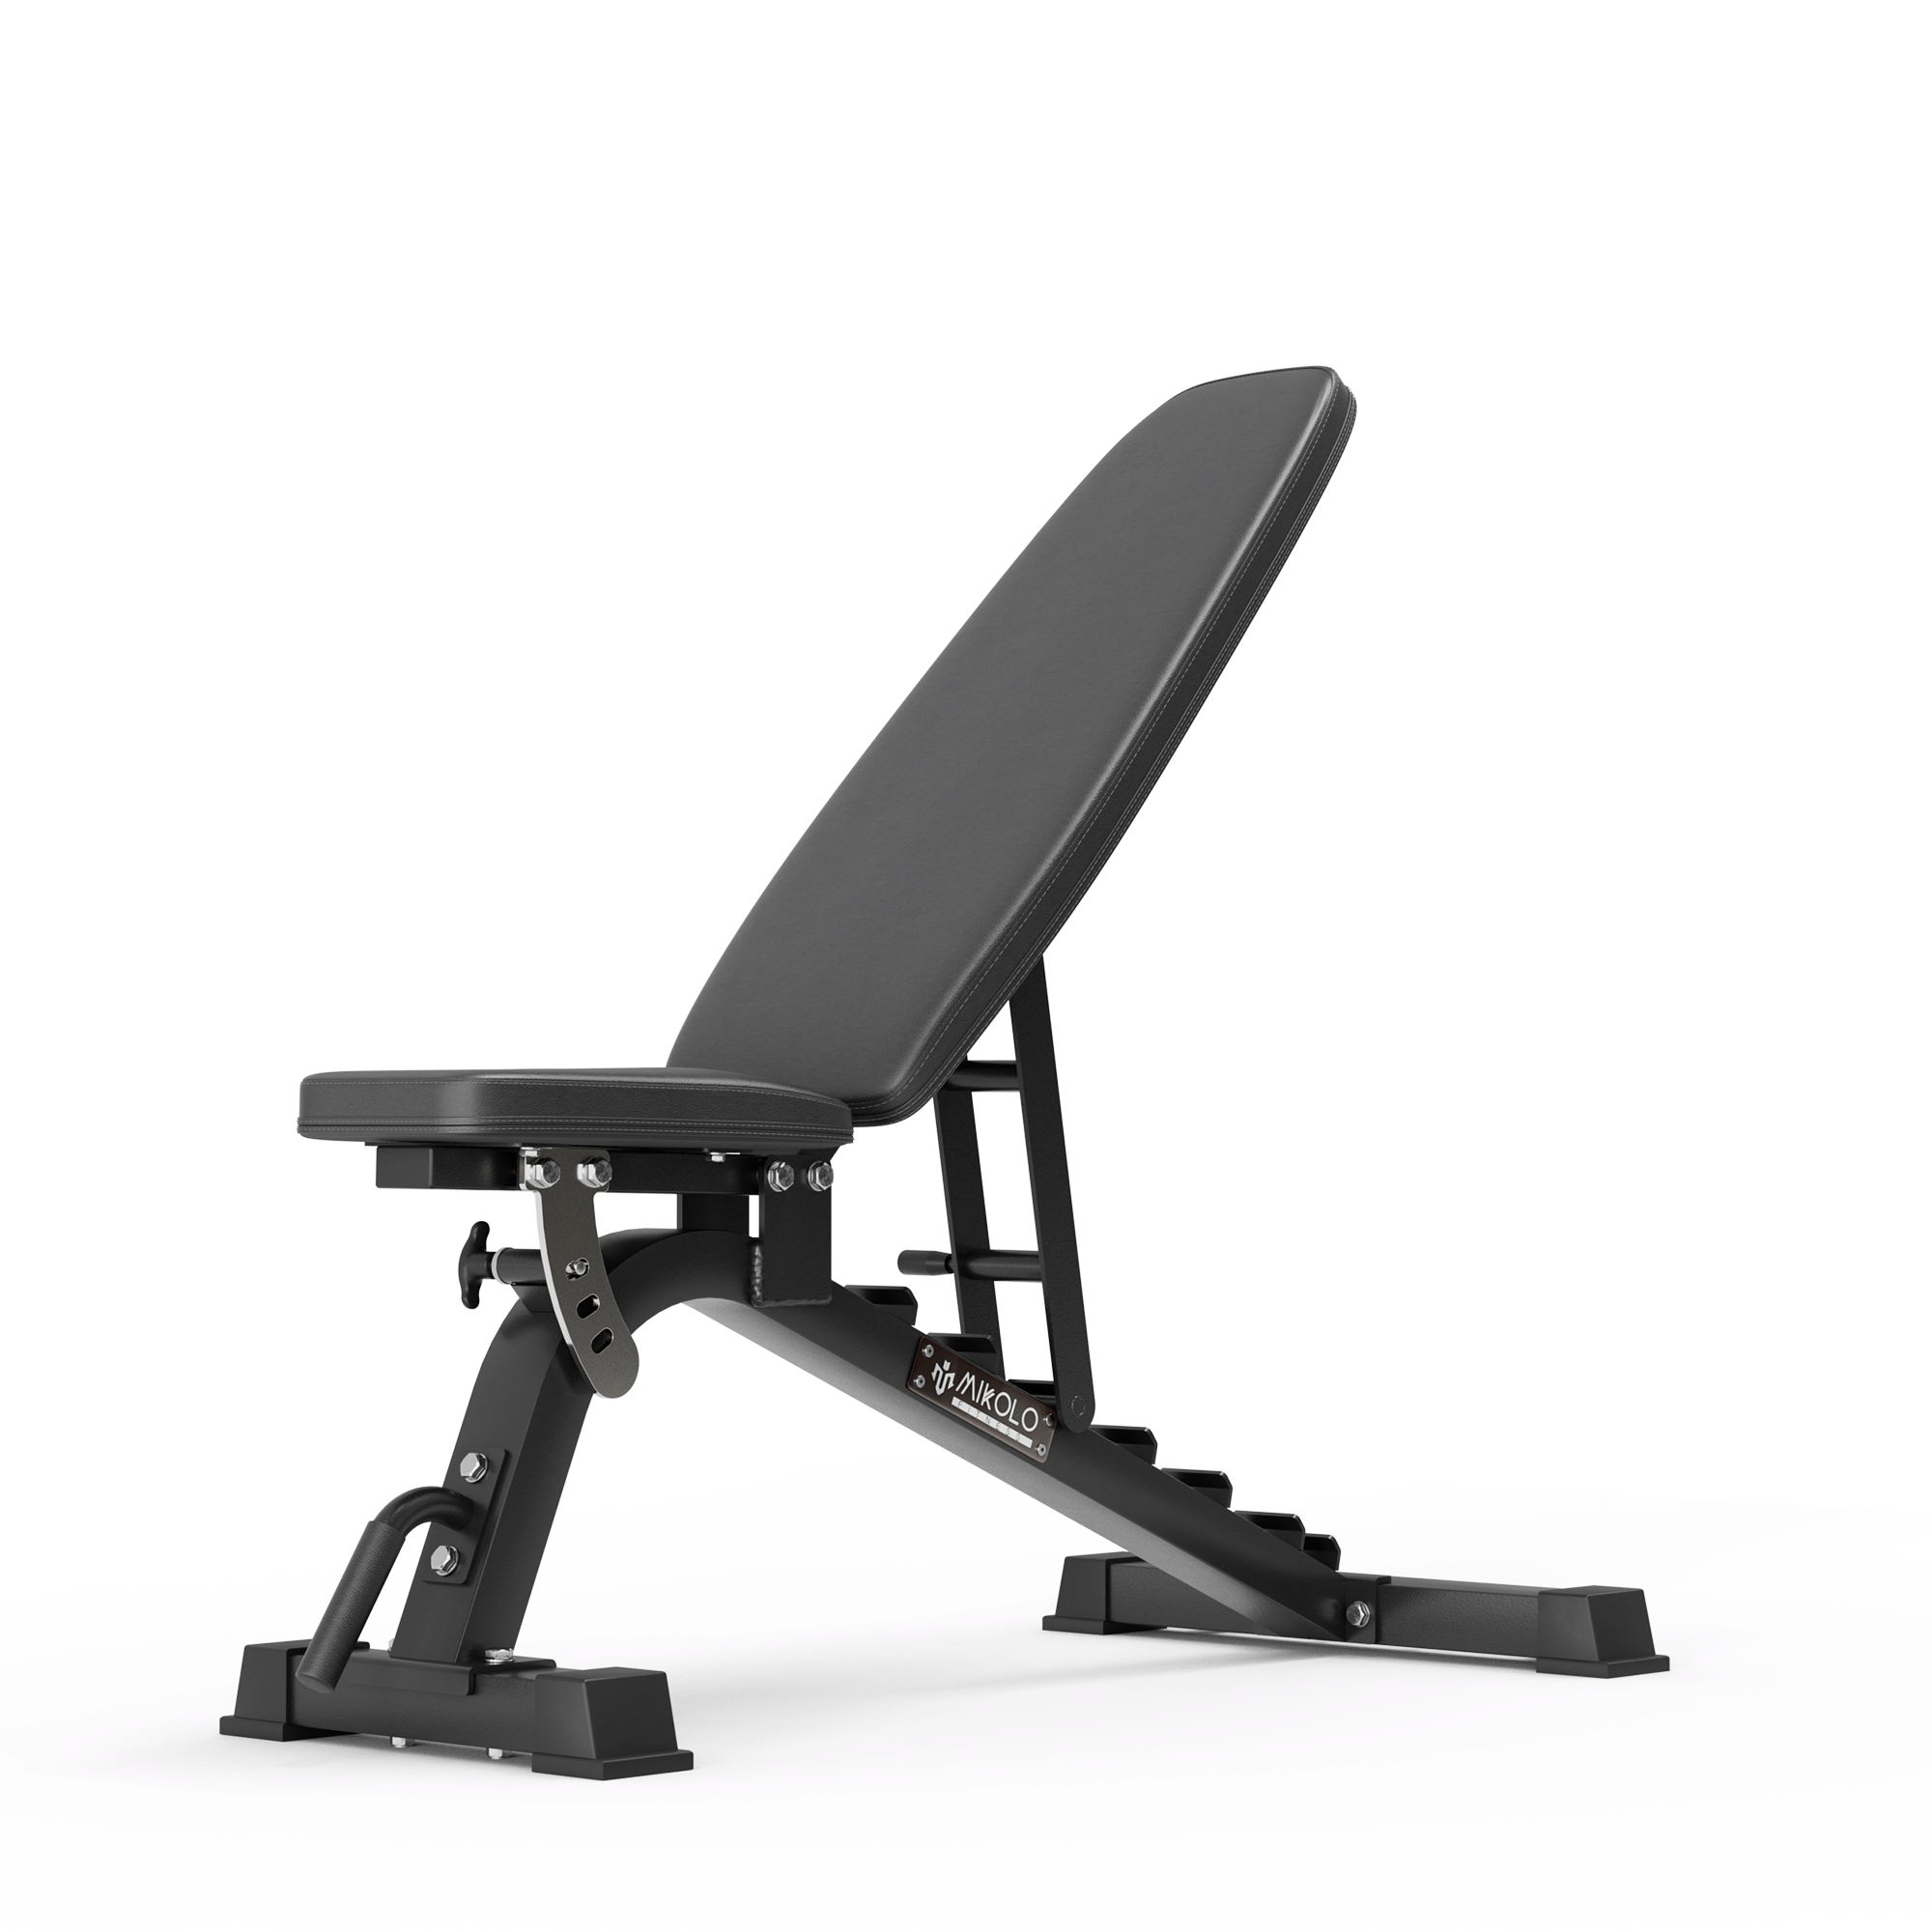
Setting up for the seated cable chest press involves adjusting the seat height so that the handles are at chest level when you sit down. Position the bench between the two pulleys and ensure your back is supported while your feet are flat on the floor. This setup ensures proper alignment and maximizes the effectiveness of the exercise.
Executing the seated cable chest press requires a controlled and deliberate movement. Begin by pressing the handles forward until your arms are fully extended but not locked. Slowly return the handles to the starting position, ensuring your elbows flex and the handles lightly touch your chest. Maintaining a controlled speed and proper form throughout the exercise is essential for maximizing muscle engagement and reducing the risk of injury.
Variations of the seated cable chest press can be performed by adjusting grip positions or using different angles to target various parts of the chest muscle fibers. A wider grip targets the outer chest, while a narrower grip emphasizes the inner chest. These variations ensure comprehensive chest development and muscle growth.
Setup and Starting Position
To set up for the seated cable chest press, position the bench between the two pulleys and adjust the seat height so that the handles are at chest level when you sit down. Ensure your back is supported, your feet are flat on the floor, and your wrists are in a neutral position.
Ensure the handles align with your shoulder blades or mid chest for effective muscle engagement and to avoid misalignment.
Execution
During the execution of the seated cable chest press, start by pressing the handles forward at mid-chest level until your arms are fully extended but not locked. Slowly return the handles to the starting position, ensuring your elbows flex and the handles lightly touch your chest.
Control the speed, range, and direction of the movement to maximize muscle engagement and reduce the risk of injury.
Variations
Variations of the seated cable chest press can be performed by adjusting grip positions or using different angles to target different parts of the chest muscle fibers. A wider grip targets the outer chest, while a narrower grip emphasizes the inner chest.
These variations ensure comprehensive chest development and muscle growth.
Incline Cable Chest Press
The incline cable chest press is an excellent exercise for emphasizing upper chest development, providing a different angle of resistance compared to flat presses. Utilizing a cable system for incline chest presses promotes continuous tension on the muscles throughout the movement, ensuring effective muscle engagement. Adjusting the cable pulley height can target different areas of the chest effectively.
Setting up for the incline cable chest press involves positioning the bench at a 45-degree angle between two low pulleys. Ensure the pulleys are set at a height that allows for a comfortable grip and proper alignment. This setup is crucial for maximizing the effectiveness of the exercise and targeting the upper chest muscles.
During the execution of the incline cable chest press, ensure your elbows remain slightly bent throughout to maintain tension on the chest muscles. Focus on pressing the cables upwards in a controlled manner, emphasizing a full extension at the top of the movement for optimal muscle engagement. Keep your shoulders retracted and avoid rounding your back to stabilize the torso and prevent injury. Proper breathing technique is essential, so inhale while lowering the cables and exhale while pushing them back up.
Common mistakes during the incline cable chest press include poor form, lack of core engagement, and incorrect starting position. Failing to maintain a neutral wrist position can lead to discomfort and potentially serious injuries. Using weights that are too heavy promotes improper movements and reduces training effectiveness.
Focus on maintaining proper form and moderate weight to maximize results.
Setup and Starting Position
To set up for the incline cable chest press, position the bench at a 45-degree angle between two low pulleys. Ensure the pulleys are set at a height that allows for a comfortable grip and proper alignment.
This setup is crucial for maximizing the effectiveness of the exercise and targeting the upper chest muscles.
Execution
During the incline cable chest press, keep your elbows slightly bent throughout to maintain tension on the chest muscles. Focus on pressing the cables upwards in a controlled manner, emphasizing a full extension at the top of the movement for optimal muscle engagement.
Keep your shoulders retracted and avoid rounding your back to stabilize the torso and prevent injury.
Mistakes to Avoid
Common mistakes during the incline cable chest press include:
-
Poor form
-
Lack of core engagement
-
Incorrect starting position
-
Failing to maintain a neutral wrist position, which can lead to discomfort and potentially serious injuries
-
Using weights that are too heavy, which promotes improper movements and reduces training effectiveness
Focus on maintaining proper form and moderate weight to maximize results.
Decline Cable Chest Press
The decline cable chest press specifically targets the lower pectoralis major head, providing a different angle of resistance compared to flat and incline presses. The lower chest is the largest portion of the chest, and engaging these muscle fibers can significantly enhance chest strength and development. Utilizing a cable system for decline chest presses ensures continuous tension on the muscles throughout the movement.
Setting up for the decline cable chest press involves ensuring the handles are set at a height that allows for a comfortable grip while starting the press. Aligning the body properly maximizes muscle engagement and avoids strain.
During the execution of the decline cable chest press, maintain a steady and controlled motion to maximize muscle engagement. Focus on pressing the handles forward in a controlled manner, ensuring your elbows are slightly bent and your core is engaged. This controlled tempo ensures effective muscle targeting and reduces the risk of injury.
Common mistakes during the decline cable chest press include using excessively heavy weights, improper alignment of the body, and poor form. Starting with lighter weights to establish correct form and technique before progressing is essential to avoid these mistakes and ensure a safe and effective workout.
Setup and Starting Position
To set up for the decline cable chest press, ensure the handles are set at a height that allows for a comfortable grip while starting the press. Aligning the body properly maximizes muscle engagement and avoids strain.
Execution
During the execution of the decline cable chest press, maintain a steady and controlled motion to maximize muscle engagement. Focus on pressing the handles forward in a controlled manner, ensuring your elbows are slightly bent and your core is engaged.
This controlled tempo ensures effective muscle targeting and reduces the risk of injury.
Common Mistakes
Common mistakes during the decline cable chest press include using excessively heavy weights, improper alignment of the body, and poor form. Starting with lighter weights to establish correct form and technique before progressing is essential to avoid these mistakes and ensure a safe and effective workout.
Single-Arm Cable Chest Press
The single-arm cable chest press is an effective exercise for developing unilateral strength and enhancing muscle symmetry. This variation allows for greater muscle isolation and can help correct muscular imbalances, leading to a more balanced and symmetrical physique. By performing the exercise with one arm at a time, you can ensure each side of the chest is equally engaged.
Setting up for the single-arm cable chest press involves adjusting the pulleys to hip to chest height and adopting a staggered stance for enhanced stability. Stand with feet shoulder-width apart and engage the core to maintain balance and proper form.
Executing the single-arm cable chest press requires a controlled and deliberate movement. Start by pressing the handle forward with one arm, keeping your core engaged and maintaining a natural arch in your back. Ensure your elbow stays in line with your wrist to avoid any ineffective movements or potential injuries. Slowly return to the starting position, maintaining tension on the muscles throughout the exercise.
Before:
There are many benefits to the single-arm cable chest press. It offers a variety of advantages for those who incorporate it into their workout. This exercise effectively isolates the chest muscles, allowing for targeted growth and strength enhancement. Additionally, it corrects muscular imbalances and improves posture, which is essential for overall upper body fitness. Engaging the core and increasing the range of motion significantly enhances functional strength and athletic performance.
After:
The benefits of the single-arm cable chest press include:
-
Effective isolation of the chest muscles, allowing for targeted growth and strength enhancement
-
Correction of muscular imbalances
-
Improvement of posture, which is essential for overall upper body fitness
-
Engagement of the core
-
Increased range of motion, significantly enhancing functional strength and athletic performance
Setup and Starting Position
To set up for the single-arm cable chest press, adjust the pulleys to hip to chest height and adopt a staggered stance for enhanced stability.
Stand with feet shoulder-width apart and engage the core to maintain balance and proper form.
Execution
During the execution of the single-arm cable chest press, start by pressing the handle forward with one arm, keeping your core engaged and maintaining a natural arch in your back. Ensure your elbow stays in line with your wrist to avoid any ineffective movements or potential injuries.
Slowly return to the starting position, maintaining tension on the muscles throughout the exercise.
Benefits
Before:
There are many benefits to the single-arm cable chest press. It offers a variety of advantages for those who incorporate it into their workout. This exercise effectively isolates the chest muscles, allowing for targeted growth and strength enhancement. Additionally, it corrects muscular imbalances and improves posture, which is essential for overall upper body fitness.
After:
The single-arm cable chest press offers a variety of benefits, including:
-
Effective isolation of the chest muscles for targeted growth and strength enhancement
-
Correction of muscular imbalances
-
Improvement of posture, which is essential for overall upper body fitness
Engaging the core and increasing the range of motion significantly enhances functional strength and athletic performance.
Tips for Effective Cable Chest Workouts
To maximize the effectiveness of your cable chest workouts, it’s essential to engage the core throughout the exercise to maintain balance and proper form. Core stability is especially important during the standing cable chest press for performance and safety.
Tempo and intensity are also critical factors in muscle growth. Working at intensities close to failure and incorporating slower lowering phases can increase muscle time under tension, leading to better muscle engagement and growth. The recommended rest time between sets for hypertrophy training is 60-90 seconds, which helps maintain the intensity of your workouts.
Combining cable workouts with free weights offers a balanced approach to chest training. While cables offer continuous tension and precise angle control, free weights can help build foundational strength and stability. This combination ensures comprehensive chest development and prevents plateaus in your training.
Proper breathing and form are key for effective cable chest workouts. Exhale during the extension phase and inhale while returning to the start position to maintain proper breathing technique. Additionally, maintaining a neutral wrist position and slightly bent elbows can help prevent strain and ensure proper alignment during exercises.
Summary
In summary, cable chest presses offer numerous benefits that make them a valuable addition to any workout regimen. From continuous tension and versatile angles to improved muscle engagement and control, these exercises can help you achieve a stronger, more defined chest. By understanding the anatomy of the chest muscles and incorporating a variety of cable exercises, you can ensure comprehensive development and muscle growth.
We encourage you to incorporate these cable chest press exercises into your routine to break through plateaus and achieve balanced chest development. Whether you’re a beginner or an advanced lifter, the versatility and effectiveness of cable chest presses can help you reach your fitness goals and enhance your overall upper body strength.
Frequently Asked Questions
What makes cable chest presses different from traditional bench presses?
Cable chest presses differ from traditional bench presses by offering continuous tension during the movement, which enhances muscle engagement and promotes greater growth potential. This constant resistance can lead to improved strength and development in the chest muscles.
How do I set up for a standing cable chest press?
To set up for a standing cable chest press, adjust the pulley height to align with your hips or chest, use single grip handles if needed, and maintain a shoulder-width stance with your feet flat and core engaged. This positioning will ensure a comfortable and effective press.
What are the benefits of the single-arm cable chest press?
The single-arm cable chest press is highly beneficial as it isolates the chest muscles, corrects imbalances, and improves posture, ultimately enhancing your strength and athletic performance. This focused approach can significantly contribute to your overall fitness goals.
Why is core engagement important during cable chest exercises?
Core engagement is crucial during cable chest exercises because it enhances balance and proper form, which minimizes injury risk and maximizes performance. By consciously activating your core, you create stability that supports your upper body movements effectively.
How can I maximize muscle growth during cable chest workouts?
To maximize muscle growth during cable chest workouts, focus on training close to failure, utilize slower lowering phases for increased time under tension, and combine cable exercises with free weights for a well-rounded regimen.





















Leave a comment
This site is protected by hCaptcha and the hCaptcha Privacy Policy and Terms of Service apply.