


If you’ve ever stepped foot in a gym you’ve probably seen a squat rack sitting in the corner waiting to transform your leg day. More than just a metal box, this piece of equipment can be your ticket to powerful legs, a strong backside and overall fitness. Plus it’s a great space saver for home gyms!
Before we get into squats let’s go over how to use a squat rack efficiently and safely. First things first: what is a squat rack? For this guide, we’ll be using the 2X2 F4 Power Rack, a solid-as-a-rock example of a good squat rack. If you need inspiration check this bad boy out.
What Is a Squat Rack?
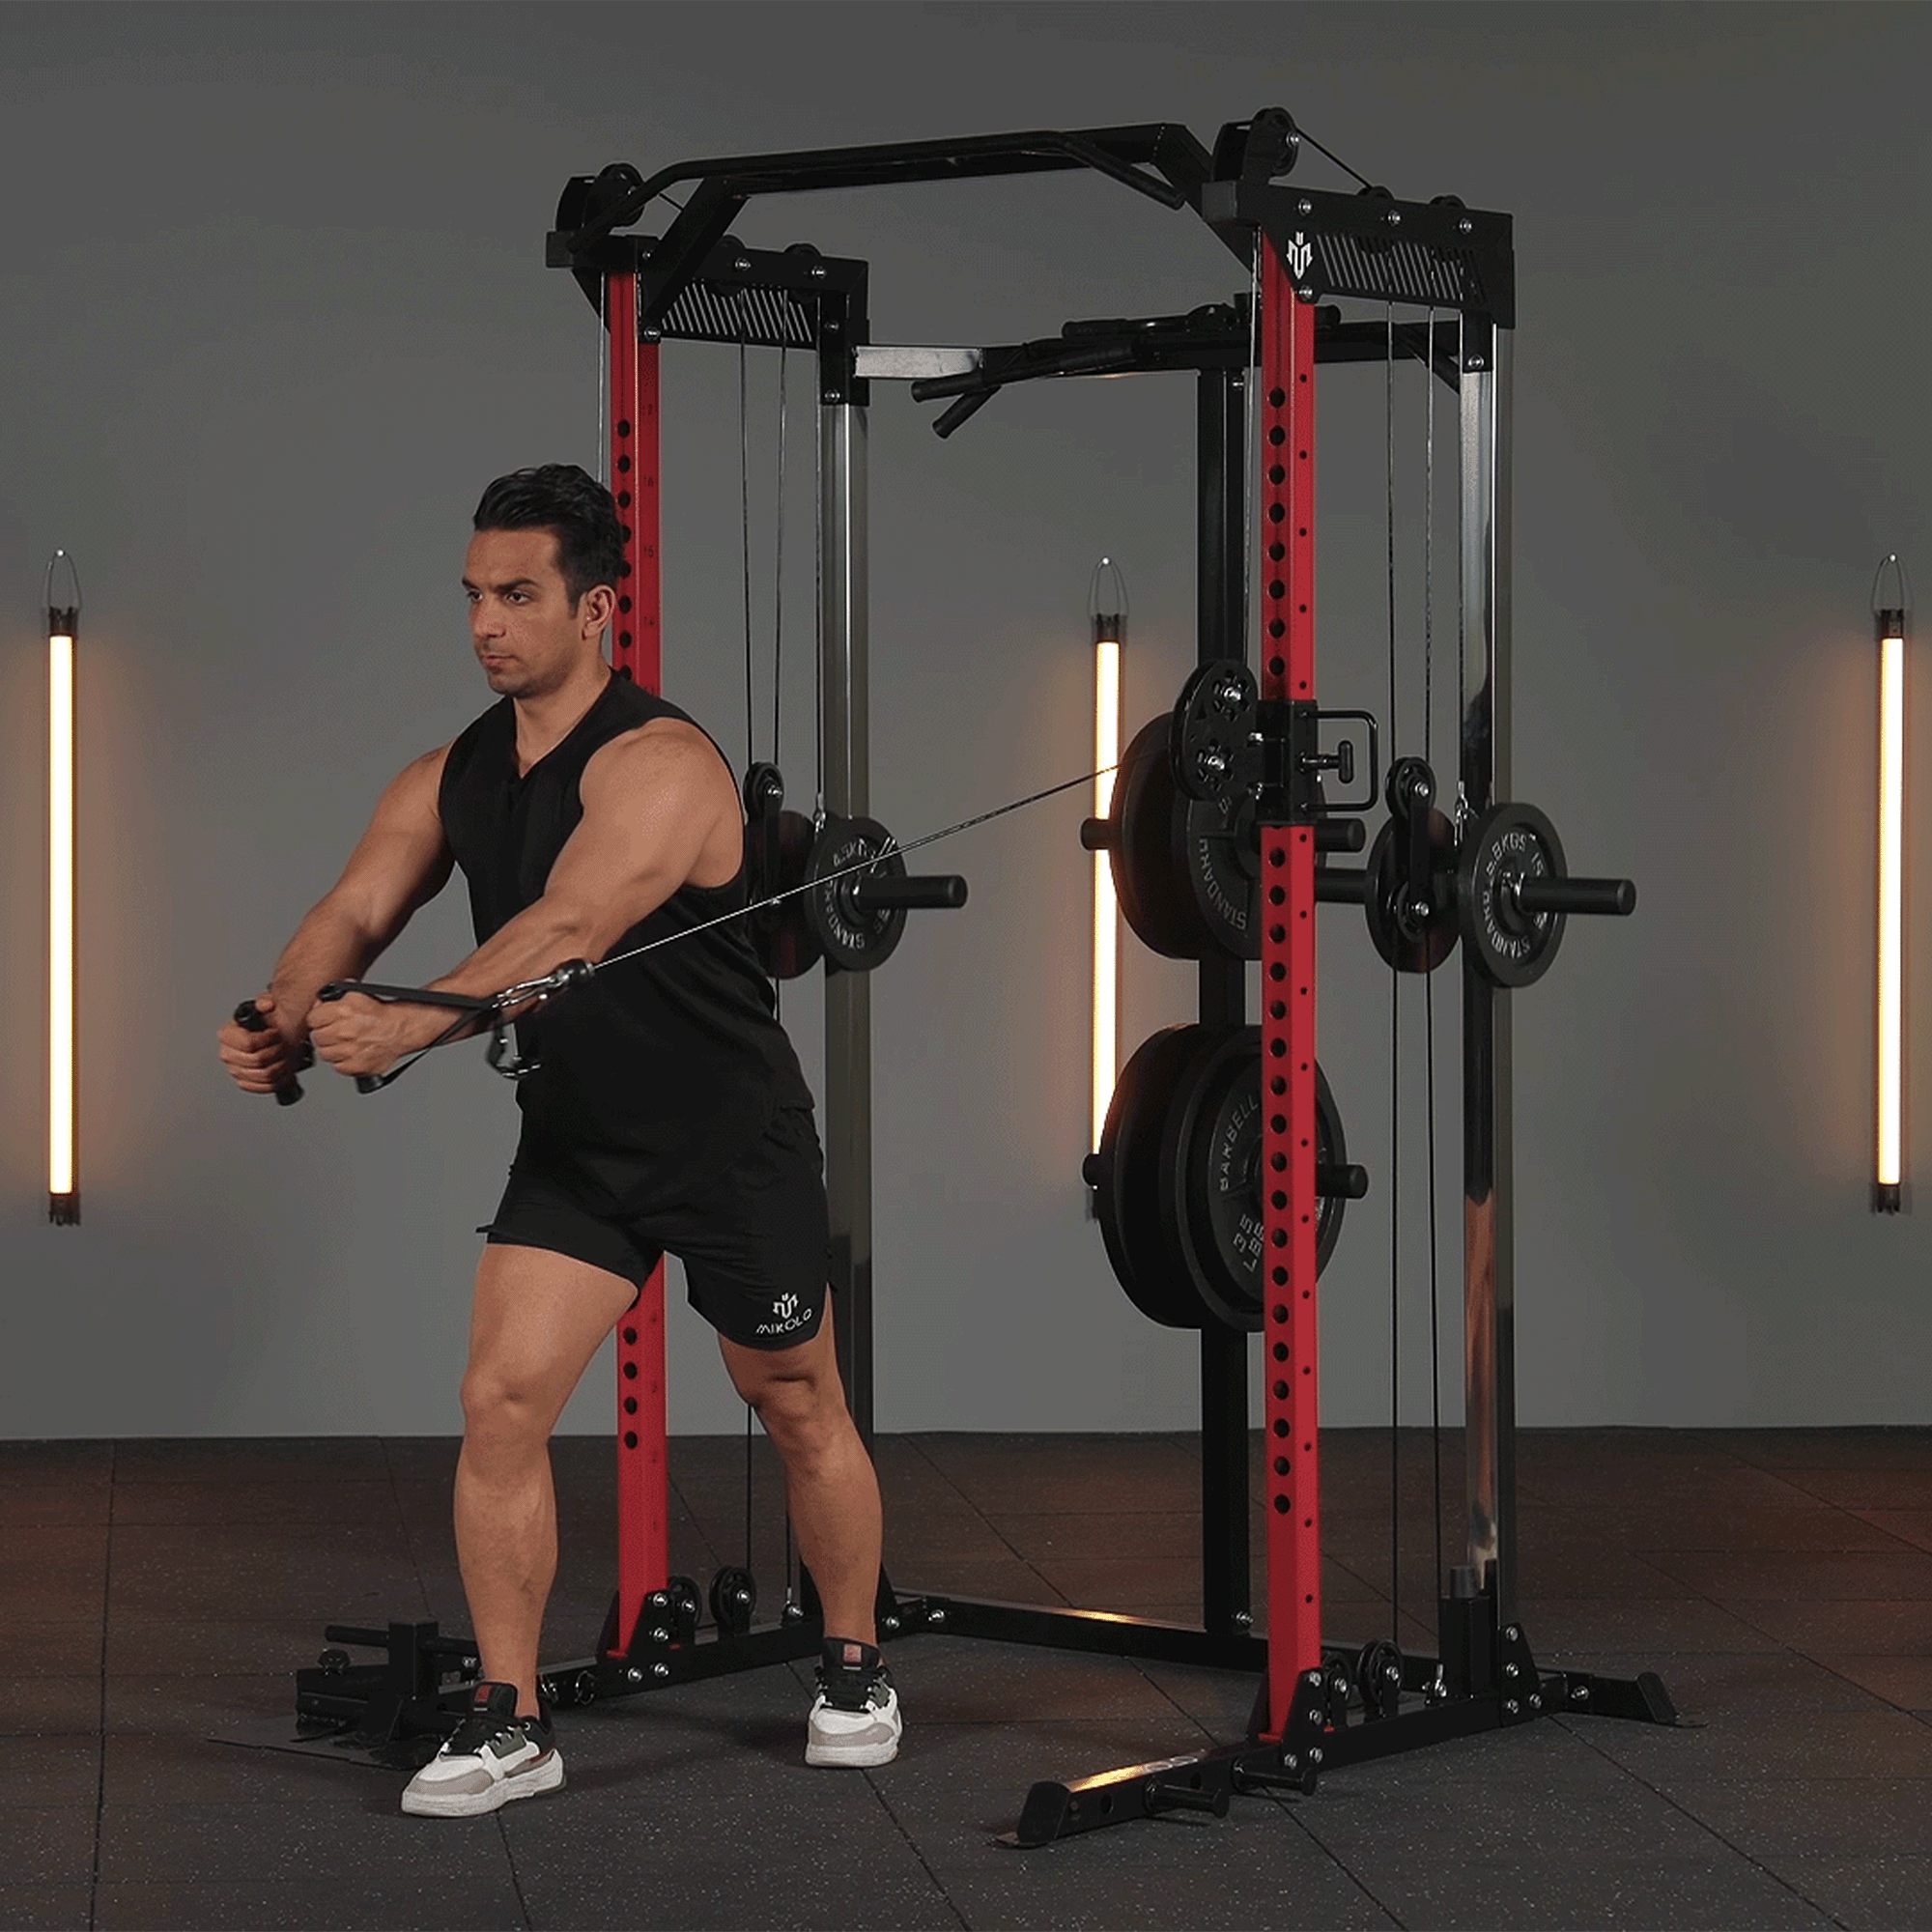
A squat rack or squat stand is a piece of gym equipment that helps you squat safely. It’s two vertical posts with adjustable J-hooks or spotter arms that hold the barbell so you can set up for a lift. Now that you know the basics let’s get into how to use it for squatting.

Step-by-Step Guide
Step 1: Adjust the J-Cups
Adjust the J-cups or spotter arms to the right height. Ideally they should be just below your shoulders when you’re standing. This way you can unrack the barbell smoothly and maintain proper form.
Step 2: Set Up
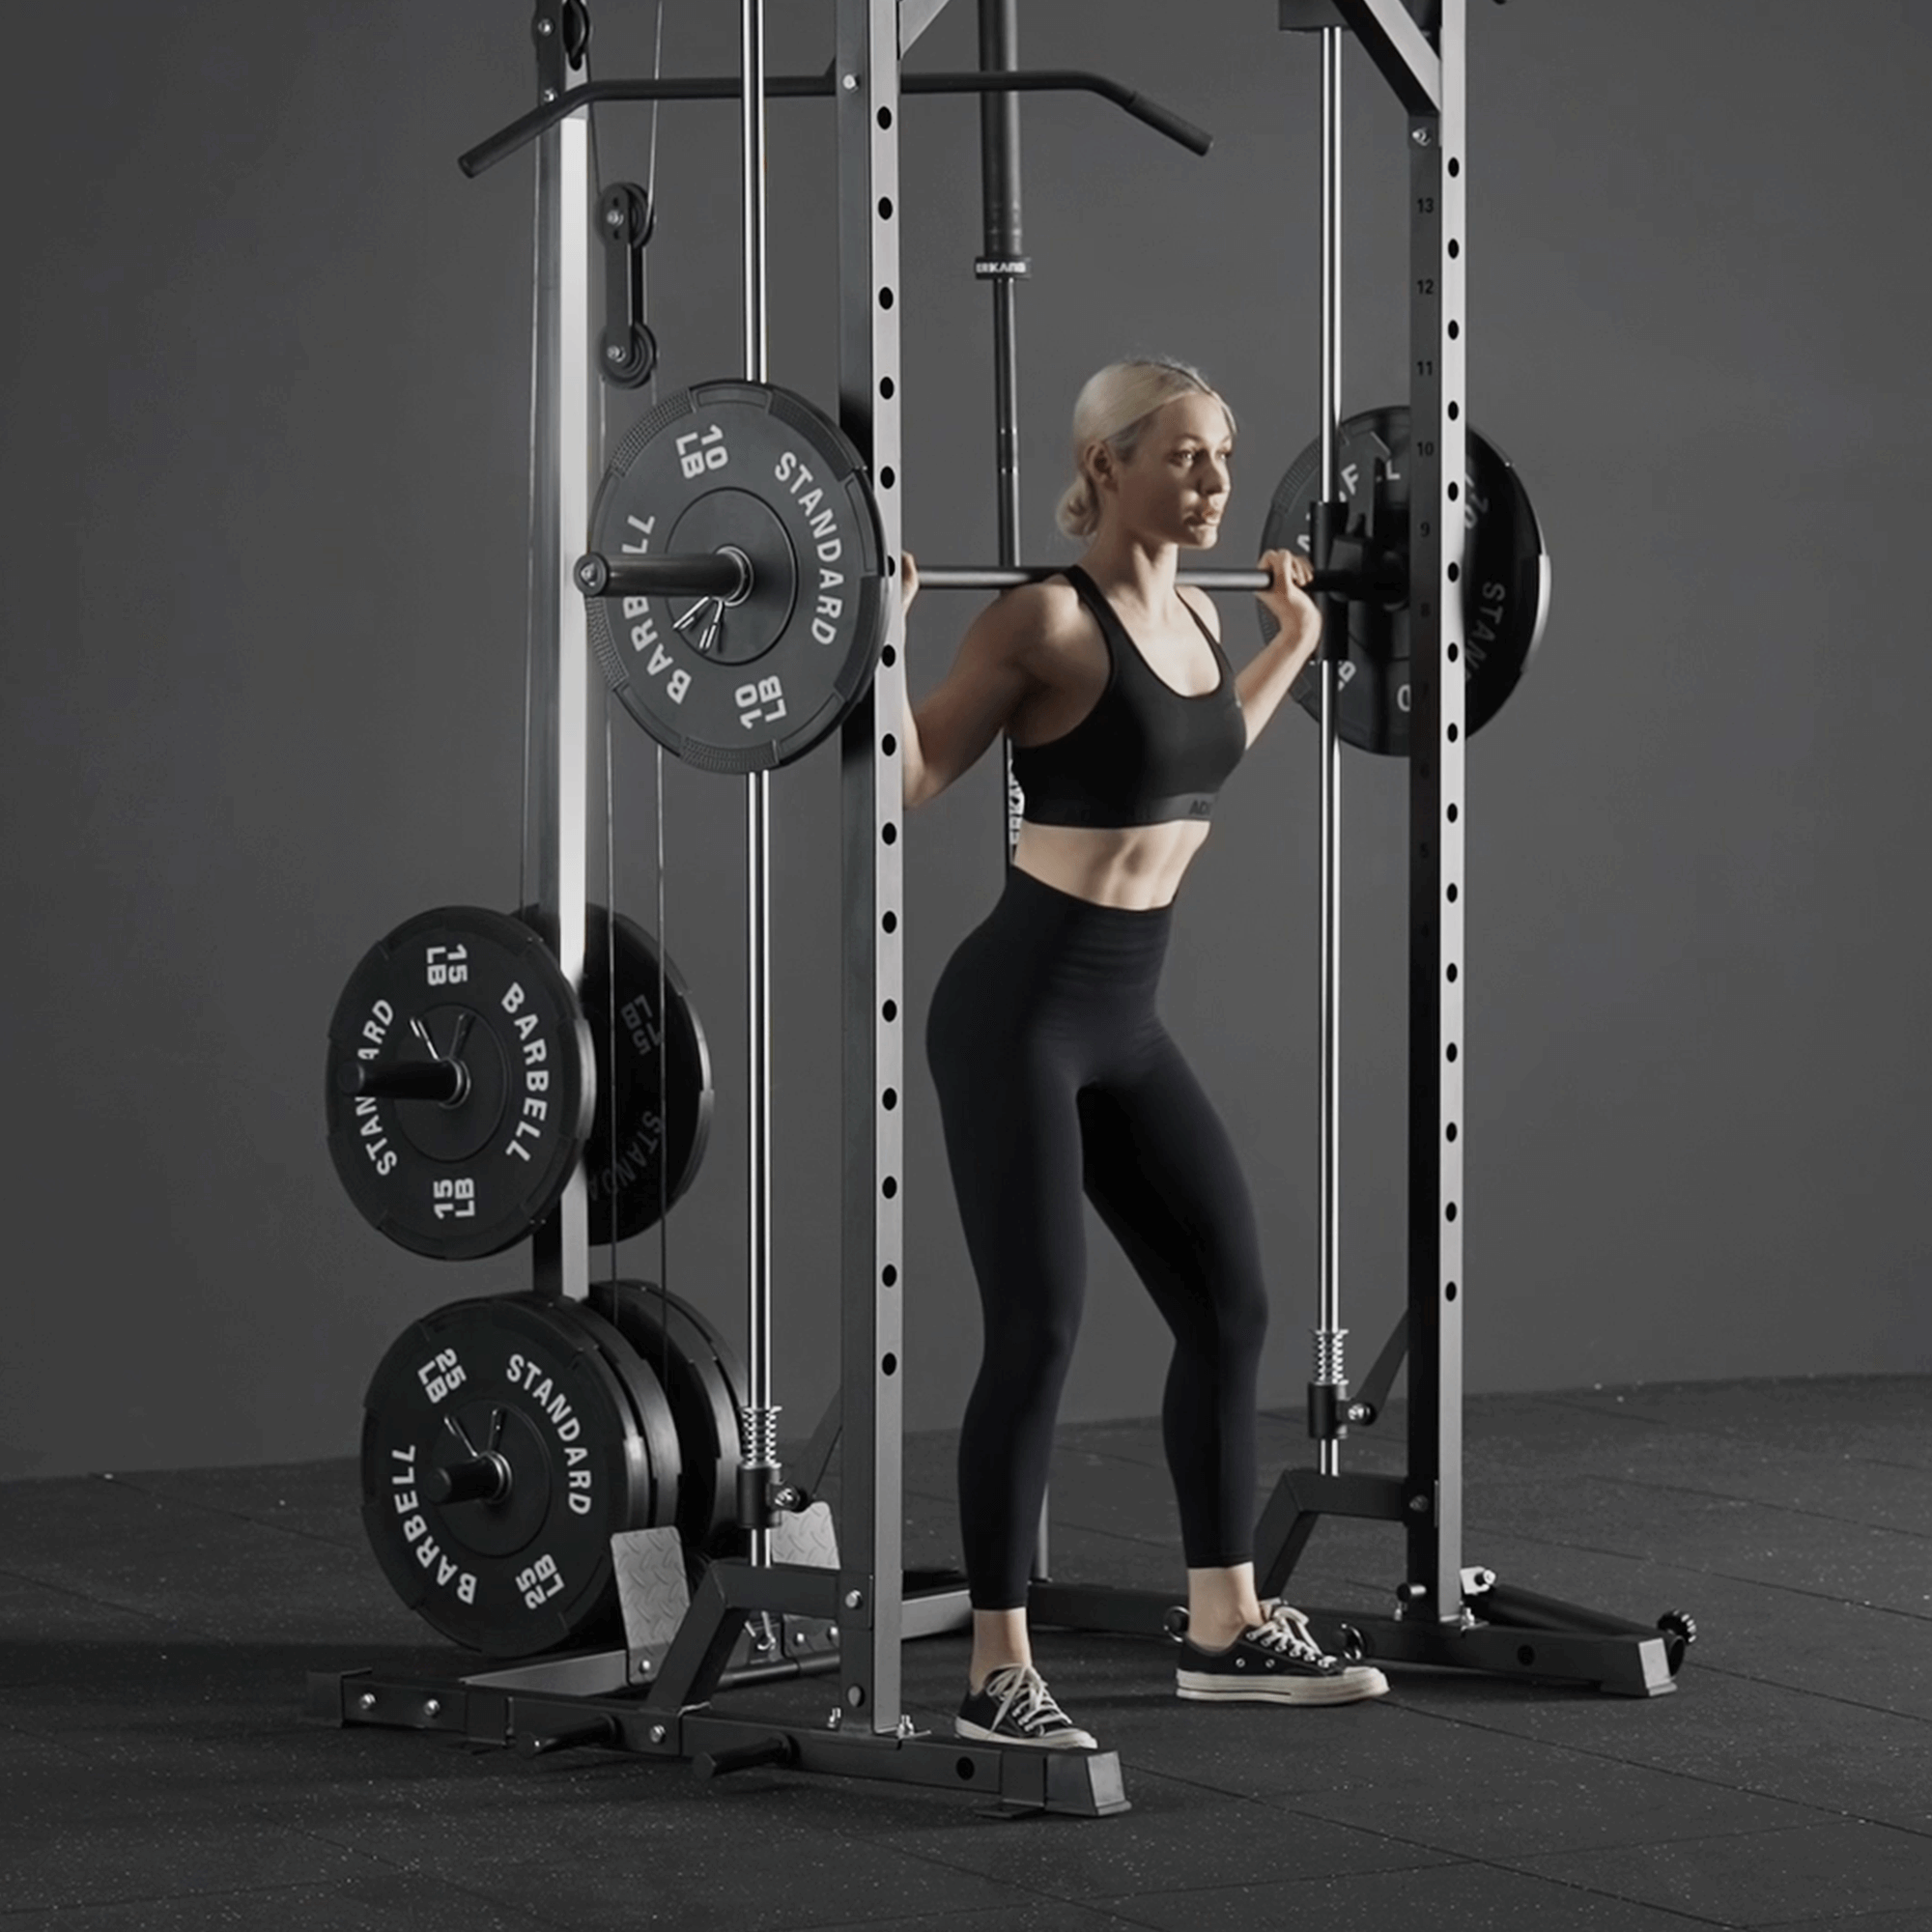
Face the squat rack, feet shoulder width apart, and position the barbell so it’s across your upper chest. Duck under the bar and let it rest across your upper back. Grip the bar and get ready.
Step 3: Unrack the Bar
Press through your feet and stand up straight to lift the bar off the J-hooks. Take a few small steps back to clear the rack, position your feet just outside hip width and take a deep breath—you’re ready to go!
Step 4: Squat
Now the magic happens. Remember these key points for perfect form:
- Form First: Keep your chest up, back straight and core engaged. The knees are supposed to track over your toes as you descend.
- Hinge at the Hips: As you lower yourself hinge your hips back as if sitting in a chair before bending your knees.
- Depth Matters: Aim for your hips to go below knee level (breaking parallel) to fully activate your leg muscles.
- Breathing: Inhale on the way down and exhale as you come back up, which keeps you stable and in control.
- Don’t Rush: Take your time with each rep—rushing leads to sloppy form and injury.
Want more on squat technique? Check out our barbell squat guide.
Step 5: Rack the Bar
Once you’ve finished your set step forward and place the bar back onto the J-cups or spotter arms. Make sure it’s racked before you let go.

Squat Rack Troubles and Solutions
Safety First
Always use collars on the barbell to secure the weight. It’s a simple habit that can save you from accidents.
Spotter or No Spotter?
If you’re going heavy a spotter is a good idea. They can help you out if you struggle with a rep and give you motivation.
Warm Up
Don’t dive into heavy squats. Start with light weights to warm up your body, muscles and joints. For a proper warm up check out this physiotherapist’s guide.
Don’t Overload
It’s easy to get tempted to load up the plates but overloading the barbell without proper form will lead to injury. Progress gradually.
Clear the Area
Make sure you have enough room to squat safely without bumping into anything (or anyone). Give yourself plenty of space around the squat rack.
FAQs
Q: How deep should I squat?
A: Break parallel, meaning your hips go below your knees, which will engage the whole right muscles.
Q: Can I squat without a squat rack?
A: While you can, a squat rack is essential for support and safety especially when lifting heavy.
Q: How do I know I’m working out properly?
A: Ask a trainer for feedback or record yourself squatting and compare to instructional videos.
Q: Can I use the squat rack for other exercises besides squats?
A: Yes! Squat racks are versatile and can be used for bench presses, overhead presses, and even pull-ups with the right attachments.
Conclusion
Using a squat rack isn’t hard but mastering it requires attention to detail and safety. Follow these steps and form and you’ll be crushing leg day and building the lower body strength you’ve been after.
So, what are you waiting for? Head to the gym, claim that squat rack, and make gains!


Leave a comment
This site is protected by hCaptcha and the hCaptcha Privacy Policy and Terms of Service apply.