


Dip station bars are one of the simplest yet most effective tools for upper body training. Whether you’re building a home gym or adding to your fitness setup, a dip stand station can help target multiple muscle groups with minimal equipment. In this guide, we’ll explore how to get the most out of a dips stand, what to look for when choosing a free standing dip bar, and how to integrate stand dips into your workout routine for maximum gains.
Why Dip Station Bars Are a Must-Have
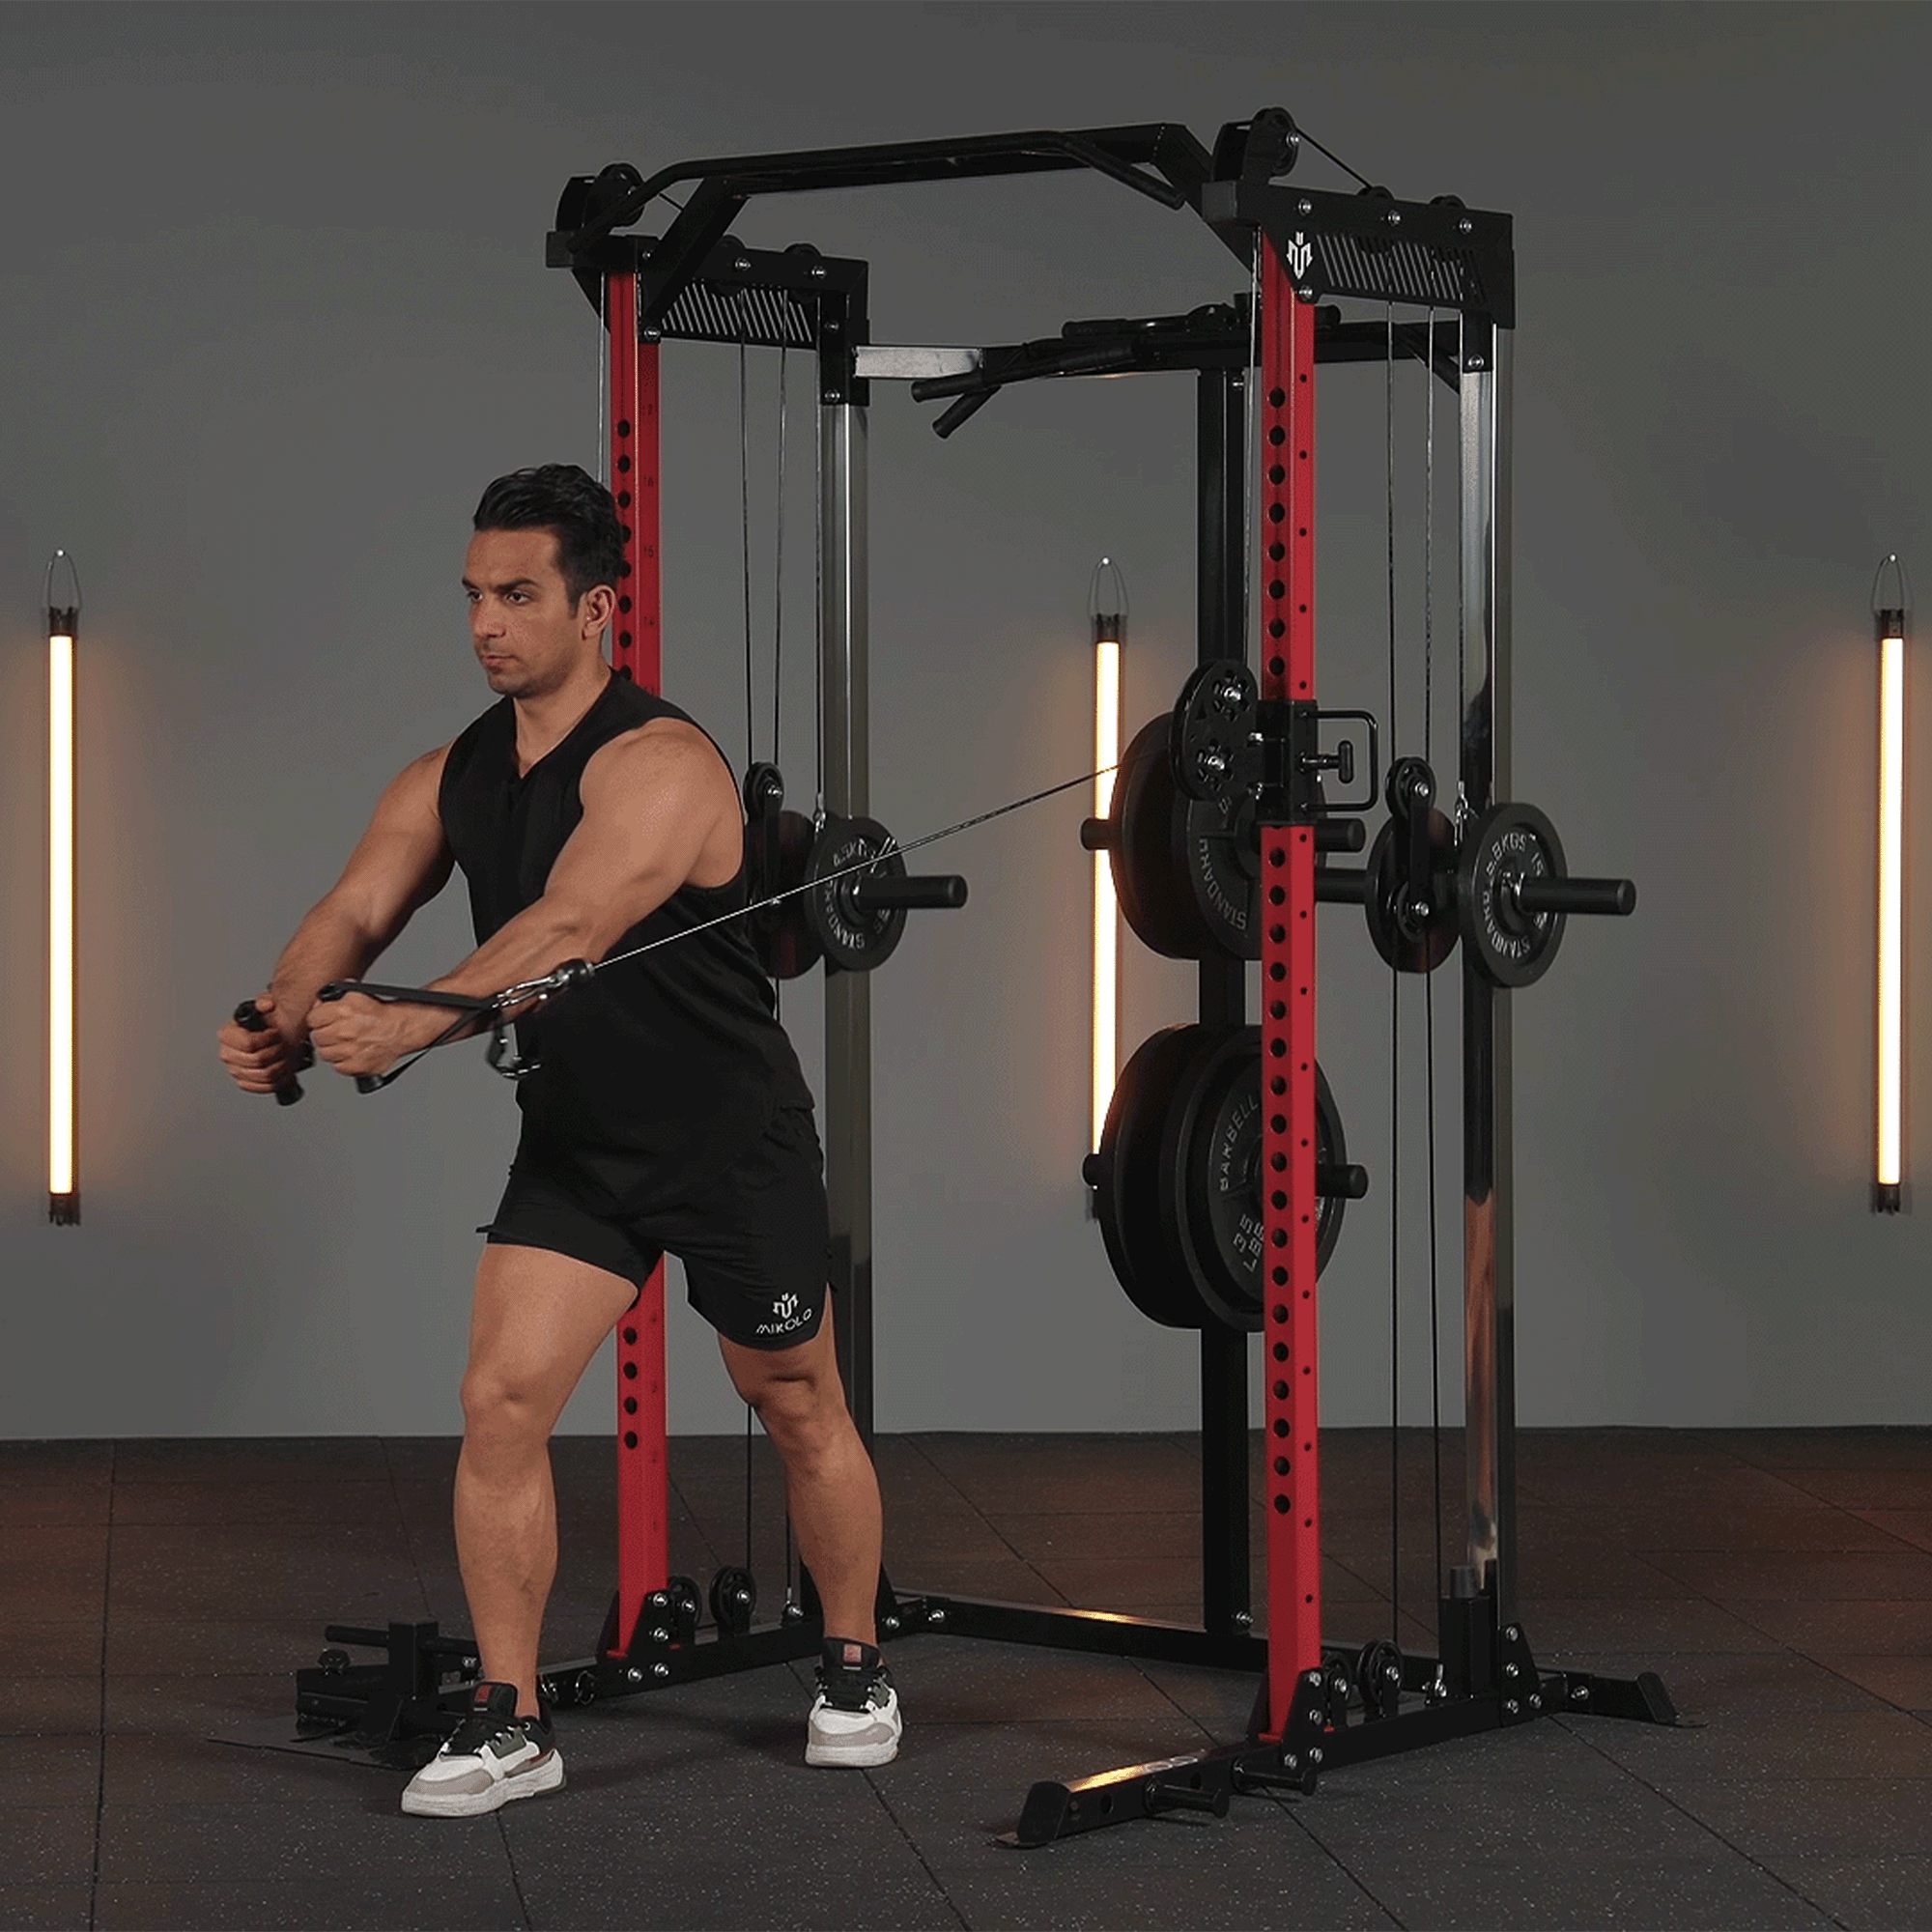
Dip station bars provide a unique advantage: they combine simplicity with versatility. With just one piece of equipment, you can work your chest, triceps, shoulders, and core. Movements like dips, leg raises, and knee tucks can be performed without the need for bulky machines or expensive gym memberships. For anyone aiming to develop functional strength, a dip stand station is a smart investment.
Choosing the Right Dip Stand Bar
When it comes to selecting the right dip stand bar, stability and comfort are key. Look for sturdy steel construction with a weight capacity of at least 300 lbs to ensure safety during your workouts. Non-slip rubber feet and padded grips can make a big difference in comfort and prevent floor damage. Adjustable heights—ranging from 35 to 51 inches—allow for a more customized fit, accommodating different exercises and body types.
Effective Workouts You Can Do with a Dip Stand Station
A dip station stand isn't just for standard dips. Here are a few staple exercises you can incorporate:
-
Classic Dips: Perfect for chest and triceps development.
-
Leg Raises: Engages your core while working your hip flexors.
-
Straight Bar Dips: A variation that targets the chest more directly.
-
Assisted Dips: Use resistance bands to gradually build strength.
-
L-Sits: A great static hold to build core stability and shoulder endurance.
By adjusting your hand placement and body angle, you can shift emphasis between muscles, making your workouts more dynamic.
My Experience with Dip Bars
When I first introduced a dip stand bar into my home gym, I underestimated its impact. I started with just a few sets of dips and L-sits three times a week. Within a month, I noticed significant improvements in my upper body definition, especially in my triceps and shoulders. What surprised me most was how much stronger my core felt—just from holding static positions like L-sits. Over time, I progressed to weighted dips, and it became a cornerstone of my training. It's one of the few pieces of equipment I still use weekly because it delivers consistent results without taking up much space.
Tips for Progressing on Your Dip Stand Station
-
Start with Partial Dips: If you’re new to dips, begin with a reduced range of motion and build up.
-
Incorporate Eccentric Reps: Slowly lower yourself to increase time under tension.
-
Add Resistance Gradually: Weighted vests or dip belts can help break through plateaus.
-
Focus on Form: Keep your core tight and shoulders engaged to avoid injury.
Final Thoughts
A workout dip stand offers incredible value for anyone serious about upper body strength. Compact, affordable, and endlessly versatile, it allows you to train effectively in any setting. Whether you’re a beginner or seasoned athlete, dip station bars can play a central role in achieving a stronger, more defined physique.


Leave a comment
This site is protected by hCaptcha and the hCaptcha Privacy Policy and Terms of Service apply.