


An adjustable bench is one of the most versatile tools in any home gym. It supports countless exercises, from flat bench presses to incline dumbbell rows and seated overhead presses. While many fitness lovers invest in commercial benches, building your own DIY adjustable bench can be a rewarding project—especially if you're handy with tools and want a more budget-friendly or personalized solution.
Why Consider a DIY Adjustable Bench?
Creating a DIY adjustable workout bench allows you to:
-
Customize to your space – Build the bench to fit tight home gym corners or accommodate your height.
-
Save money – Store-bought models can be expensive; a DIY project can cost a fraction, especially if you reuse materials.
-
Tailor functionality – Choose the incline angles, padding style, and weight capacity that meet your workout needs.
Materials You’ll Need
To build a reliable DIY adjustable weight bench, you’ll typically need:
-
Steel or hardwood frame materials – Steel for durability, hardwood for accessibility and aesthetics.
-
Bolts and locking pins – For safe, adjustable backrest support.
-
Plywood base – Forms the platform for the bench’s seat and backrest.
-
High-density foam – Adds comfort and protection during workouts.
-
Durable vinyl or leather – Covers the foam for a finished, sweat-resistant surface.
-
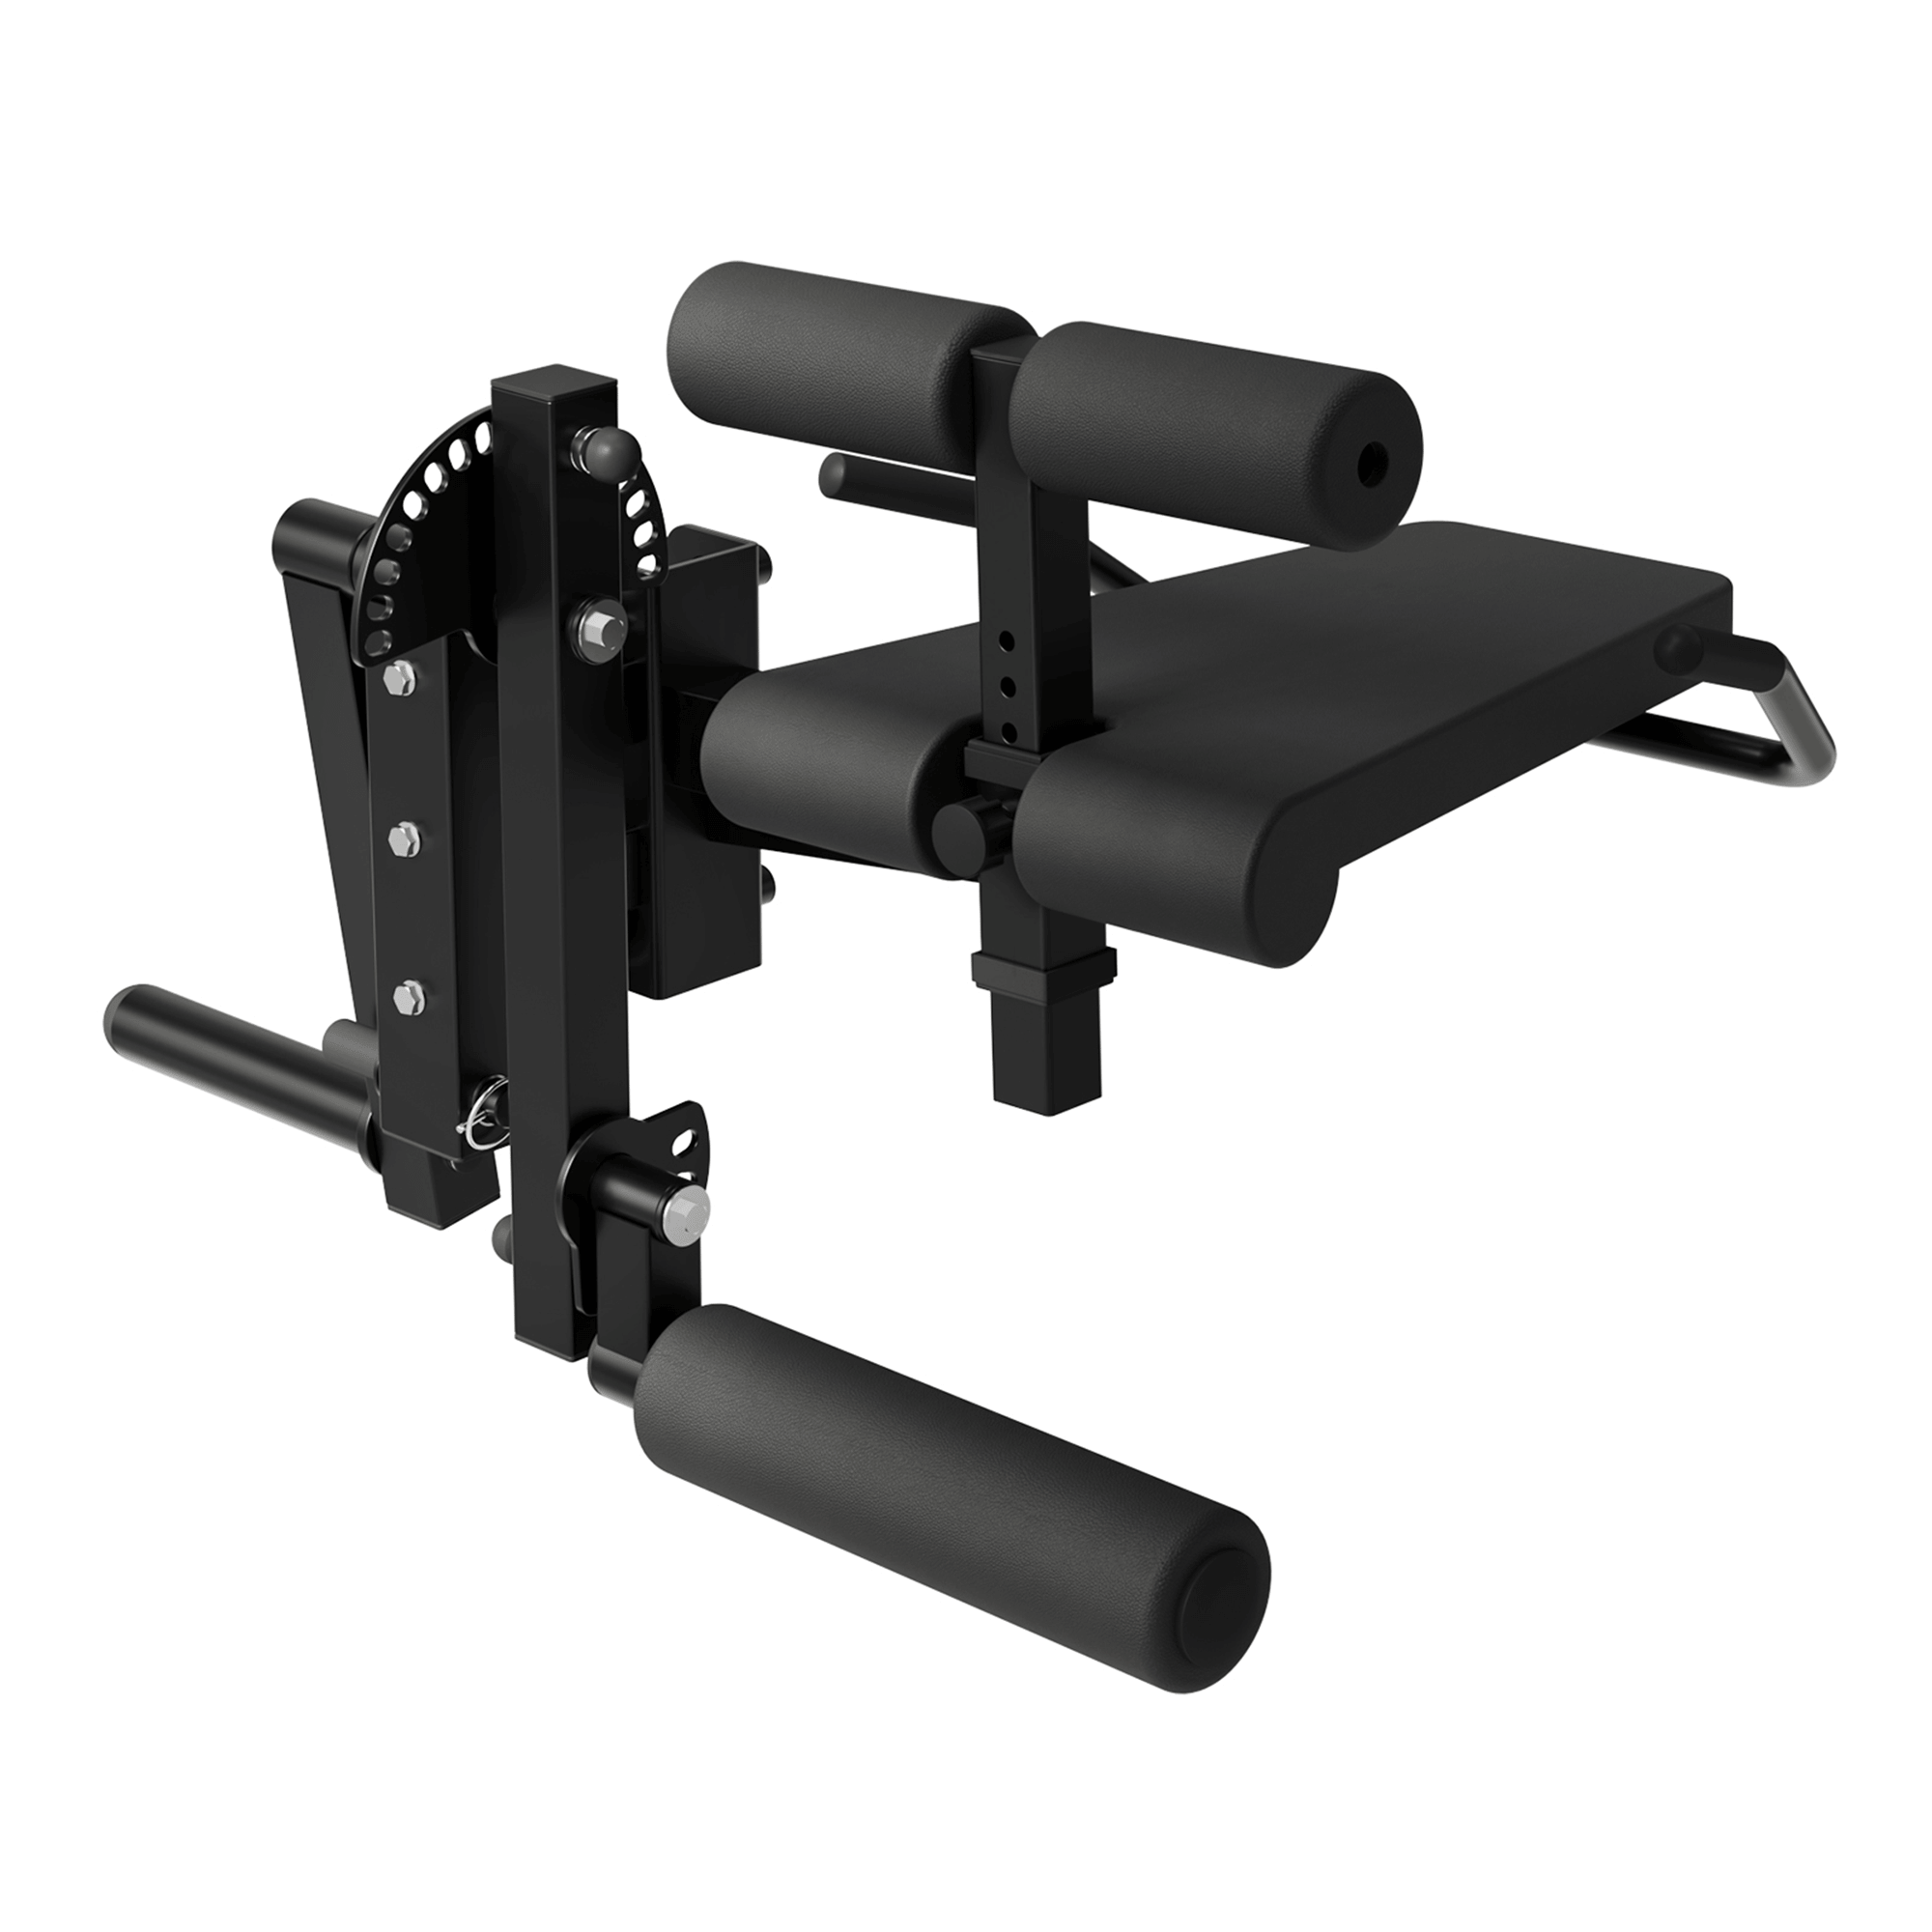
Adjustable angle bracket or ladder system – Allows you to switch between flat, incline, and upright positions.
A solid bench should support at least 500 lbs including your body weight and the weights you lift.
Step-by-Step Overview
-
Frame Construction
Cut and assemble the base frame using your material of choice. Ensure it's wide and long enough to support your back and hips during heavy lifts. -
Backrest and Seat
Construct two separate platforms: one for the seat, one for the backrest. These should pivot using a hinge or bolt system and connect to the adjustable mechanism. -
Adjustment Mechanism
Use a ladder-style bracket, metal bar with pre-drilled holes, or even sliding notches to adjust the backrest angle. Locking pins are key for secure angle transitions. -
Padding and Upholstery
Layer high-density foam over each platform, then wrap it with your vinyl or leather cover. Secure it underneath using staples or heavy-duty adhesive. -
Finishing Touches
Sand any wood edges, test the bench at different angles, and ensure there’s no wobble or shifting under load.
Safety Tips
-
Always test your DIY adjustable bench with body weight before adding external weight.
-
Use non-slip rubber feet if placing the bench on smooth flooring.
-
Inspect regularly for loose bolts or wear, especially if you use it frequently for pressing movements.
Final Thoughts
A DIY adjustable workout bench can be just as effective and sturdy as a commercial one—if built with care and quality materials. Whether you're just starting your home gym or upgrading it with a personal touch, this project delivers long-term value and deep satisfaction. Plus, the ability to adjust from flat to incline positions means more variety and better muscle engagement across your workouts.


Leave a comment
This site is protected by hCaptcha and the hCaptcha Privacy Policy and Terms of Service apply.