


For lifters looking to grow massive legs while sparing their lower back, the lever belt squat has become a go-to solution. Whether you're a seasoned athlete rehabbing an injury or just tired of spinal compression from heavy barbell squats, the belt squat lever arm offers a smart, joint-friendly alternative that doesn't sacrifice intensity.
What Is a Lever Arm Belt Squat?
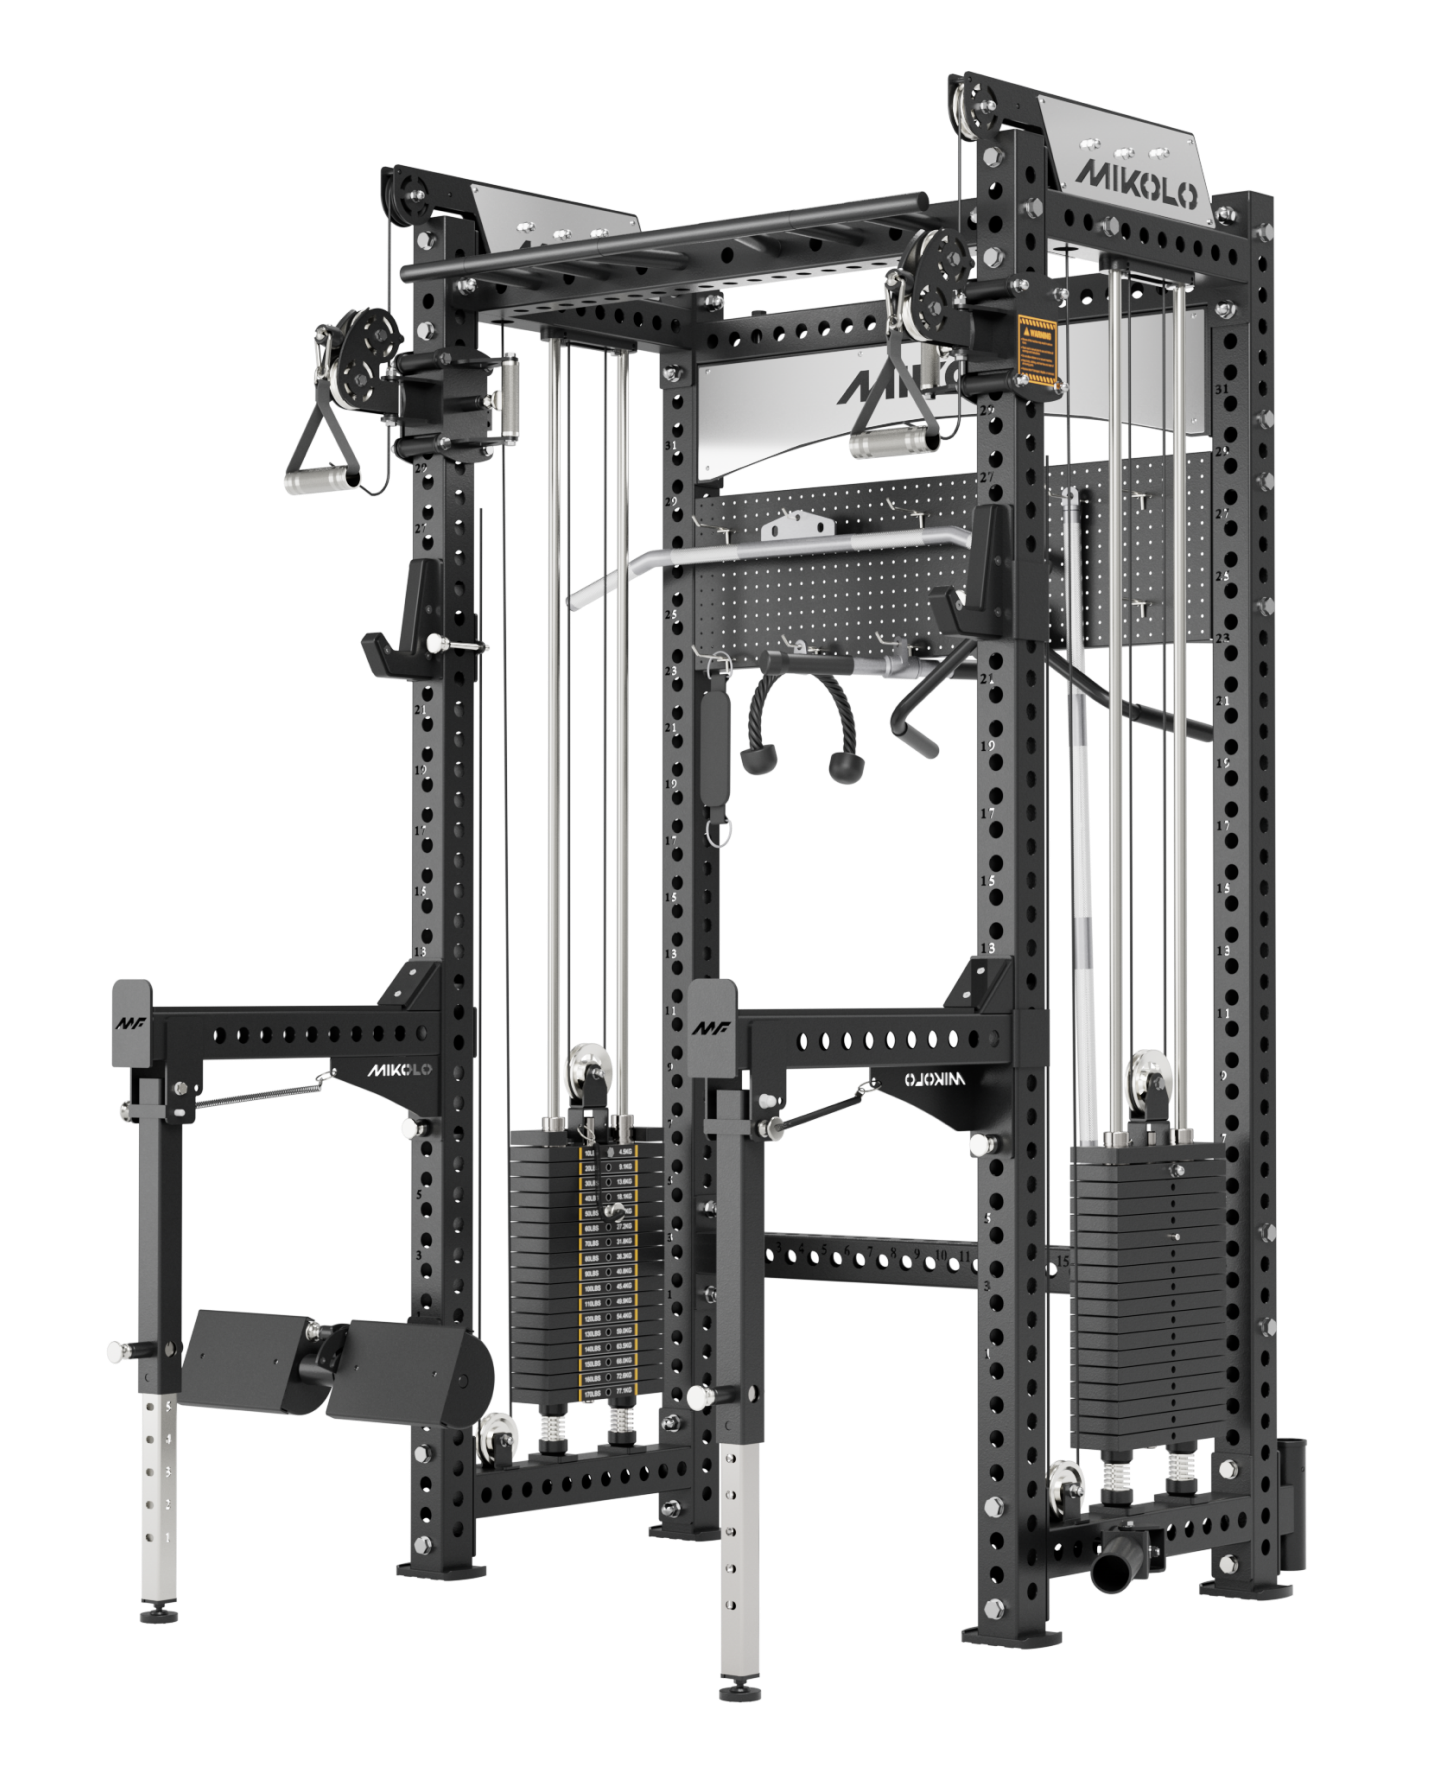
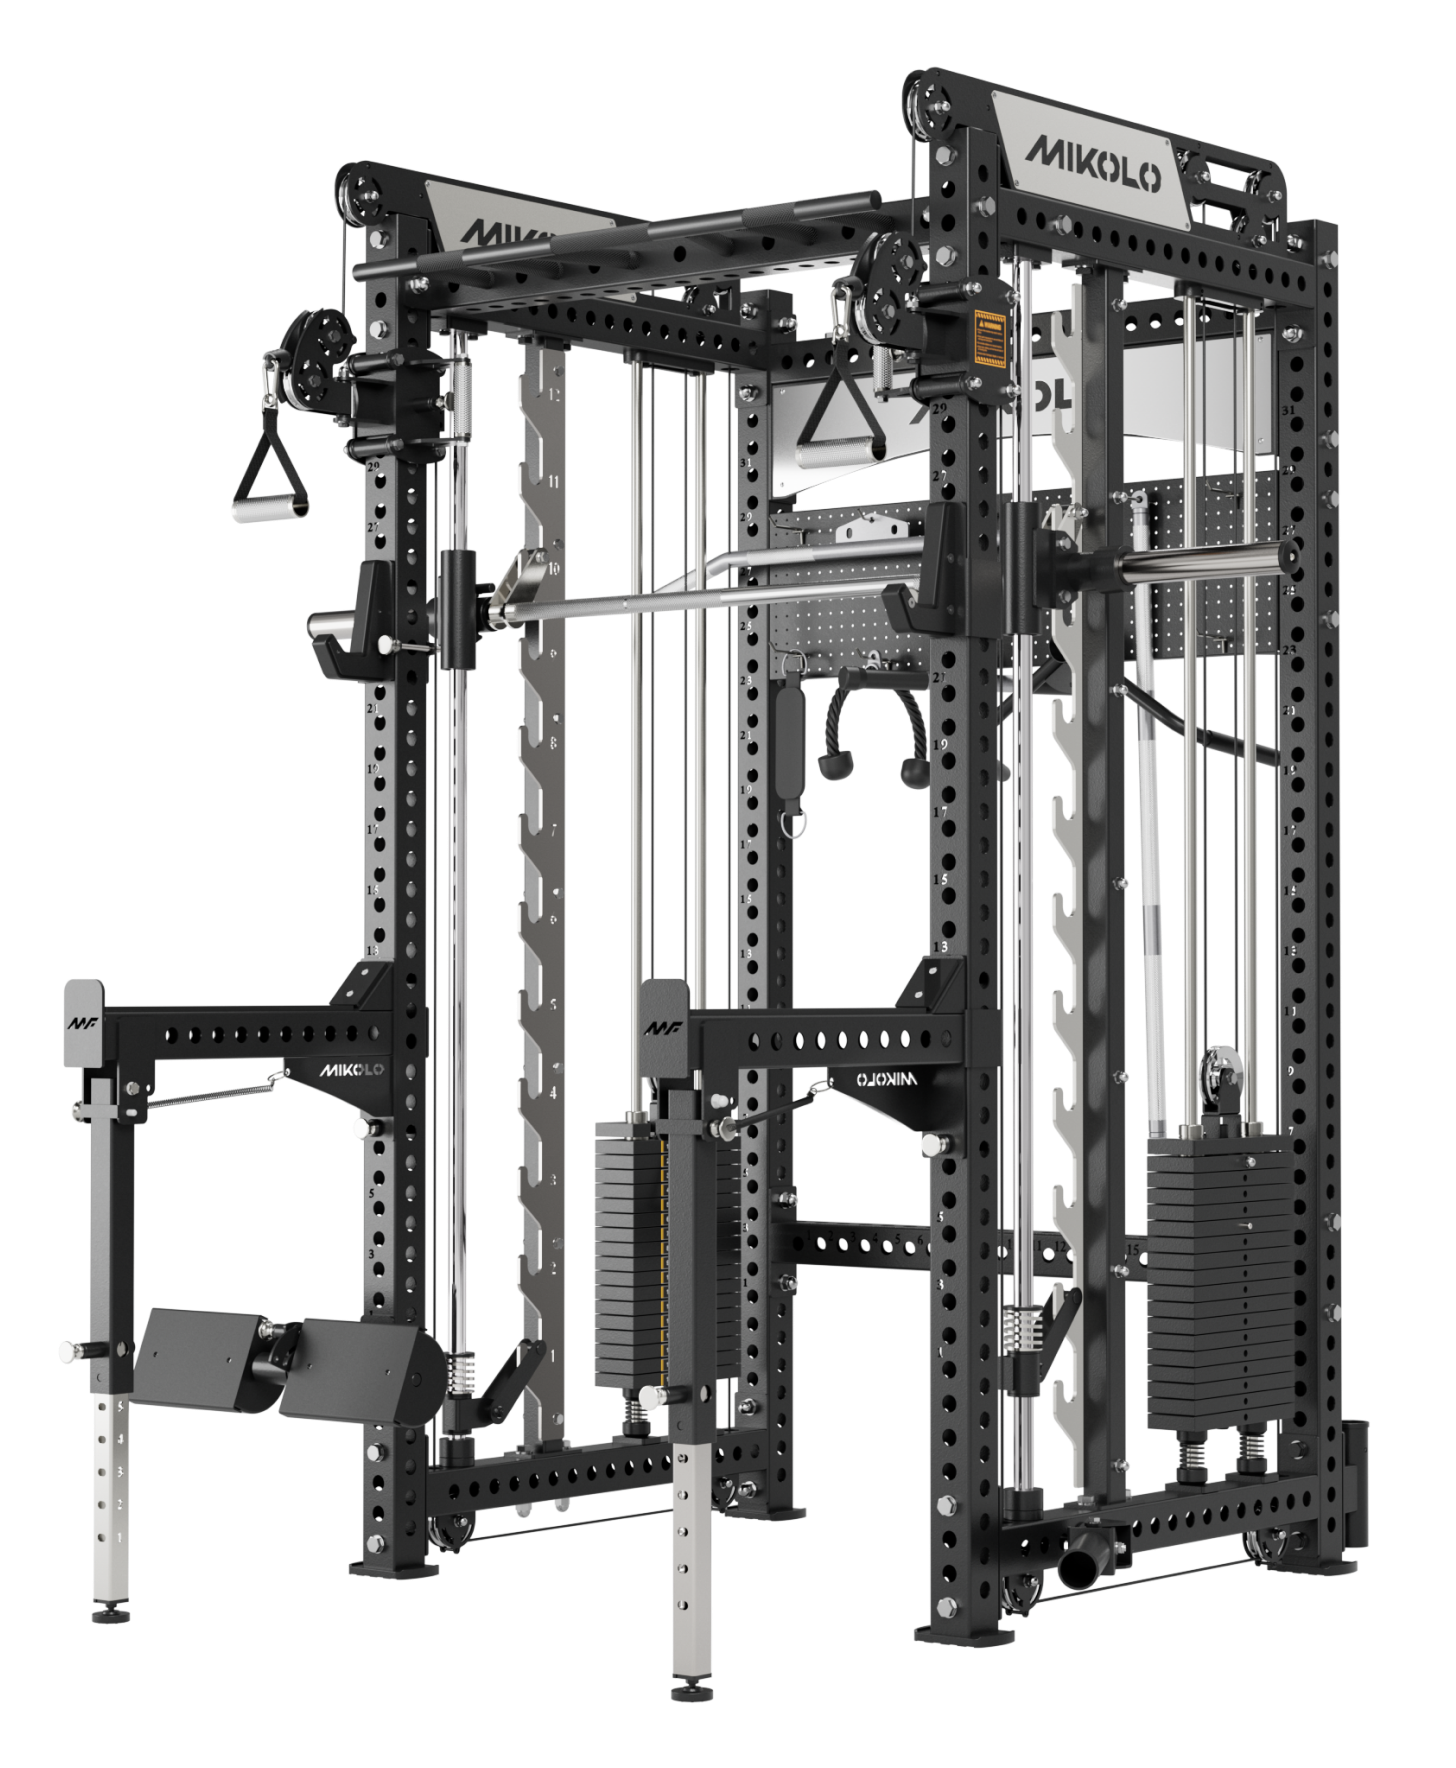
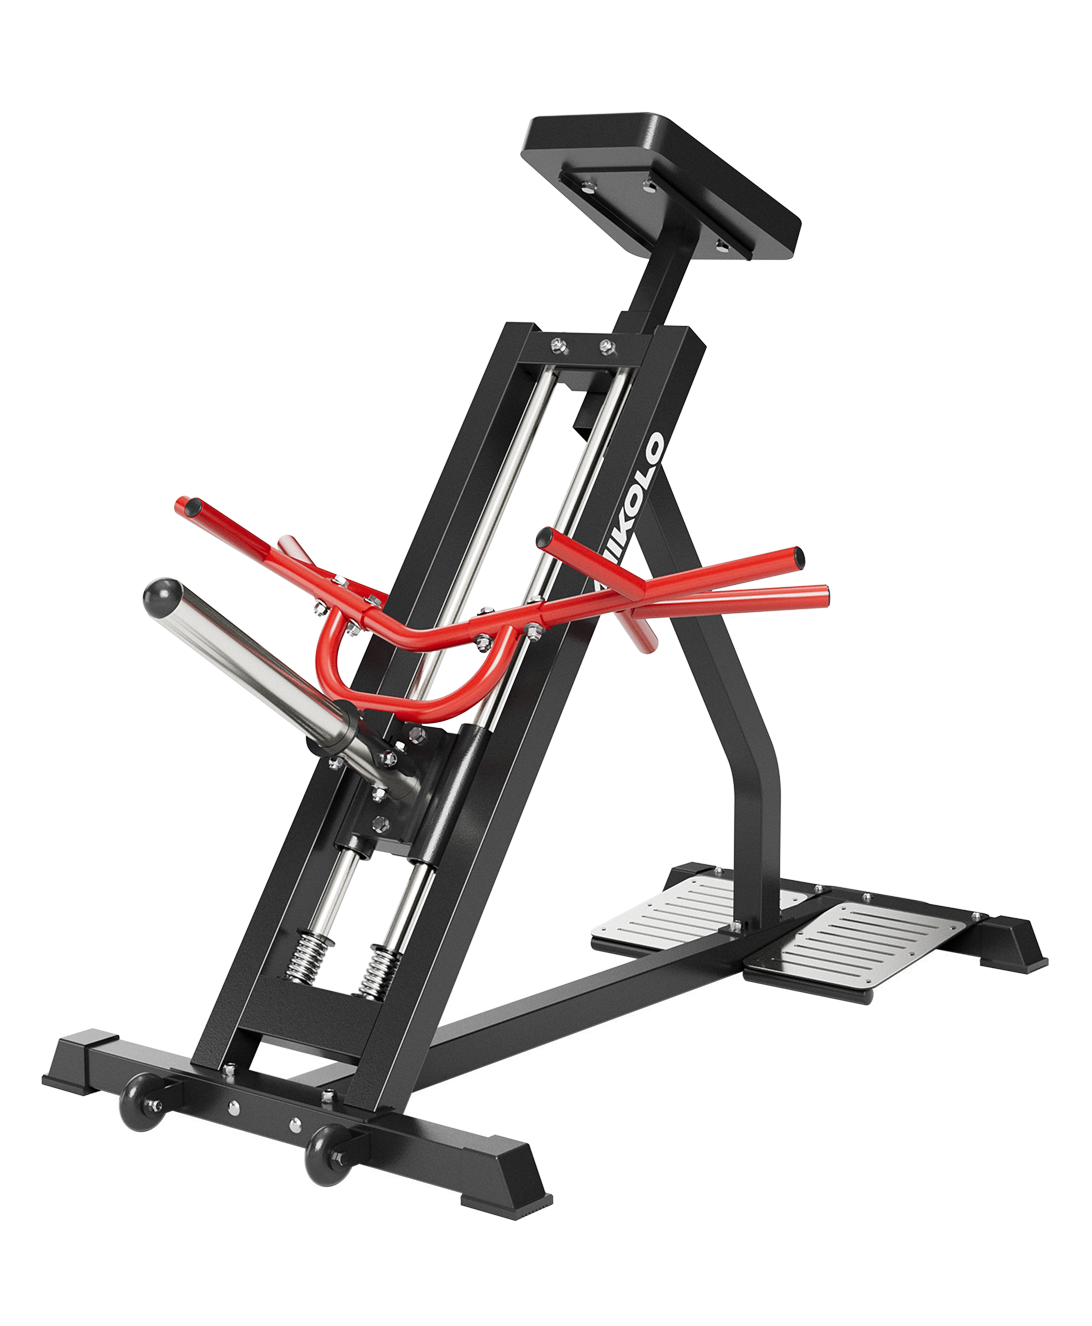
Unlike traditional squats where the load sits on your shoulders, a lever arm belt squat transfers the weight to your hips via a belt. The lifter stands on a platform, clips into a belt connected to a lever arm, and squats—freeing the spine and upper body from vertical compression. Because the resistance is driven from below, you can focus purely on lower-body engagement with much less strain on your back, shoulders, or wrists.
This design is especially popular in home gyms where floor-mounted or cable-based systems aren’t always an option. The lever mechanism provides a smooth, natural arc that mimics the path of a barbell squat—without needing to load plates onto your spine.
Why Choose a Lever Squat Attachment?
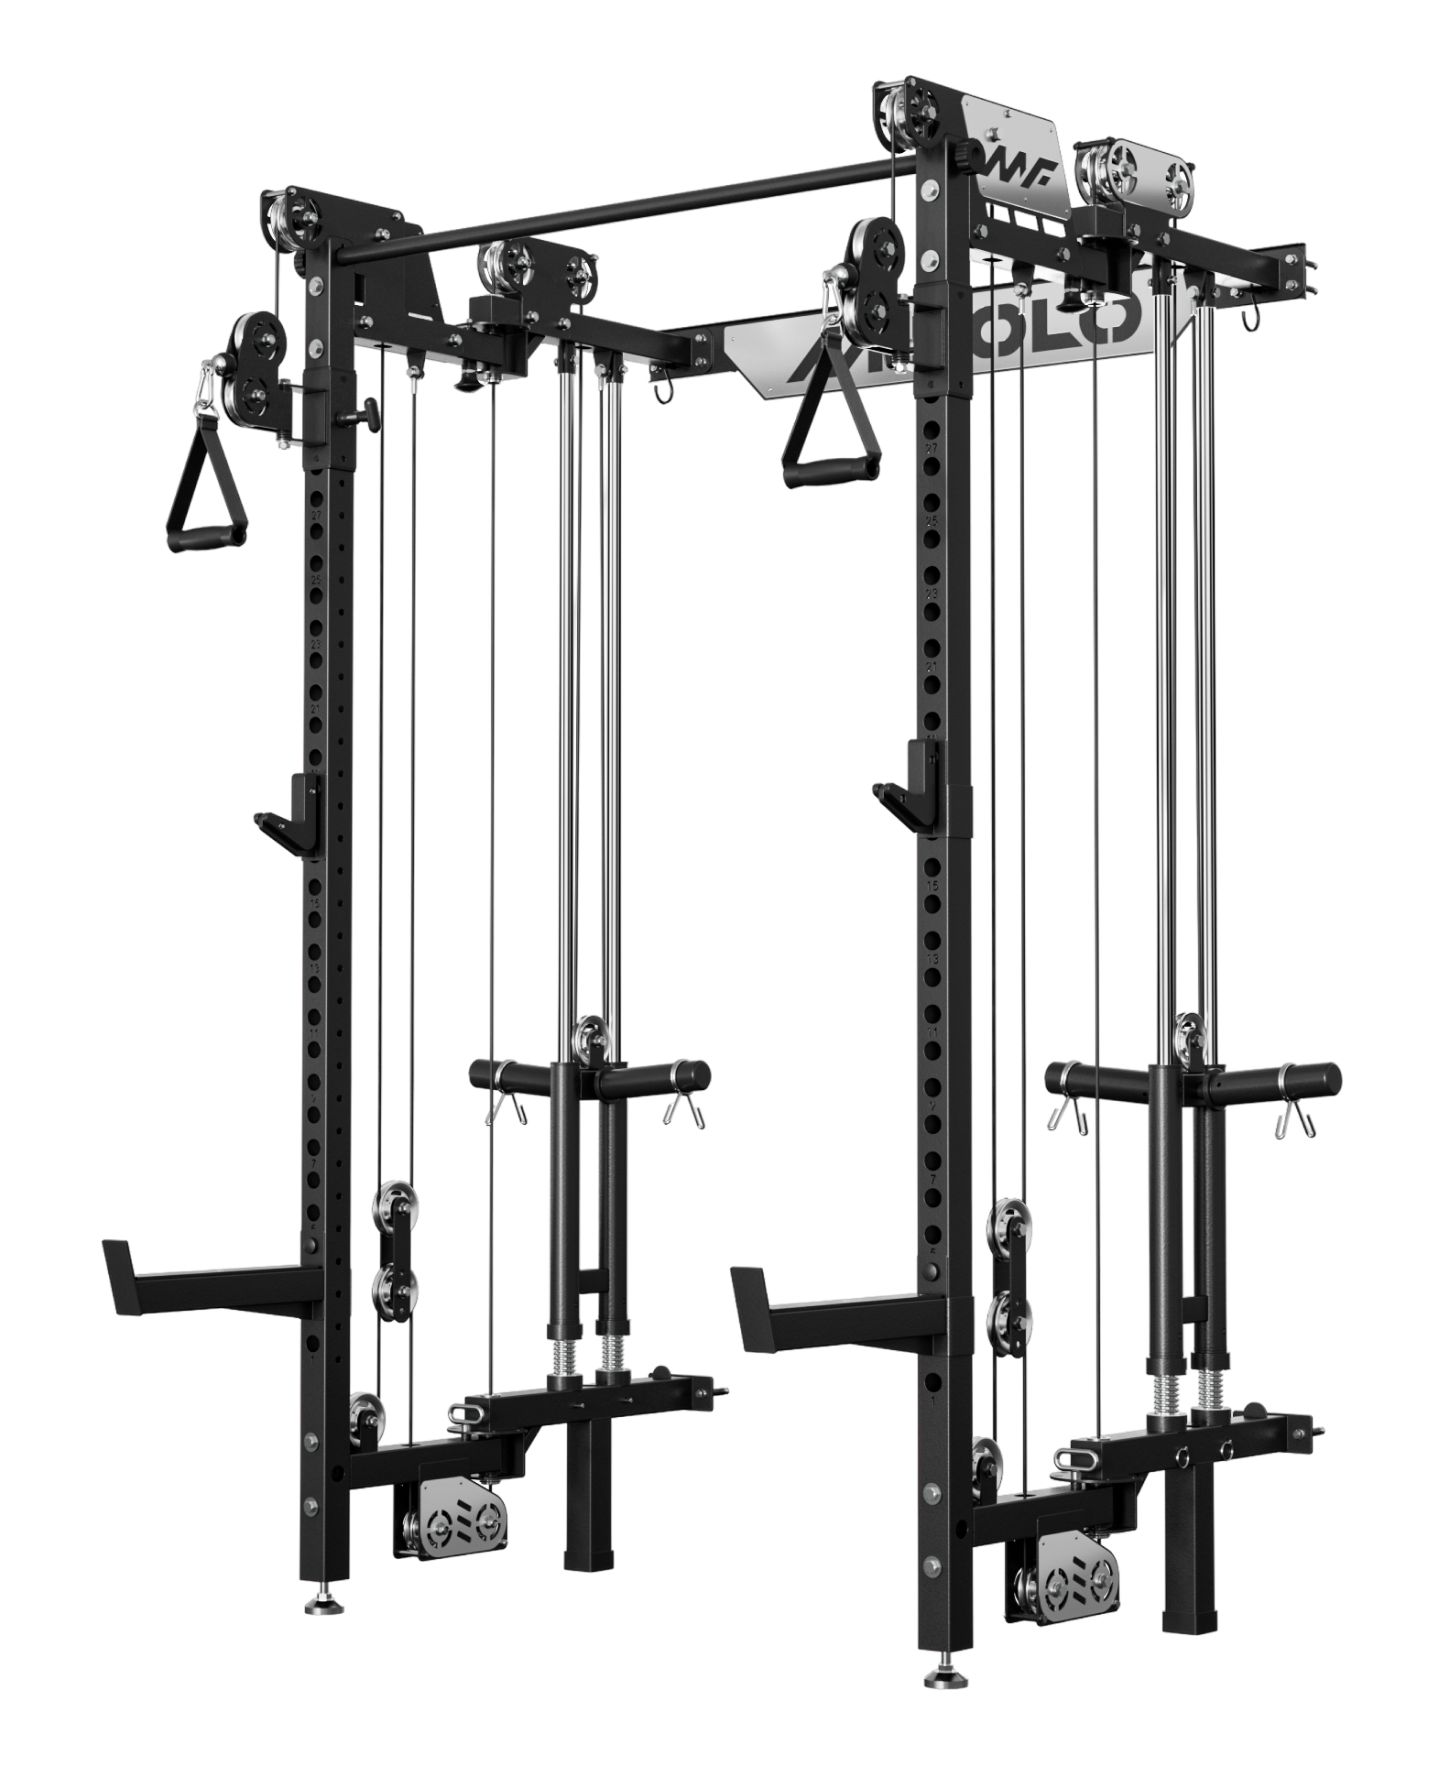
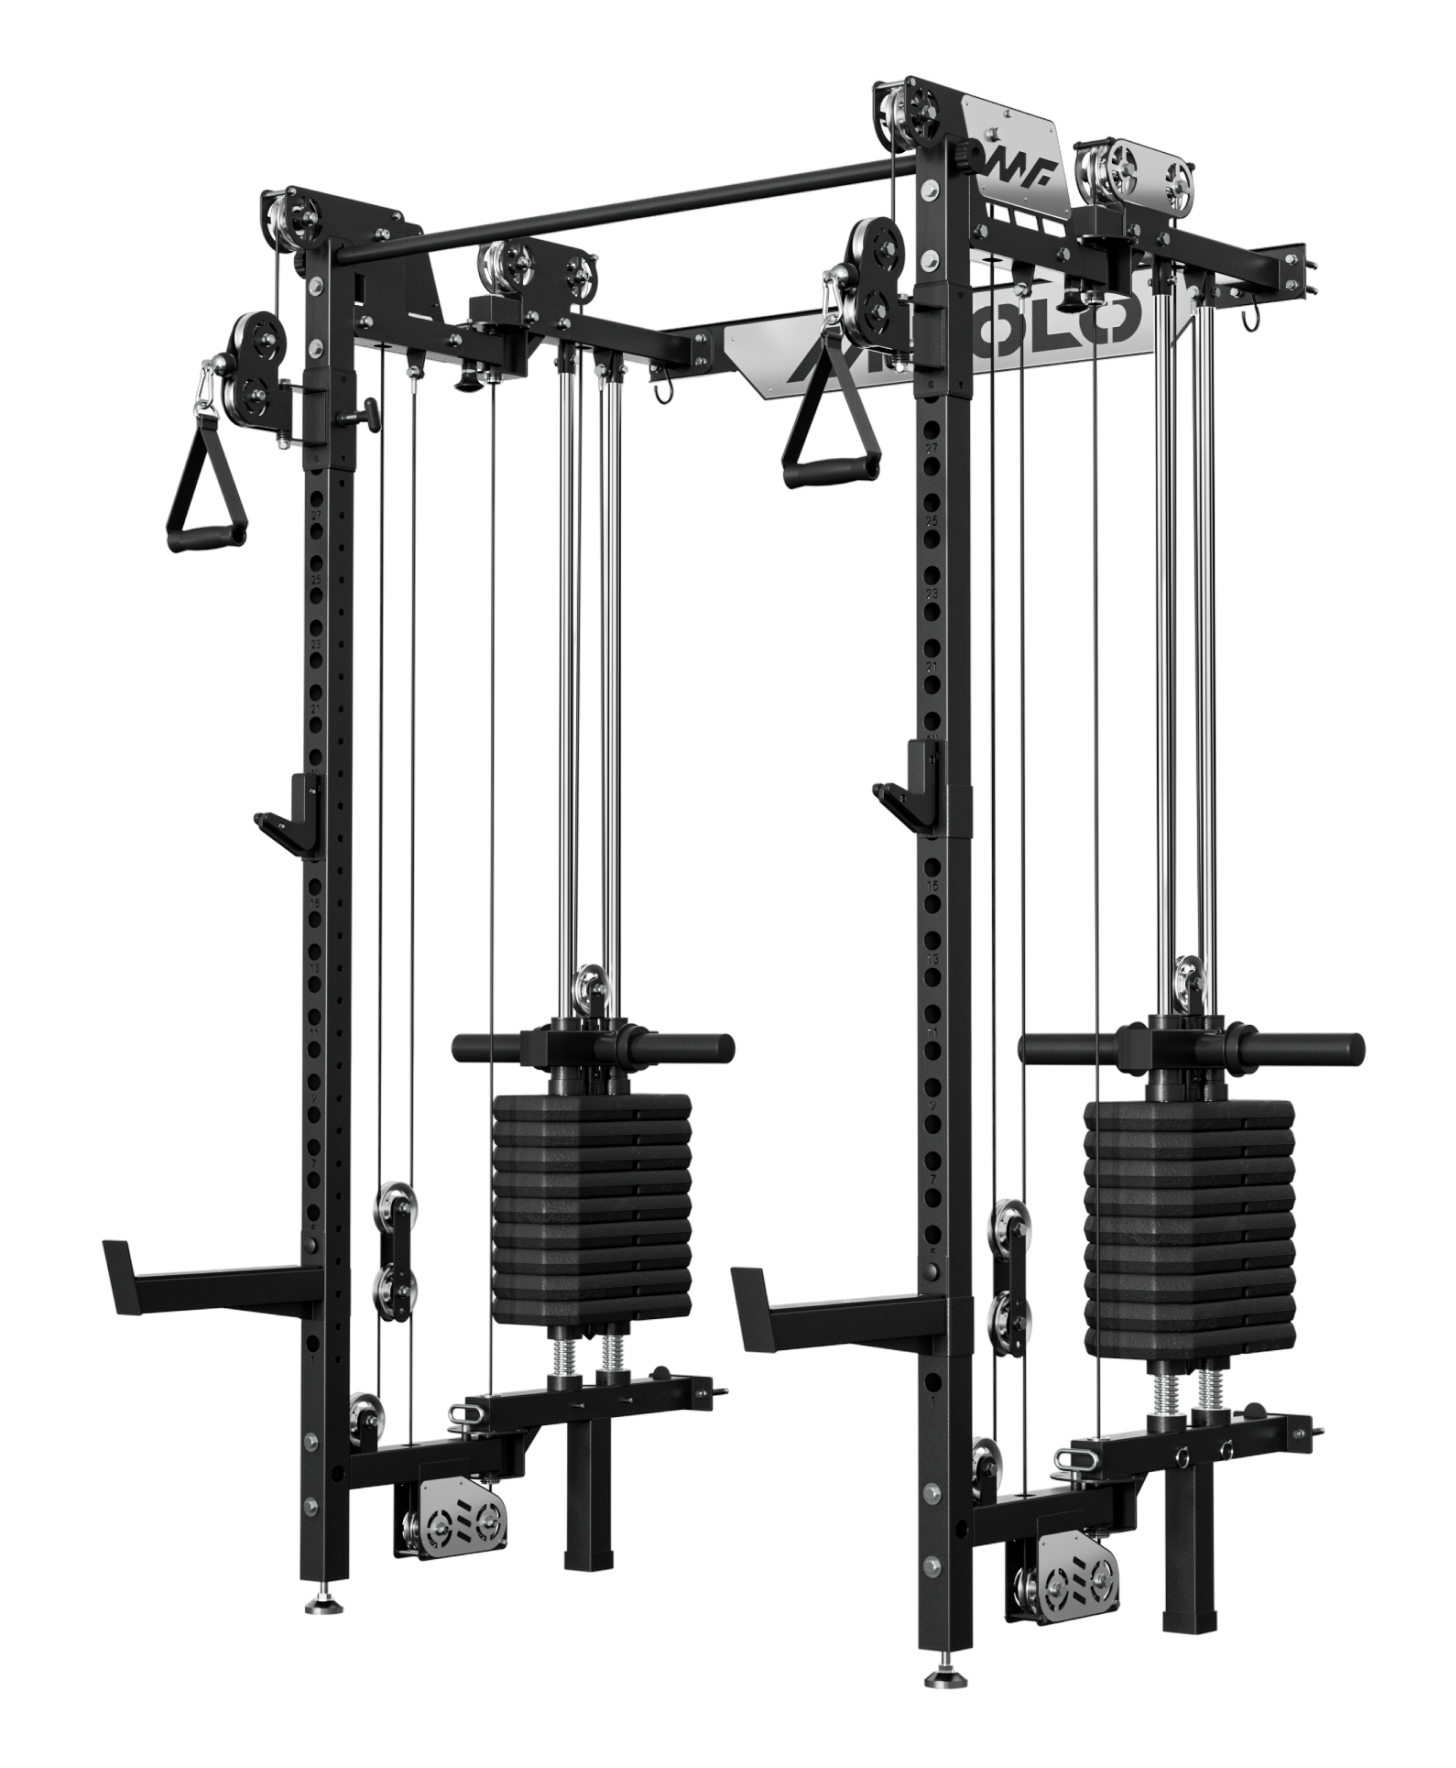
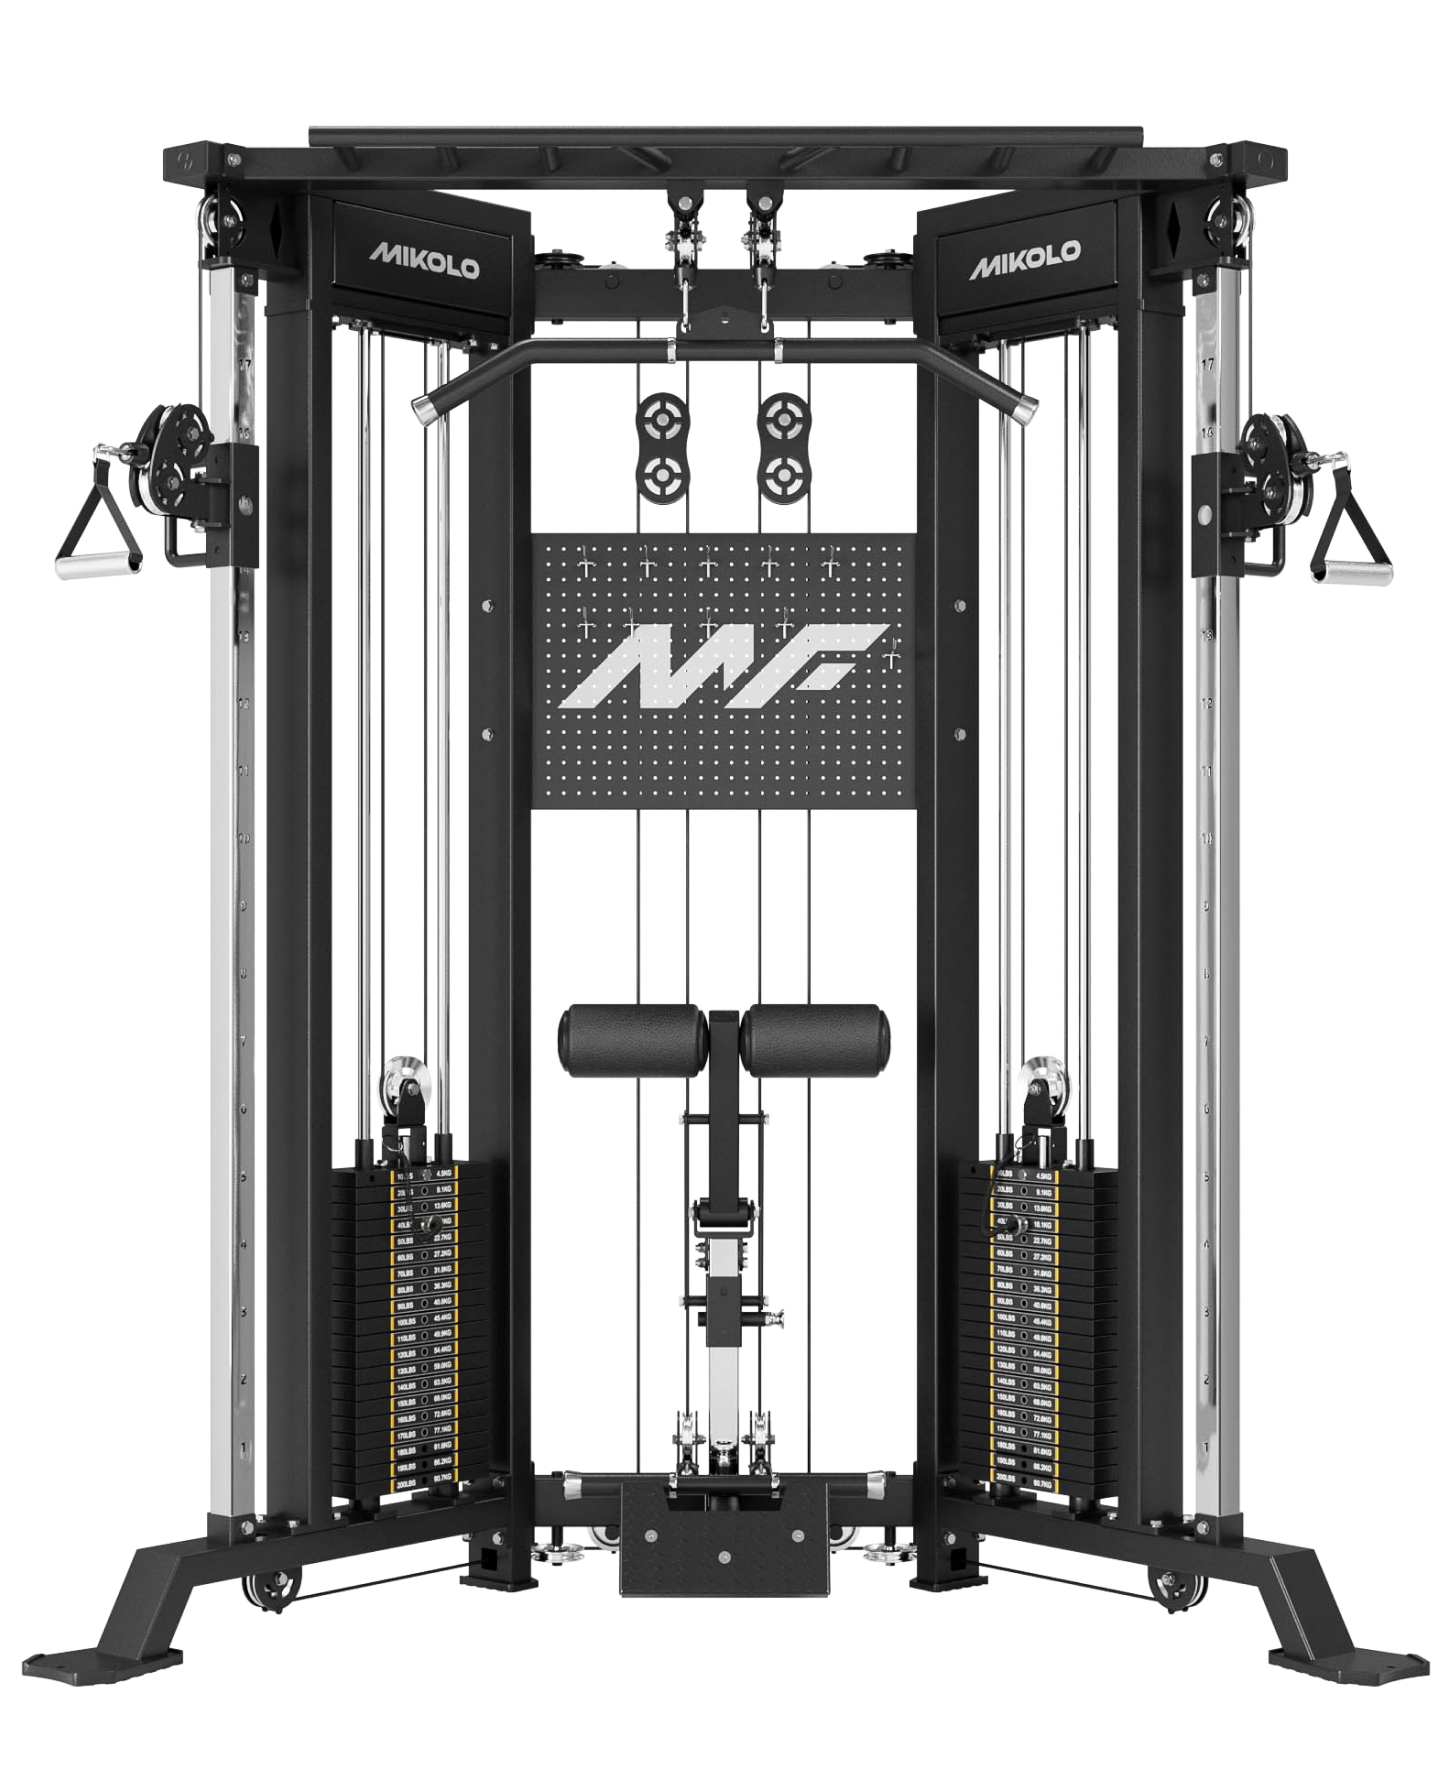
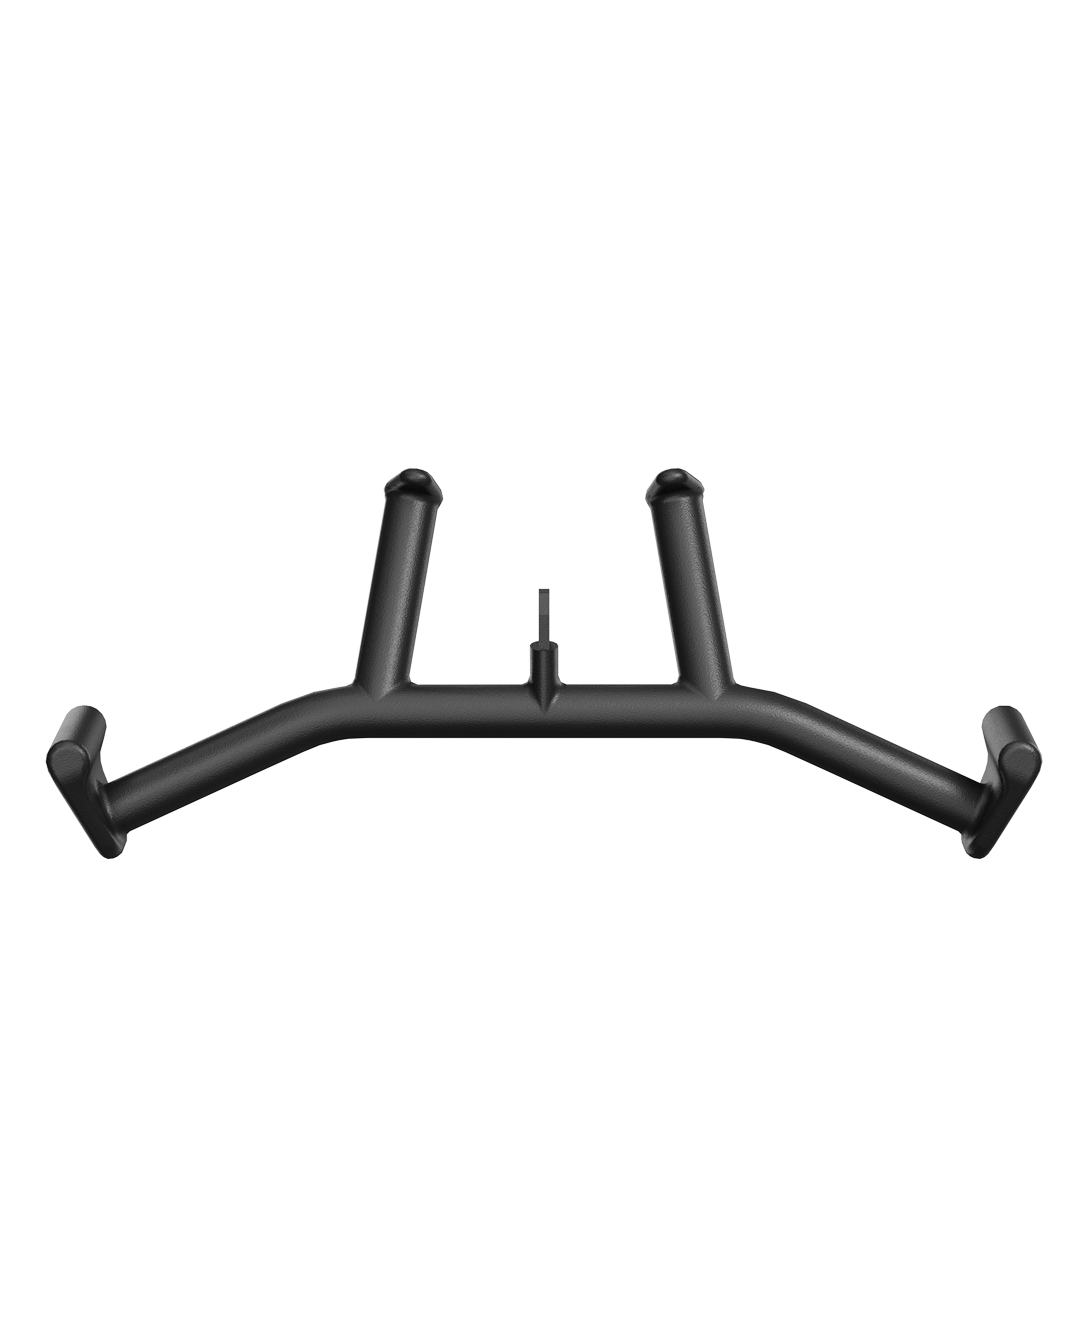
A lever squat attachment transforms your existing power rack or functional trainer into a belt squat machine. It’s a modular, cost-effective way to introduce belt squats without buying a dedicated machine. These attachments usually include a pivoting arm, belt hook, and adjustable stop points for safe loading and unloading.
It’s an ideal setup for garage gyms or compact spaces, letting you train heavy quads, glutes, and hamstrings in a safe and repeatable pattern.
The DIY Approach: Belt Squat Lever Arm at Home
For the hands-on crowd, building a DIY belt squat lever arm is a popular project. I once rigged up a homemade version using scrap steel tubing, a hinge bracket, and a landmine attachment. With some basic welding and a belt clip from an old dipping belt, I had a functional lever system that held up to 300 pounds.
It wasn’t fancy, but it worked—and the relief it gave my lower back was immediate. Even a makeshift setup can deliver powerful leg workouts as long as the lever arm tracks smoothly and safely. Just be sure to build with proper welds, bolt placement, and a stable mounting point to your rack or floor.
Benefits of Belt Squatting with a Lever Arm
-
Spinal Relief: All the intensity of squats without the spinal load
-
Targeted Leg Activation: Greater quad and glute focus, especially for tall lifters
-
Rehab Friendly: Ideal for post-injury leg training
-
Space Saving: Especially when using a lever squat attachment instead of a full machine
-
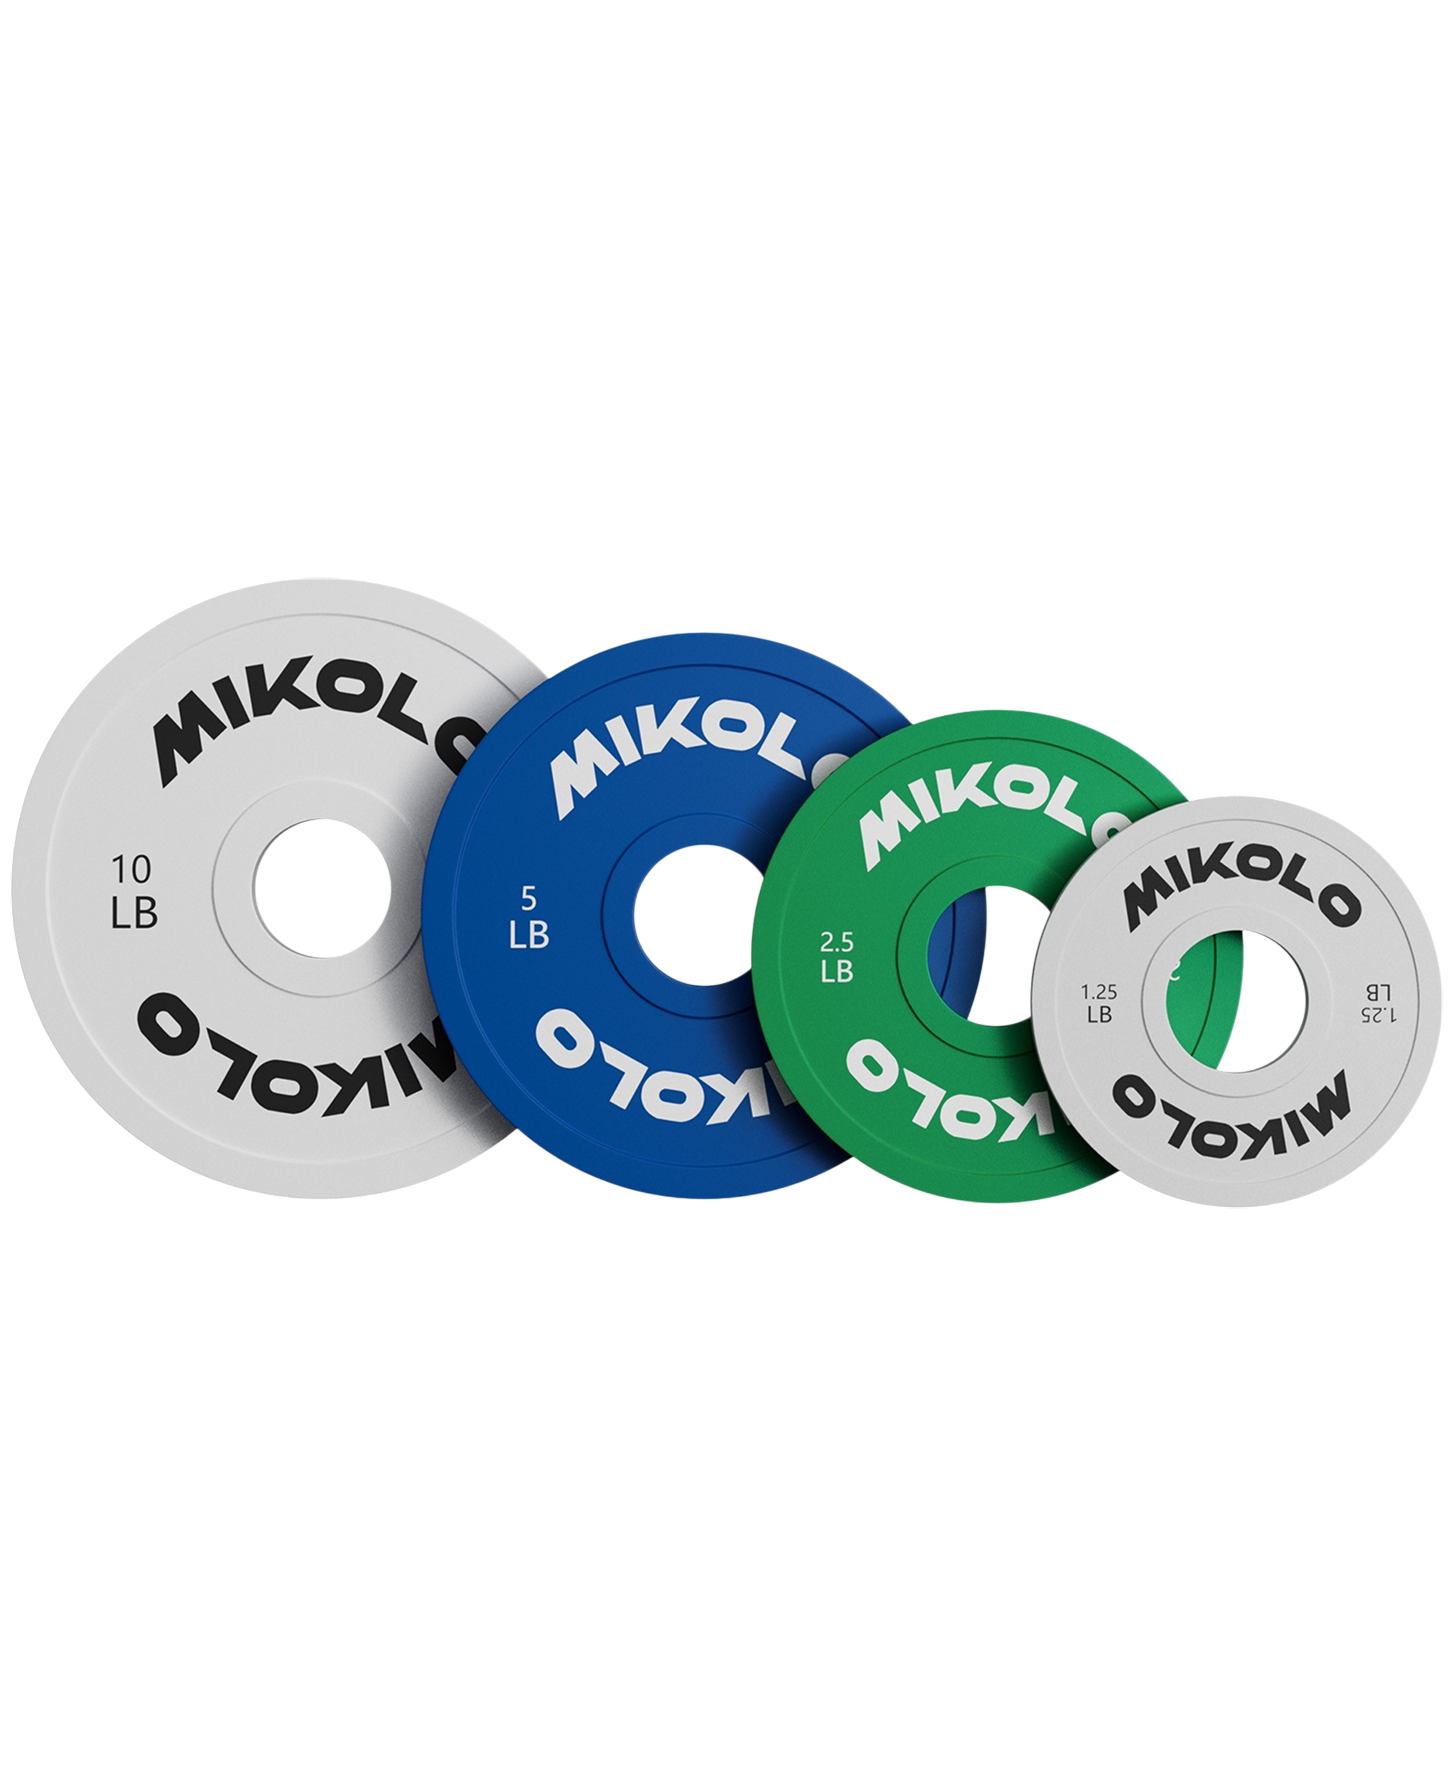
Progressive Overload: Easily track strength gains with plate loading
I’ve personally used the lever belt squat in both off-season hypertrophy blocks and during periods of low back fatigue. It’s one of the few squat variations that lets me train near failure with minimal joint wear.
Final Thoughts
If you're building a smarter, safer strength program, the lever belt squat deserves a spot in your arsenal. Whether you’re investing in a commercial-grade belt squat lever arm, crafting a DIY version, or upgrading your setup with a lever squat attachment, this movement will push your lower body hard—without punishing your spine.
Give it a try for a few weeks, and you’ll likely find yourself squatting more often, recovering faster, and walking away with stronger legs and fewer aches.


Leave a comment
This site is protected by hCaptcha and the hCaptcha Privacy Policy and Terms of Service apply.