


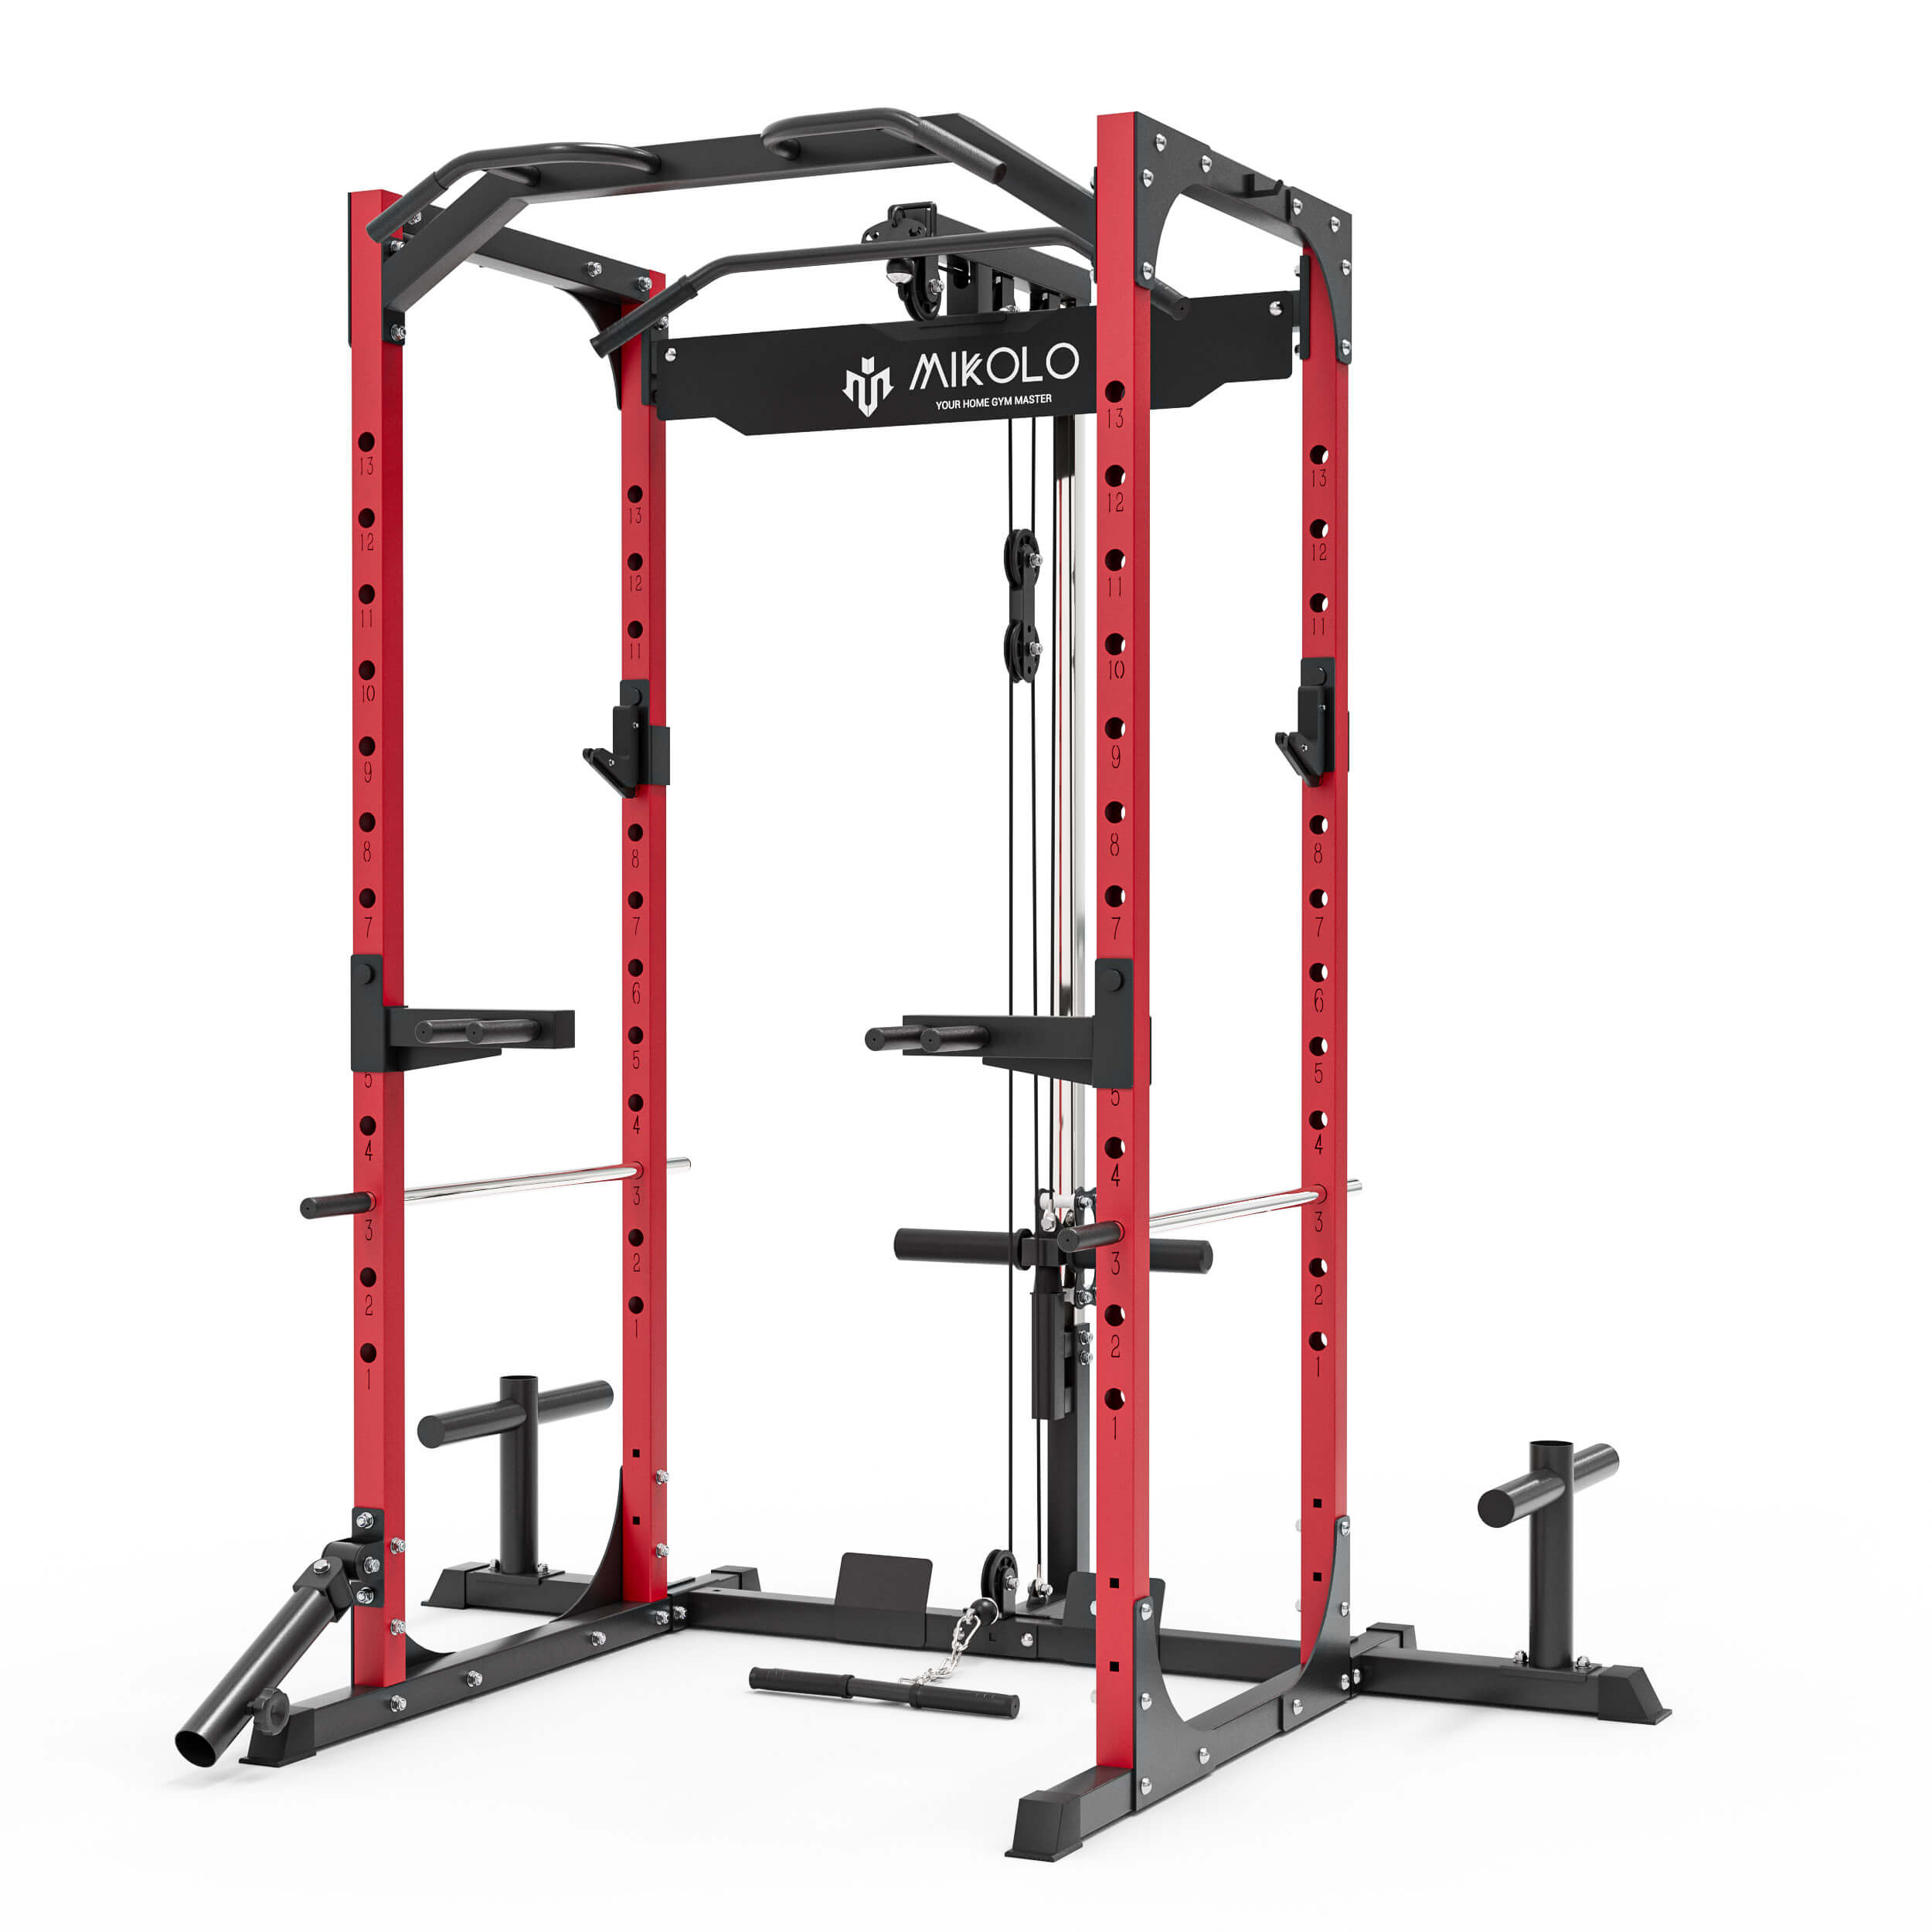


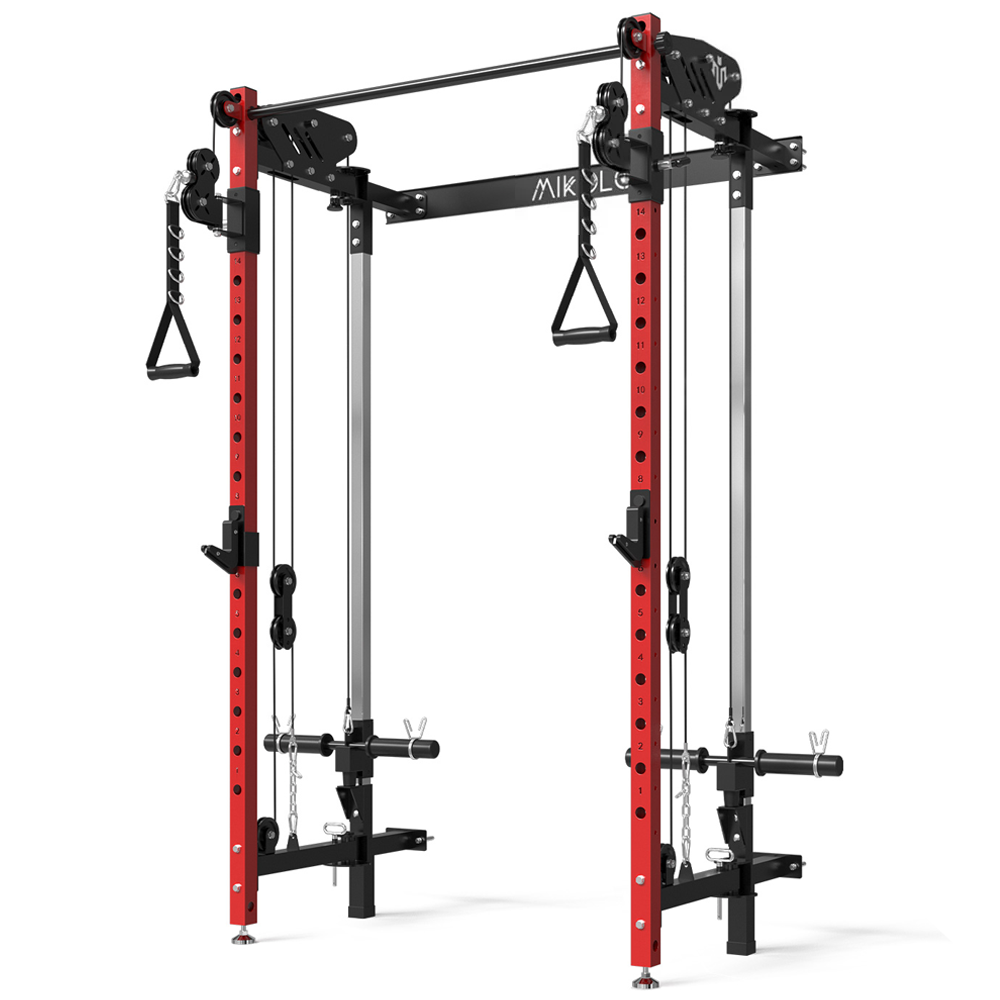
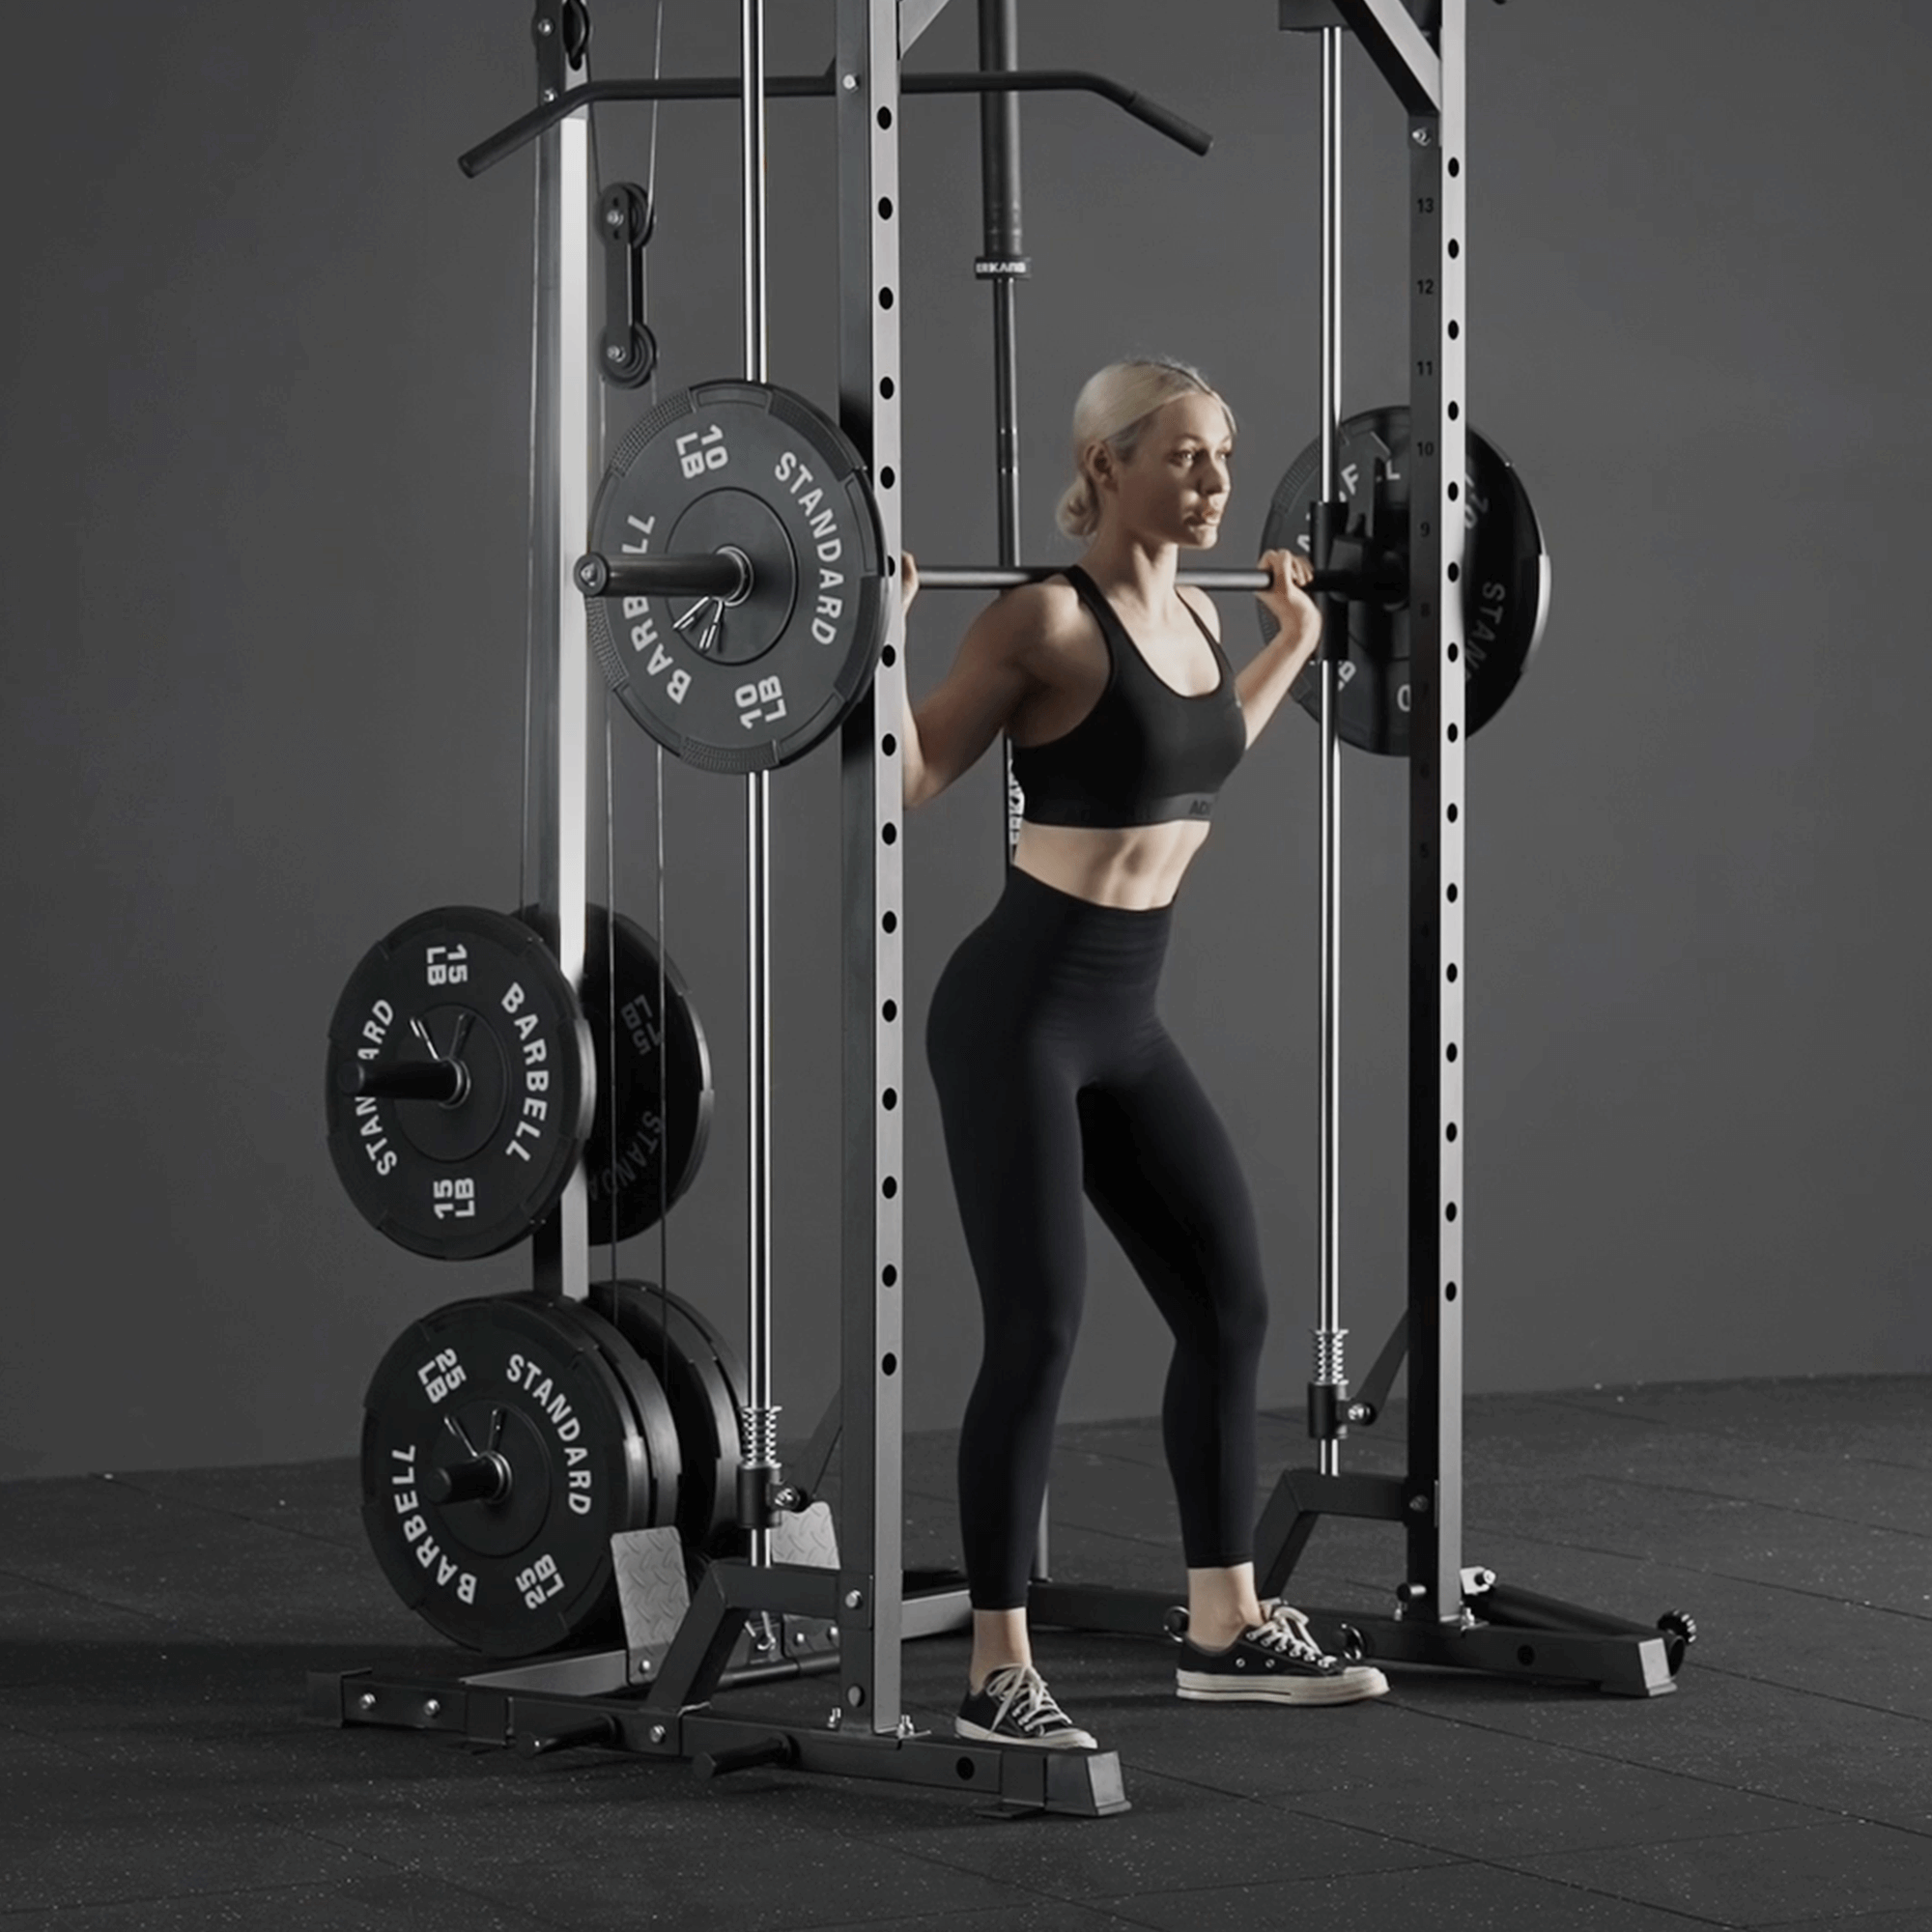


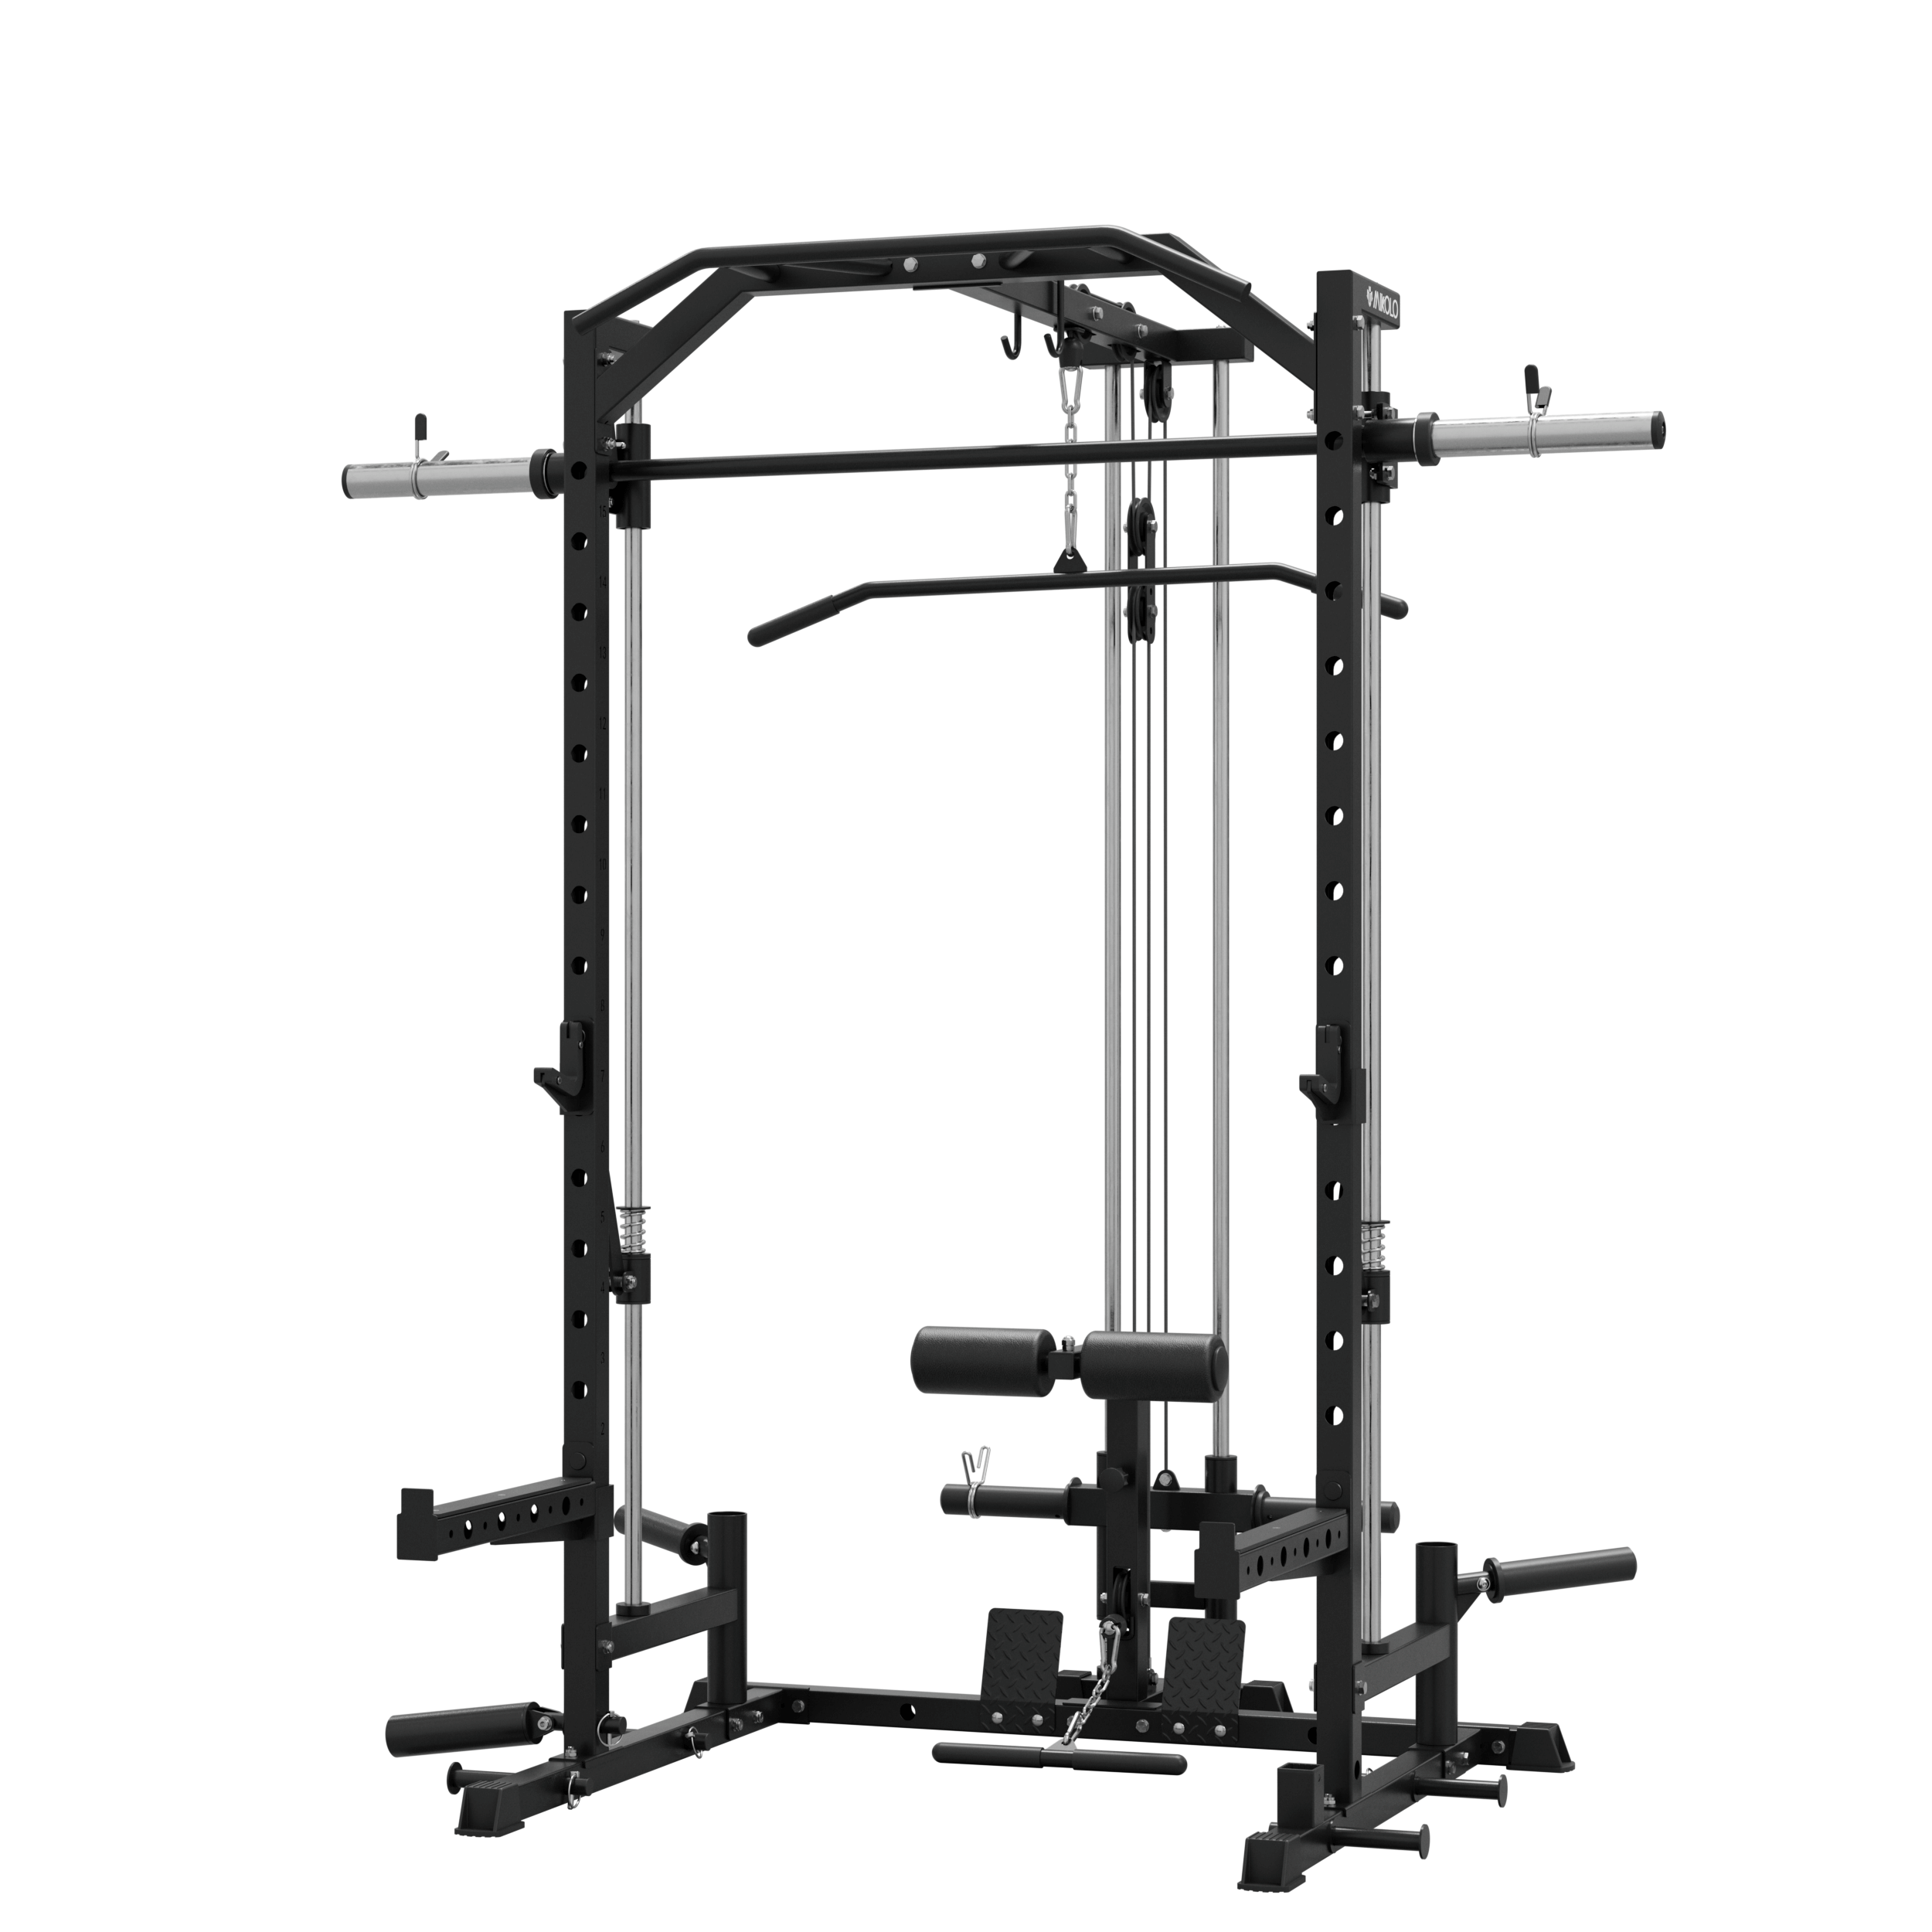


Dip bars are one of the most versatile pieces of equipment you can add to a home gym. They offer excellent upper body and core development, especially for triceps, chest, and shoulders. If you have a power rack, creating your own DIY dip attachment can be a rewarding and cost-effective project. This guide will walk you through the key considerations, materials, and practical tips for building DIY dip bars for your power rack that are sturdy, safe, and effective.
Why Build Your Own Dip Bar Attachment?
While commercial dip attachments are widely available, they often come at a premium price and may not fit your rack perfectly. A DIY dip bar attachment allows you to:
-
Customize the width and height to suit your body mechanics.
-
Save money by using readily available materials.
-
Add versatility to your home gym without sacrificing space.
With some basic tools and materials, you can create a professional-grade dip setup tailored to your specific rack and training goals.
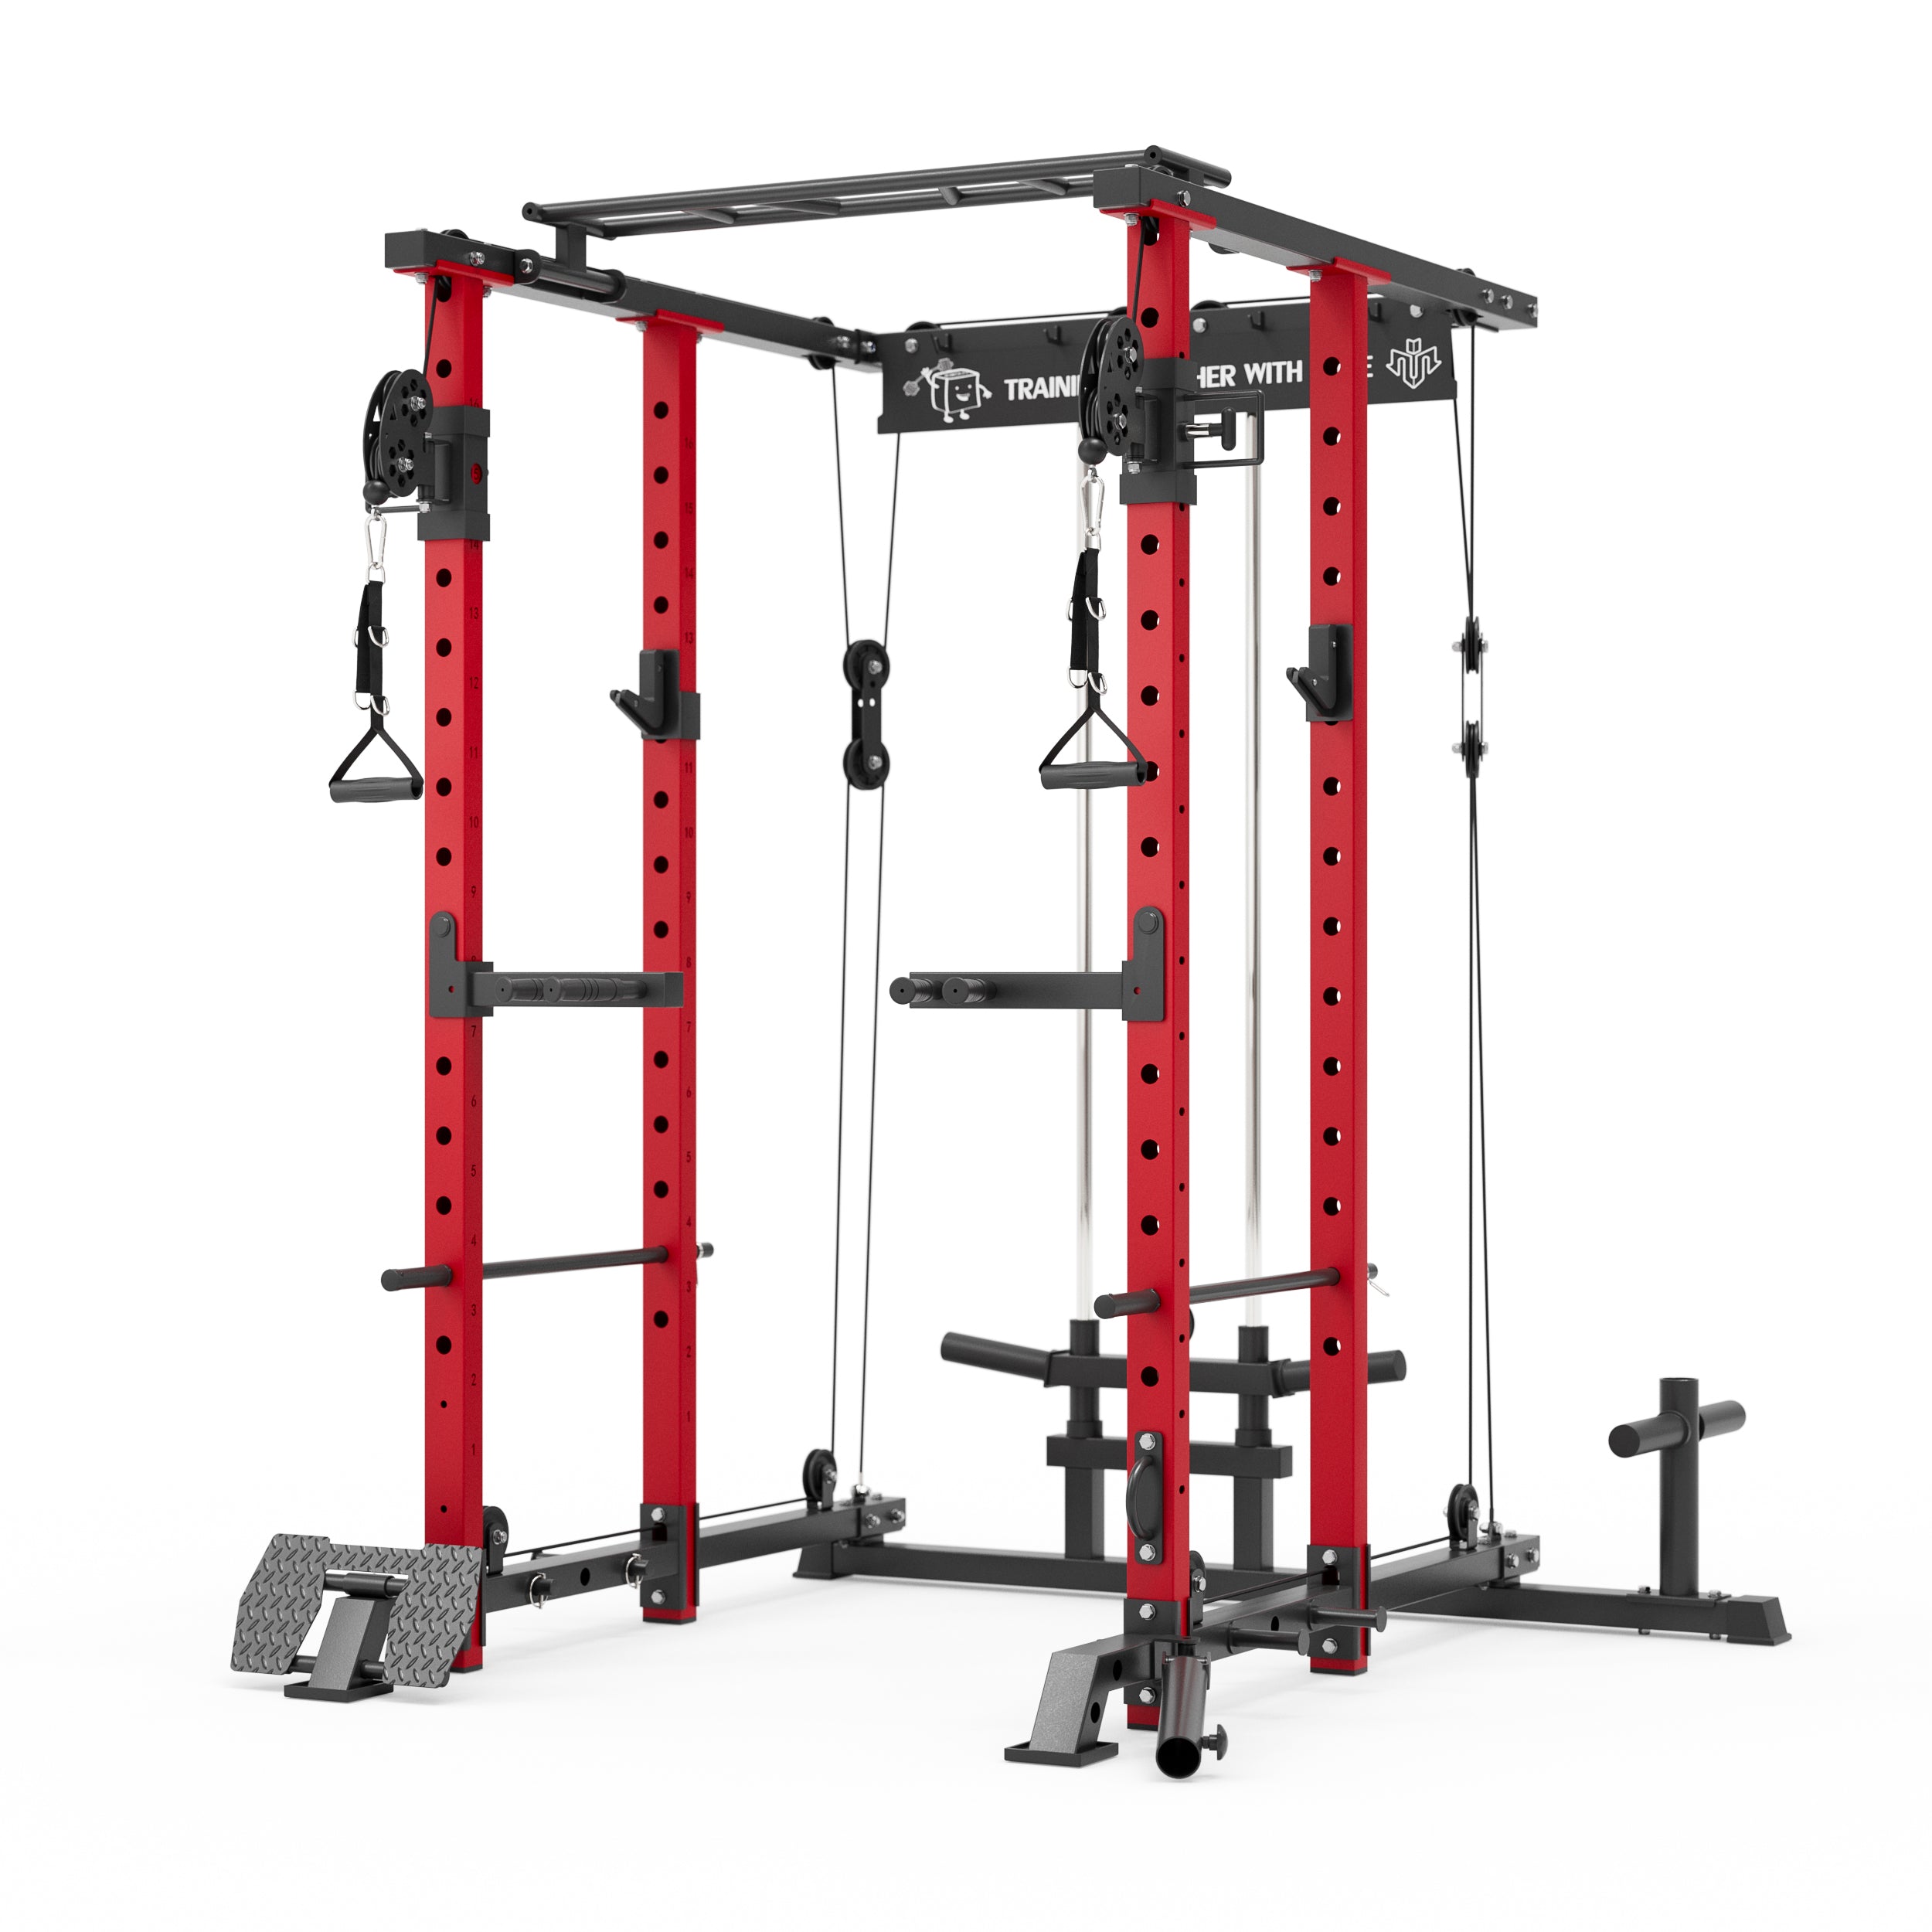
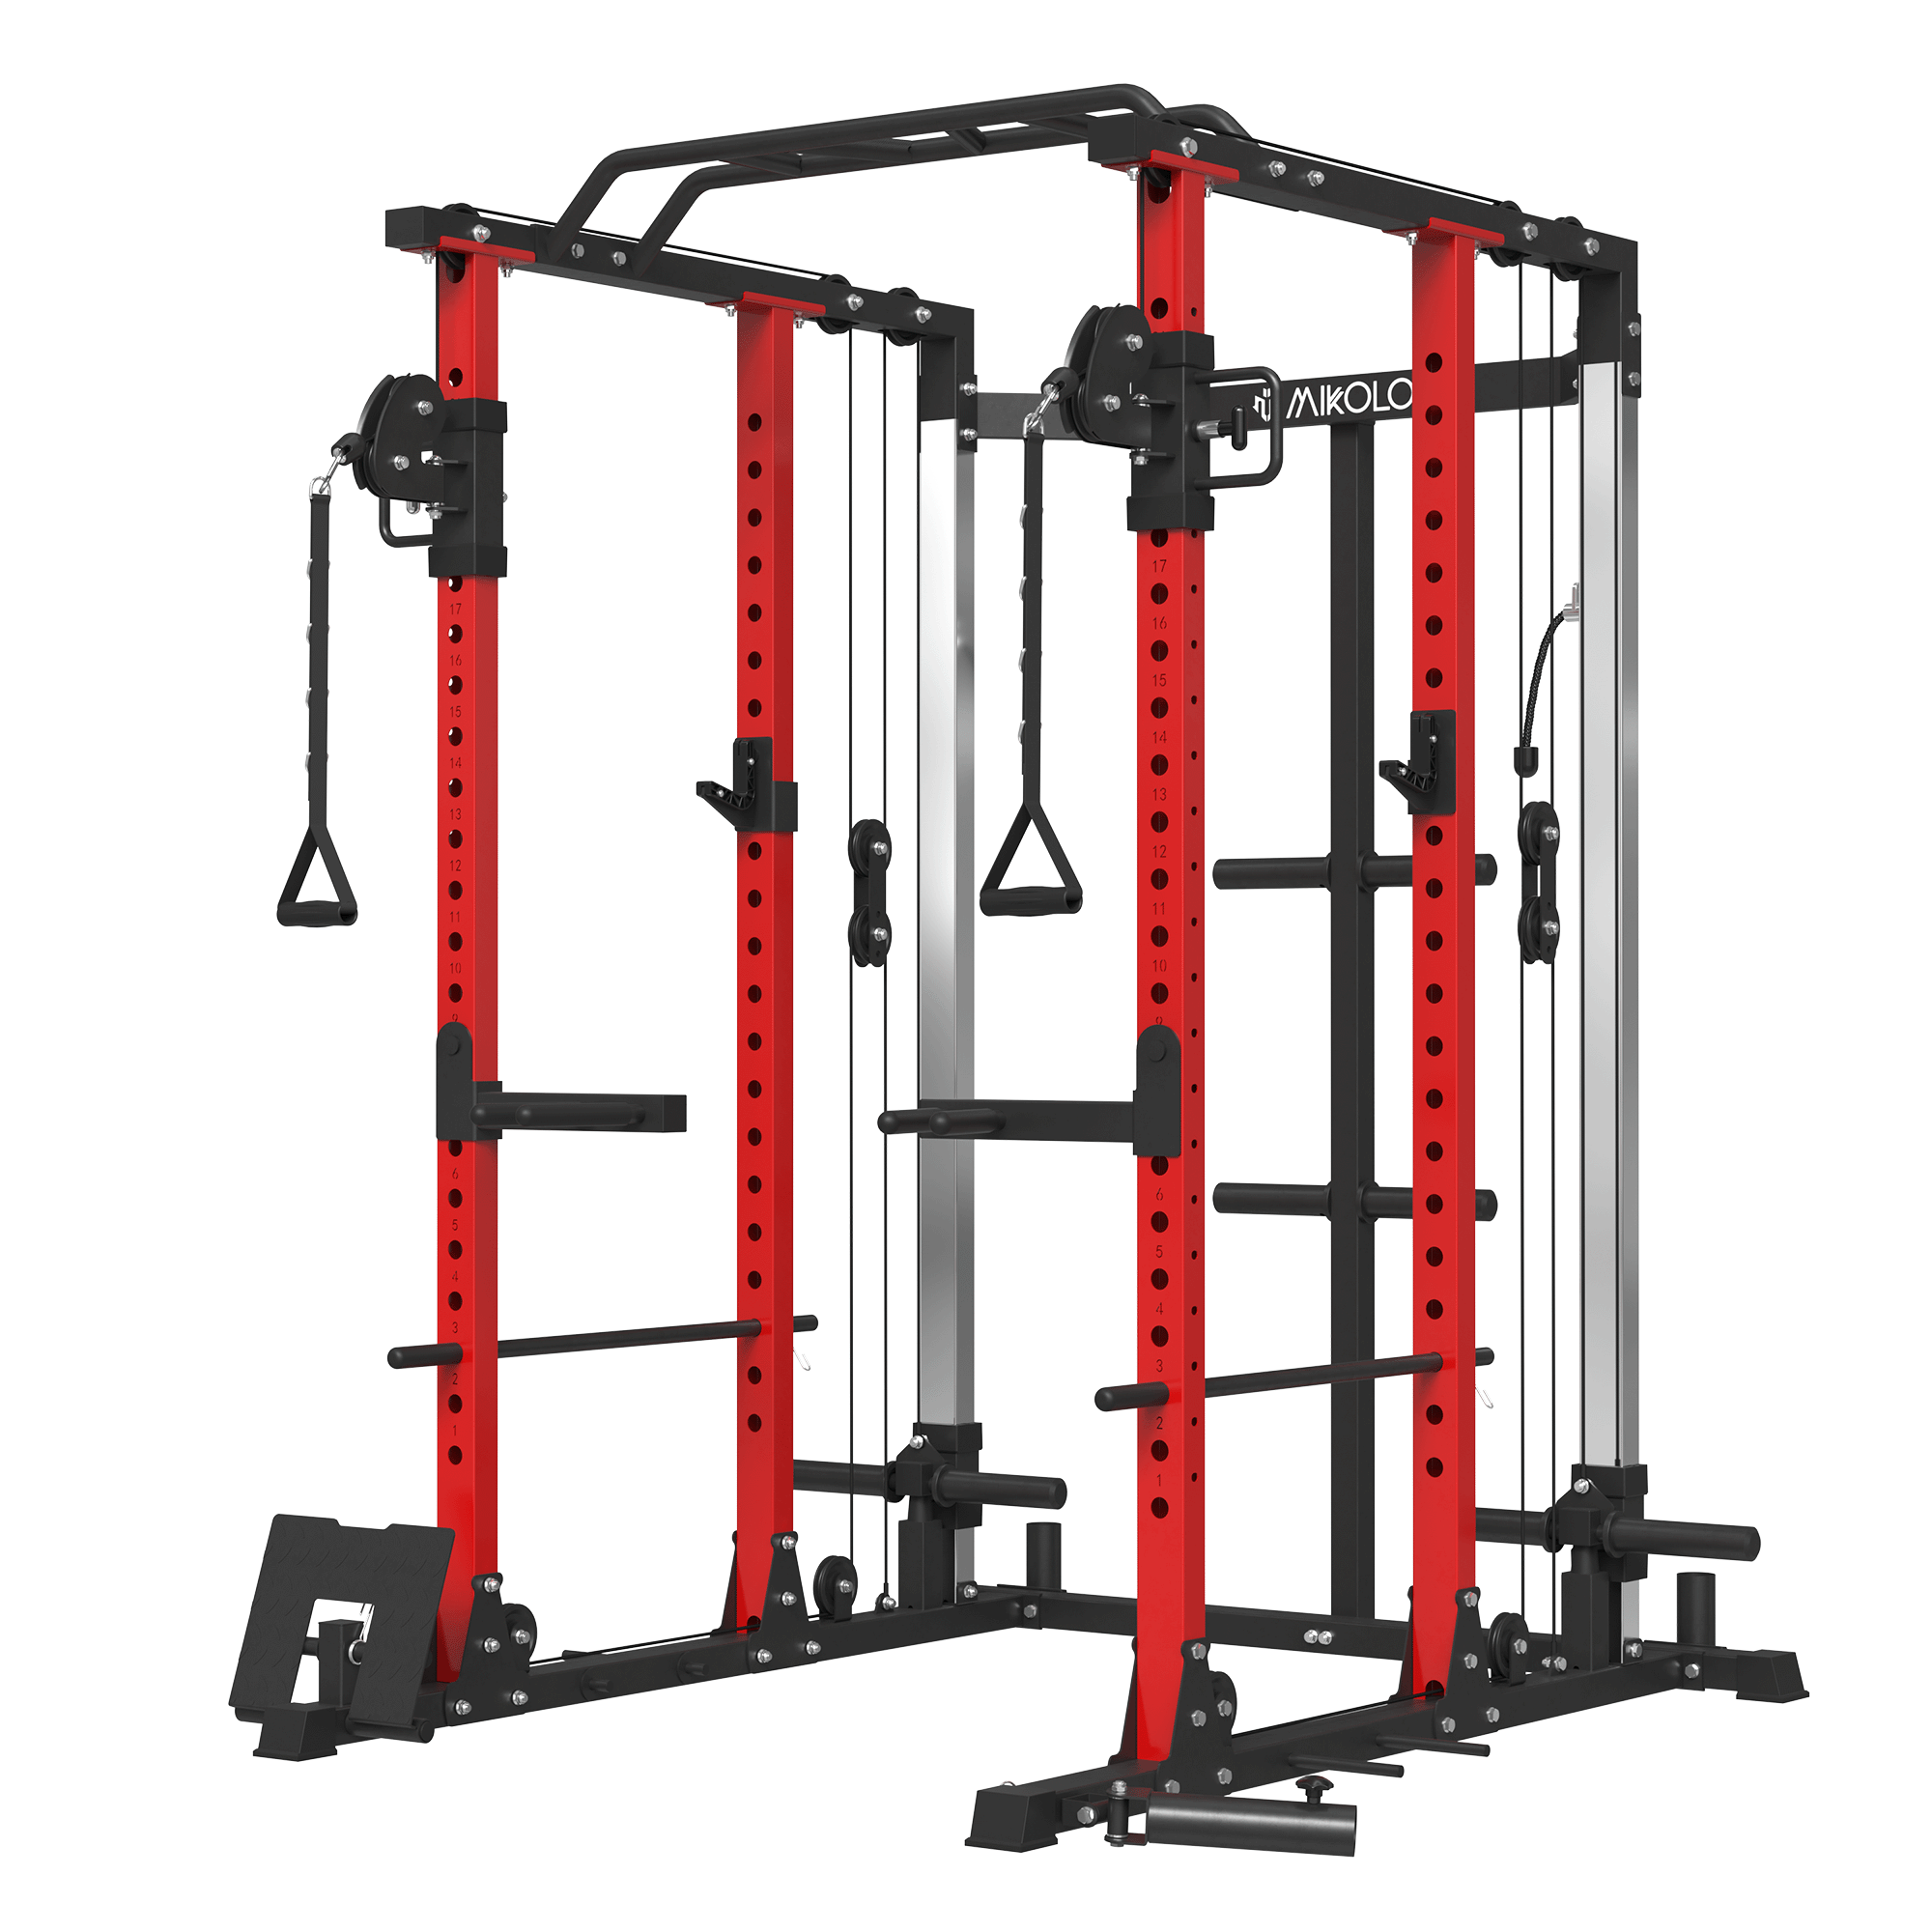
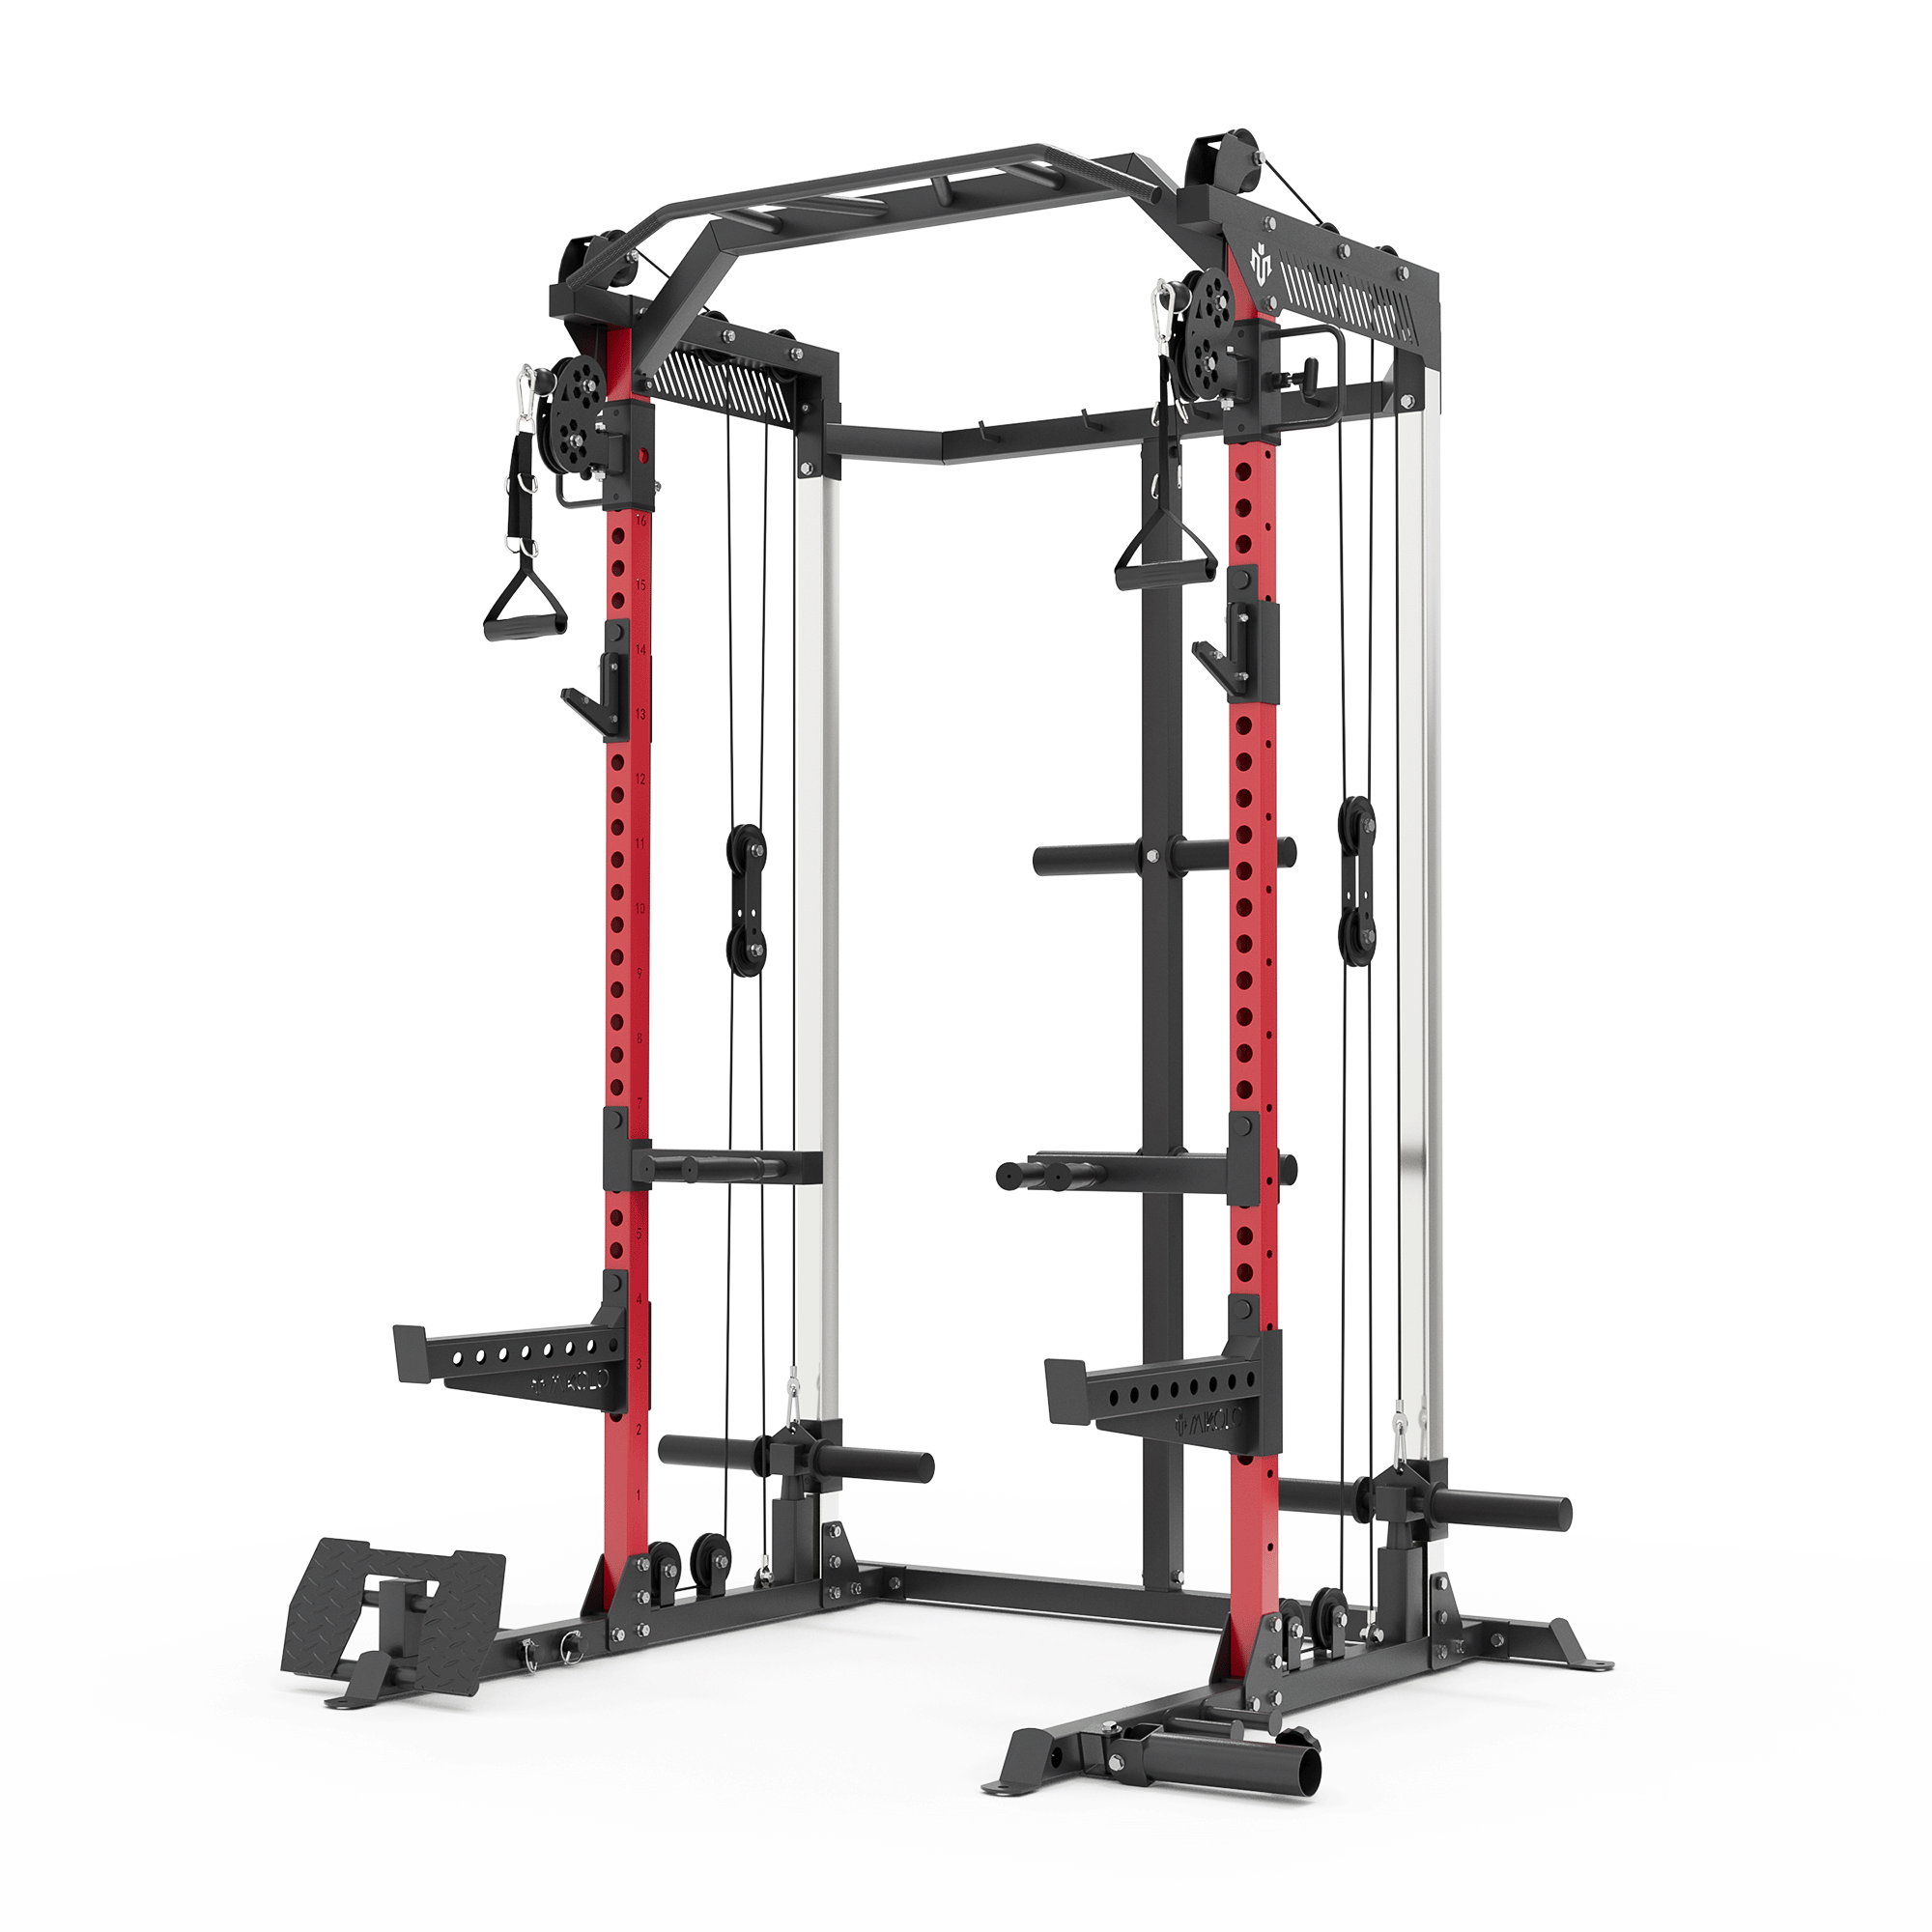
Essential Materials for DIY Dip Bars for Power Rack
The key to a solid DIY dip attachment is stability and durability. Here’s what you’ll typically need:
-
Steel pipe or heavy-duty square tubing (1-1.5 inches thick): Strong enough to handle bodyweight and weighted dips.
-
Mounting brackets or hitch pins: To securely attach the dip bars to your power rack holes.
-
Anti-slip grip tape or foam handles (optional): For comfort and improved grip during workouts.
-
Basic tools: Drill, wrench, tape measure, and possibly a welder depending on your design.
If you prefer a tool-free build, you can assemble pipe sections using flanges and threaded connectors—this method is quick and easily adjustable.
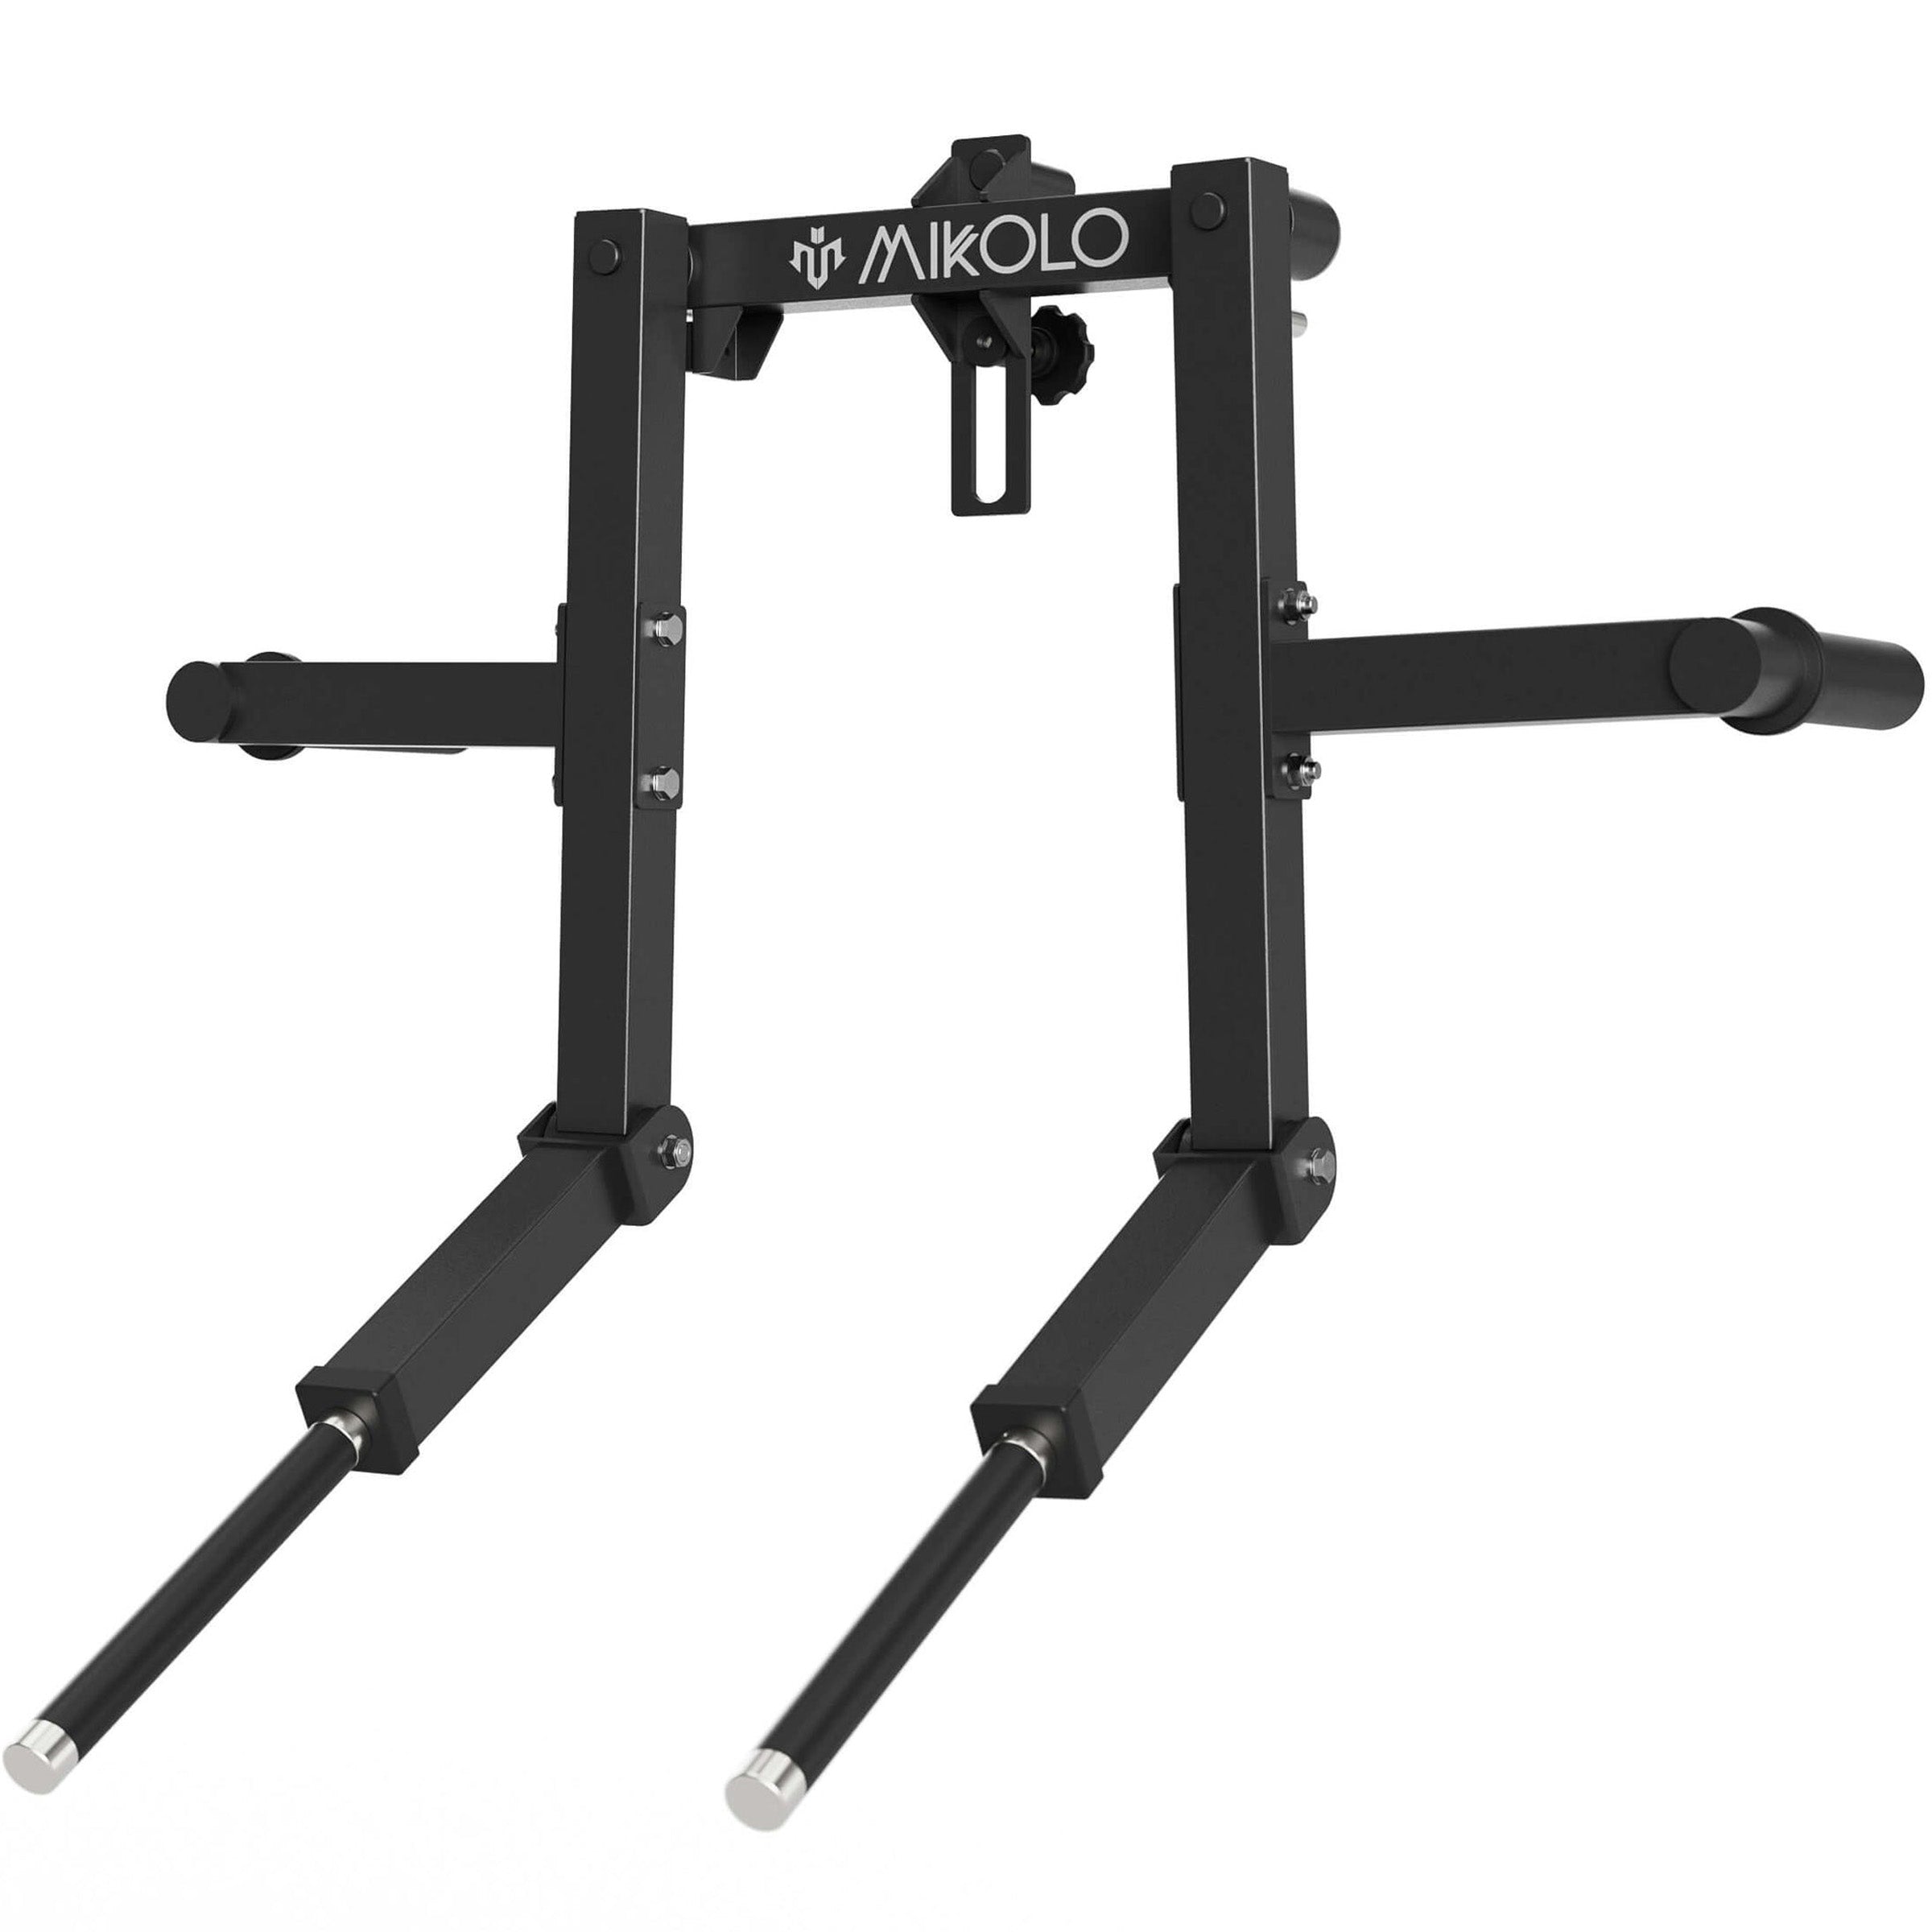
Step-By-Step Guide to DIY Dip Attachment for Power Rack
-
Measure Your Rack Dimensions: Start by measuring the width between the uprights and the hole spacing on your power rack. Most standard racks have 1-inch holes spaced 2 inches apart.
-
Determine Ideal Dip Width: A shoulder-width distance is usually ideal for most users. Adjustable DIY setups can be designed with removable pipes or brackets to change widths.
-
Cut and Assemble Bars: Cut two equal-length steel pipes (typically 16-20 inches long). Use mounting brackets or J-hooks to connect them to your rack.
-
Reinforce Stability: To prevent the bars from wobbling, you can weld an angled support brace underneath or use a flange with multiple screws for added strength.
-
Test Before Use: Before starting your dips, apply pressure and bodyweight to test the setup. Ensure there is no slippage or movement.
My Personal Build Experience
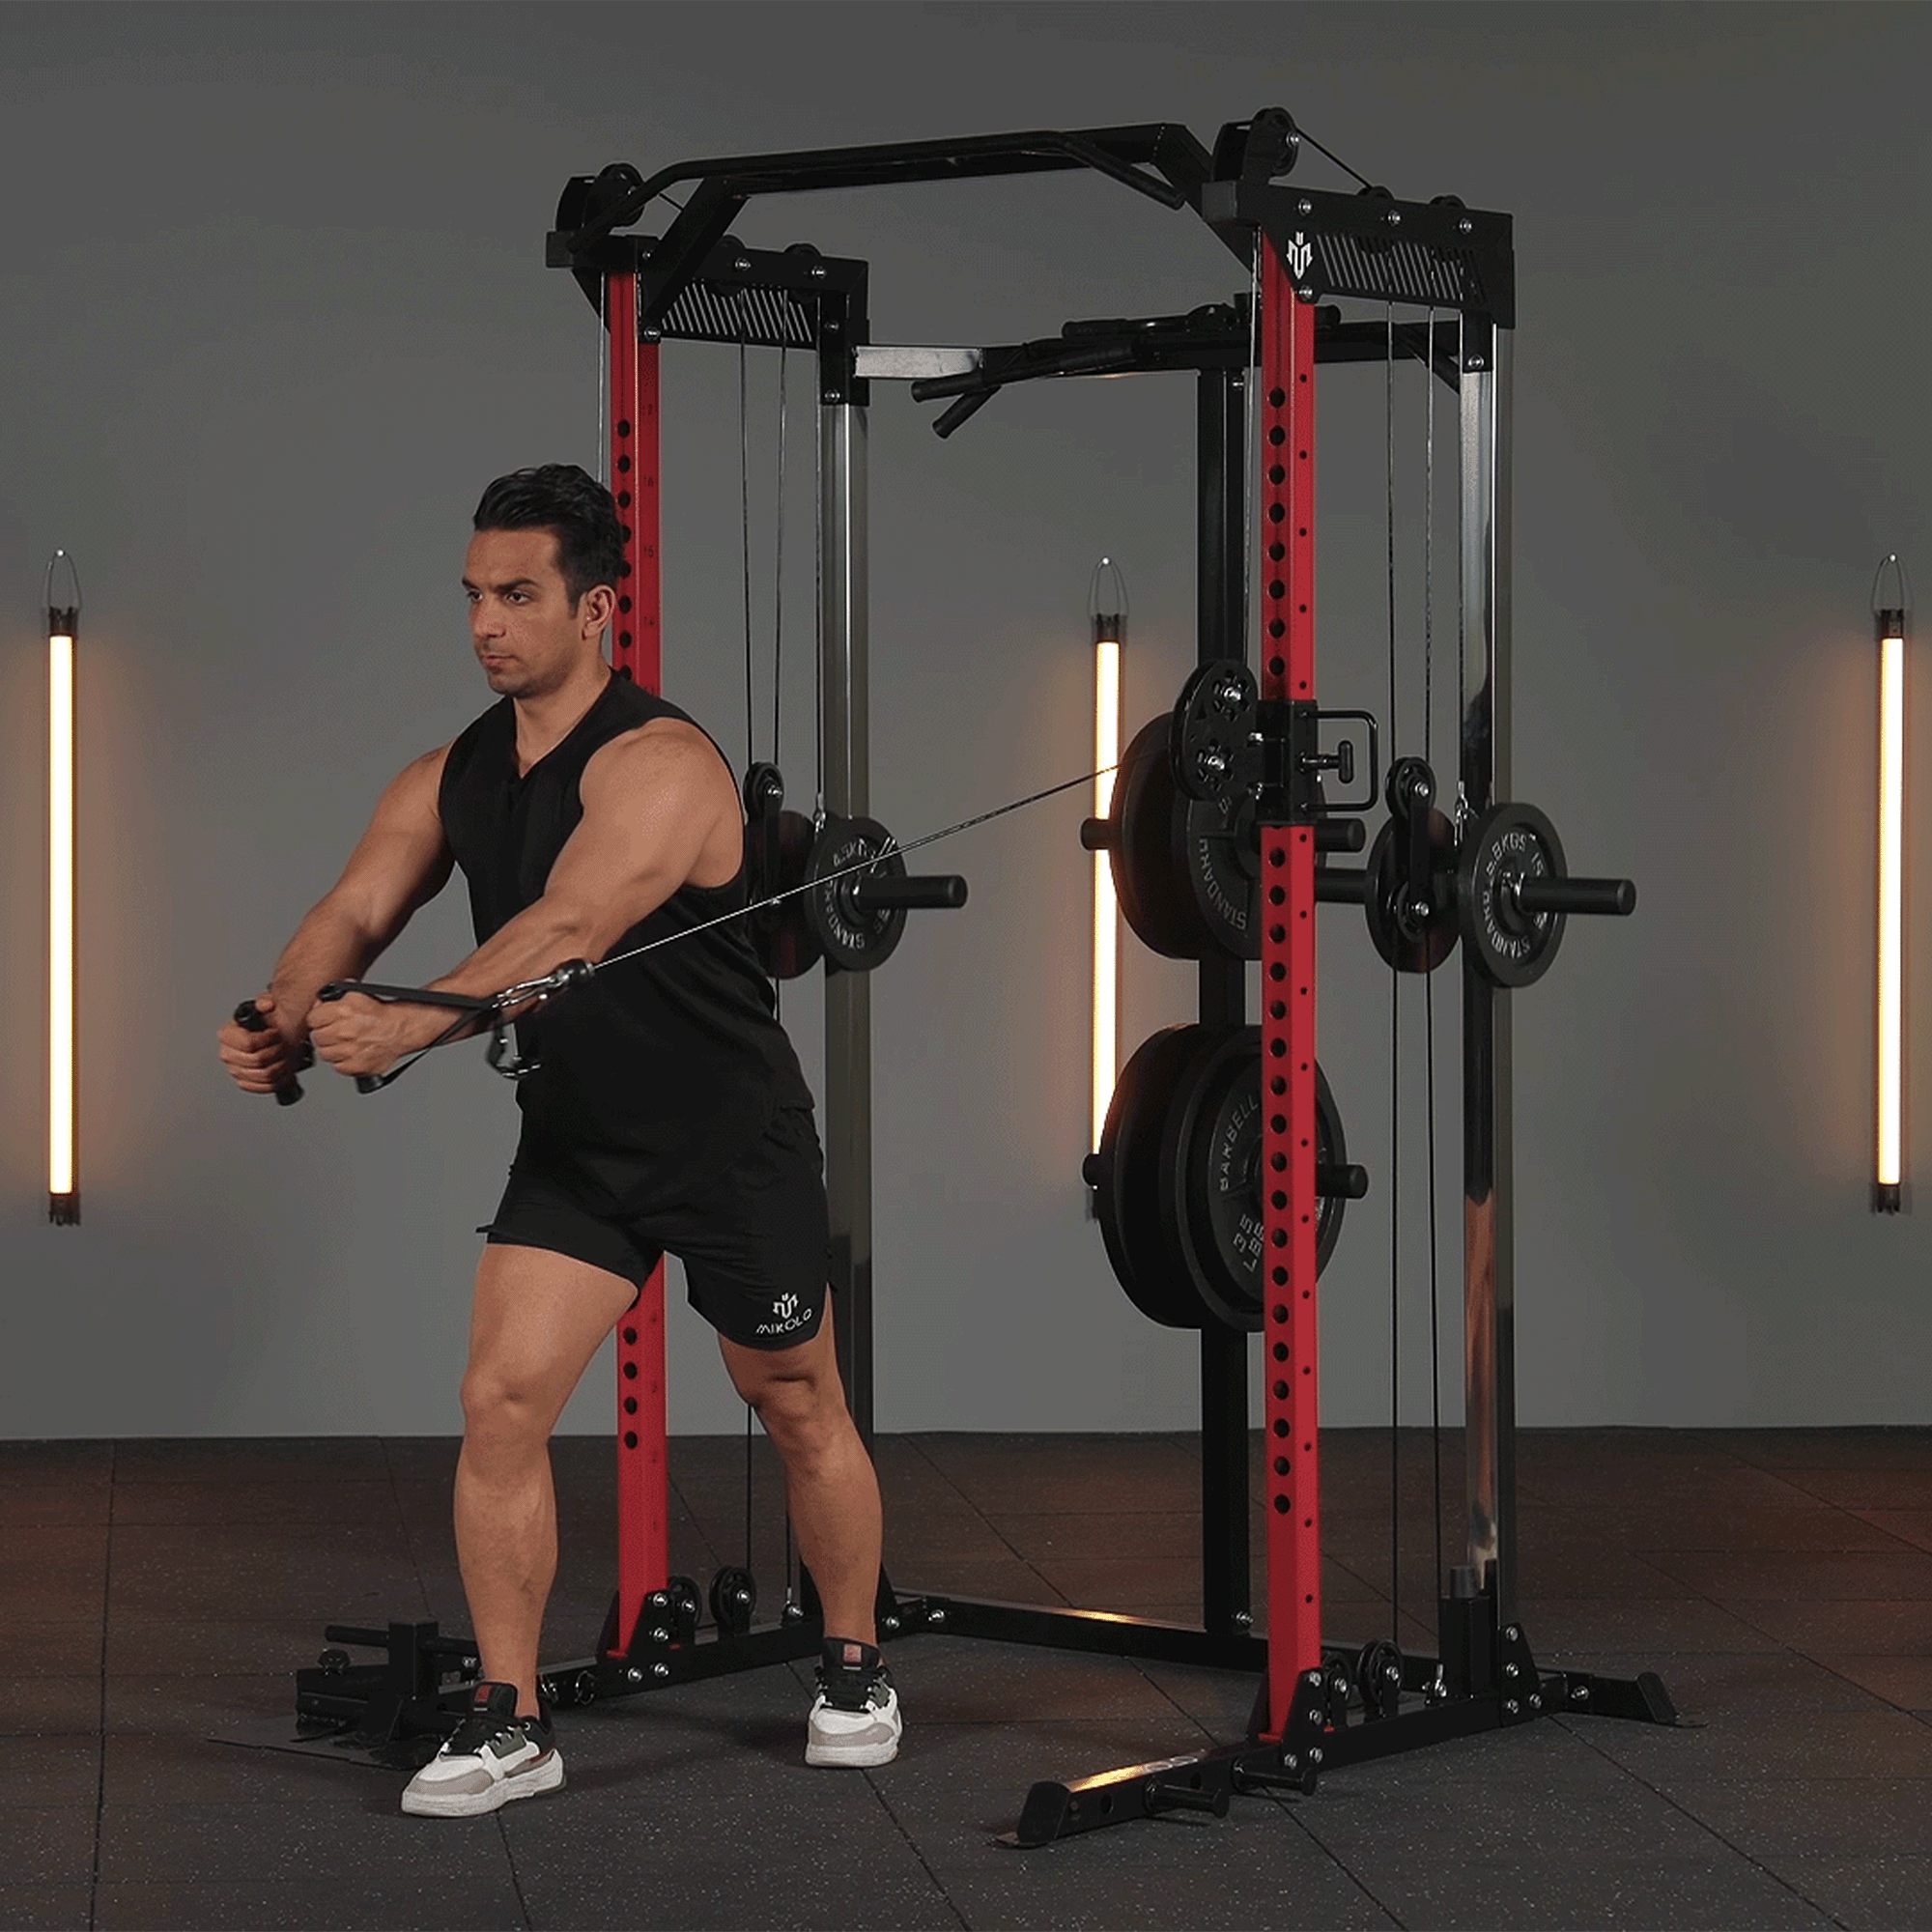
When I built my first DIY dip bars for my home gym, I used 1.25-inch steel pipes with industrial-grade flanges and adjustable L-brackets. One important lesson I learned was the significance of height placement—too low and you lose range of motion, too high and mounting becomes awkward. After some trial and error, I found the optimal height allowed me to do both dips and incline push-ups without needing to constantly adjust. Adding rubber handles also made a noticeable difference in grip comfort during longer sessions. Even after years of use, the setup has held up without any issues, giving me complete confidence during weighted dips.
Safety Considerations
Safety should always be a priority:
-
Double-check all fastenings before every workout.
-
If possible, position the dip bars inside the rack for additional safety support.
-
Avoid using low-grade materials or thin pipes that could bend under load.
If you're uncomfortable with tools or fabrication, it’s advisable to seek help from a local welder or handyman to ensure your attachment is safe.
Final Thoughts
A DIY dip bar attachment for your power rack is a practical addition to any home gym. It offers high reward with minimal investment, providing a powerful tool for building upper body strength. With some basic hardware and a little creativity, you can customize a dip setup that rivals commercial options—designed to your preferences, your space, and your training style.


Leave a comment
This site is protected by hCaptcha and the hCaptcha Privacy Policy and Terms of Service apply.