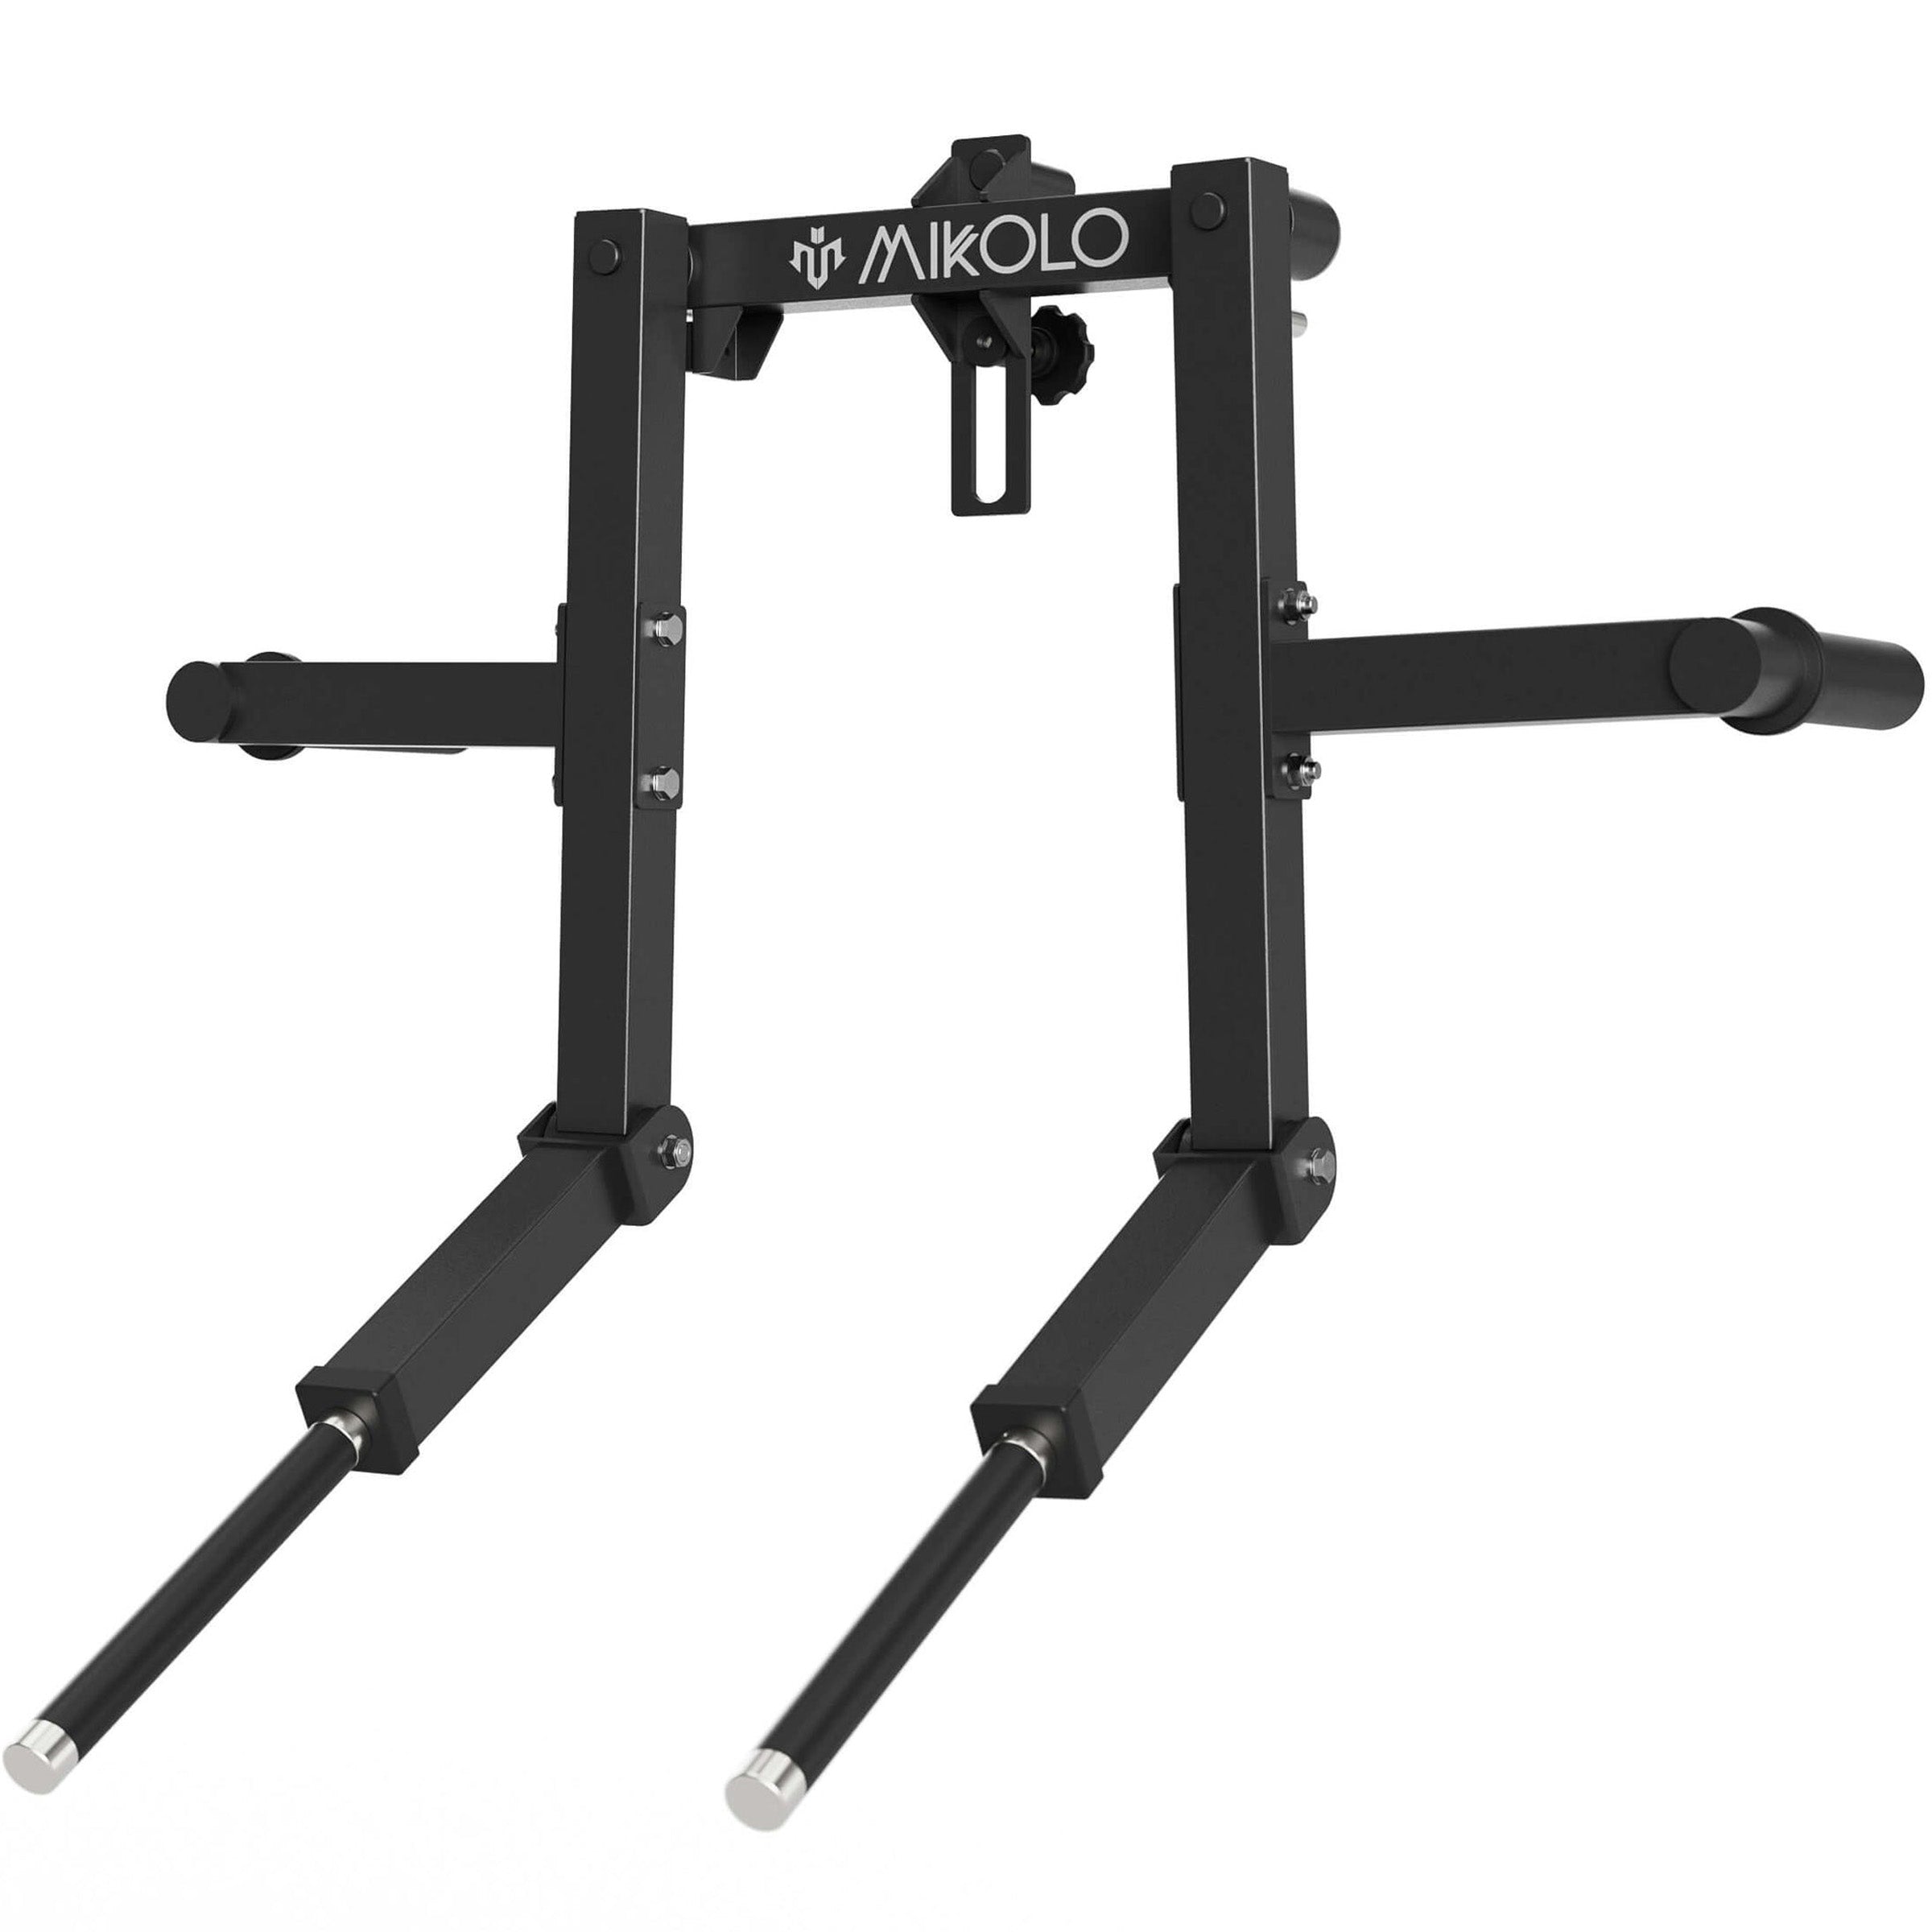
If you’ve ever tried adding dips to your workout routine at home, you know how effective they are for building chest, triceps, and shoulder strength. But commercial dip attachments can be costly—and not every power rack comes with one. That’s where a DIY dip bar attachment for your power rack becomes a game-changer. With the right materials and careful planning, you can build your own dip station that's both safe and highly functional.
Why Build Your Own Dip Bars for a Power Rack?
Dips are a compound movement that deliver exceptional upper body results. But without access to stable dip bars, you might be tempted to skip them—or worse, use makeshift solutions that compromise your safety.
Creating your own DIY dip bars for a power rack allows you to:
-
Customize the height and width to fit your body.
-
Save money compared to commercial options.
-
Maximize space by using equipment you already own.
-
Ensure a sturdy, load-bearing solution that integrates with your existing rack.
What You’ll Need for a DIY Dip Attachment
Before you get started, gather these basic tools and materials:
-
Heavy-duty steel pipes or square tubing (1”–1.5” in diameter)
-
Wood or rubber handle grips (optional for comfort)
-
L-brackets or U-bolts to secure the bars
-
Drill and steel bits (if modifying steel)
-
Rubber padding or foam (to protect your rack’s uprights)
-
Spray paint or powder coating (for rust prevention)
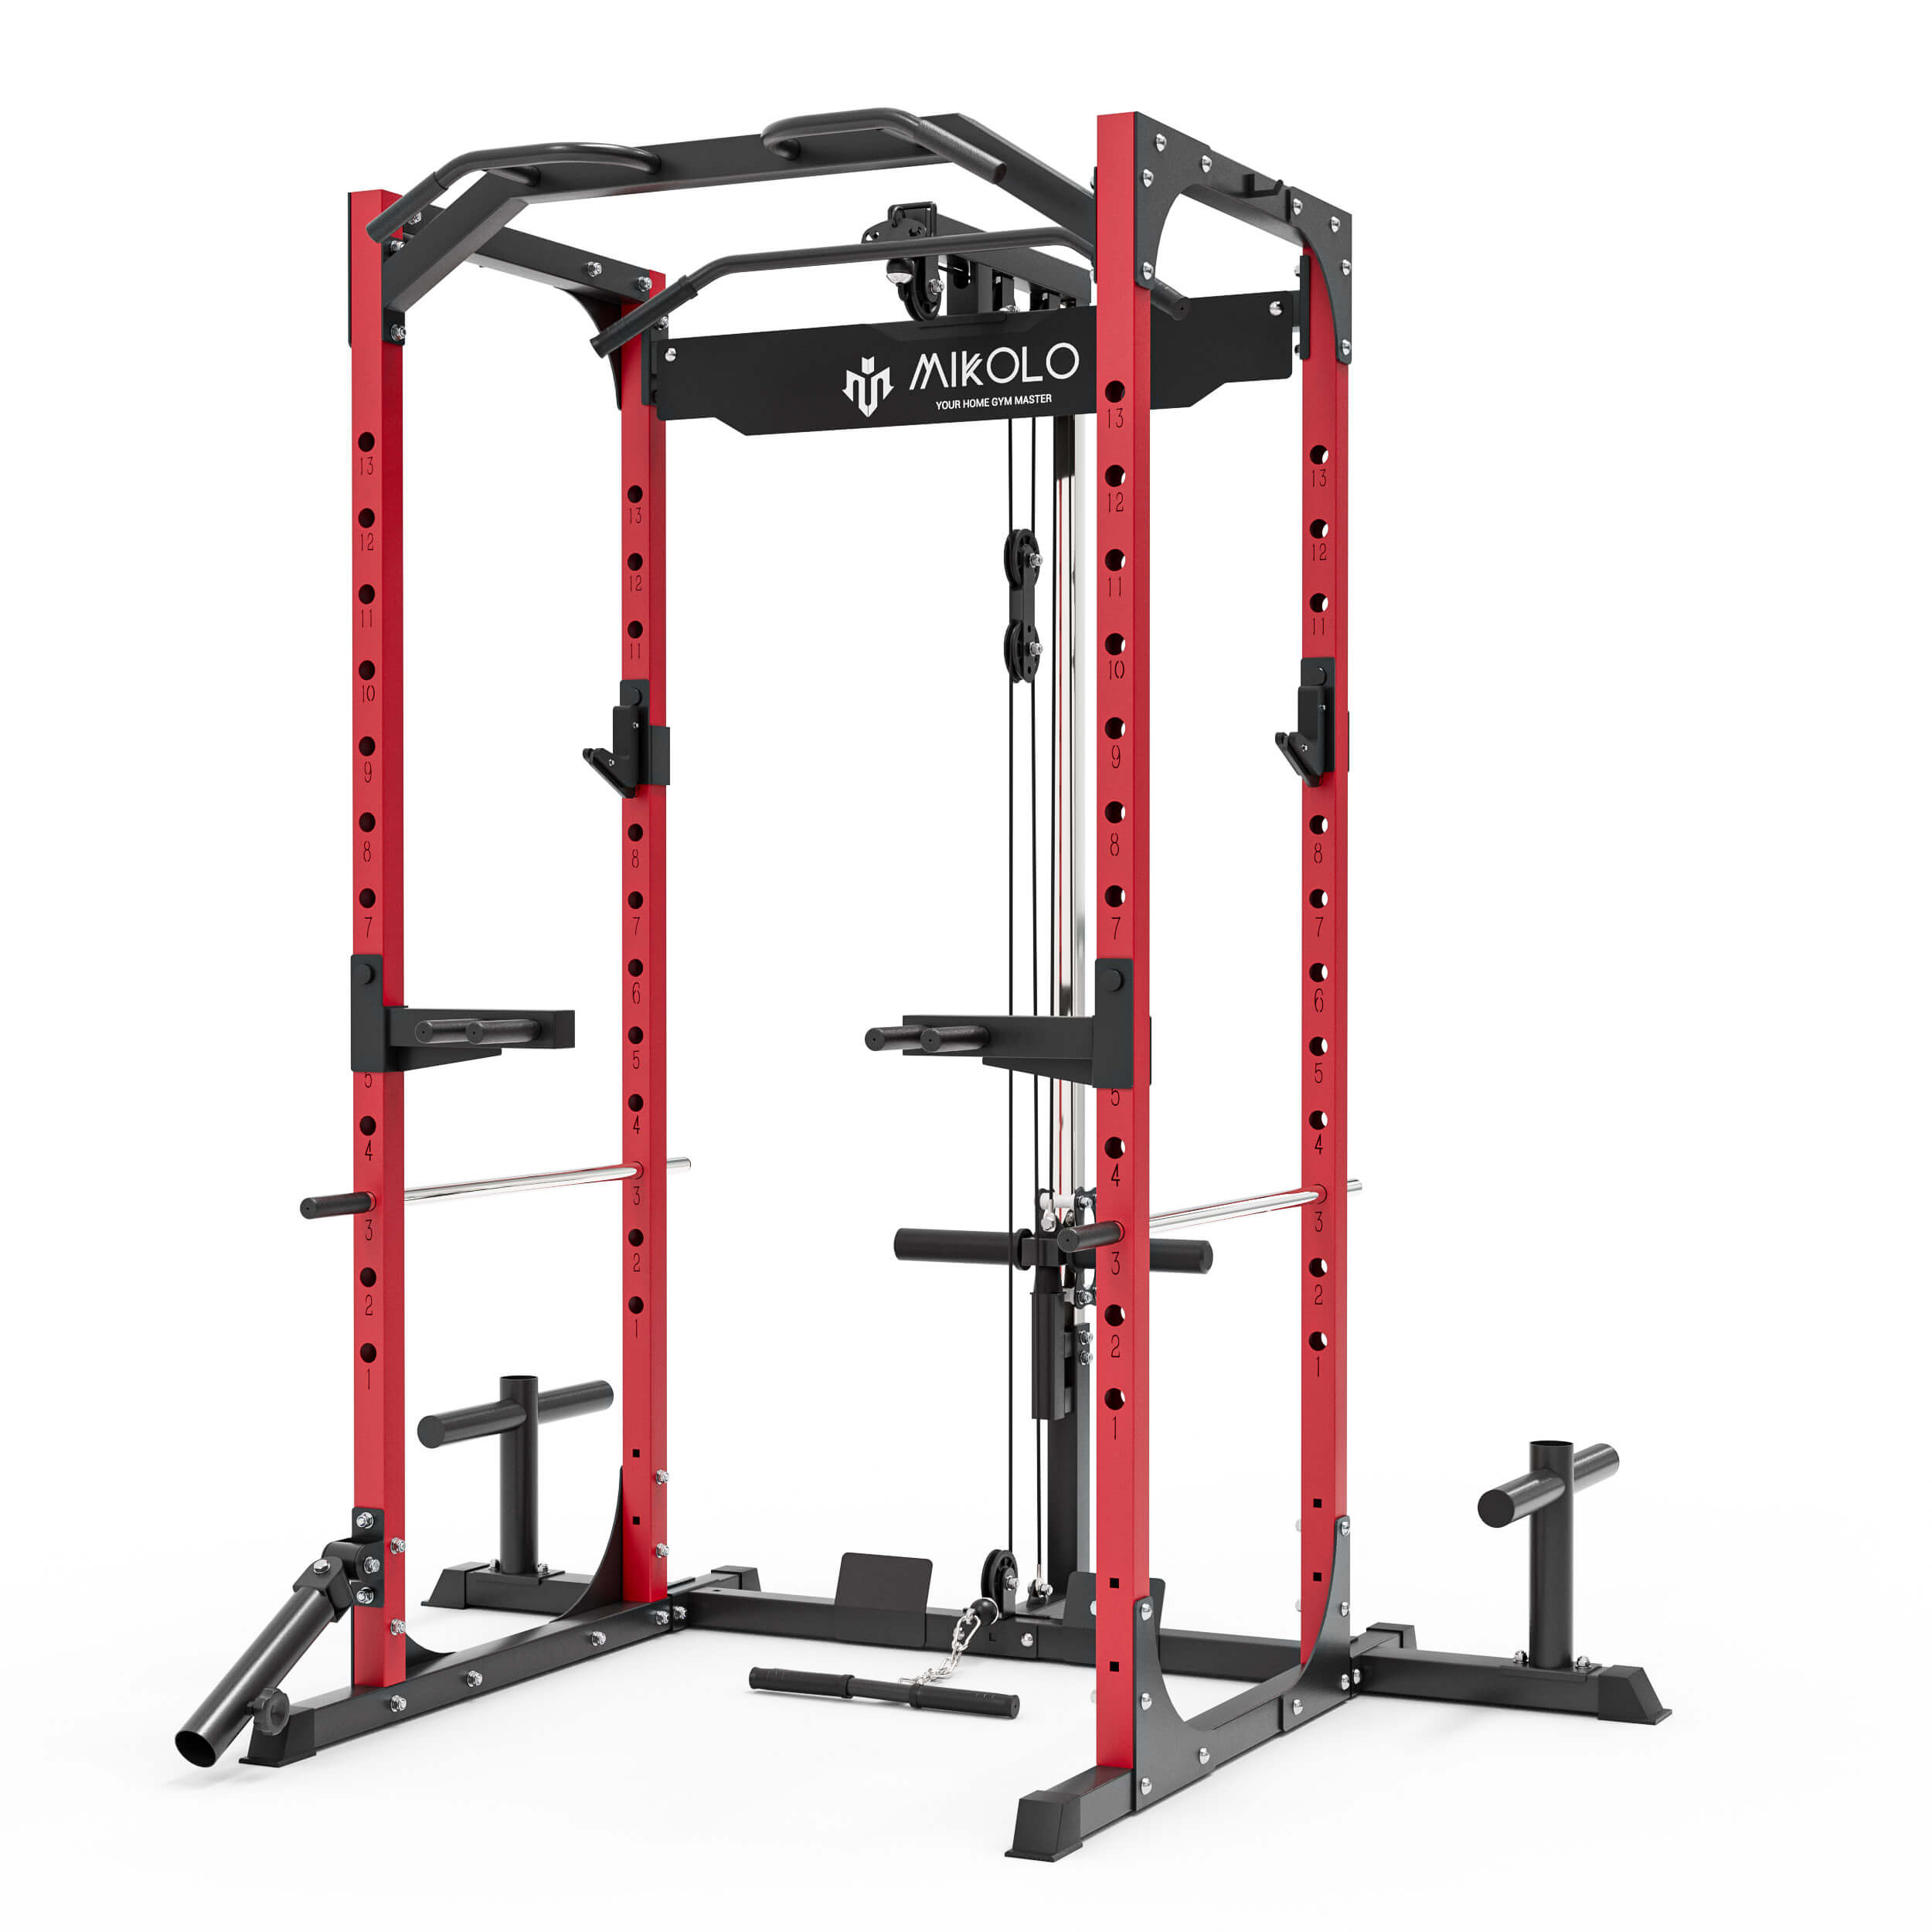
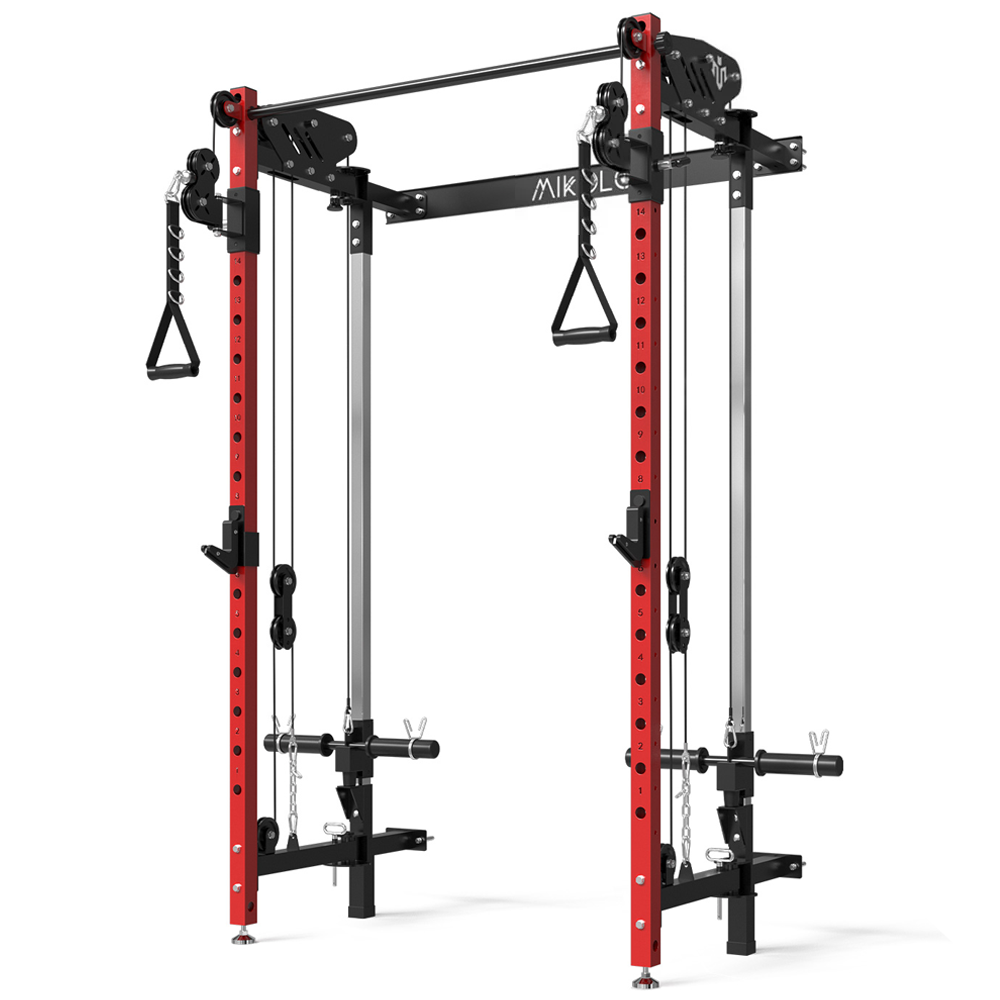
The key is to ensure the bars can support your body weight and lock securely onto the rack’s uprights. Most DIYers go with J-hook style inserts or bolt-on L-brackets for easy removal and height adjustment.
Step-by-Step: How to Build a DIY Dip Attachment for Your Power Rack
-
Measure the Width:
Stand between your power rack uprights and measure a comfortable dip grip width—usually around shoulder-width or slightly wider. -
Cut the Bars:
Cut two steel bars to 18–24 inches in length. Angling them slightly outward can mimic the feel of commercial dip stations and provide a more ergonomic grip. -
Mounting System:
Use L-brackets welded or bolted to each bar end, allowing you to slot the dip bars into the power rack holes. Another popular method is welding or attaching your bars to short steel posts that drop into the rack's pin holes, similar to J-cups. -
Add Protection:
Apply rubber or foam padding between the metal parts that contact the rack to prevent scratches and slipping. -
Finishing Touches:
Sand off any rough edges, apply a coat of paint or rust-proof finish, and attach rubber grips if desired.
My Personal Experience with a DIY Dip Attachment
When I first transitioned to home workouts, I underestimated how often I’d miss having a stable dip station. After testing a few unstable setups with chairs and benches, I decided to build my own DIY dip attachment for my power rack. I used galvanized steel conduit and bolted the bars onto custom-cut wooden bases that slotted into my rack’s holes. After some trial and error on bar angle and spacing, I ended up with a compact, rock-solid setup.


















Leave a comment
This site is protected by hCaptcha and the hCaptcha Privacy Policy and Terms of Service apply.