


Looking to build stronger glutes? A hip thrust machine can provide the targeted resistance and support you need. This guide will walk you through its setup, proper technique, and how to make the most of it in your workout routine.
Key Takeaways
-
Proper setup and technique are essential for effective hip thrusts and injury prevention.
-
Incorporate variations and other lower body exercises to enhance the effectiveness of your routine.
-
Utilize the hip thrust machine for better glute isolation and to safely increase weight for progressive overload.
Setting Up the Hip Thrust Machine
Before beginning, ensure the hip thrust machine is properly set up. Beginners should start with a few reps without added weight to familiarize themselves with the machine and maintain proper form. Experienced gym-goers can start with a weight that’s about half of their body weight. Ensure the weight is evenly balanced on the machine to prevent any imbalances during the thrust.
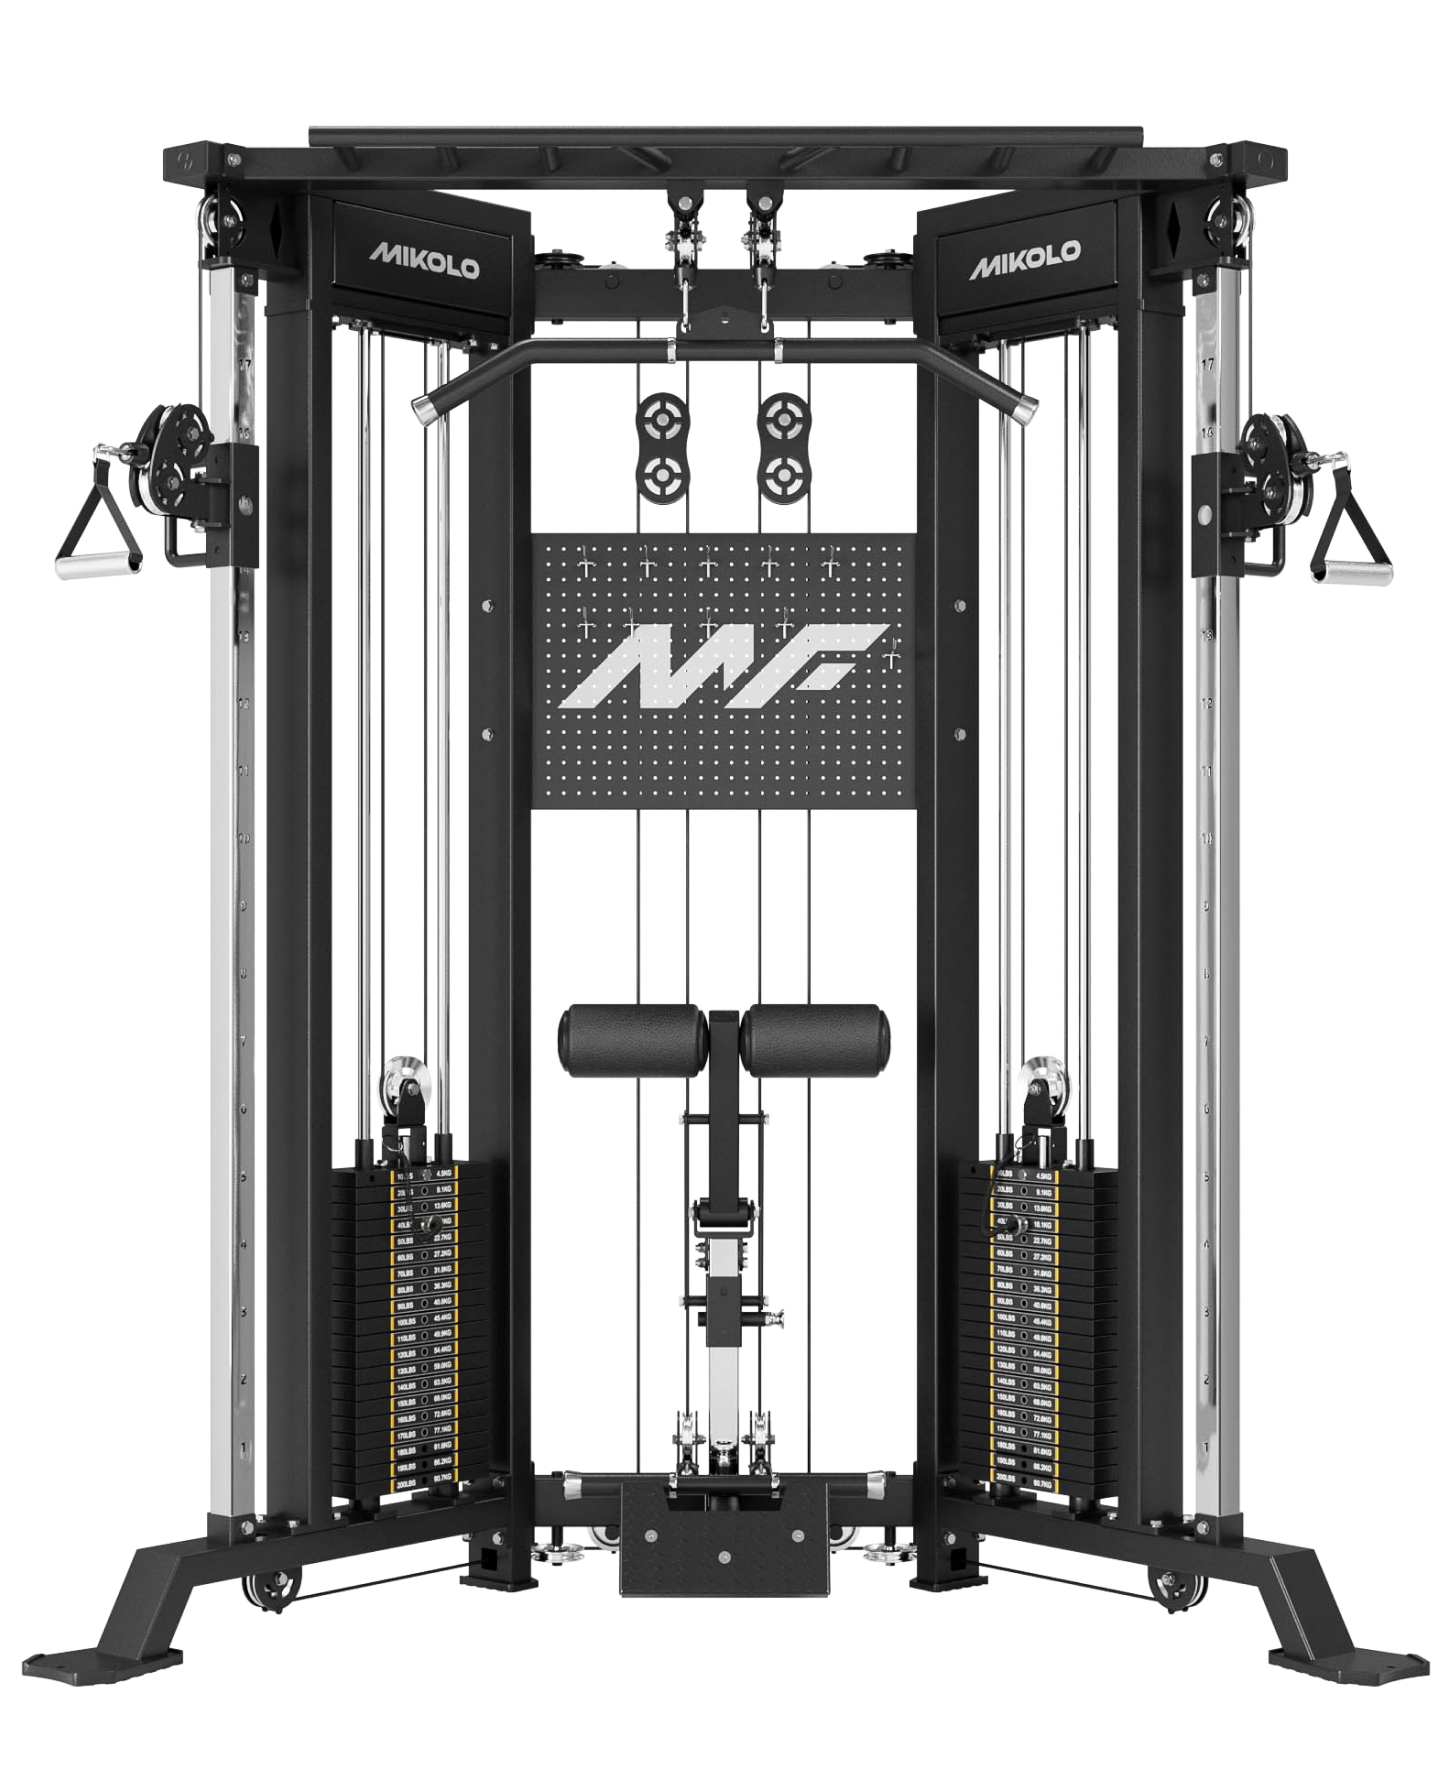
The hip thrust machine can accommodate a maximum weight capacity of 360 pounds, making it suitable for a wide range of fitness levels. A correct setup not only ensures safety but also improves workout effectiveness.
Consistency and precision in setup are key to a strong hip bridge motion.
Proper Technique for Hip Thrusts
Proper technique prevents injuries and maximizes the benefits of hip thrusts. Good form protects your spine from strain and ensures the correct muscles are engaged.
Push through your heels and focus on driving your hips upward during the hip thrust. The technique involves positioning your body, executing the movement, and determining the right reps and sets.
Positioning Your Body
Position your shoulder blades against the bench for optimal support. Ensure your back makes full contact with the support for stability throughout the exercise. Place your feet shoulder-width apart and slightly splayed; ensure your knees form a 90-degree angle in the starting position.
Brace your core and tense your legs to stabilize your body during the thrust. Core stability is crucial for maintaining form and preventing injury. Maintain tension and keep your spine neutral throughout the movement for maximum effectiveness.
Movement Execution
After positioning yourself, engage your glutes and core to drive your hips upward. Perform the upward thrust explosively, ensuring your hips move quickly toward the ceiling. At the peak, your body should form a straight line from shoulders to knees. This strong hip bridge motion is key to fully engaging your glutes.
Rushing can hinder muscle activation and reduce the exercise’s benefits. Maintain a smooth, controlled motion both up and down. Visual learners may benefit from a commercial video demonstrating proper form.
Reps and Sets
To build strength, aim for 3 to 5 sets of 5 to 8 repetitions with heavier weights. This range develops power and muscle mass. For general fitness, 3-4 sets of 6-12 repetitions are effective. A suggested routine includes three sets of hip thrusts, each with six to twelve repetitions.
Single-leg hip thrusts enhance unilateral strength and stability by isolating each leg. This variation challenges the core and improves balance, adding value to your routine.
Integrating Hip Thrusts into Your Workout

Adding hip thrusts to your routine creates a balanced lower body workout, enhancing overall strength. Combine hip thrusts with exercises like walking lunges to enhance muscle engagement for a comprehensive workout.
A starting routine might include hip thrusts with exercises targeting the quads and calves for a full lower body workout. Variations in hip thrusts can overcome training plateaus and prevent workout monotony, keeping your routine fresh.
Benefits of Using the Hip Thrust Machine
The hip thrust machine provides focused glute isolation, essential for effective workouts. It helps perfect form and adds resistance, making progressive overload and muscle building easier. Its design safely accommodates heavier weights, up to 440 pounds.
The machine also offers a greater range of motion than traditional hip thrusts, improving muscle activation and gains. It’s an excellent tool for enhancing lower body strength and glute development.
Common Mistakes to Avoid
A common mistake during hip thrusts is incorrect foot placement. Position your feet shoulder-width apart with a slight outward angle for optimal stability. Incorrect foot placement can lead to ineffective glute engagement and potential injury.
Using a bench that’s too high can cause improper hip alignment. Failing to stabilize the core can compromise the hip thrust’s effectiveness.
Firmly place your feet on the platform and engage your core throughout to avoid these pitfalls.
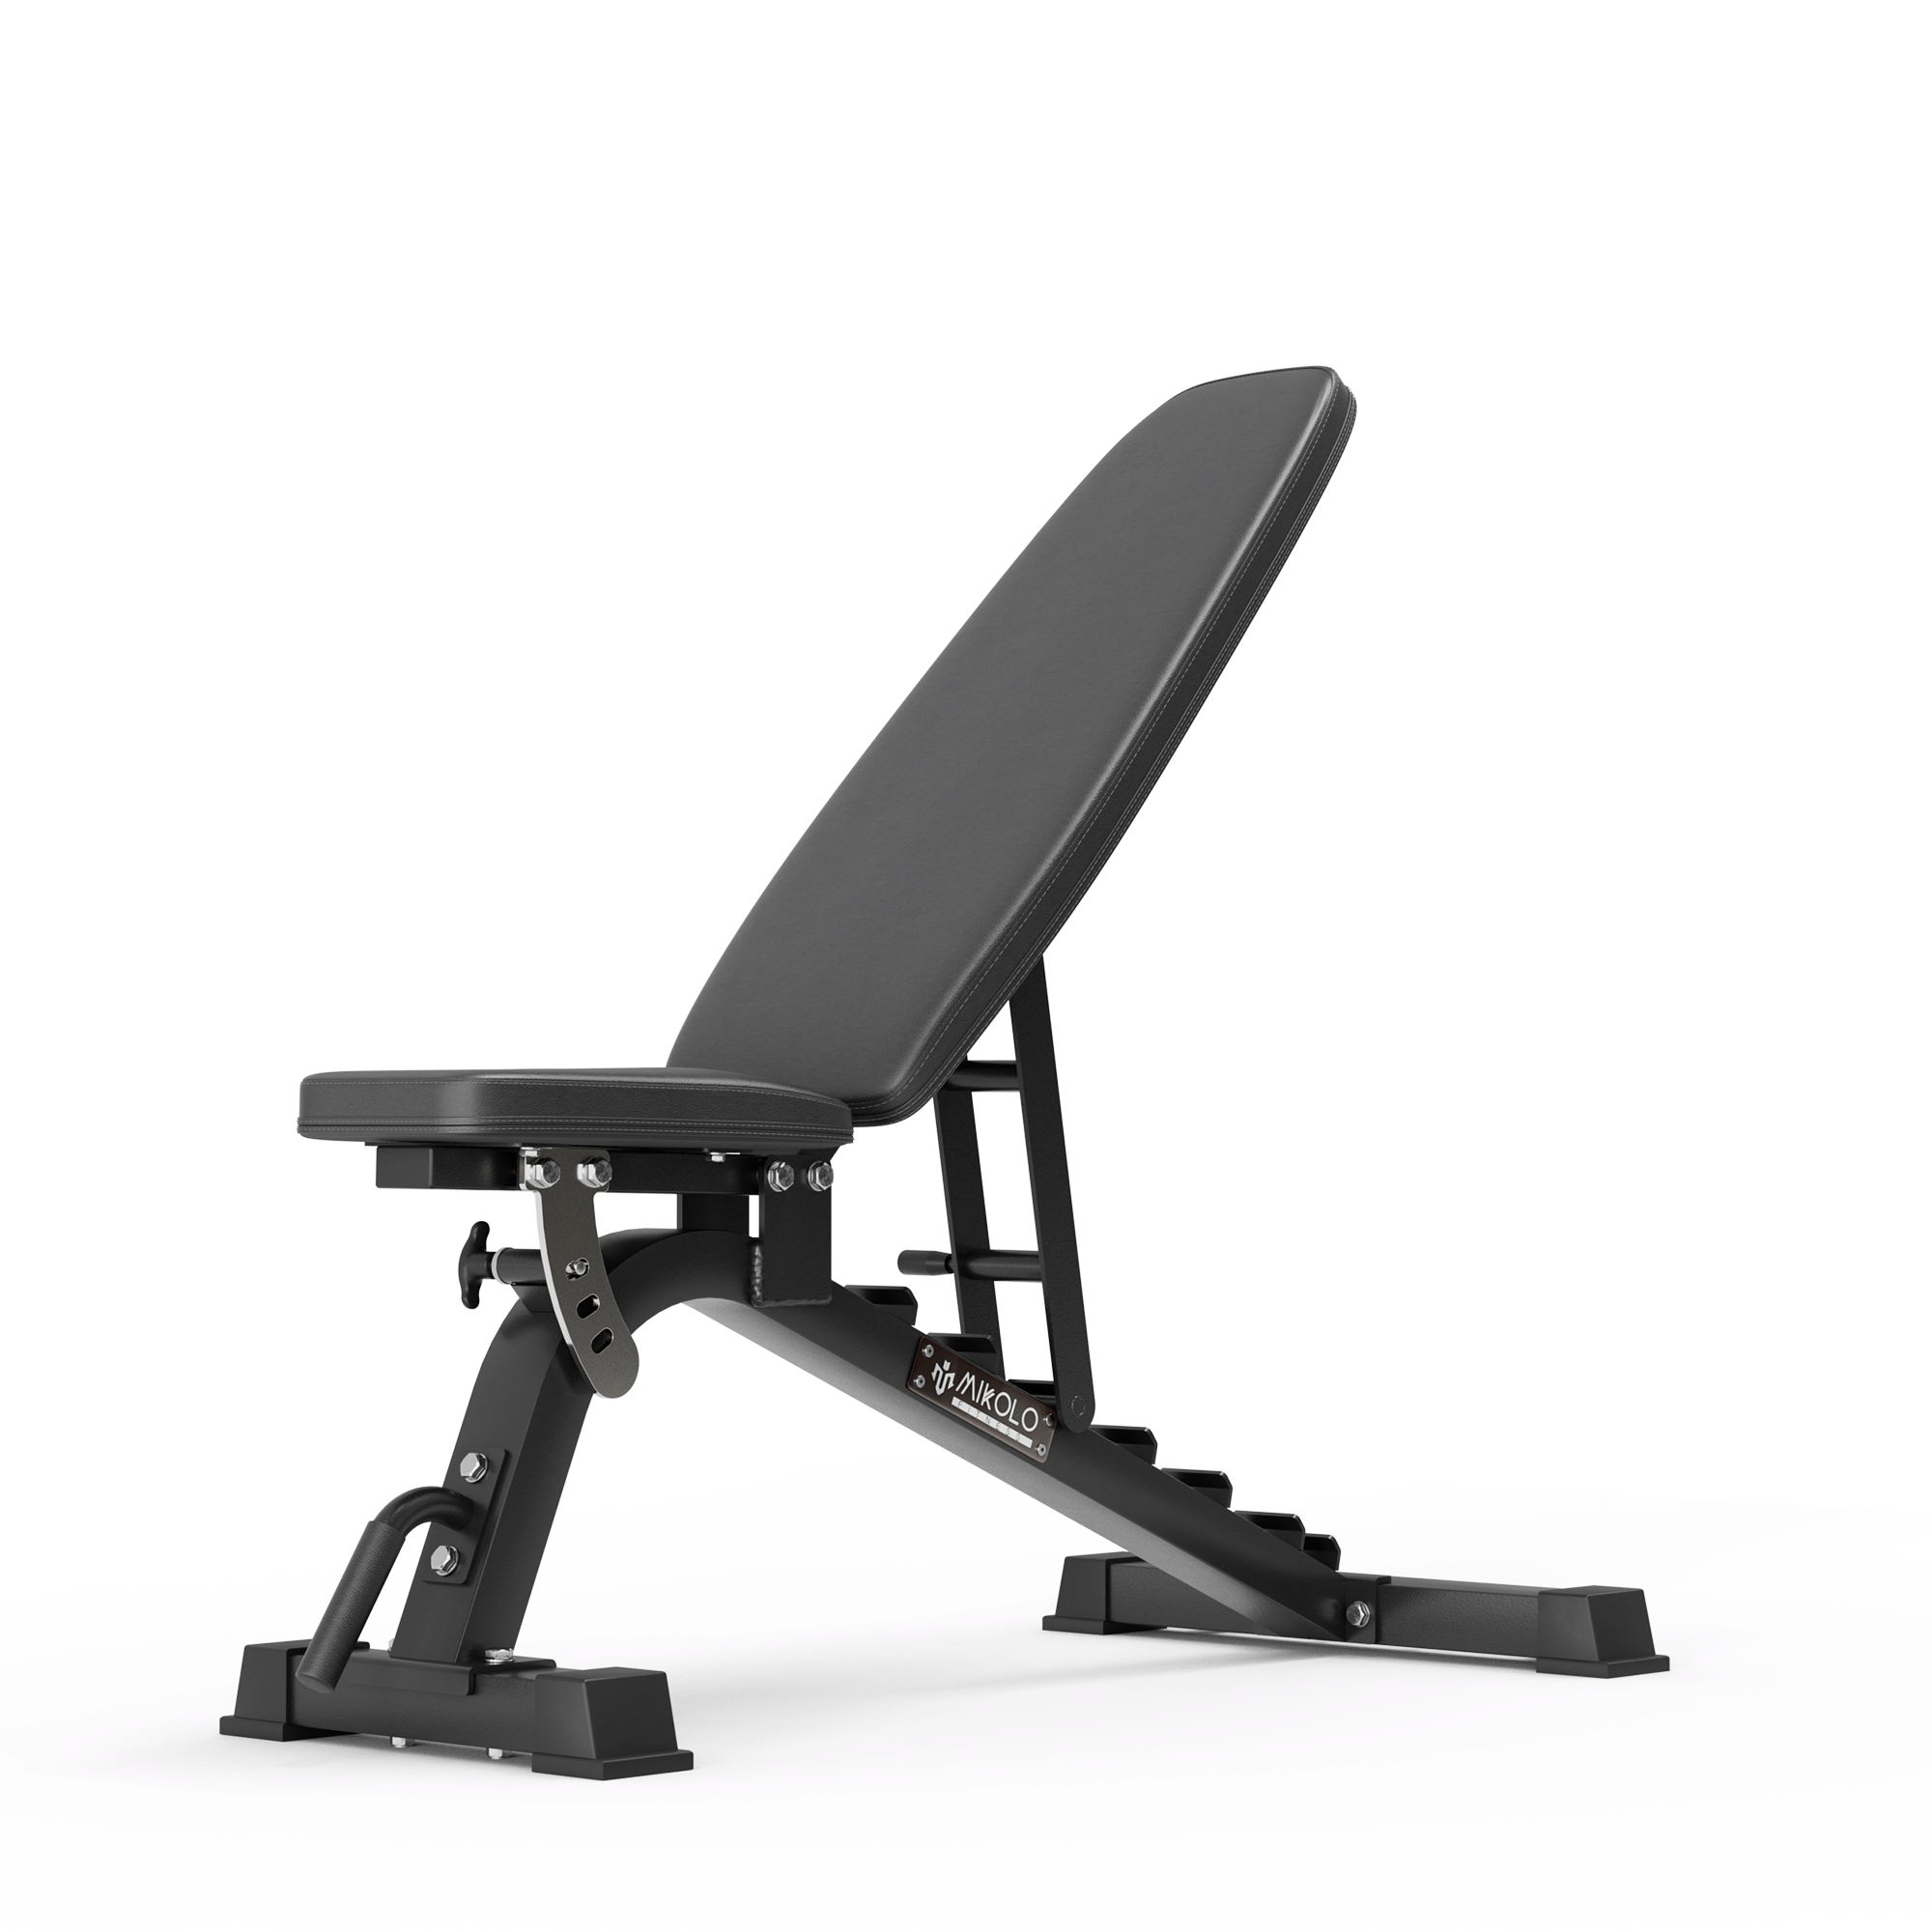
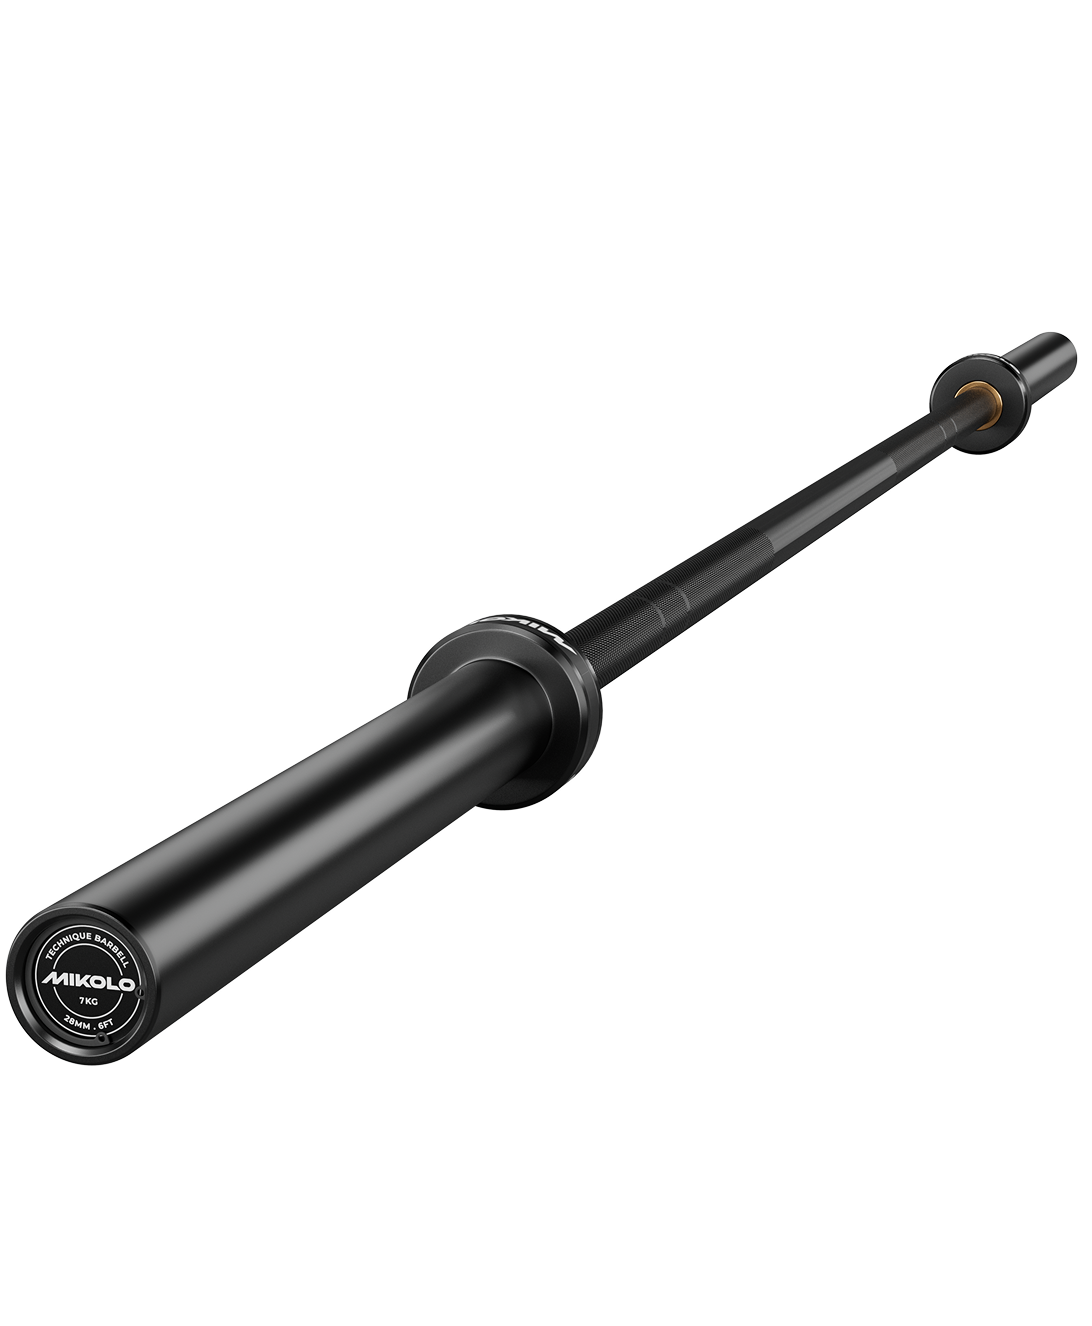
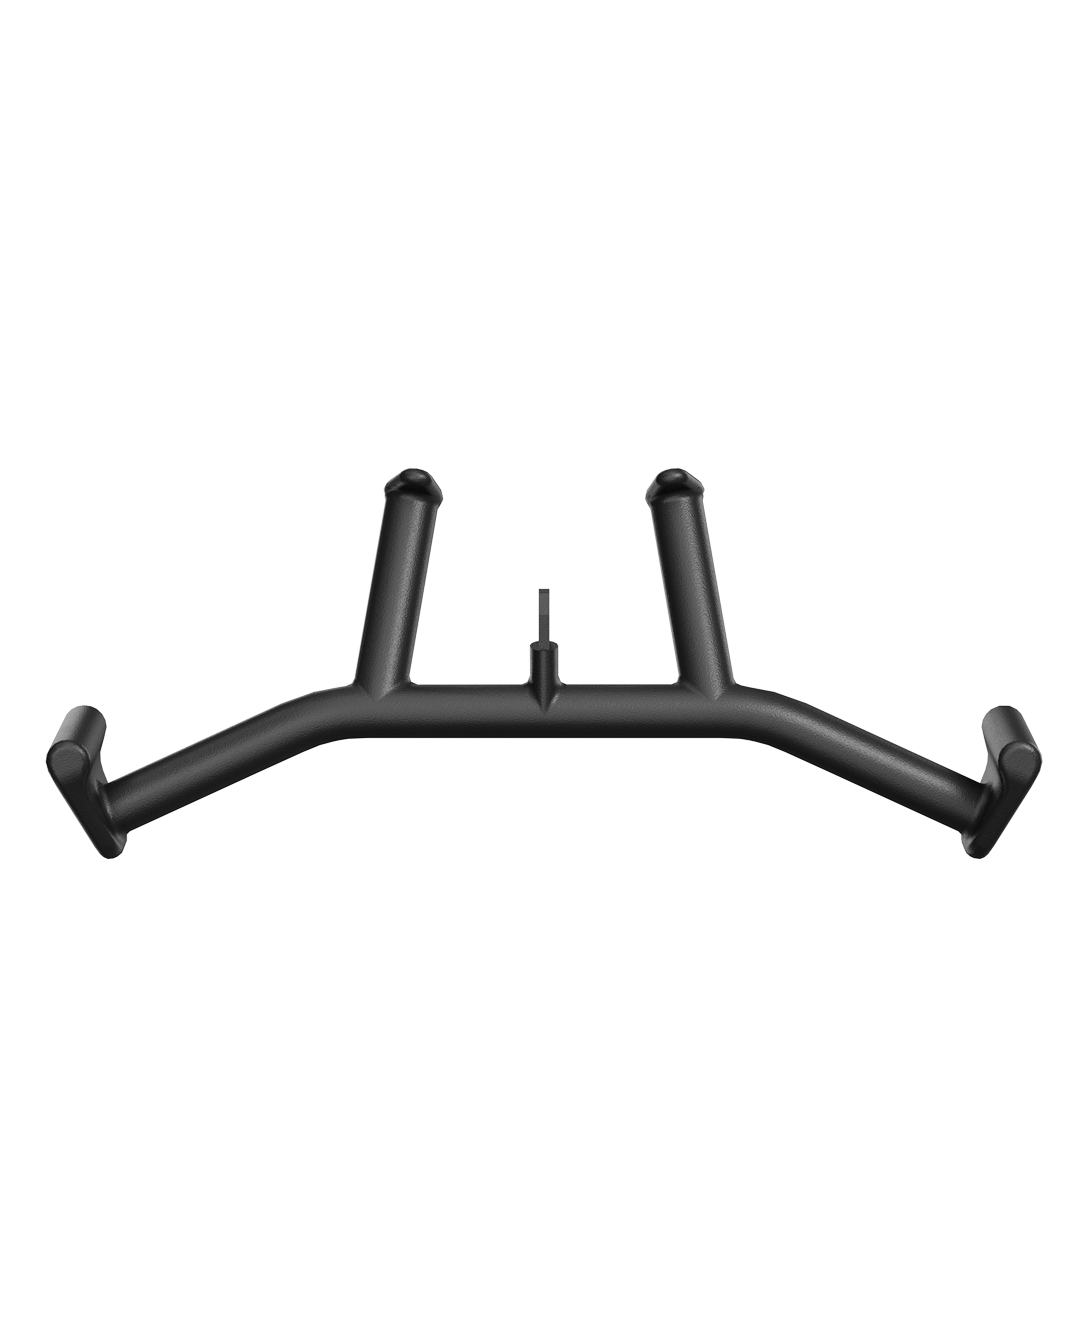
Choosing the Right Equipment
Selecting the right equipment is key for effective and safe hip thrusts. A sturdy, adjustable bench is essential to accommodate different heights. Choose a barbell with a knurled grip for enhanced stability and control.
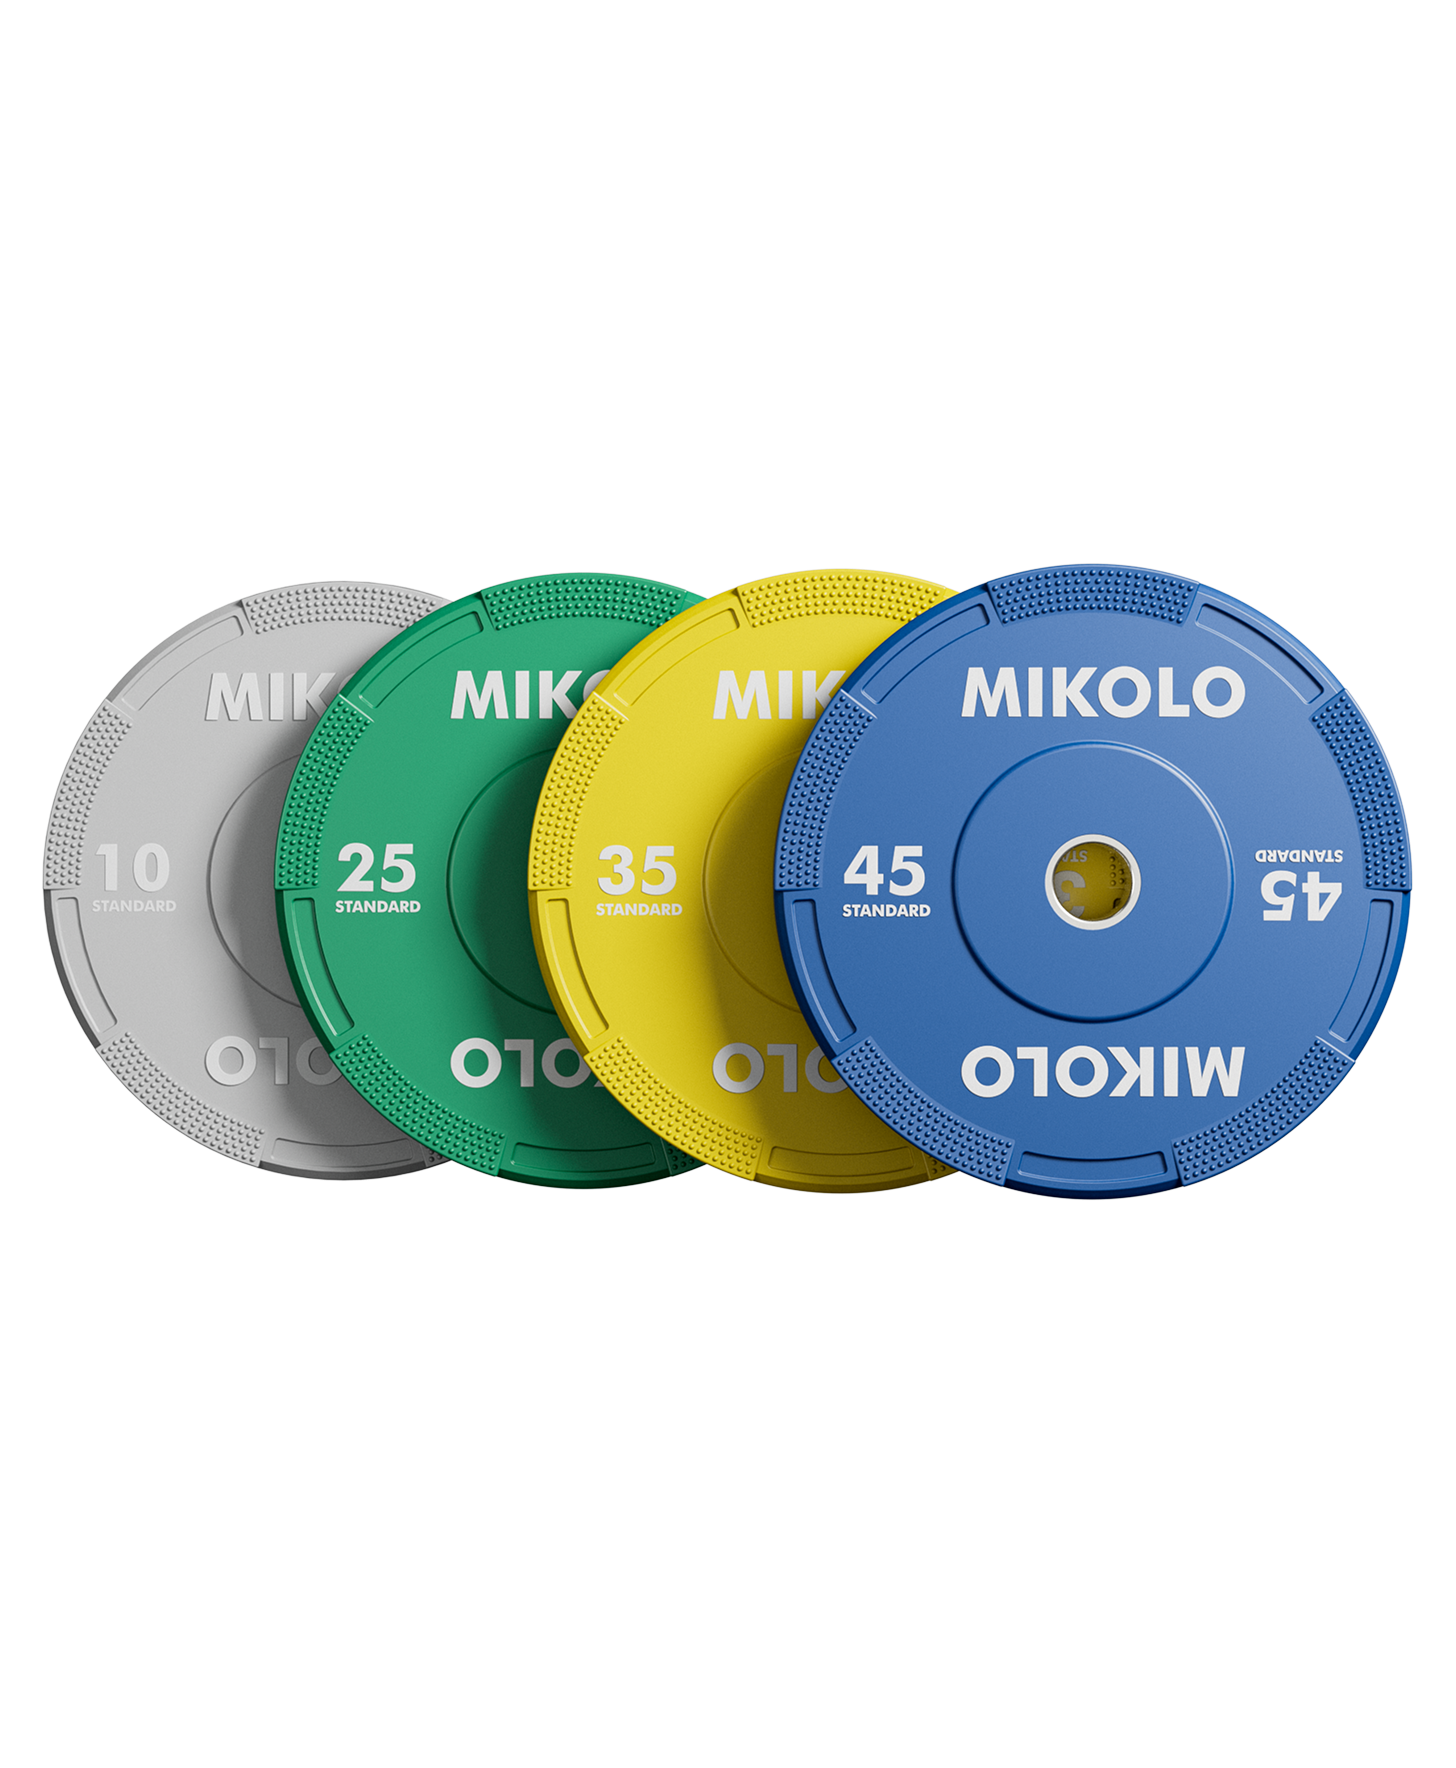
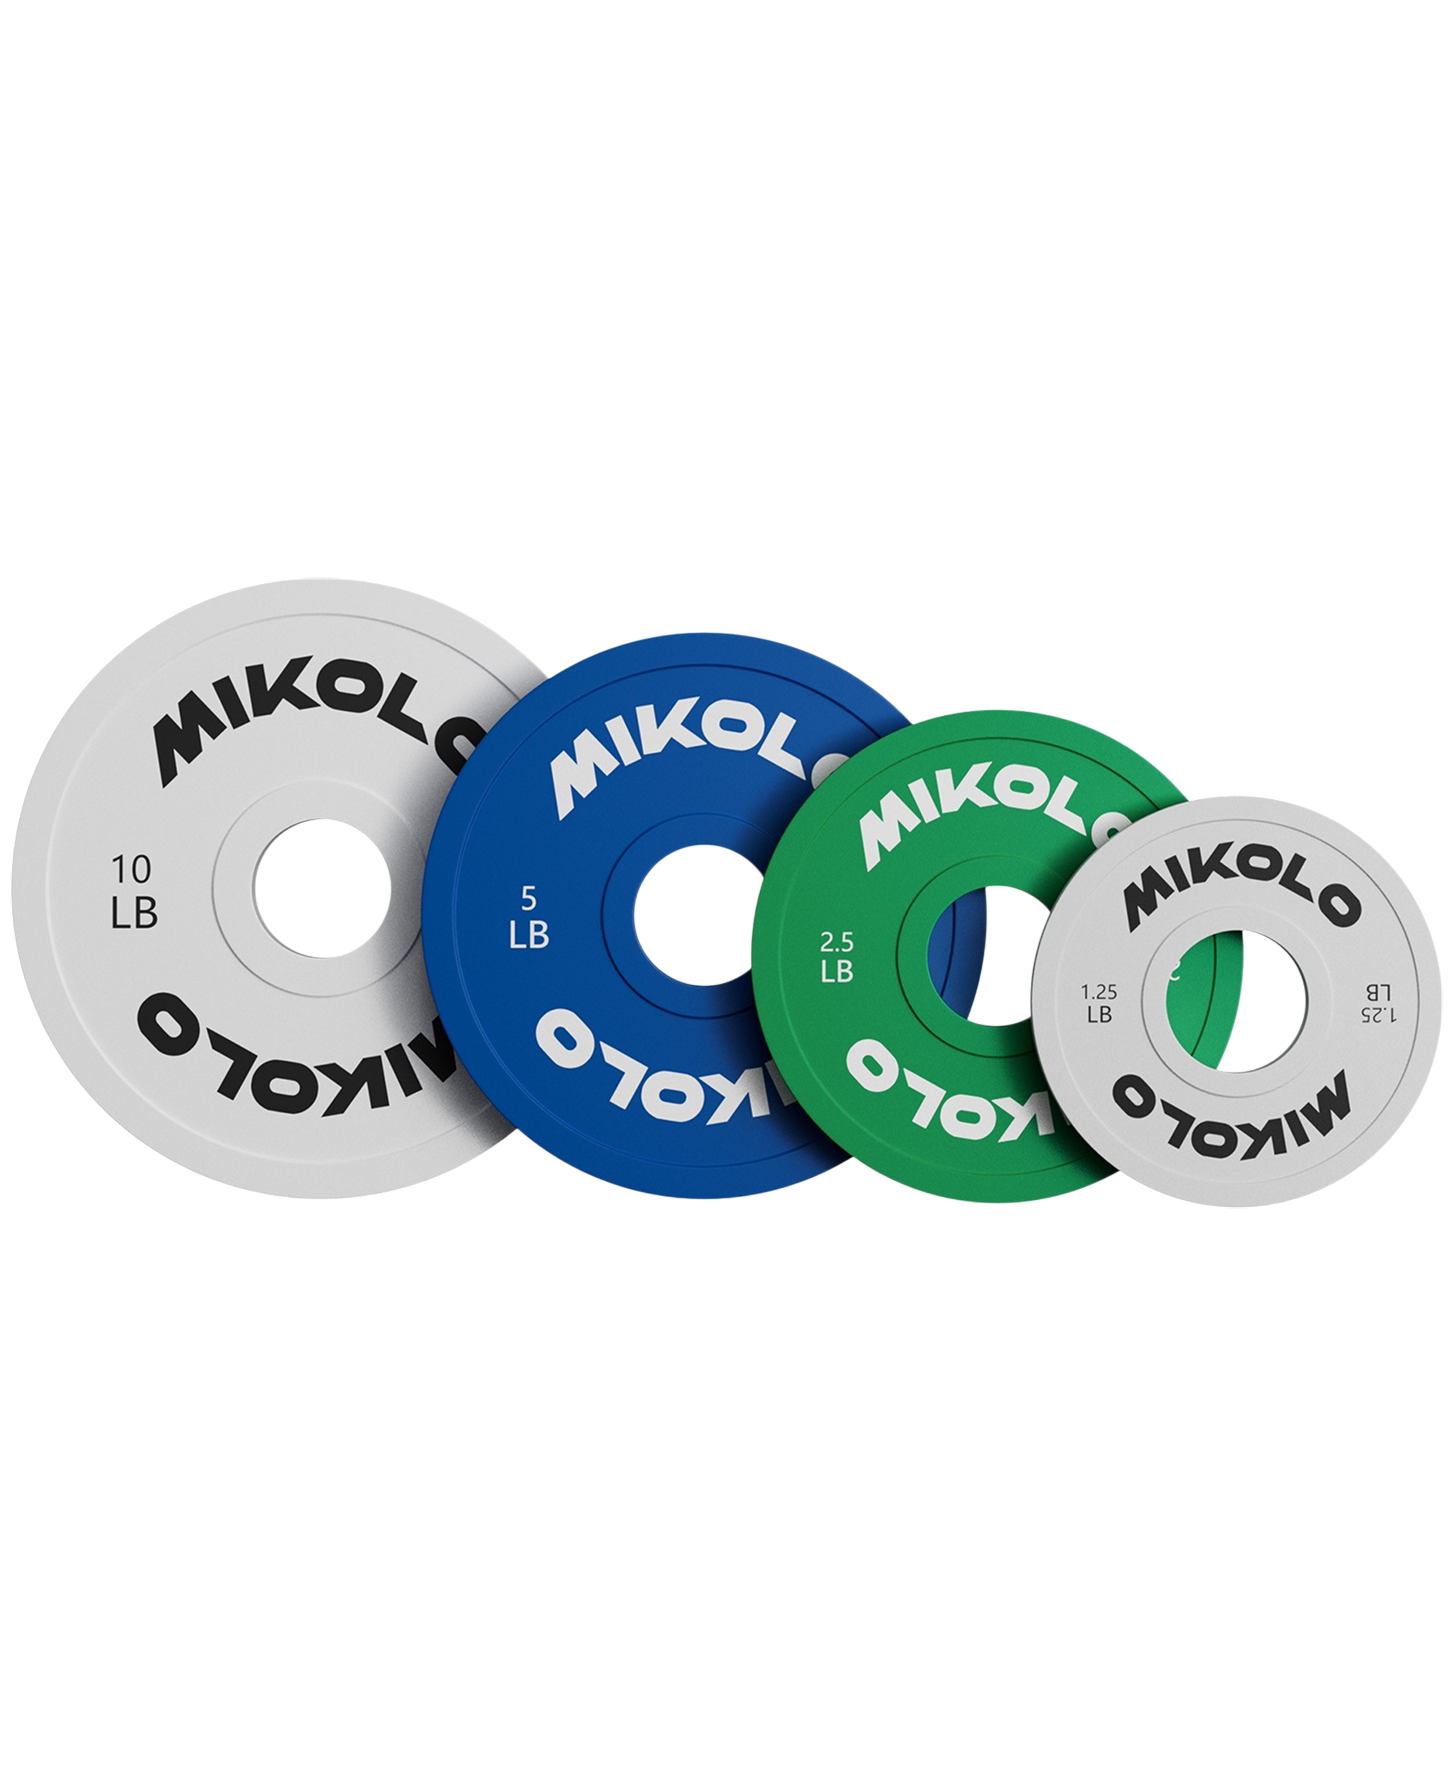
Bumper plates are recommended for easier loading and unloading. Resistance bands can add extra tension and promote muscle activation. Its design facilitates easy weight loading and quick setup, reducing preparation time.
Enhancing Your Routine with Variations
Variations in your hip thrust routine can significantly boost glute engagement and overall effectiveness. Resistance bands during hip thrusts can augment glute activation, especially at the peak. Banded hip thrusts maintain proper form while increasing the challenge without heavy weights.
Feet-elevated hip thrusts offer a greater range of motion, improving glute engagement and strength. These variations make workouts more versatile and effective, helping achieve fitness goals efficiently.
Safety Tips and Considerations
Safety is crucial when using hip thrust machines. Tightly secure the weight horns to prevent accidents during the workout. Properly adjust the back pad to maintain comfort and support.
A spotter can enhance safety, especially with heavier weights. Correct seat height adjustment optimizes comfort and prevents injury, allowing focus on form and effectiveness. Strengthening stabilizing muscles around the hips reduces injury risk.
Summary
Mastering the hip thrust machine can revolutionize your lower body workouts by providing focused glute isolation and improved muscle activation. By setting up the machine correctly, maintaining proper technique, and incorporating variations, you can effectively enhance your strength and achieve powerful glutes. Embrace these tips and techniques to take your fitness journey to the next level.
Frequently Asked Questions
How much weight should I start with on the hip thrust machine?
It's best to start with no added weight on the hip thrust machine as a beginner to master your form. Once you're comfortable, experienced users typically start with about half their body weight.
What is the proper foot placement for hip thrusts?
The proper foot placement for hip thrusts is shoulder-width apart with a slight outward angle, ensuring optimal stability and glute engagement. This positioning enhances the effectiveness of the exercise.
How many sets and reps should I perform for strength building?
For effective strength building, focus on performing 3 to 5 sets of 5 to 8 repetitions using heavier weights. This approach will maximize your strength gains.
Can I use resistance bands with the hip thrust machine?
Yes, you can use resistance bands with the hip thrust machine to enhance tension and increase muscle activation during your workout.
What are some common mistakes to avoid during hip thrusts?
To avoid injury and maximize effectiveness, ensure proper foot placement, choose an appropriate bench height, and engage your core throughout the movement. These adjustments will enhance your form and results in hip thrusts.


Leave a comment
This site is protected by hCaptcha and the hCaptcha Privacy Policy and Terms of Service apply.