Wondering how to get the most out of your machine pulldown exercises for a stronger back? This guide covers the basics, techniques, and best variations of machine pulldowns to enhance your workout.
Key Takeaways
-
Machine pulldowns are a compound exercise that primarily targets the latissimus dorsi and contributes to overall upper body strength and muscle development.
-
Proper form and techniques, such as maintaining shoulder blade position, using a controlled movement, and engaging the core, are crucial to maximize effectiveness and minimize injury risk.
-
Incorporating variations like reverse grip, single arm, and straight arm pulldowns, as well as combining with other exercises, can enhance muscle engagement and create a balanced workout routine.
Understanding Machine Pulldown Basics
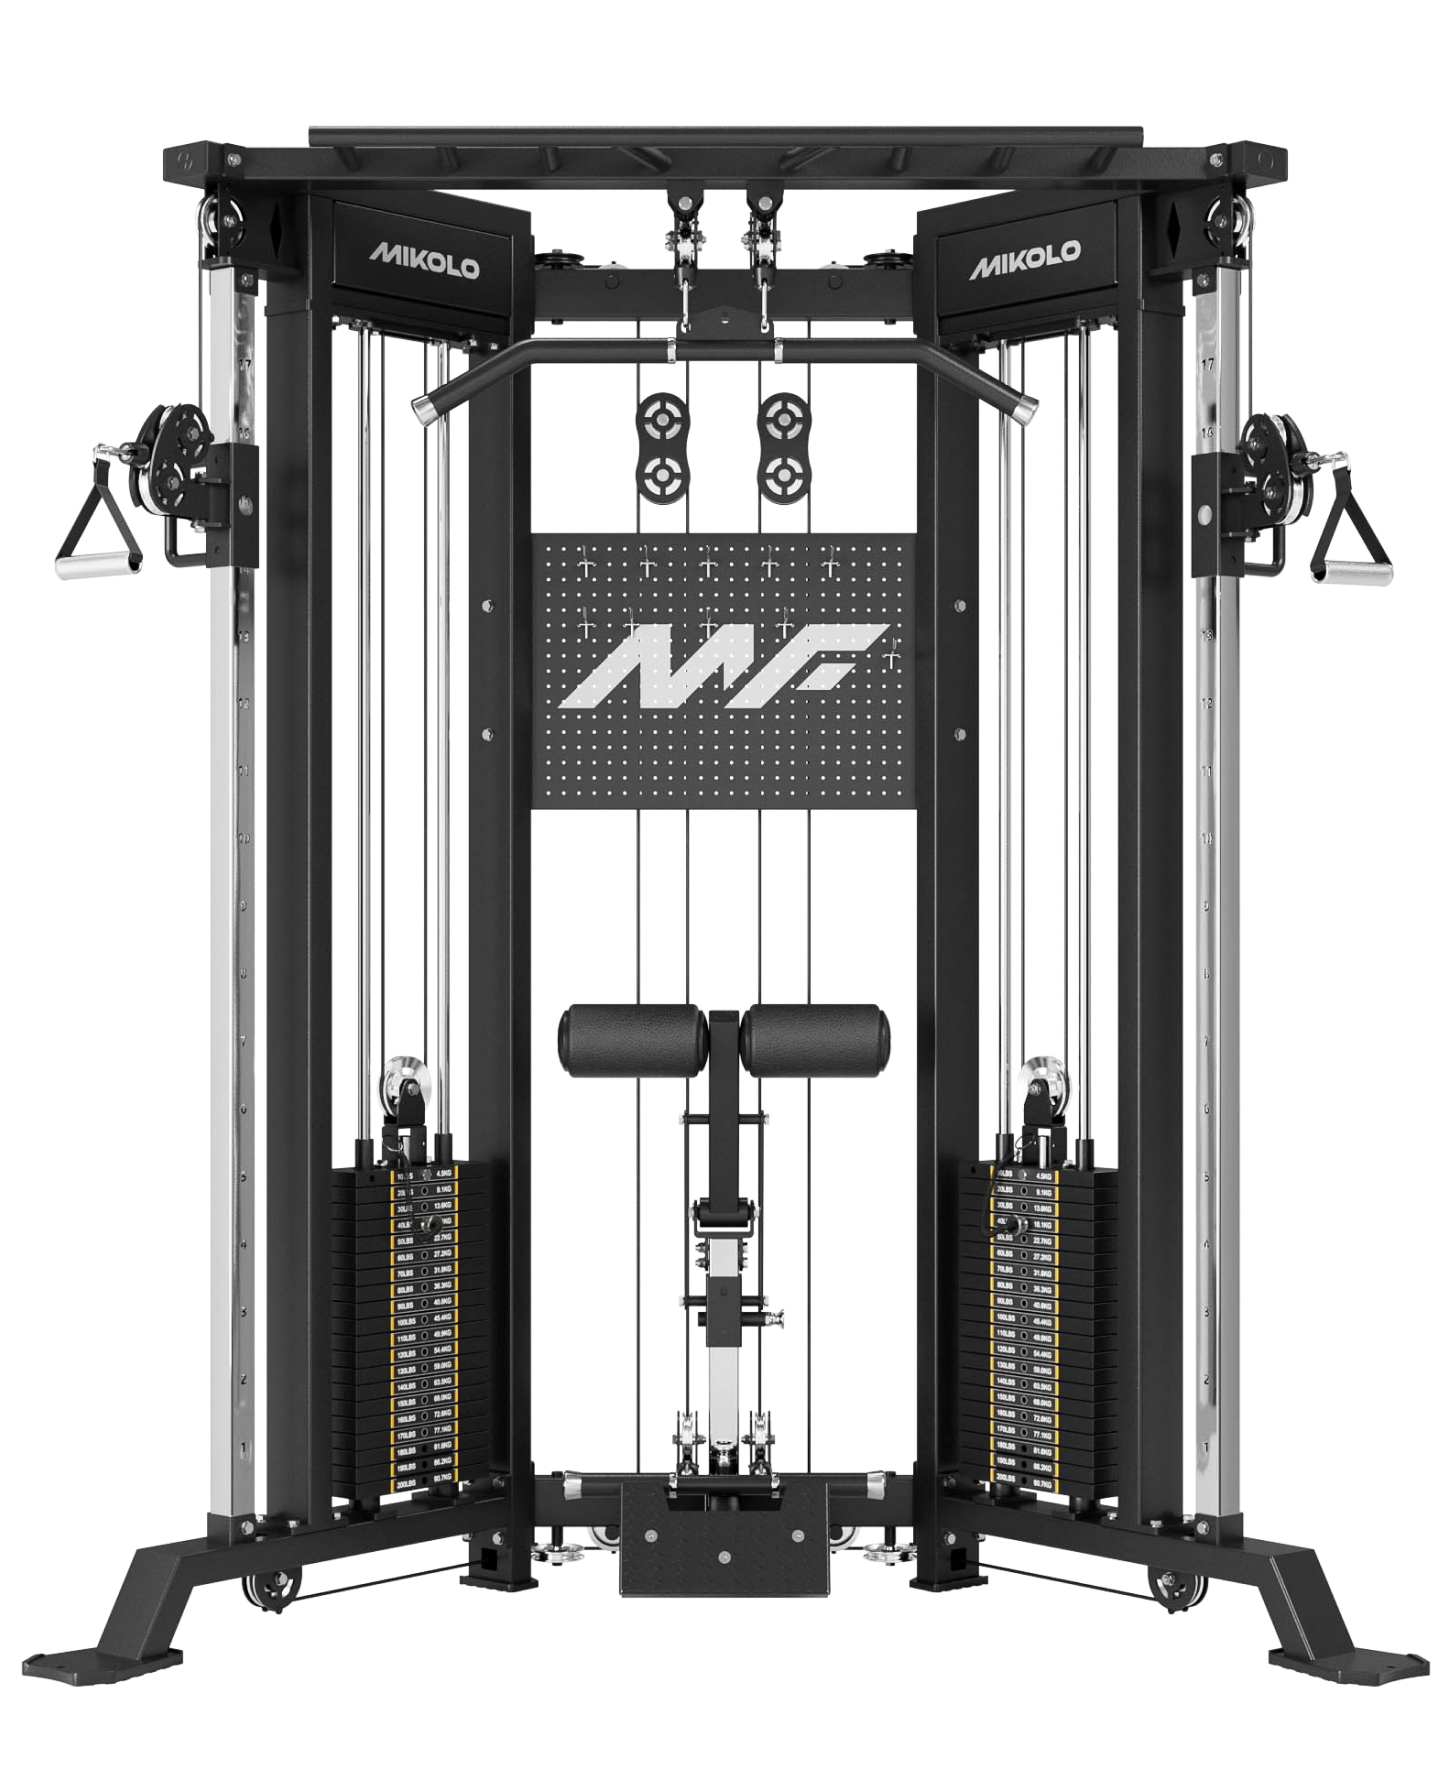
The machine lat pulldown is a guided version of the cable machine lat pulldown bar that provides targeted muscle engagement, making it a standout in any strength training routine. Classified as a compound back exercise, the lat pulldown recruits multiple muscle groups, offering a comprehensive workout for your upper body. Incorporating machine pulldowns into your workouts enhances overall back muscle development and effectively isolates specific muscle groups.
One of the primary muscles targeted during the machine lat pulldown is the latissimus dorsi, or lat muscles, which are crucial for creating that broad, V-shaped back. The effectiveness of your workout is significantly influenced by your choice of grip width, as it can either emphasize lat activation or target other back muscles. Understanding these basics sets the foundation for mastering this powerful exercise.
Key Muscles Engaged
The lat pulldown primarily works the latissimus dorsi, the large muscles on either side of your back that are essential for back width. When performed with a wide grip, the exercise targets the upper back more effectively than with a narrow grip. This grip variation is crucial as it not only enhances the development of the lat muscles but also engages the trapezius muscles and teres major, contributing to overall upper back strength. Additionally, incorporating lat pull downs into your routine can further improve your back strength and aesthetics.
Keeping your shoulder blades retracted during the exercise is vital for maximizing lat muscle activation and preventing shoulder injuries. This technique ensures that you are targeting the right muscles and not placing unnecessary stress on your shoulders.
Understanding which muscles are engaged during lat pulldowns helps you appreciate the benefits and perform the exercise more effectively.
Proper Starting Position
The correct starting position is crucial for performing lat pulldowns effectively. Begin by sitting down with your shoulders pulled back and a gentle arch in your lower back. Adjust the seat height so that your thigh pad fits comfortably under the pads, which helps stabilize your body during the exercise. Proper machine adjustment is essential to avoid strain and ensure that you are in an optimal position to perform the exercise.
Ensure your butt does not lift off the seat during the exercise, as this can compromise your form and reduce the effectiveness of the pulldown. Maintaining a stable position allows you to fully engage your back muscles and perform the exercise with proper form and technique.
Benefits of Machine Pulldowns
Machine pulldowns offer a plethora of benefits, making them a staple in any upper body workout. One of the primary advantages is the improvement of overall upper body strength, which is essential for building a V-shaped torso. This exercise effectively strengthens the back, enhancing upper body stability and performance. Utilizing a full range of motion during the pulldown maximizes muscle engagement and ensures that you are getting the most out of your workout.
Incorporating machine pulldowns into your routine also diversifies your workouts, providing targeted engagement for back muscles and improving overall muscle balance. Proper form is crucial for maximizing the effectiveness of this exercise while reducing the risk of injury.
Strengthening Back Muscles
Lat pulldowns are highly effective for strengthening the back muscles, particularly the latissimus dorsi, which plays a crucial role in creating a strong and well-defined back. Utilizing variations like the reverse grip pulldown can enhance bicep activation and target the lower lats, making it a comprehensive upper body exercise. Combining lat pulldowns with other exercises such as seated rows and pull-ups provides a more effective back strength routine and ensures balanced muscle development.
These combinations not only enhance back strength but also improve overall muscle coordination and endurance. By incorporating machine pulldowns into your strength training regimen, you can achieve a more robust and balanced upper body.
Improving Posture
Regularly performing machine pulldowns can significantly improve posture by strengthening the muscles that support spinal alignment. These exercises engage the upper back muscles, leading to better spinal alignment and posture. By incorporating lat pulldowns into your workout routine, you can enhance muscle coordination and strength in the upper back, promoting balanced development and overall stability.
Maintaining proper form, such as keeping the shoulder blades pulled back and down during exercises, contributes to better engagement and form. This practice not only improves posture but also reduces the risk of injuries and enhances overall back health.
Essential Techniques for Effective Machine Pulldowns
Mastering the essential techniques for machine pulldowns is key to maximizing their benefits. Ensuring your feet are firmly planted on the ground and maintaining an upright position are crucial for effectively engaging the lats. Incorrect form, such as leaning back excessively or using excessive momentum, can diminish the effectiveness of the exercise and increase the risk of injury.
This section delves into the importance of correct grip and hand placement, controlled movements, and maintaining shoulder blade position. These techniques will help you perform lat pulldowns with proper form and achieve optimal muscle engagement.
Correct Grip and Hand Placement
Grip width is a crucial aspect of machine pulldowns, as it significantly affects the overall effectiveness of the exercise. Adjusting your grip width can alter muscle recruitment, impacting how the exercise engages your back muscles. Using a machine for pulldowns allows you to isolate the latissimus dorsi more effectively than free weights, making it an excellent choice for targeted back workouts.
A moderate to wide grip is generally recommended to ensure proper alignment and muscle engagement. Understanding the importance of grip and hand placement helps you perform lat pulldowns more effectively and avoid unnecessary strain.
Controlled Movements
Maintaining a controlled pace during machine pulldowns is essential for minimizing the risk of injury and maximizing muscle engagement. Raise the weight back to the starting position in a controlled manner, ensuring that you are not using excessive momentum to complete the movements. Variations in range of motion can also affect muscle growth, so it’s important to maintain a consistent and controlled motion throughout the exercise.
Focusing on controlled movements enhances the effectiveness of the exercise and promotes better muscle development. This approach also helps in maintaining proper form and reducing the likelihood of injuries.
Maintaining Shoulder Blade Position
Proper shoulder blade positioning is crucial for effective machine pulldowns. Keeping your shoulder blades retracted and depressed during the exercise helps stabilize the shoulder joint and enhances muscle engagement. This practice not only improves the effectiveness of the exercise but also protects your shoulders from potential injuries.
Maintaining a proper shoulder blade position ensures you target the correct muscles and perform the exercise with optimal form. This technique is essential for achieving the full benefits of lat pulldowns.
Common Mistakes to Avoid
While machine pulldowns are highly effective, common mistakes can compromise their benefits and increase the risk of injury. Recognizing and addressing these errors is crucial for performing the exercise correctly. If you experience any sharp pain during the exercise, it’s important to stop immediately and reassess your technique. Modifying exercises based on signs of fatigue or discomfort can prevent injuries and ensure safe workouts.
This section highlights three common mistakes: arching the back, overusing forearms, and pulling down too far. Avoiding these errors allows you to perform lat pulldowns more effectively and safely.
Arching the Back
Excessive back arching can lead to poor form during machine pulldowns and increase the risk of injury. Over-arching the back places unnecessary stress on the spine and surrounding muscles, compromising the effectiveness of the exercise.
To avoid excessive arching, follow these tips:
-
Engage your core.
-
Focus on keeping your chest lifted throughout the exercise.
-
Regularly check your form in the mirror or ask a trainer for feedback to ensure your back remains neutral.
Maintaining a neutral spine during machine pulldowns ensures optimal muscle engagement and reduces strain on the back. This practice not only enhances the effectiveness of the exercise but also protects your spine and improves overall back health.
Overusing Forearms
Engaging the lats is crucial for maximizing the effectiveness of machine pulldowns. Failure to engage the lats may result in improper form and ineffective workouts. Overusing forearms during machine pulldowns can lead to muscle imbalances and reduced back activation. Focus on pulling down with your elbows rather than your hands to better engage the lats.
Utilizing a grip that allows you to emphasize the back muscles will prevent forearm overuse. By focusing on proper muscle engagement, you can perform lat pulldowns more effectively and achieve better results.
Pulling Down Too Far
Lowering the bar beyond chin height can cause shoulder strain and compromise the exercise’s intended range of motion. Pulling the bar down too far places unnecessary stress on the shoulder joints, increasing the risk of injury. It’s important to maintain a controlled range of motion and avoid lowering the bar excessively.
Keeping the lat bar at chin height ensures proper muscle engagement and reduces the risk of shoulder strain. This practice helps you perform lat pulldowns more safely and effectively.
Popular Variations of Machine Pulldowns
Introducing different variations of machine pulldowns can add variety to your workouts and target different muscle groups. These variations not only keep your workouts interesting but also enhance muscle development by engaging different parts of your back and arms. Machine pulldown variations allow for targeting different muscle groups and adding variety to workouts.
This section explores three popular variations: reverse grip pulldown, single arm pulldown, and straight arm pulldown. Each variation offers unique benefits and can be incorporated into your routine for a comprehensive back workout.
Reverse Grip Pulldown
The reverse grip pulldown utilizes an underhand grip, which increases bicep activation compared to standard lat pulldowns. This variation is particularly beneficial for individuals with shoulder issues, as the underhand grip can alleviate discomfort while still effectively targeting the latissimus dorsi. To perform the exercise, sit on the machine, adjust the pads, and grip the bar with palms facing up before pulling it down toward the chest.
Maintaining a stable torso while pulling the bar down ensures proper muscle engagement and prevents momentum from taking over the movement. This variation is excellent for building strength in both the back and biceps, facilitating load increases for better muscle development.
Single Arm Pulldown
Single arm pulldowns help in isolating each side of the back, which is beneficial for correcting muscle imbalances. This variation effectively targets the latissimus dorsi and allows you to focus on one side at a time, ensuring balanced muscle development. Incorporating single arm pulldowns into your routine addresses imbalances and enhances overall muscle symmetry.
Performing single arm pulldowns also promotes better control and concentration on the movement, making it an excellent addition to your back workout routine. This exercise can help you achieve a more balanced and well-defined back.
Straight Arm Pulldown
The straight arm pulldown primarily targets the upper back and triceps, making it distinct from other pulldown variations. This exercise involves keeping your arms straight and pulling the bar down to your thighs, which engages the upper back muscles and triceps more effectively than traditional pulldowns. The straight arm pulldown is an excellent way to add variety to your back workouts and target different muscle groups.
Incorporating the straight arm pulldown into your routine can enhance muscle definition and overall upper body strength. This variation is particularly beneficial for those looking to build a more comprehensive and balanced upper body.
Integrating Machine Pulldowns into Your Workout Routine
Machine pulldowns are effective for developing muscle strength with controlled movements, making them suitable for individuals at all fitness levels. Integrating this exercise into your workout routine can help you build a strong and well-defined back. Pairing machine pulldowns with other exercises like seated rows and pull-ups creates a comprehensive back workout that targets all major muscle groups.
This section discusses how to pair machine pulldowns with other exercises and provides recommendations for frequency and repetitions based on your fitness goals.
Pairing with Other Exercises
Pairing machine pulldowns with exercises like seated rows and pull-ups helps build up strength for proper pull-ups and enhances the effectiveness of both exercises. Seated rows target the middle back while pull-ups engage the upper back and lats, creating a well-rounded back workout. Incorporating these complementary exercises can improve overall back strength and muscle endurance.
Combining machine pulldowns with other exercises leads to a more effective and balanced back workout. This approach ensures that all major muscle groups are targeted, promoting overall muscle development and strength.
Frequency and Reps
For muscle hypertrophy, aim for 8 to 12 repetitions of machine pulldowns, performed 2 to 3 times per week. Adjusting the frequency and repetition ranges based on your individual fitness goals is crucial for achieving optimal results.
For muscle building, performing lat pulldowns 2-3 times per week with 8-12 reps is generally recommended. Listening to your body and adjusting the frequency and repetition ranges according to your fitness objectives is crucial.
Following these guidelines helps you effectively incorporate machine pulldowns into your strength training regimen and achieve your fitness goals.
Safety Tips and Precautions
Safety should always be a priority when performing machine pulldowns. Inspect the machine for any signs of wear or damage before use to ensure safe operation. Performing pulldowns with a steady pace minimizes the risk of injury and enhances muscle engagement. Maintaining a slow tempo during pulldowns also reduces the risk of injury and promotes better muscle development.
This section covers the importance of proper warm-up and listening to your body to ensure safe and effective workouts.
Proper Warm-Up
Engaging in a brief cardiovascular warm-up can enhance blood flow to muscles and reduce the risk of injury. A proper warm-up can decrease the likelihood of strains and enhance performance. Start with light weights and gradually increase to prepare your muscles for the workout.
Warming up before starting machine pulldowns is crucial to prepare your muscles and joints for the workout. This practice ensures that you are ready for the exercise and minimizes the risk of injury.
Listening to Your Body
Pay attention to any discomfort or pain during machine pulldowns, as it can indicate improper form or overexertion. If you experience discomfort, adjust your grip, the weight used, or the range of motion to better fit your body’s capabilities. Warm-up properly before performing machine pulldowns to prepare your muscles and joints, reducing the risk of injury.
Listening to your body and making necessary adjustments is crucial for safe and effective workouts. This approach ensures that you are performing the exercise correctly and minimizing the risk of injury.
Summary
In summary, mastering your machine pulldown technique can significantly enhance your upper body strength and overall fitness. By understanding the basics, engaging the right muscles, and avoiding common mistakes, you can perform lat pulldowns more effectively and safely. Incorporating variations and integrating pulldowns into your workout routine ensures balanced muscle development and keeps your workouts interesting.
Remember to prioritize safety by warming up properly and listening to your body. By following these guidelines, you can harness the full power of machine pulldowns and achieve your fitness goals. So, take the knowledge you’ve gained and apply it to your workouts, and watch your back strength and posture improve over time.
Frequently Asked Questions
What is the primary muscle targeted by lat pulldowns?
The primary muscle targeted by lat pulldowns is the latissimus dorsi, which is essential for developing back width and strength. Focusing on this muscle can really enhance your overall back development.
How can I avoid arching my back during lat pulldowns?
To avoid arching your back during lat pulldowns, engage your core and keep your chest lifted. Regularly check your form in the mirror or get feedback from a trainer to stay on track.
What are the benefits of incorporating machine pulldowns into my workout routine?
Incorporating machine pulldowns into your routine boosts upper body strength, improves posture, and specifically targets your back muscles, making your workouts more effective overall. It's a great way to ensure you build a strong, balanced physique!
How often should I perform lat pulldowns for muscle building?
You should aim to do lat pulldowns 2-3 times a week, hitting 8-12 reps per set for effective muscle building. Stick to this routine, and you'll see great results!
What is the proper range of motion for lat pulldowns?
For lat pulldowns, you should aim to lower the bar to chin height. This helps prevent shoulder strain while effectively engaging your muscles.





















Leave a comment
This site is protected by hCaptcha and the hCaptcha Privacy Policy and Terms of Service apply.