Looking for an effective workout for biceps and back? This guide provides top exercises and routines to build muscle and strength in your upper body.
Key Takeaways
-
Train your biceps and back together for maximum muscle growth and efficiency, saving time while achieving comprehensive upper body strength.
-
Incorporate a variety of exercises, including bent-over rows, pull-ups, and curls, to target key muscle groups and enhance overall development.
-
Focus on proper form and avoid common mistakes like ego lifting to maximize effectiveness, reduce injury risk, and promote sustainable muscle growth.
Importance of Training Biceps and Back Together
Building a balanced and powerful upper body becomes easier when training your biceps and back together. The synergy between these muscle groups is undeniable. Back exercises naturally recruit the biceps, providing a warm-up and pre-fatigue that primes them for direct training. This means you can achieve more efficient workouts, hitting two major muscle groups in one session.
Combining back and biceps workouts maximizes your results. These muscles complement each other, working synergistically during compound movements to improve overall strength and balance. Think of exercises like pull-ups and rows – your back and biceps are both heavily involved, making it logical to train them together.
There’s also the convenience factor. Incorporate back and bicep exercises into one session to save time. This not only makes your workouts more practical but also ensures a comprehensive training session that targets all the major muscle groups of the upper body. You’ll be able to achieve noticeable strength gains and size improvements, contributing to a more aesthetic and powerful physique.
This approach enhances upper body strength and aesthetics, leading to a well-rounded workout routine that includes upper body exercises. So, why not make the most of your time and effort by combining these training sessions? Your body will thank you for it.
Anatomy of Biceps and Back Muscles
Before:
Understanding the anatomy of these muscle groups clarifies why combining back and bicep workouts is effective. The back is comprised of several key muscles, including the latissimus dorsi, trapezius, rhomboids, and erector spinae. The latissimus dorsi, or lats, is the largest back muscle, extending from the shoulder blades to the hips. The trapezius is crucial for moving, rotating, and stabilizing the shoulder blades, while the rhomboids play a significant role in retracting the shoulder blades and improving posture.
After:
Understanding the anatomy of these muscle groups clarifies why combining back and bicep workouts is effective. The back is comprised of several key muscles, including:
-
Latissimus dorsi (lats), the largest back muscle, extending from the shoulder blades to the hips
-
Trapezius, crucial for moving, rotating, and stabilizing the shoulder blades
-
Rhomboids, which play a significant role in retracting the shoulder blades and improving posture
-
Erector spinae, important for maintaining posture and supporting the spine
The erector spinae muscles, running along the spine, are vital for spinal stability. Strengthening these muscles enhances posture and reduces the risk of back pain and injury. Together, these muscles contribute to a strong, stable, and healthy back.
The biceps, located in the upper arms, consist of two main heads: the long head and the short head. These muscles are primarily responsible for elbow flexion and forearm supination. When you perform exercises like biceps curls, both heads of the biceps brachii are engaged, leading to muscle growth and strength.
By strengthening the muscles around the spine, combining back and biceps workouts significantly enhances posture and reduces the risk of back pain. Additionally, this approach helps prevent compensatory tightness in the chest and shoulders, contributing to a more balanced and symmetrical physique.
Knowledge of these muscle groups helps in appreciating the benefits of training the muscle group together and guides proper exercise form and technique.
Effective Back Exercises for Muscle Growth
Building a strong, muscular back requires a combination of exercises that target different muscle groups. The major muscles involved in back workouts include the latissimus dorsi, rhomboids, trapezius, lower back, and rear deltoids. Each of these muscles plays a crucial role in overall back development and upper body strength.
Maintaining proper form during back exercises prevents injury and ensures effective muscle engagement. Incorporating a variety of exercises, such as rows, pull-ups, and cable movements, will help you achieve balanced muscle growth and strength.
Here are three key back exercises: bent-over barbell rows, pull-ups and lat pulldowns, and seated cable rows.
Bent-Over Barbell Row
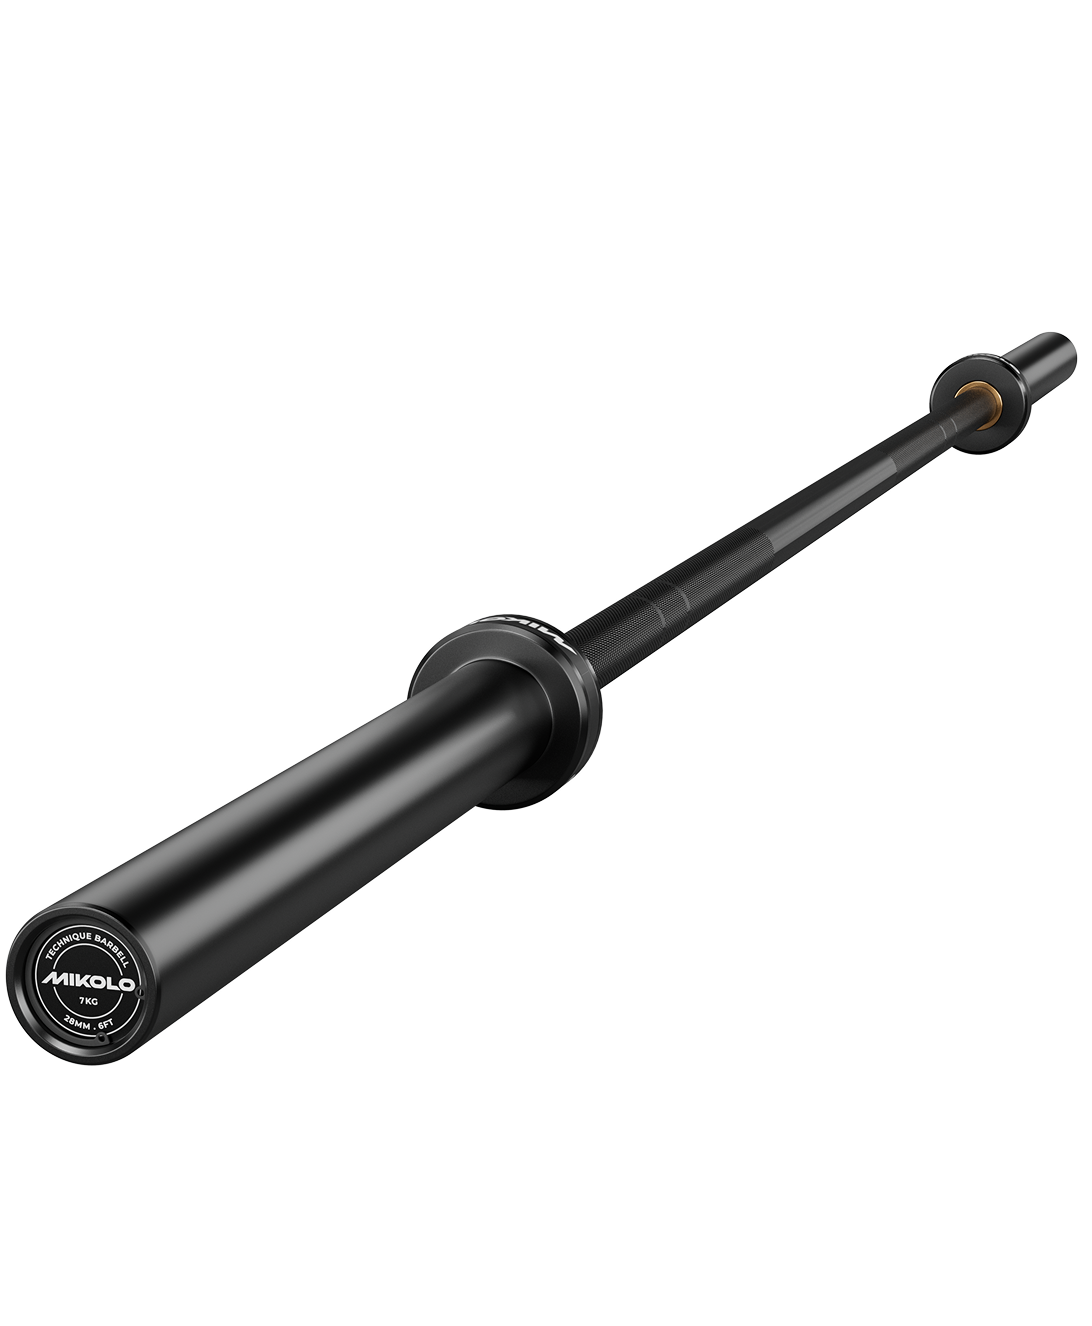
The bent-over barbell row is a staple in any effective back and bicep workout. This compound movement targets the lats, rhomboids, and other key back muscles, helping to build overall upper body strength. To perform this exercise, start by using an overhand grip slightly wider than shoulder width. Ensure your body is bent at the waist with your knees slightly bent and your head raised.
As you row the barbell towards your abdomen, focus on squeezing your shoulder blades together and engaging your lats and rhomboids. This movement should be controlled and deliberate to maximize muscle contraction and avoid injury. Aim for three sets of eight to twelve repetitions for optimal muscle growth.
Proper form in the bent-over barbell row prevents lower back strain. Keep your core engaged and avoid using momentum to lift the weight. This exercise not only strengthens your back but also engages your biceps, making it an excellent addition to your back and bicep workout routine.
Including the bent-over barbell row in your routine enhances upper body strength and develops a more defined and muscular back. Remember to focus on form and control to get the most out of this challenging workout.
Pull-Ups and Lat Pulldowns
Pull-ups and lat pulldowns are essential exercises for developing back width and upper body strength. Pull-ups, in particular, are a true test of upper body strength and endurance. To perform a standard pull-up, grip the bar with your hands positioned outside shoulder width and palms facing away. This exercise primarily targets the latissimus dorsi, helping to build a wider back.
If you’re a beginner or looking to progress to heavier weights, lat pulldowns are an excellent alternative. Using an overhand grip with hands wider than shoulder width, you can replicate the pull-up movement while sitting down. This exercise is great for those who may not yet have the strength to perform multiple pull-ups but still want to develop their back muscles.
For those who are more advanced, weighted pull-ups can add an extra challenge. Aim for three sets of eight to twelve reps, focusing on maintaining proper form and avoiding momentum. Rest for about a minute between sets to allow for adequate recovery.
Pull-ups and lat pulldowns in your back and bicep workout help achieve a balanced and strong upper body. These exercises not only build muscle but also improve your overall upper body strength and endurance.
Seated Cable Rows
Seated cable rows are a fantastic exercise for developing the upper and middle back. This movement engages all the muscles involved in pulling against resistance, making it a safe and effective option for building back strength.
Begin seated cable rows by sitting on the bench with feet firmly planted and knees slightly bent. Grab the handle with both hands and pull it towards your abdomen, focusing on squeezing your shoulder blades together and engaging your upper and middle back muscles.
This exercise not only enhances back strength but also improves overall posture and stability. Incorporate seated cable rows into your routine to achieve balanced muscle growth and a strong, muscular back.
Essential Bicep Exercises for Upper Arm Development
Developing well-defined biceps requires a combination of exercises that target both heads of the muscle. Incorporating a variety of bicep exercises helps ensure balanced growth and strength. Here are three essential bicep exercises: barbell curls, incline dumbbell curls, and hammer curls.
These biceps exercises will help you achieve a comprehensive biceps workout, focusing on different angles and grips to maximize muscle engagement and growth. Let’s dive into each exercise in detail.
Barbell Curl
The barbell curl is a classic exercise for building mass in the biceps. To perform this exercise, start by standing with your feet shoulder-width apart and holding a barbell with an underhand grip. Keep your elbows close to your body and curl the barbell up towards your shoulders, focusing on squeezing the biceps at the top of the movement.
Stay in control and avoid using body momentum to lift the weight. This ensures that the biceps are doing the majority of the work, leading to better muscle engagement and growth. Aim for three sets of eight to twelve reps, focusing on proper form and technique.
For those looking to push their limits, a ‘cheat curl’ involves using slight momentum on the last rep to get past the sticking point. However, this should be done cautiously to avoid injury.
The barbell curl is a fundamental exercise that should be a staple in any biceps workout routine. Barbell curls in your routine help build bigger and stronger biceps. Focus on proper form and controlled movements to maximize the effectiveness of this exercise.
Incline Dumbbell Curl
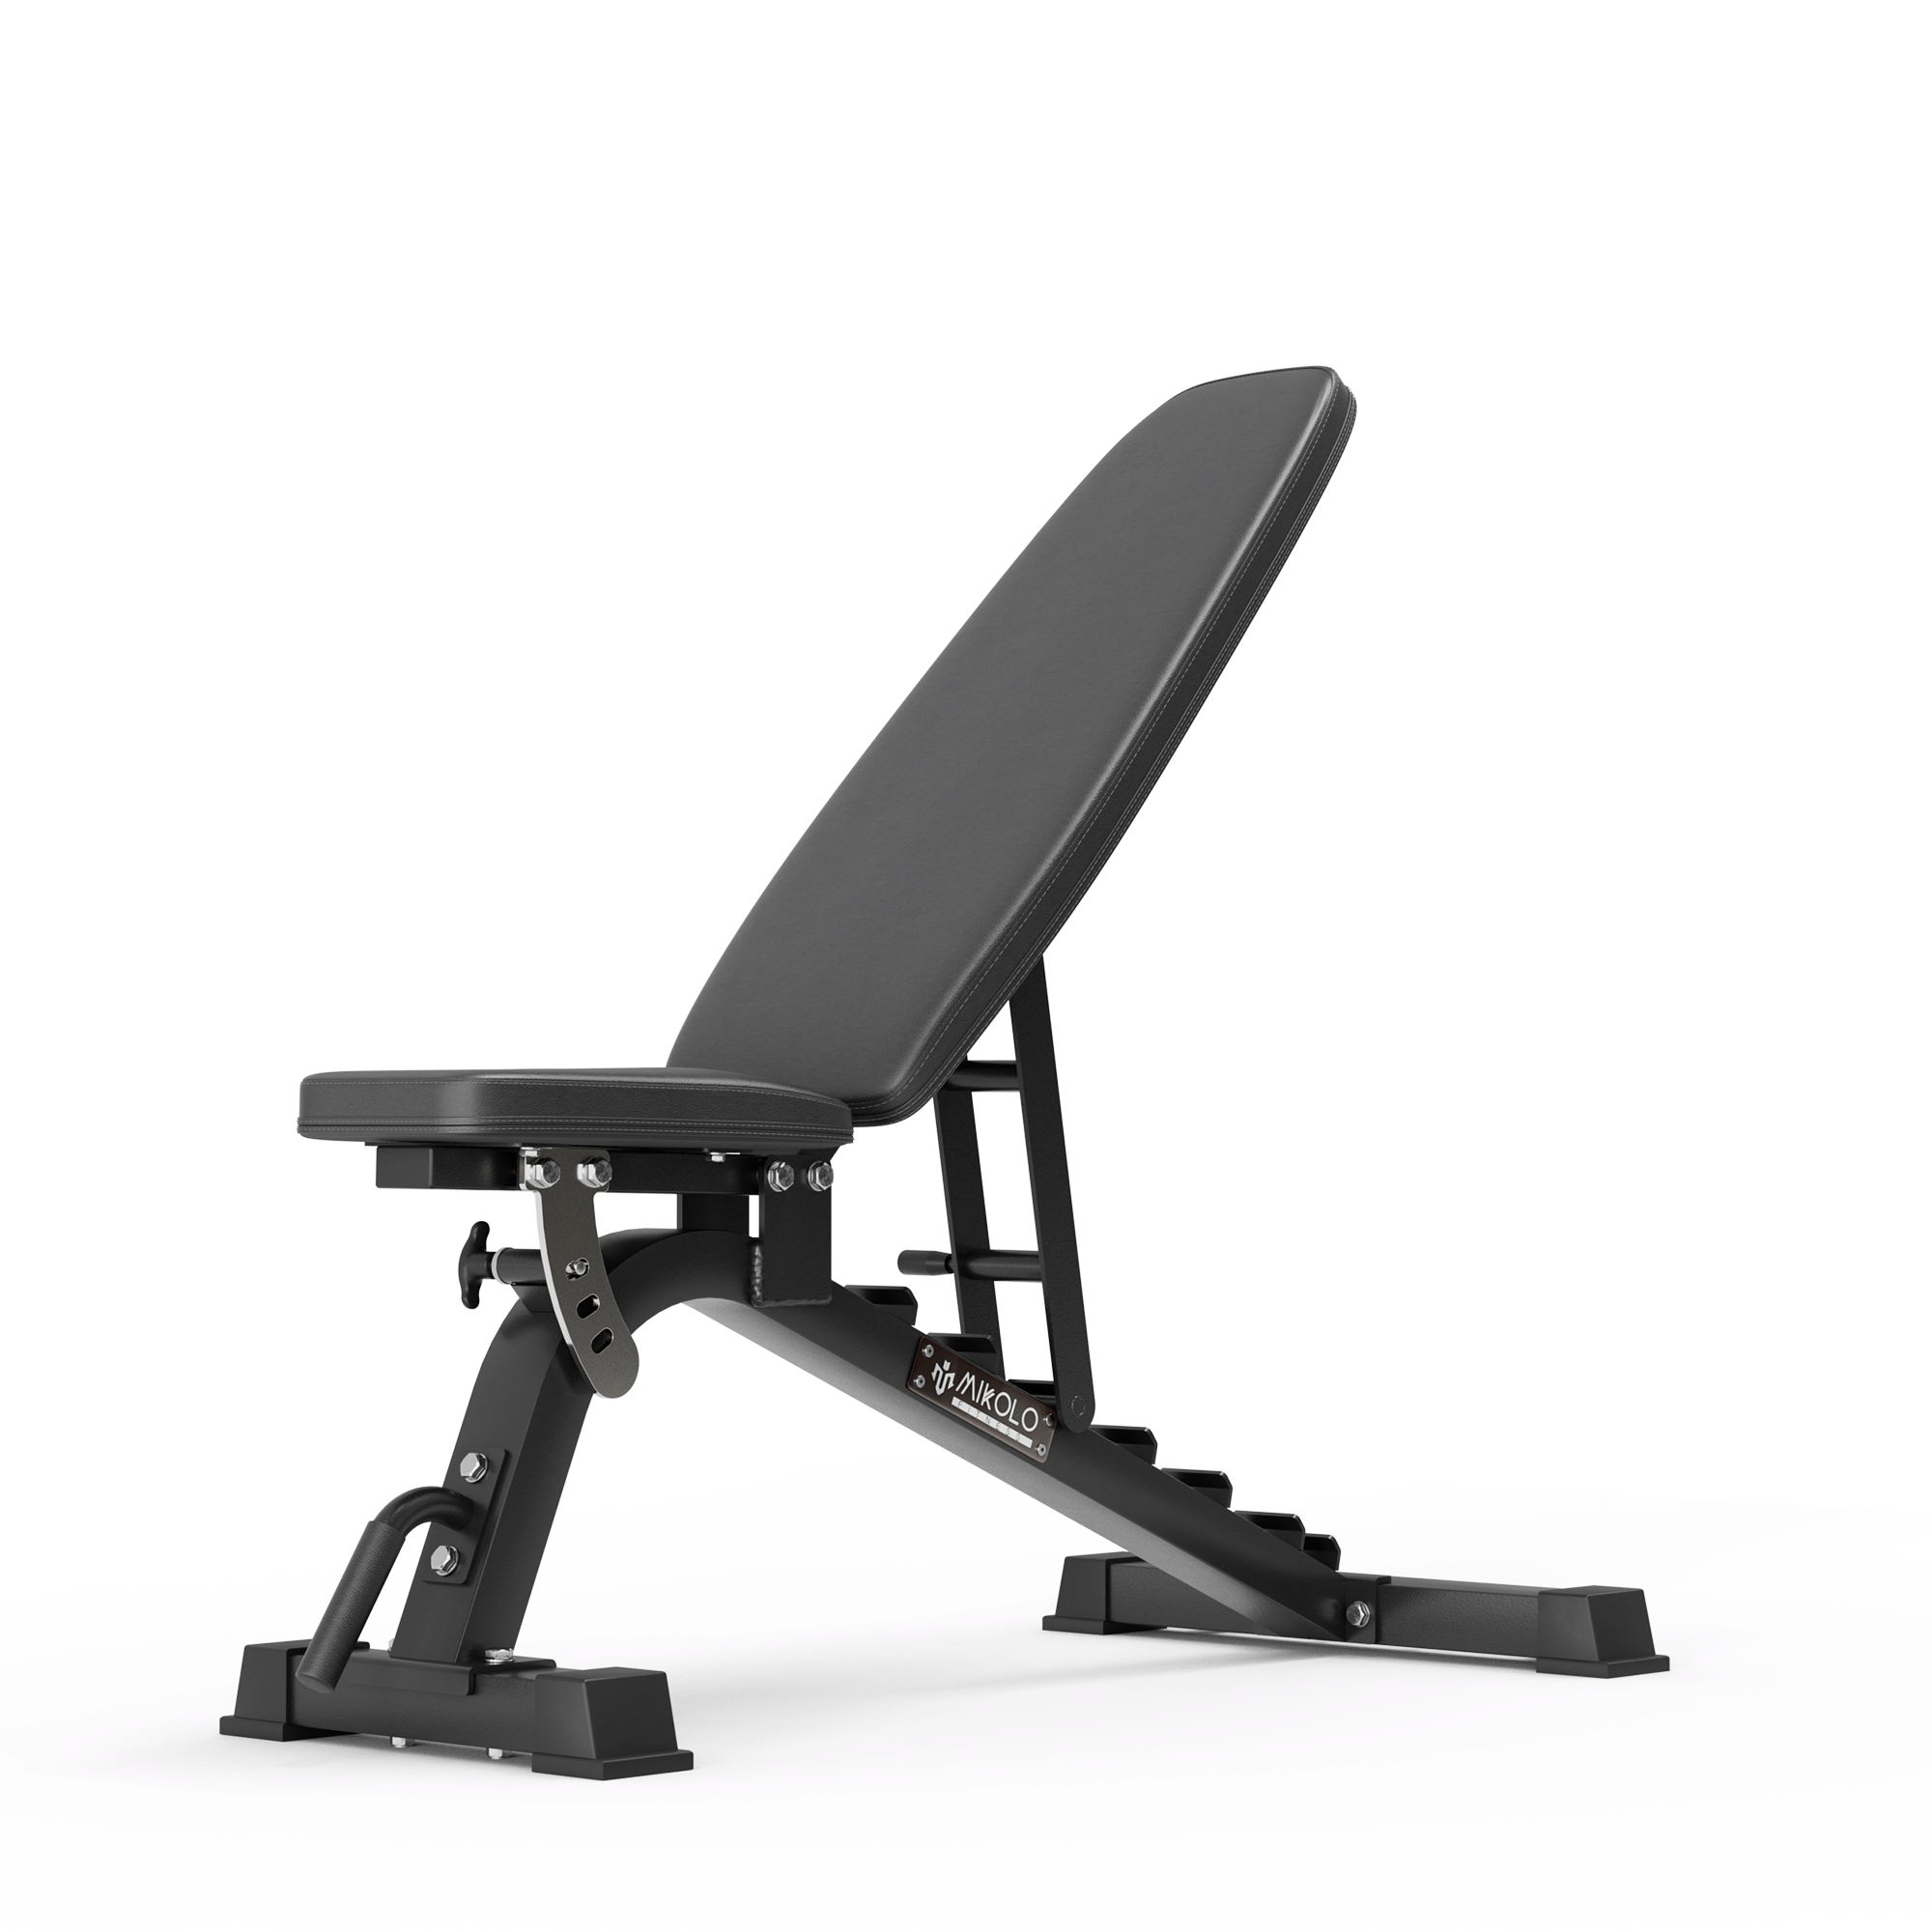
The incline dumbbell curl is an excellent biceps exercise for emphasizing the long head of the biceps. Setting the bench to a 45-degree angle, lay back and hold a pair of dumbbells with your arms fully extended at your sides. This position stretches the biceps, allowing for a greater range of motion and muscle engagement.
As you curl the dumbbells up, keep your elbows stationary and focus on contracting the biceps. This movement should be controlled and deliberate to maximize muscle growth. Aim for three sets of eight to twelve reps, with a rest time of 45 to 60 seconds between sets.
Incline dumbbell curls add variety to any biceps workout, providing a different angle of resistance for full biceps brachii development. Incorporate this exercise into your routine to achieve well-rounded and defined upper arms.
Hammer Curl
Hammer curls are an effective exercise for targeting the brachialis and forearm muscles, contributing to overall upper arm size. Perform hammer curls by holding a pair of dumbbells with a neutral grip (palms facing each other). This grip position emphasizes the forearm muscles and provides a unique angle of resistance for the biceps.
Curl the dumbbells up towards your shoulders, keeping your elbows close to your body and focusing on controlled movements. The typical weight used for hammer curls is lighter than that used for standard dumbbell curls, allowing for higher repetitions and muscle endurance.
Aim for three sets of ten to twenty reps, ensuring that each movement is deliberate and controlled. Incorporating hammer curls into your biceps workout routine will help you achieve balanced and well-defined upper arms.
Warm-Up Routine for Biceps and Back Workouts
Warming up before any biceps and back workout is crucial for reducing the risk of muscle tears and enhancing overall performance. A proper warm-up routine should include dynamic stretches and range-of-motion movements, along with light cardio to get the blood flowing.
Start with five to ten minutes of light cardio, such as jogging or jumping jacks, to increase your heart rate and warm up your muscles. Follow this with dynamic stretches that target the upper body, such as arm circles and shoulder rotations. These movements help prepare your muscles and joints for the workout ahead.
Avoid static stretching before your workout, as it can hinder performance and reduce muscle strength. Instead, focus on dynamic movements that mimic the exercises you will be performing. This approach not only reduces the risk of injury but also enhances muscle performance and efficiency.
A proper warm-up routine maximizes the effectiveness of your biceps and back workouts. By taking the time to warm up, you can improve your performance, reduce the risk of injury, and set yourself up for a successful training session.
Structuring Your Biceps and Back Workout
Effective structuring of your biceps and back workout is key to maximizing muscle growth and strength. A common approach is to organize your training in a pull-push-legs split format, which ensures balanced muscle engagement and recovery. When training back and biceps workout, it’s generally recommended to start with back exercises and then move on to biceps.
Begin your workout with exercises that emphasize horizontal rowing, such as bent-over barbell rows, to engage the scapular muscles and ensure shoulder health. For beginners, a suggested workout might include two back exercises and one bicep exercise. As you progress, you can add more exercises to target different muscle groups and increase workout intensity.
Advanced routines may include six to seven exercises, incorporating both vertical and horizontal pulling movements. After completing your back exercises, focus on biceps training with movements like curls, which target elbow flexion and maximize muscle engagement.
Rest between sets is crucial for maintaining performance and recovery. The duration of rest may vary depending on the intensity of the workout, but it’s essential to give your muscles enough time to recover between sets. Structuring your workouts effectively will help you achieve balanced muscle growth and overall upper body strength.
Tips for Maximizing Muscle Hypertrophy
Maximizing muscle hypertrophy—growing your muscles as large as possible—requires more than just lifting weights. It involves a strategic approach to your workouts, nutrition, and rest. Progressive overload, gradually increasing weight or volume, continually challenges your muscles. This creates mechanical tension, leading to muscle damage and growth during recovery.
Consistency in training and nutrition is essential for long-term muscle growth. Ensure you’re getting enough protein and calories to support muscle repair and growth. Rest is equally important; your muscles need time to recover and grow stronger after each workout. Adequate sleep and rest between workouts maximize muscle performance and growth.
Incorporating a warm-up routine can significantly enhance performance, with reports indicating improvements by up to 79%. Warming up increases blood flow to muscles, enhancing recovery efficiency between sets. Following these tips optimizes your workouts, leading to maximum muscle hypertrophy.
Common Mistakes to Avoid
Avoiding common mistakes can make a significant difference in the effectiveness of your biceps and back workouts. One major pitfall is neglecting proper form. Using improper form can lead to ineffective resistance, injuries, and hindered muscle growth. Focus on quality over quantity; performing each movement correctly is more important than the number of repetitions.
Ego lifting, or attempting to lift excessive weights to show off, is another common mistake. This can compromise safety and effectiveness, leading to injuries and an inability to train effectively. Prioritize training intensity and proper technique over lifting heavier weights to enhance your workout’s overall effectiveness.
Listening to your body is crucial. Overtraining can increase your susceptibility to injuries and negatively impact your progress. Ensure you’re giving your muscles adequate rest and recovery time to prevent burnout and promote muscle growth. By avoiding these common mistakes, you can ensure a safer and more productive workout routine.
Summary
Combining biceps and back workouts is a powerful strategy for achieving maximum muscle growth and overall upper body strength. By understanding the anatomy of these muscle groups and incorporating effective exercises like bent-over barbell rows, pull-ups, and hammer curls, you can create a comprehensive workout routine that targets all the key muscles.
Structuring your workouts strategically, starting with back exercises and finishing with bicep movements, ensures balanced muscle engagement and optimal results. Remember to warm up properly, avoid common mistakes, and follow the principles of progressive overload to maximize muscle hypertrophy.
With consistency in training, proper nutrition, and adequate rest, you’ll see noticeable improvements in your strength and physique. Now is the time to take your workouts to the next level and achieve the gains you’ve always wanted. Get ready to transform your upper body and enjoy the benefits of a well-rounded workout routine.
Frequently Asked Questions
Why should I train my biceps and back together?
Training your biceps and back together leads to more efficient workouts, as these muscle groups complement each other, enhancing overall strength and growth. By combining them, you maximize your training results and achieve your fitness goals faster!
What is the best warm-up routine for biceps and back workouts?
To maximize your biceps and back workouts, start with 5–10 minutes of light cardio, then engage in dynamic stretches to enhance your range of motion. This invigorating warm-up will prepare your muscles effectively, so you can power through your workout confidently!
How do I structure my biceps and back workout?
Focus on starting your workout with back exercises to activate the larger muscle groups, then follow up with bicep exercises. Beginners can do three exercises each, while advanced lifters might aim for seven to fully challenge themselves and see great results!
What are common mistakes to avoid during biceps and back workouts?
To maximize your biceps and back workouts, steer clear of improper form, ego lifting, and overtraining. Prioritize quality movements and proper technique to keep yourself safe and effective!
How can I maximize muscle hypertrophy in my biceps and back?
To maximize muscle hypertrophy in your biceps and back, focus on progressive overload while staying consistent with your training and nutrition. Don't forget to prioritize recovery for optimal results!

























Leave a comment
This site is protected by hCaptcha and the hCaptcha Privacy Policy and Terms of Service apply.