


A squat rack is one of the most versatile and essential pieces of equipment in any gym—home or commercial. Whether you're new to lifting or refining your form, knowing how to properly adjust the height of your squat rack can make all the difference in safety, comfort, and performance. This article will walk you through how to lower, raise, and fine-tune your squat rack height for squats and other movements, using safe and effective techniques.
Why Adjusting Squat Rack Height Matters
Proper squat rack height is critical for:
-
Preventing injuries: A bar set too high or too low can cause strain during setup or re-racking.
-
Maintaining form: The correct height helps you maintain posture from start to finish.
-
Efficiency: It saves time and effort between sets or users.
A well-adjusted squat rack allows you to begin your lift from a stable position and return the bar without excessive forward lean or tiptoeing.
How to Lower a Squat Rack (Step-by-Step)
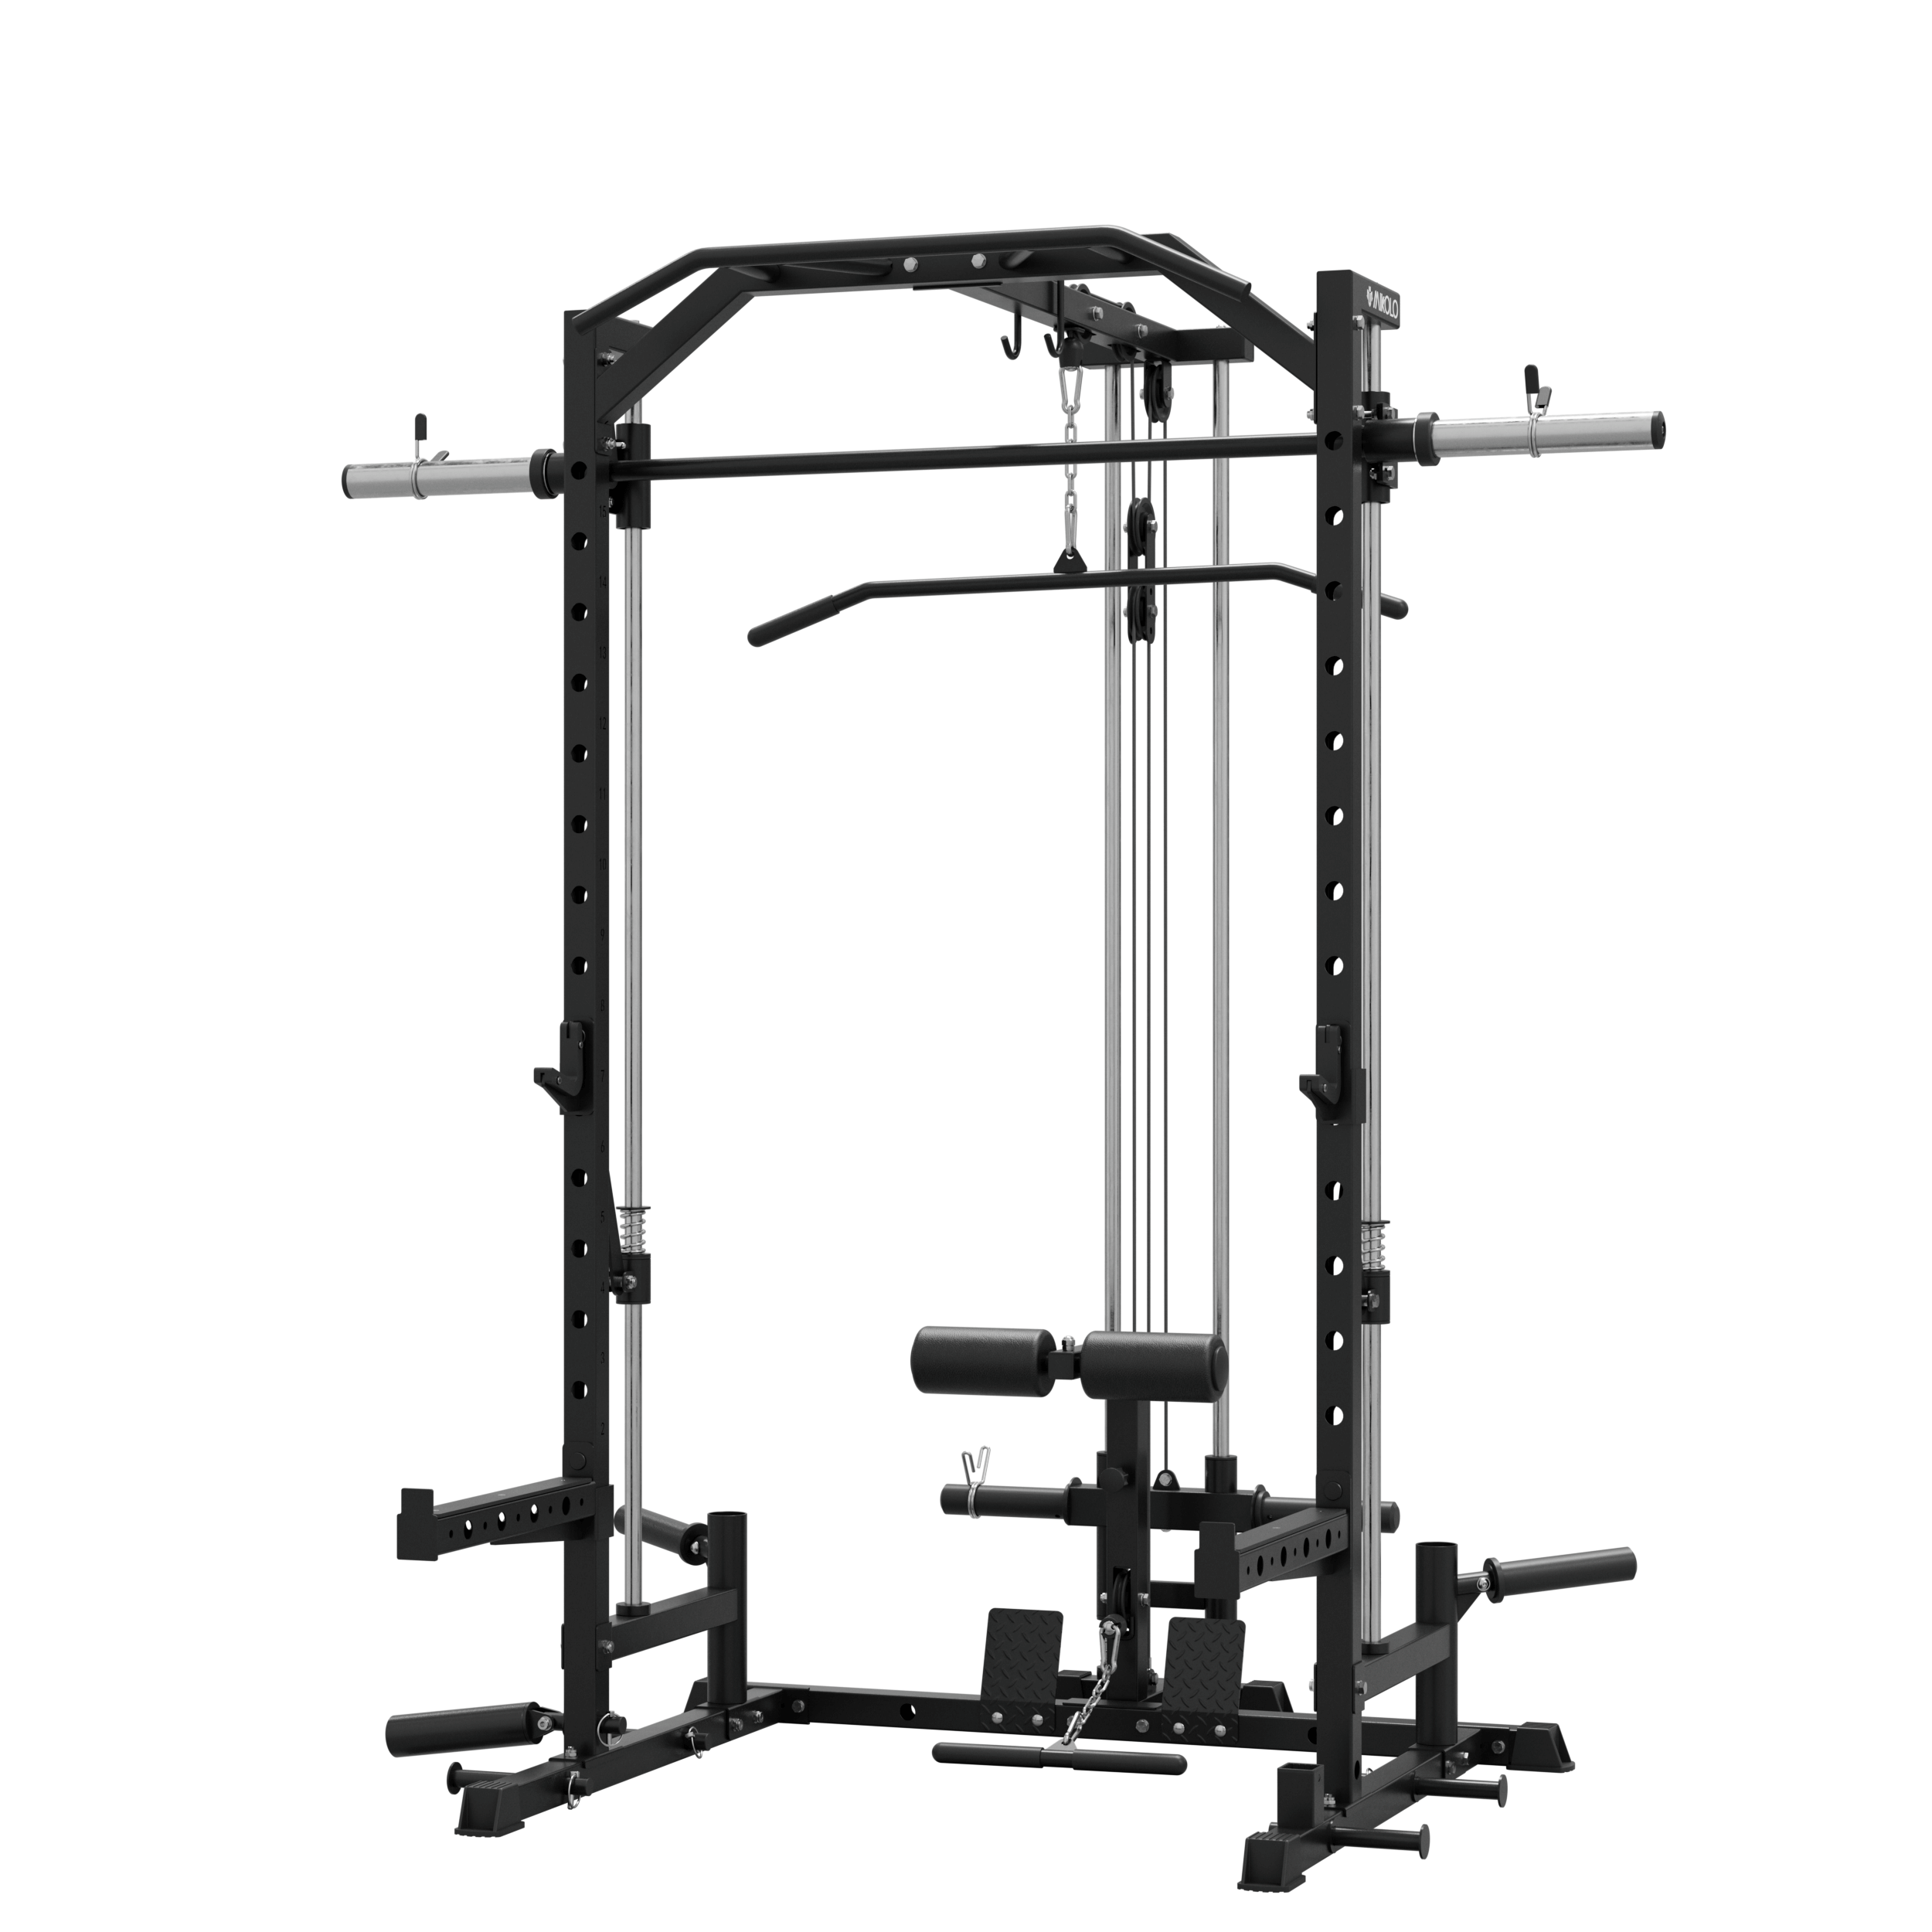
If you're working with a power rack, half rack, or squat stand with adjustable J-hooks or safety arms, follow these steps to lower it:
-
Unload the Barbell
Never adjust height with weight on the bar. Remove all plates and store them safely. -
Locate the Adjustment Pins or J-Hooks
Most racks use pop-pins, pegs, or J-hooks. Slide them out or unclip as needed. -
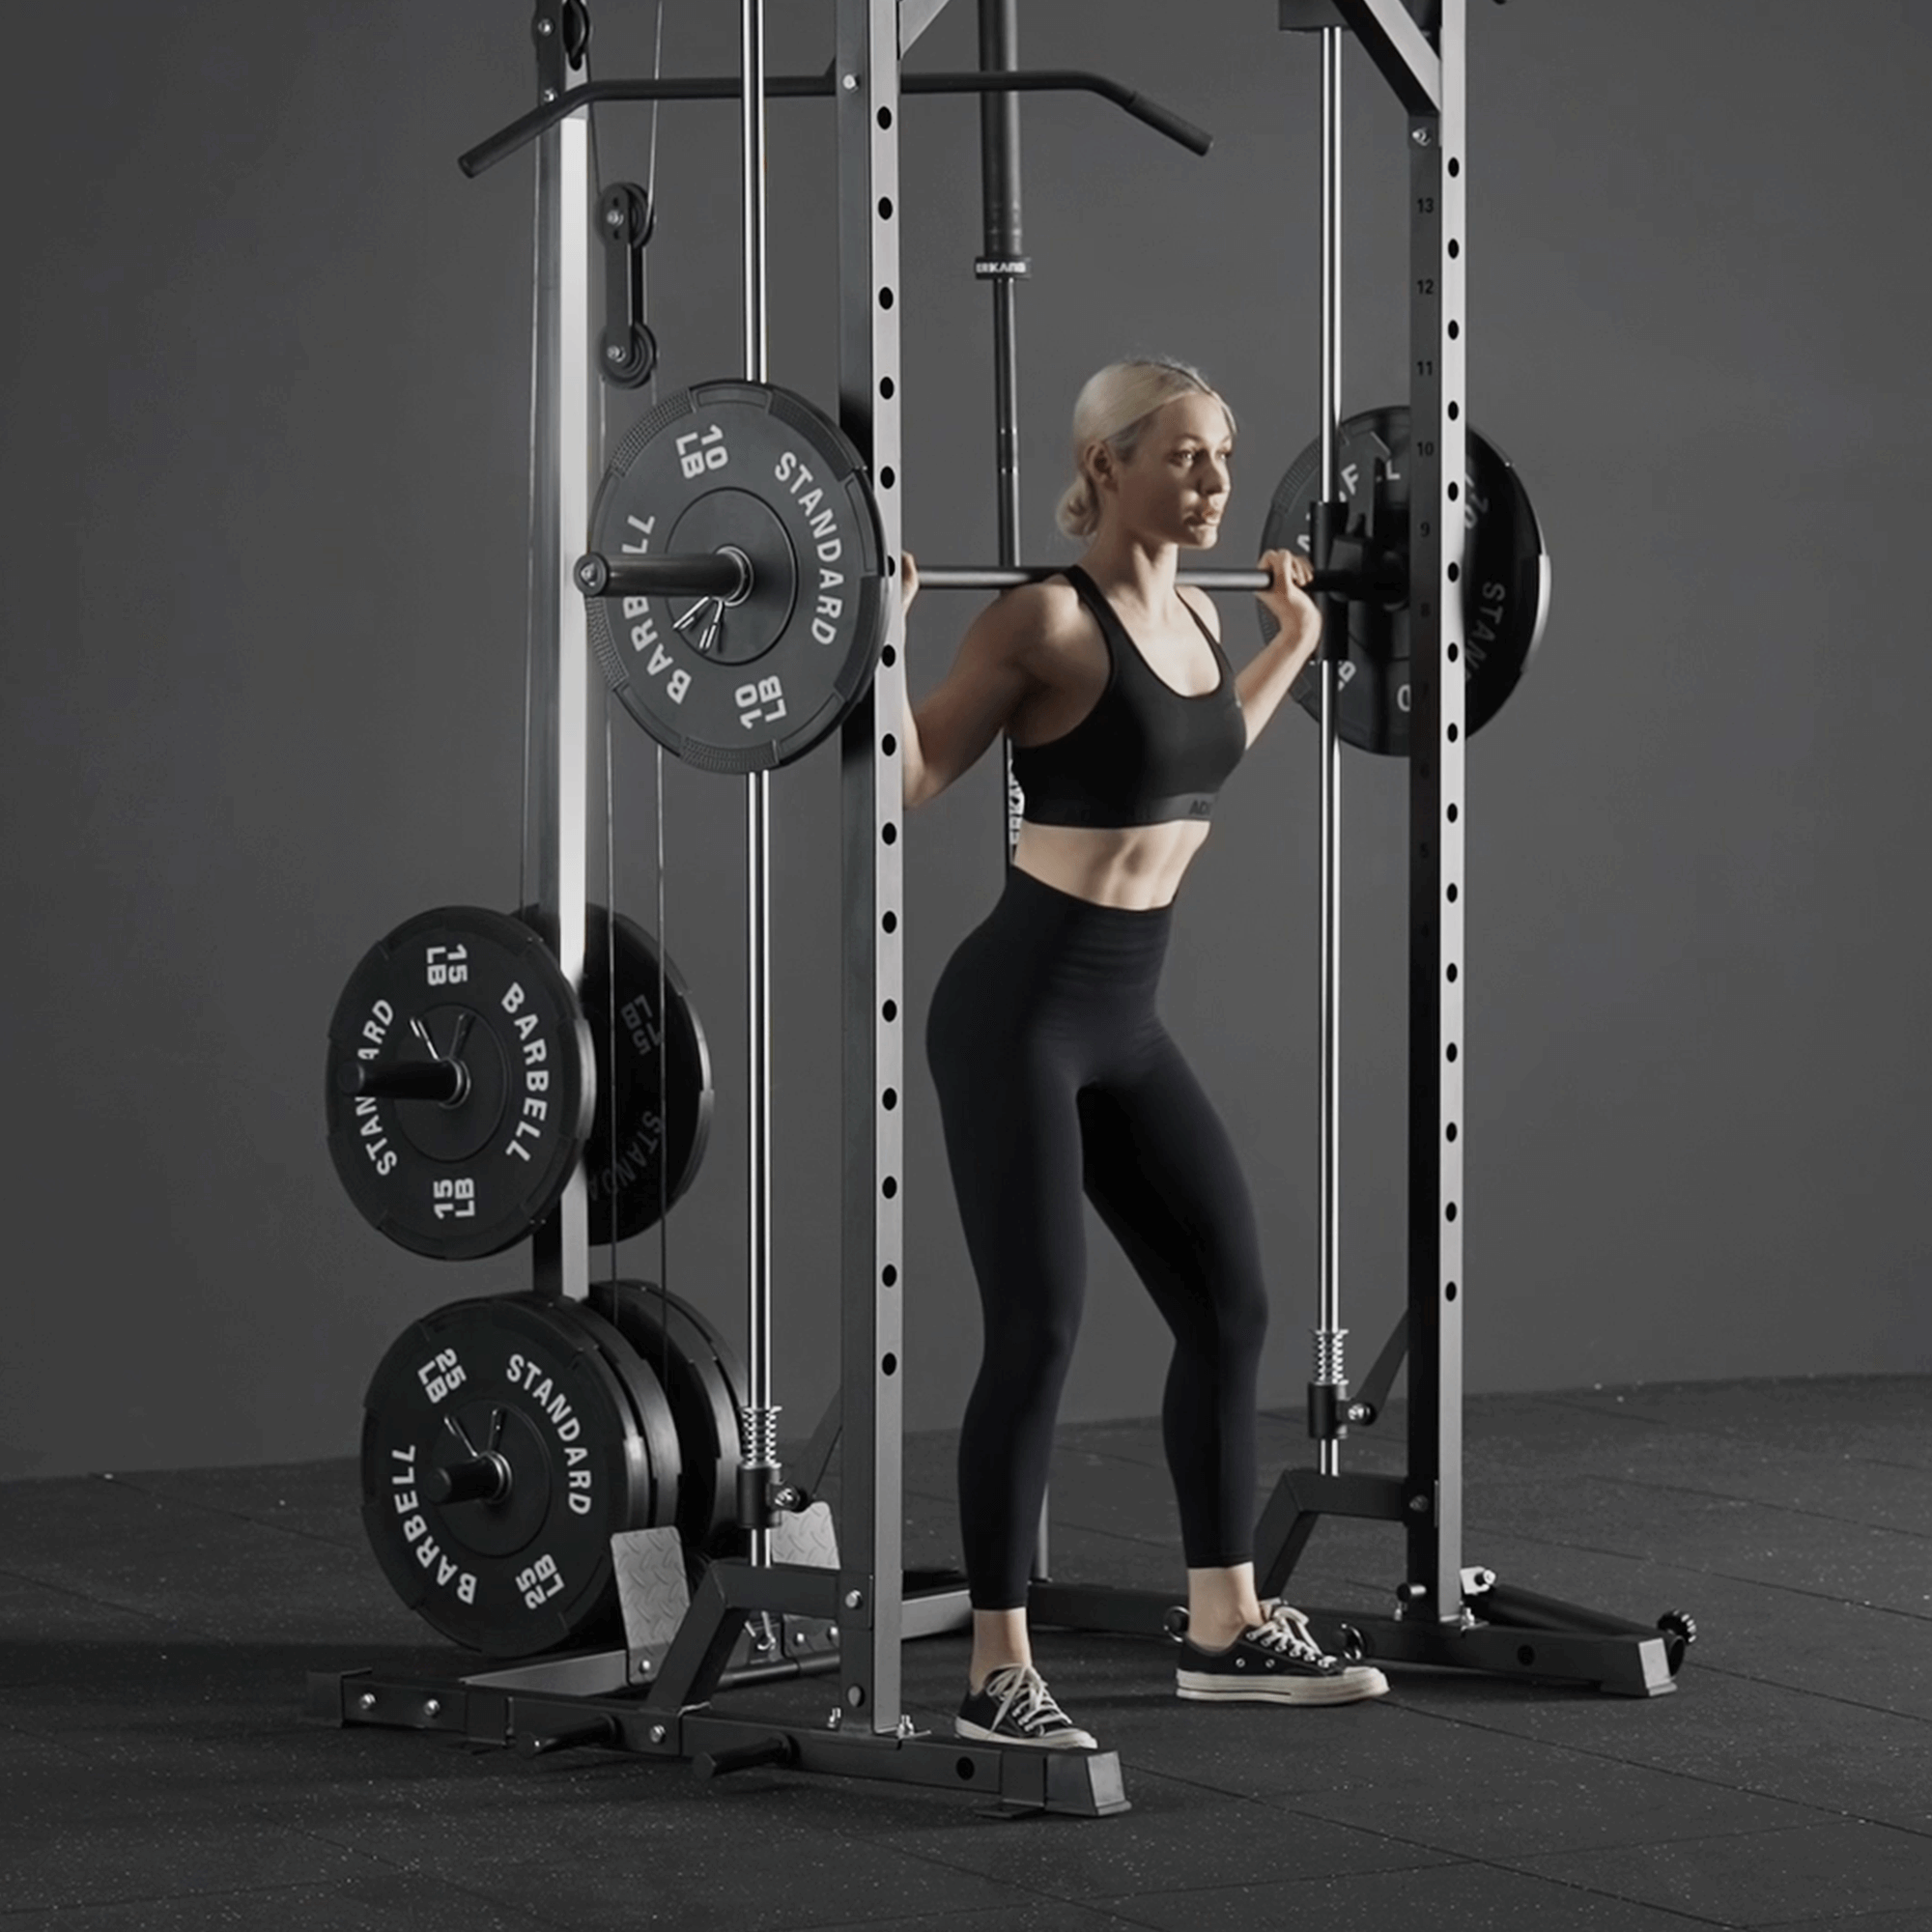
Count the Holes
To ensure symmetry, count the holes on one upright and match it on the other side. A good starting point for squats is barbell height at mid-chest level. -
Insert the Pins/J-Hooks at the New Height
Slide them into the desired hole, ensure they're locked or tightened. -
Test With an Empty Bar
Step under the bar, unrack it, and re-rack it a few times to check if the height feels natural and safe.
How to Adjust a Squat Rack for Different Movements
The height you use for squats may not be ideal for other lifts. Here's a quick guide:
-
Back Squat: Bar should be at upper chest level so you don’t have to tiptoe to unrack.
-
Front Squat: Slightly lower than back squat height for a smoother lift-off.
-
Overhead Press: Bar just below shoulder height.
-
Bench Press (if using rack): Bar should allow full arm extension without overreaching.
Always re-check pin alignment and rack stability after changing heights.
How to Move Squat Rack Height Between Users
In group training or shared home setups, quickly adapting the rack is key. Here’s how:
-
Communicate Height Preferences: Ask the next user where they want the bar.
-
Use Pre-Marked Levels: Many racks have numbered holes—take note of yours.
-
Avoid Rushing: Even in between sets, prioritize proper placement over speed.
In my own garage gym, I trained regularly with a friend who’s nearly a foot shorter than me. We made it a habit to memorize our personal hole numbers on the uprights. It made transitions smooth and eliminated guesswork between sets. That simple system improved both of our training efficiency over time.
Final Tips for Safe Rack Adjustments
-
Check for Wear: Make sure J-hooks and safeties are free of cracks or bending.
-
Keep It Level: Always double-check side-to-side alignment.
-
Secure Accessories: Tighten any bolts or levers after making changes.
If you’re new to squat racks, don’t hesitate to ask a coach or gym staff for help the first few times. Taking a few extra seconds now helps prevent long-term problems later.
Conclusion
Learning how to lower, move, or adjust your squat rack height isn’t just about comfort—it’s a foundational part of lifting safely and efficiently. With practice, you'll make these adjustments second nature and set yourself up for consistent, injury-free progress. Whether training solo or sharing equipment, knowing how to dial in your setup can make every rep count.


Leave a comment
This site is protected by hCaptcha and the hCaptcha Privacy Policy and Terms of Service apply.