When setting up a home gym, one of the most important considerations is ensuring your equipment is safe and secure. A power rack or squat rack is a staple in many home gyms, and for those looking to add serious weight to their training, bolting it to the concrete floor can significantly enhance safety and stability. However, many people hesitate, unsure if drilling into concrete is necessary or even the best option. This guide walks you through the process step-by-step and explores alternative methods to keep your rack stable—even if you don’t want to drill.
Why Bolt Your Power Rack?
While some power racks are stable enough on their own, especially when loaded with weights, others can shift or wobble during heavy lifts. Bolting the rack to the floor not only prevents this but also helps to:
-
Enhance overall safety during intense workouts
-
Minimize the risk of injury or damage to your equipment
-
Keep your rack in place for consistent performance over time
-
Helping preserve the barbell's knurling and the rack from damage
-
Reduce noise during workouts, allowing for a more focused training environment
Still, not everyone is sold on the idea of drilling into their basement or garage floor. Let’s dive into both the process and alternative options for securing your rack.
Step 1: Gather Your Tools and Materials
Before you get started, you’ll need the right tools to ensure a smooth installation. Here’s what you’ll need:
-
Electric drill
-
Hammer drill with a masonry bit (bit size depends on anchor bolts)
-
Concrete anchor bolts (wedge anchors are ideal for strength)
-
Wrench or socket set
-
Vacuum cleaner (to clean drilled holes)
-
Measuring tape
-
Marker or chalk
-
Hooks
-
J cups
Step 2: Position Your Power Rack
Place your rack in the ideal location. Make sure it’s not just a good fit but also allows for safe use of the equipment. Once you’re satisfied with the position, mark the spots where the feet of the rack will meet the floor using chalk or a marker. These markings will guide where you need to drill. Ensure the rackable capacity of your power rack is suitable for the weights you plan to use.
Step 3: Drill the Holes
Attach a masonry bit to your hammer drill and carefully drill into the concrete at each marked spot. Make sure the holes are drilled to a sufficient depth to fit the anchor bolts properly. After drilling, vacuum out any concrete dust and debris to ensure a clean and secure fit.
Step 4: Insert the Anchor Bolts
Position the rack back over the drilled holes. Insert the anchor bolts through the feet of the rack and into the concrete. If the bolts don't go in easily, tap them gently with a hammer until fully seated.
Step 5: Tighten the Bolts
Using your wrench or socket set, tighten the bolts securely but be cautious not to overtighten. This could damage both the rack and the concrete. Once everything is tightened, the rack should feel solid and unmoving.
Step 6: Double-Check Overall Safety
After the bolts are tightened, inspect your work. Make sure the rack is secure and remains stable without any wobbling.. Regularly check the bolts for loosening over time, especially after heavy lifts.
Alternatives to Bolting Your Power Rack
Not everyone wants to drill into their concrete floor. Whether it’s due to rental agreements or simply personal preference, there are alternatives for those who prefer a non-invasive solution:
-
Add Weight Plates: Many users report that simply adding weight plates to the rack’s posts can provide enough stability. If your rack has weight storage pegs, load them up evenly to reduce wobbling. This method also enhances your strength training routine by keeping your equipment secure.
-
Build a Platform: Constructing a lifting platform that surrounds the rack is a great way to add stability without damaging your floor. A well-built platform can absorb the impact of heavy lifts and keep the rack in place.
-
Use Crossmembers for Extra Bracing: If you’re opting out of bolting, consider adding crossmembers or additional braces to tie the sides of the rack together. This prevents the rack from shifting, especially under heavy loads.
-
Rubber Mats: Laying down thick rubber mats around your power rack not only protects your floor but can also reduce the movement of the rack.
-
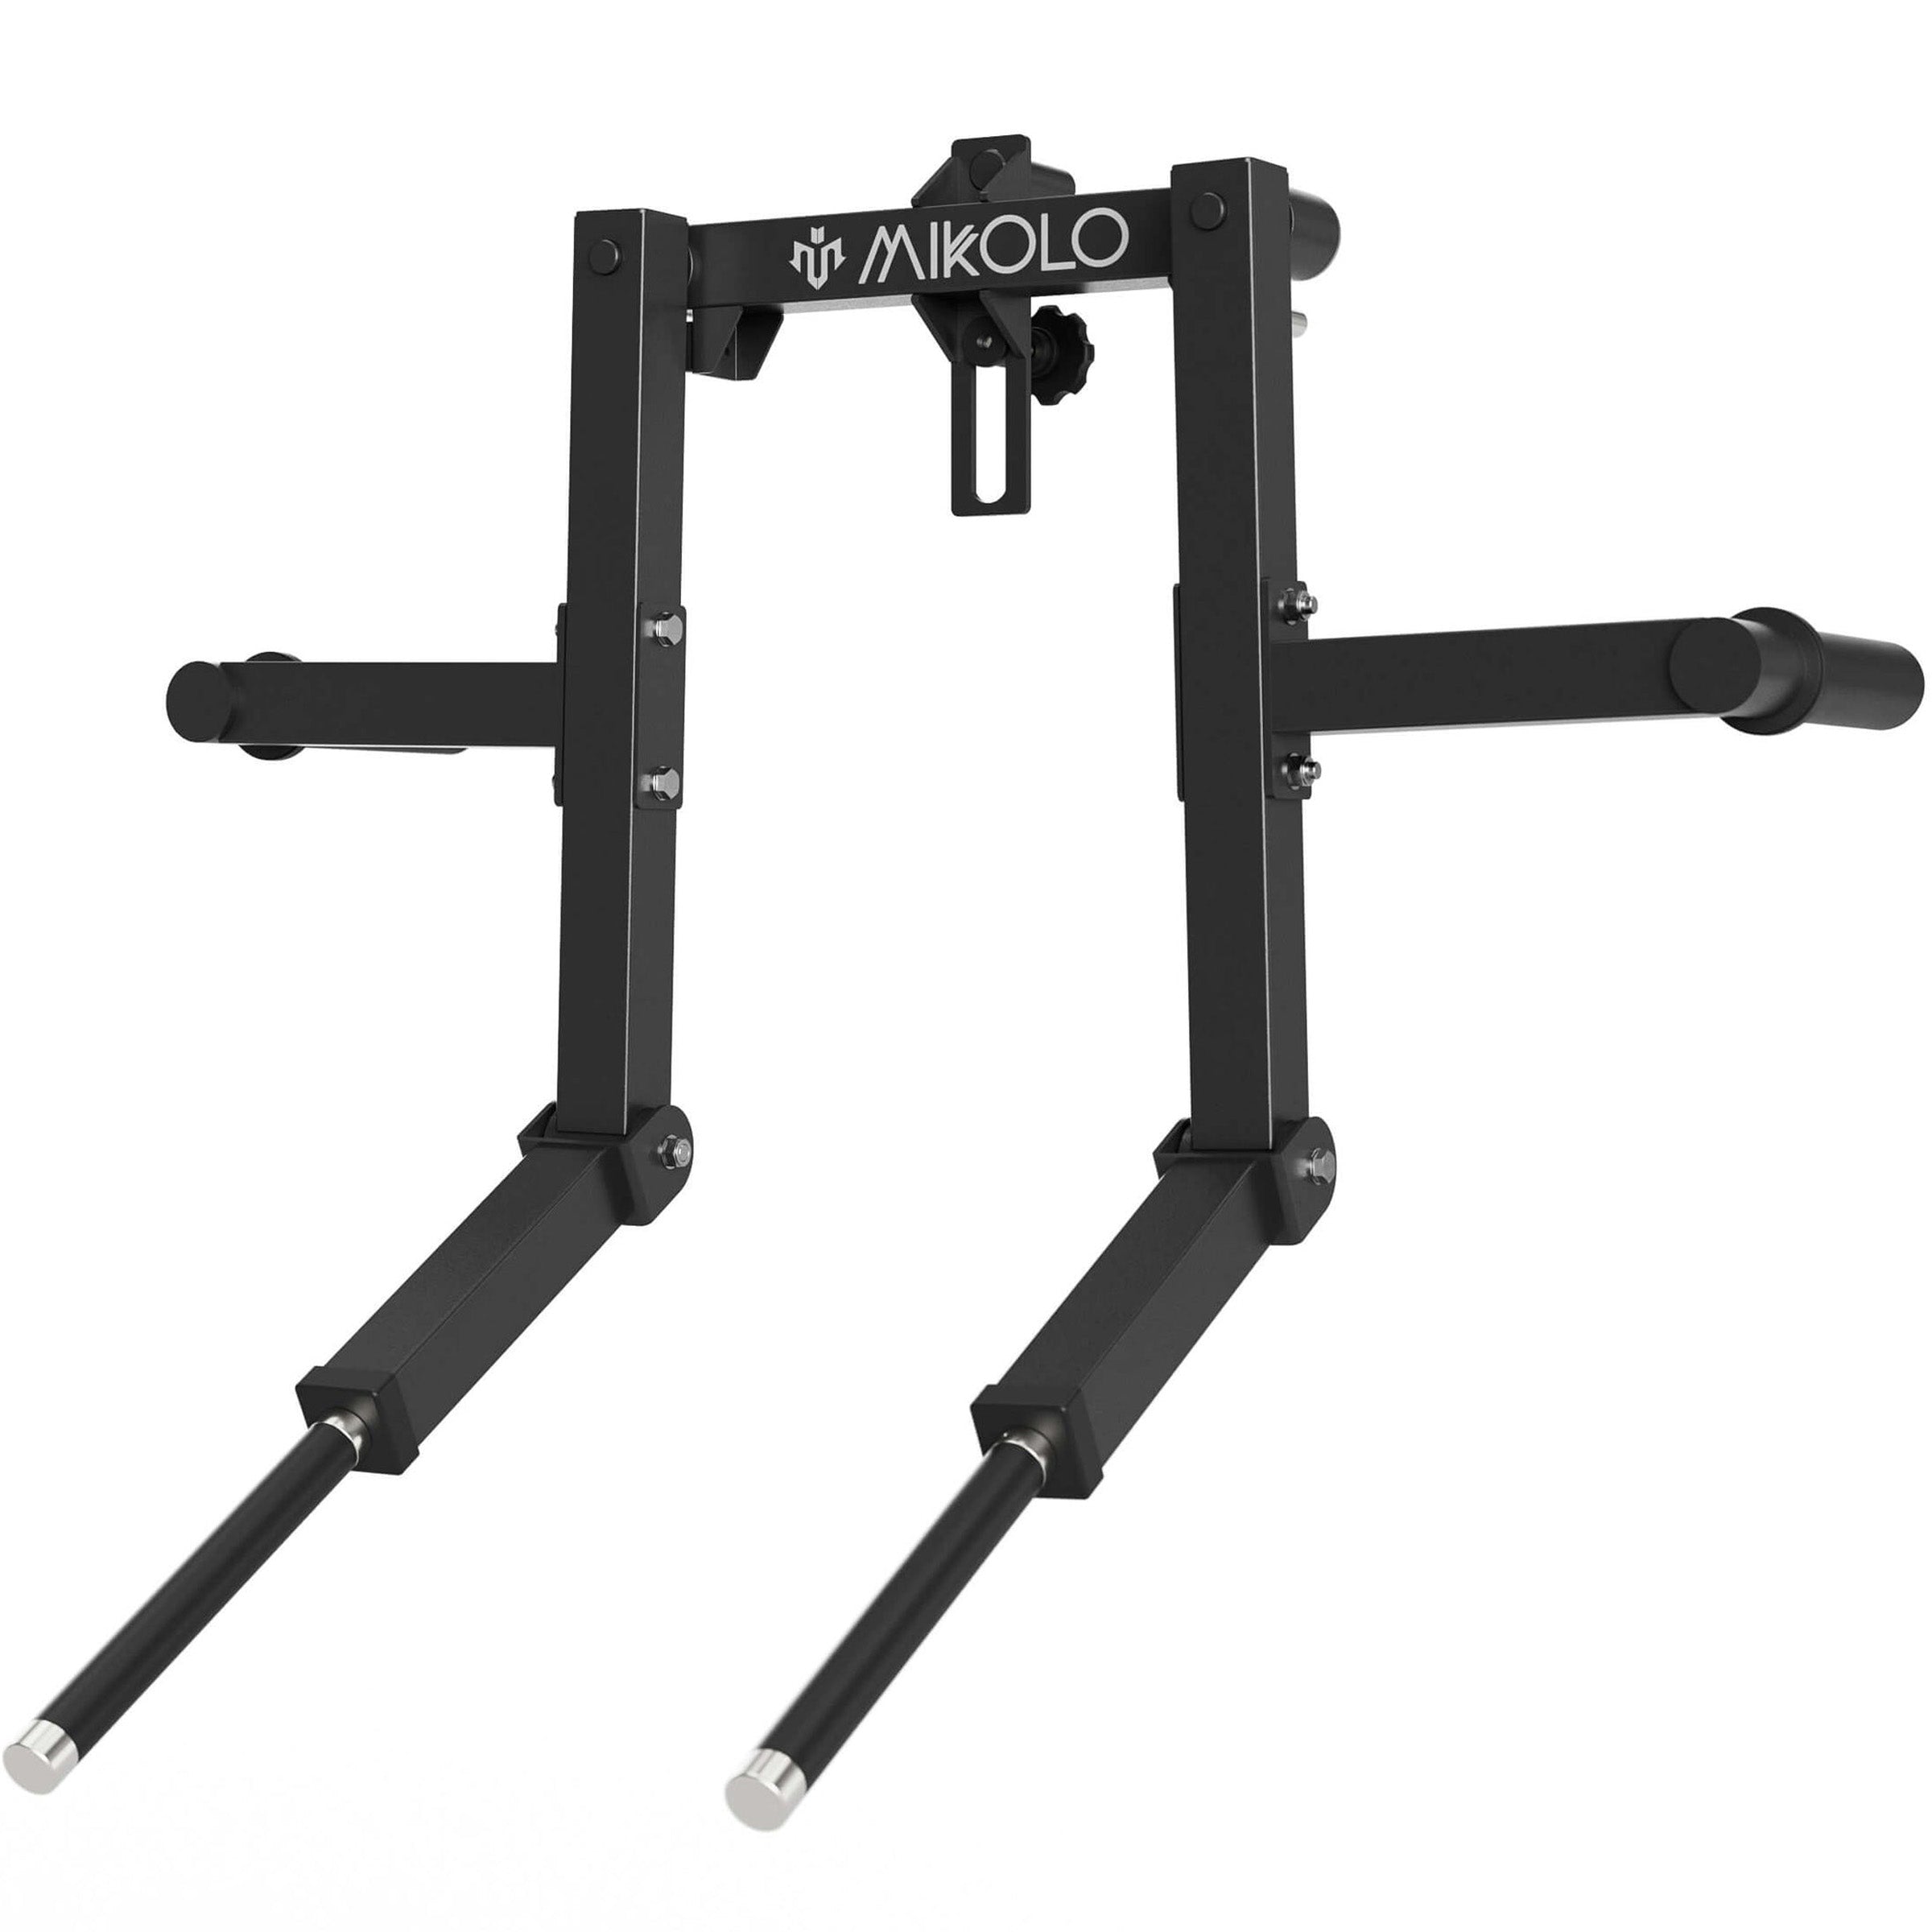
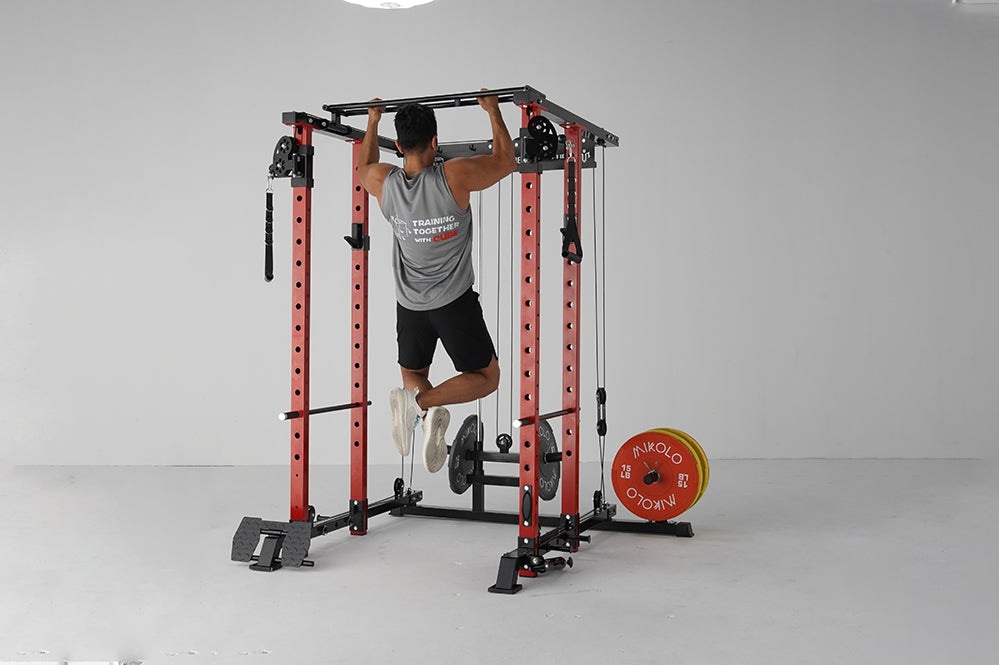
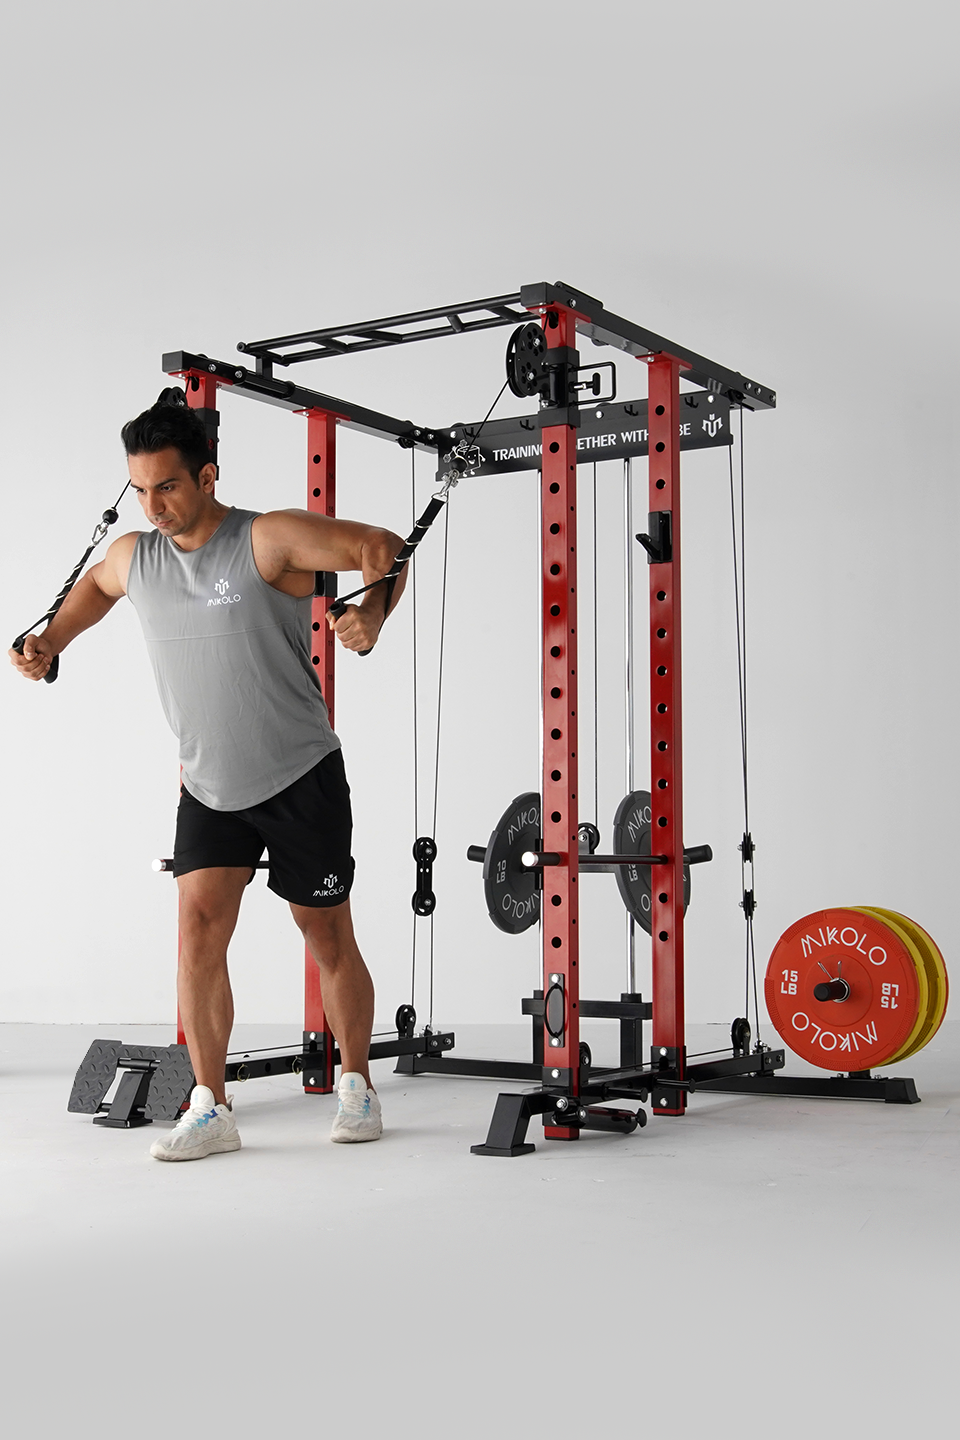
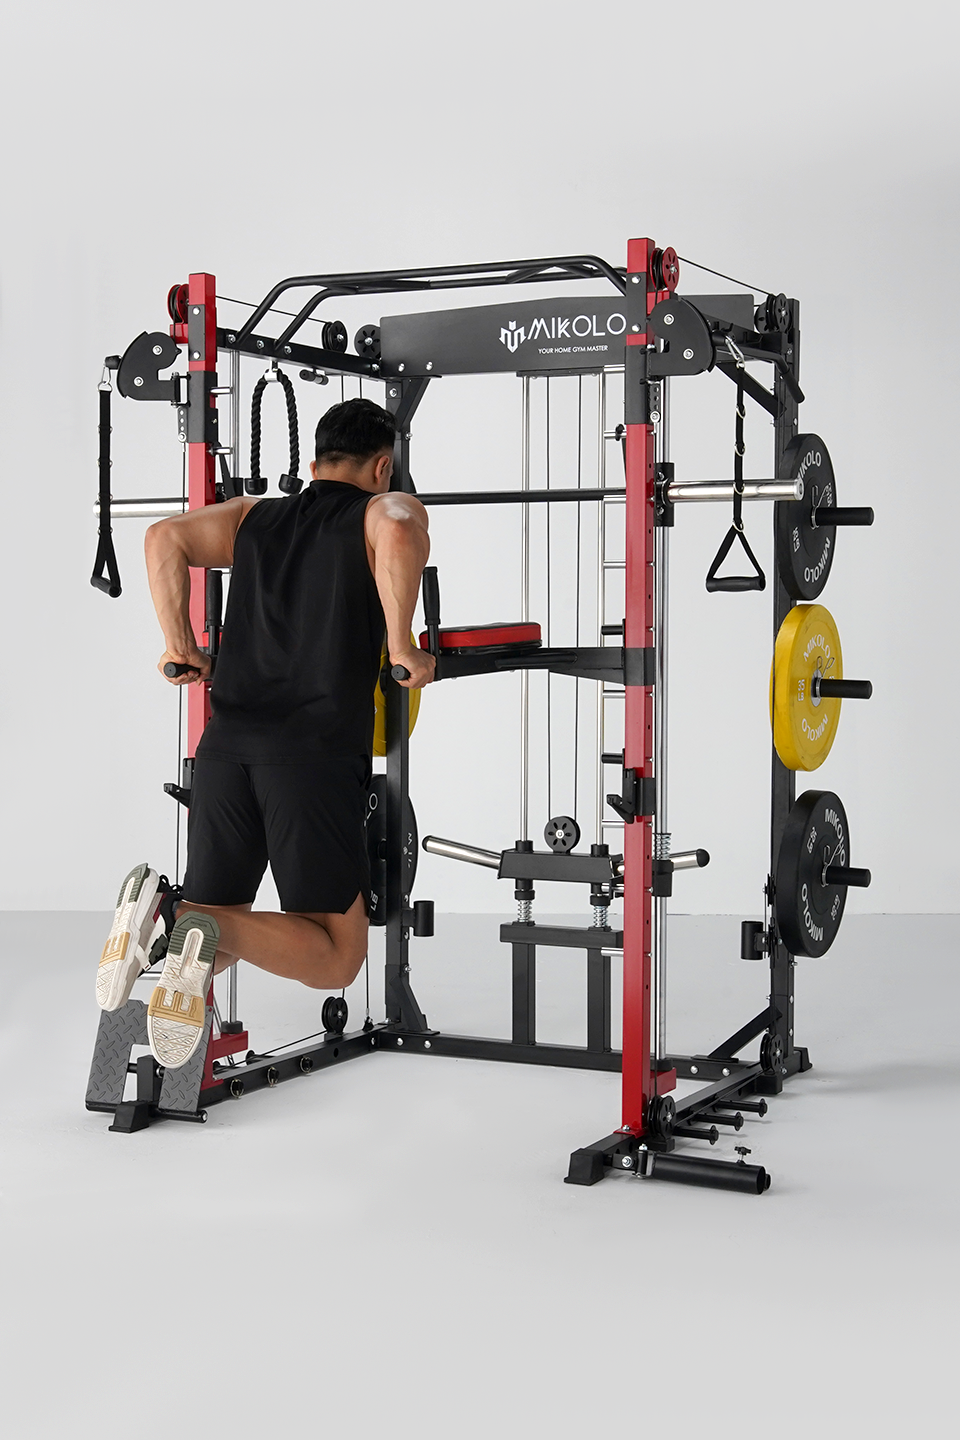
Consider using a power cage with dip bars and other attachments such as j hooks for added versatility and stability.
What Users Are Saying: Social Media Insights
Real-world feedback often provides some of the most valuable insights. Here are a few takeaways from experienced gym owners who’ve faced the same decision:
-
Stability Without Bolting: Some users with heavier racks report that with enough weight loaded, their racks are stable without being bolted down. However, for lighter racks or more intense training sessions, bolting is recommended. Users also appreciate the inclusion of pull-up bars for added workout variety.
-
Concerns About Drilling: A common hesitation is the permanence of drilling into concrete. Many users feel uneasy about creating holes in their garage or basement floor, worried about future repairs or the possibility of moving. Some users also mention the importance of protecting their bars from damage when considering whether to drill. One suggestion was to fill the holes with cement when moving out, making them barely noticeable.
-
Alternative Bracing: Others mention using crossmembers to tie the rack sides together, adding stability without the need to bolt. This method seems especially popular for those with non-bolted racks.
-
Bolting for Extra Peace of Mind: Ultimately, many users shared that bolting down their rack gave them the confidence to go all out in their workouts without worrying about the rack shifting or tipping.
Bottom Line: Making the Best Choice for Your Home Gym
Bolting your power rack to a concrete floor can give you peace of mind, knowing that your setup is secure and ready for even the most intense lifts. But for those hesitant to drill into their floor, alternatives like adding weight plates or using crossmembers can offer similar stability without the permanence of bolting.
No matter which option you choose, the goal is the same: a safe, stable, and effective home gym setup that allows you to focus on your workouts. So, whether you decide to bolt it down or go for a less invasive solution, you’re well on your way to a safer and more enjoyable lifting experience.












Leave a comment
This site is protected by hCaptcha and the hCaptcha Privacy Policy and Terms of Service apply.