


A diy power rack is an excellent way to save money while customizing your workout space to fit your needs. Whether you are an experienced weightlifter or a beginner looking for an affordable way to train at home, building your own power rack can be a rewarding project. In this guide, we will cover everything from materials and tools to step-by-step instructions, safety precautions, and customization options.
Why Build a DIY Gym Rack?
1. Cost Savings
A commercial power rack or squat rack can cost anywhere from $300 to $1,500, depending on the brand and features. Building your own home gym rack can significantly cut costs while still providing a strong and stable structure for strength training.
2. Customization Options
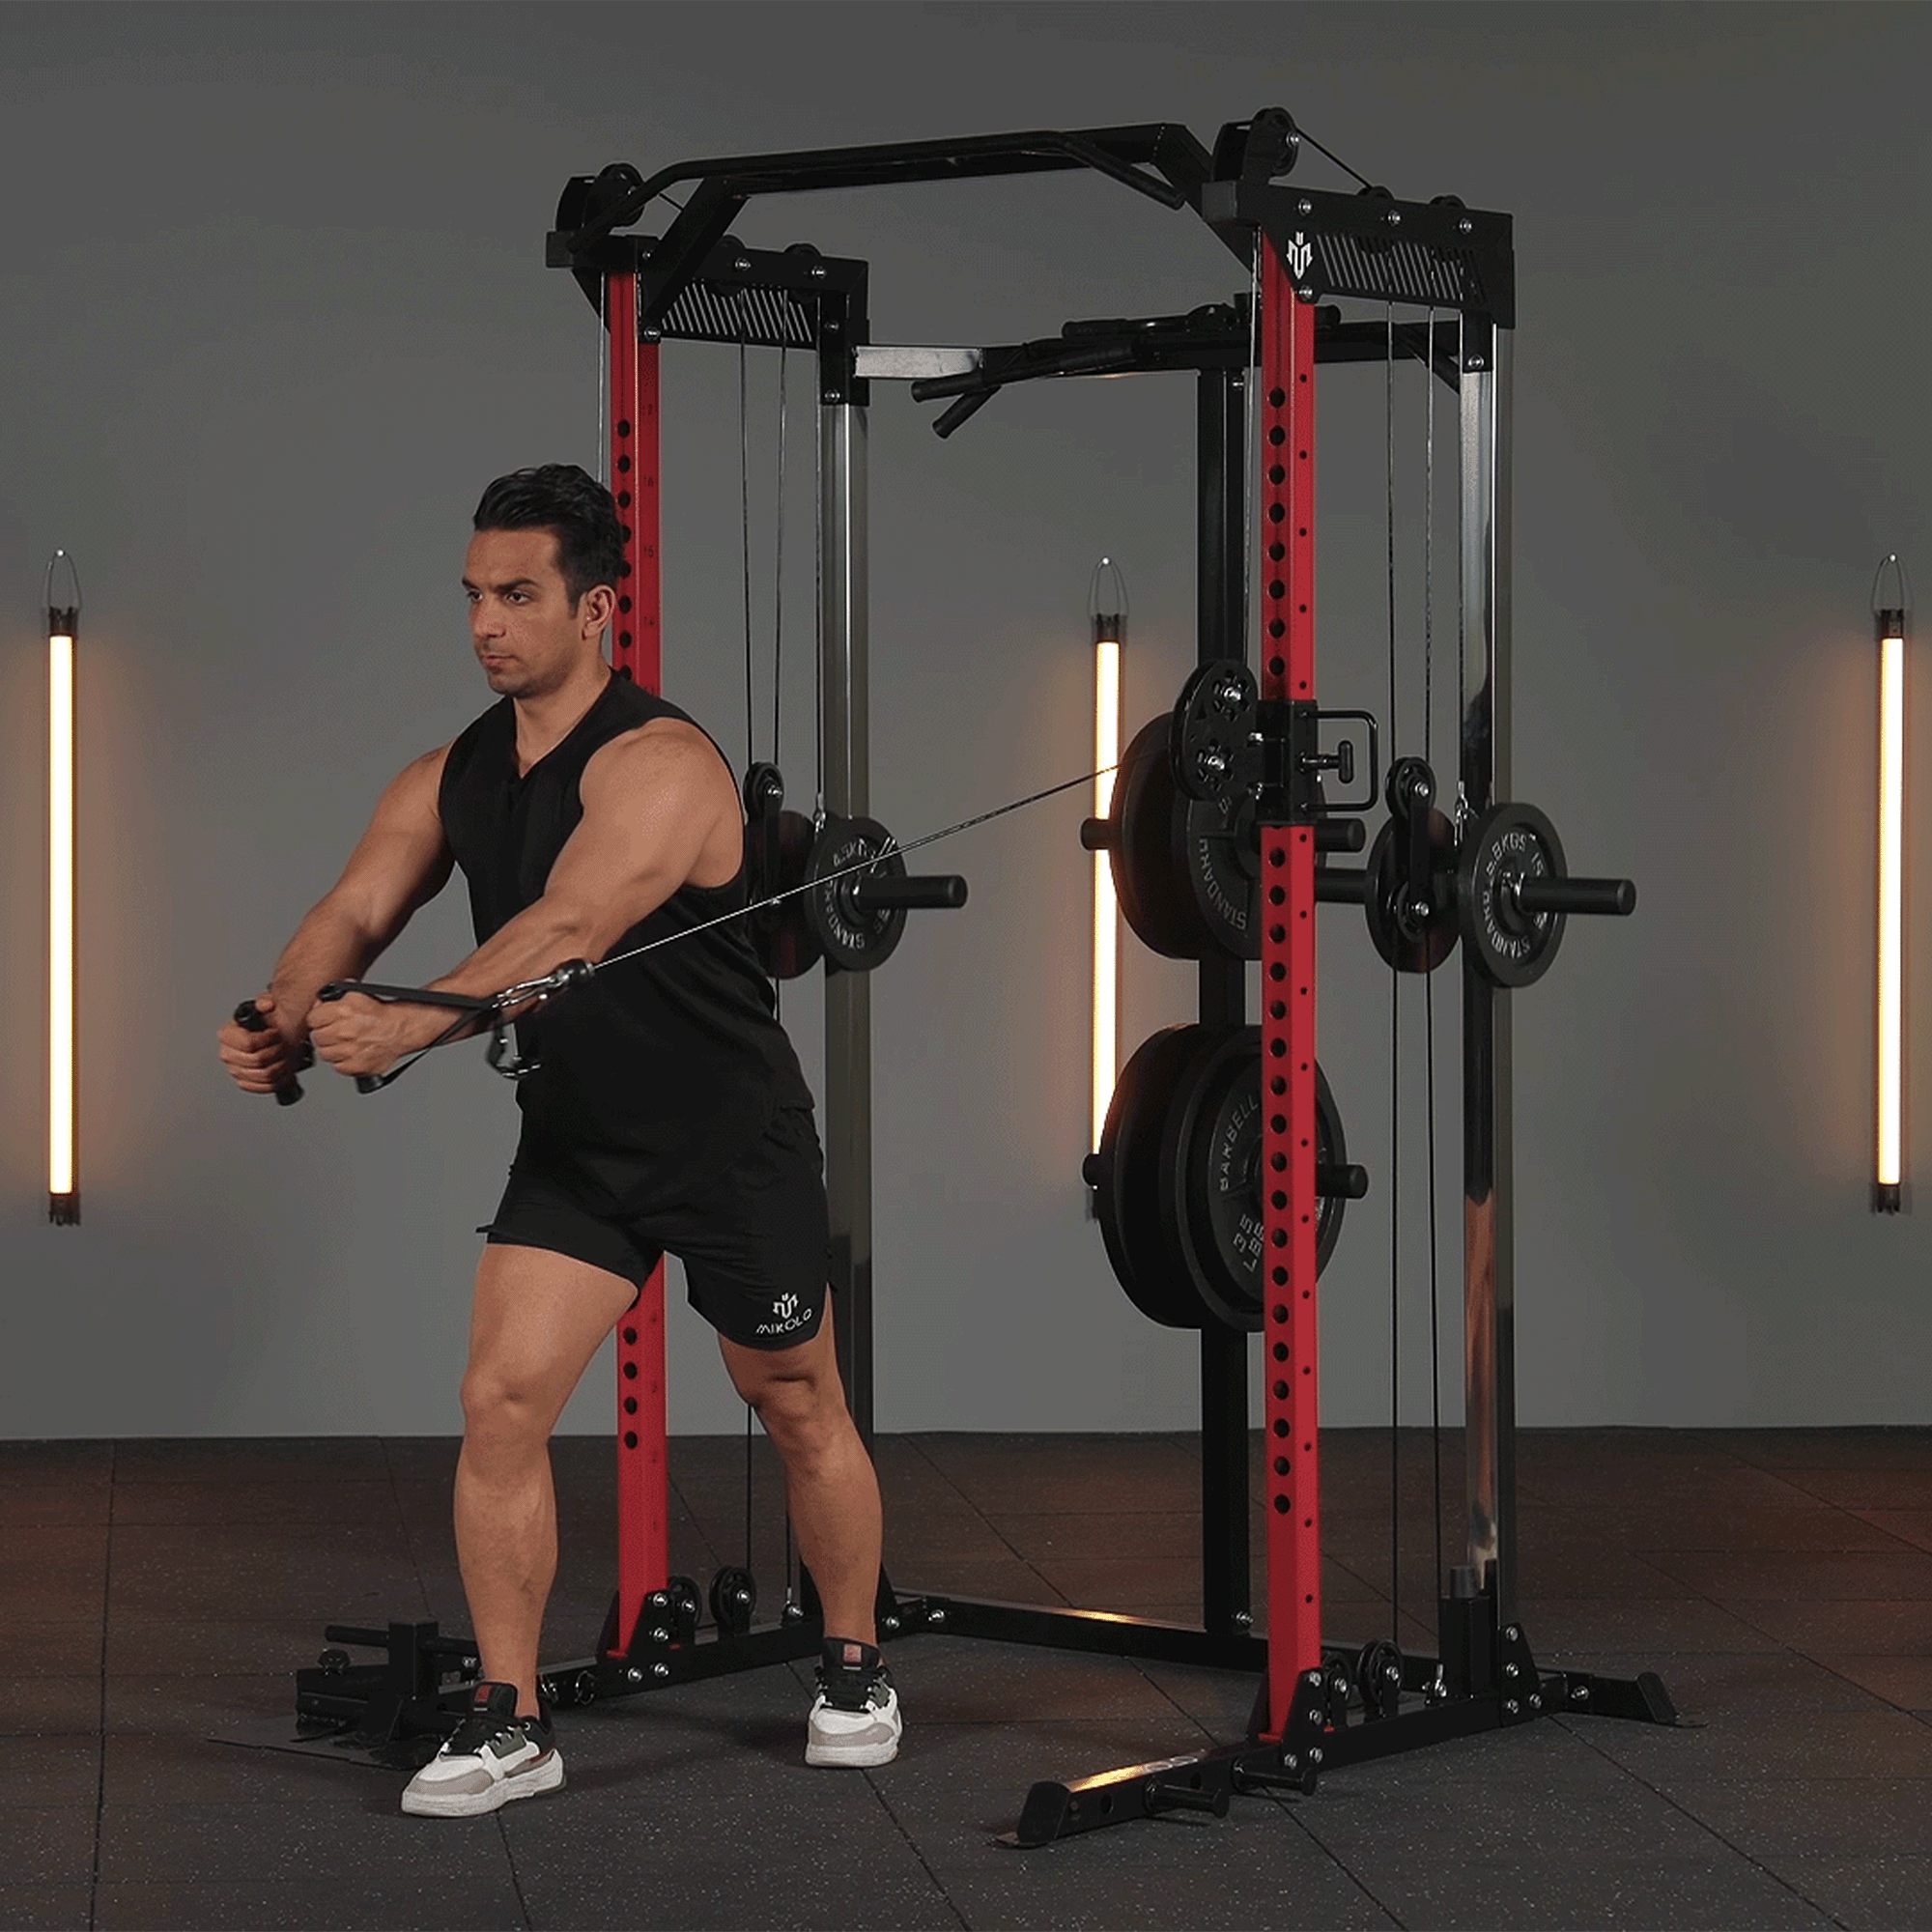
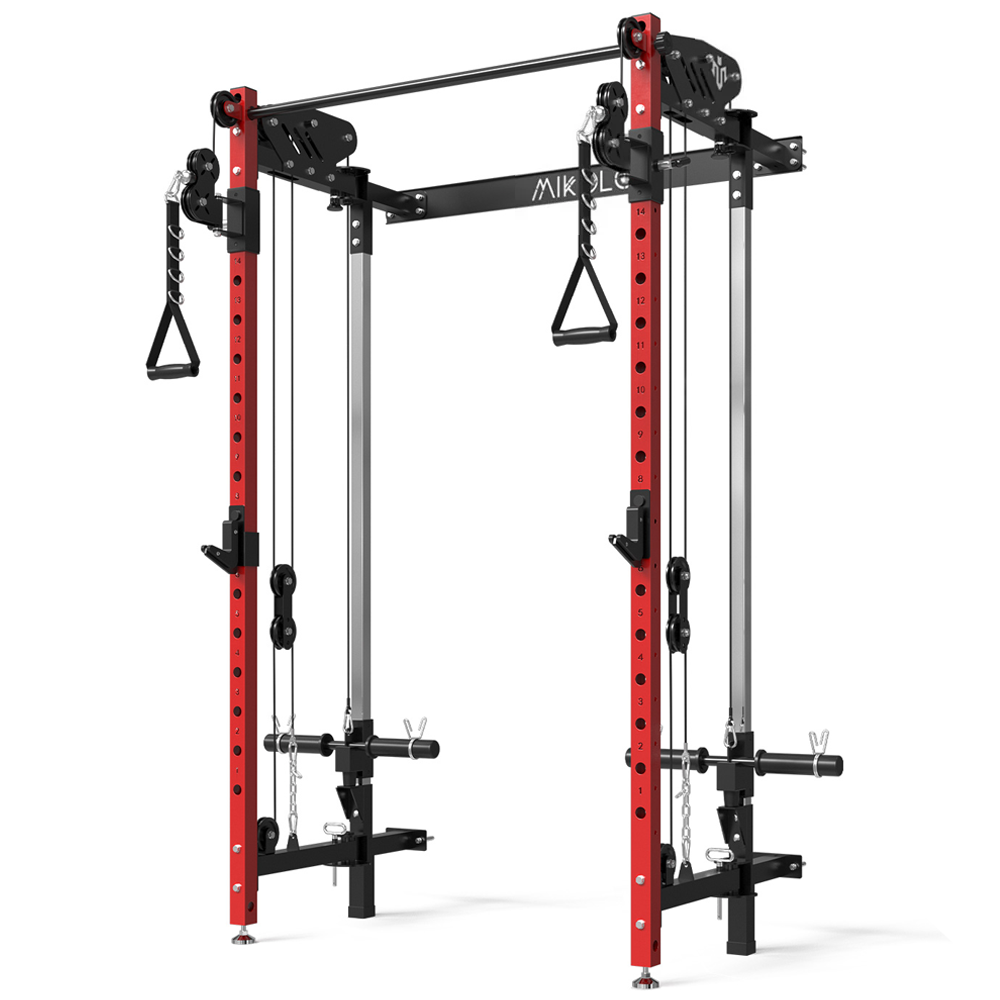
With a homemade squat rack, you can modify the height, width, and attachments to fit your workout routine. You can include pull-up bars, dip stations, and plate storage pegs to create a fully functional home gym setup. Additionally, integrating cable systems allows you to perform a wider range of exercises, enhancing the versatility and functionality of your rack.
3. Space Efficiency
If you have limited space in your garage gym or home gym, a DIY squat rack allows you to design a compact structure that fits perfectly in your workout area.
Materials and Tools Needed
Essential Materials
-
Heavy-duty wood beams (4x4s or 6x6s) or steel pipes
-
Steel brackets and bolts for stability
-
Wood screws or heavy-duty fasteners
-
Plywood (for base reinforcement, if needed)
-
Metal pipes or rebar (for safety spotter arms and J-hooks)
-
Optional: Powder-coated steel for increased durability
Required Tools
-
Electric drill and screwdriver
-
Drill press for precise drilling, ensuring accuracy and preventing off-center or slanted holes
-
Measuring tape and level
-
Saw (circular saw for wood, angle grinder for metal racks)
-
Wrench set for tightening bolts
-
Safety goggles and gloves
Step-by-Step Guide to Building a DIY Squat Rack
Step 1: Planning and Measurements
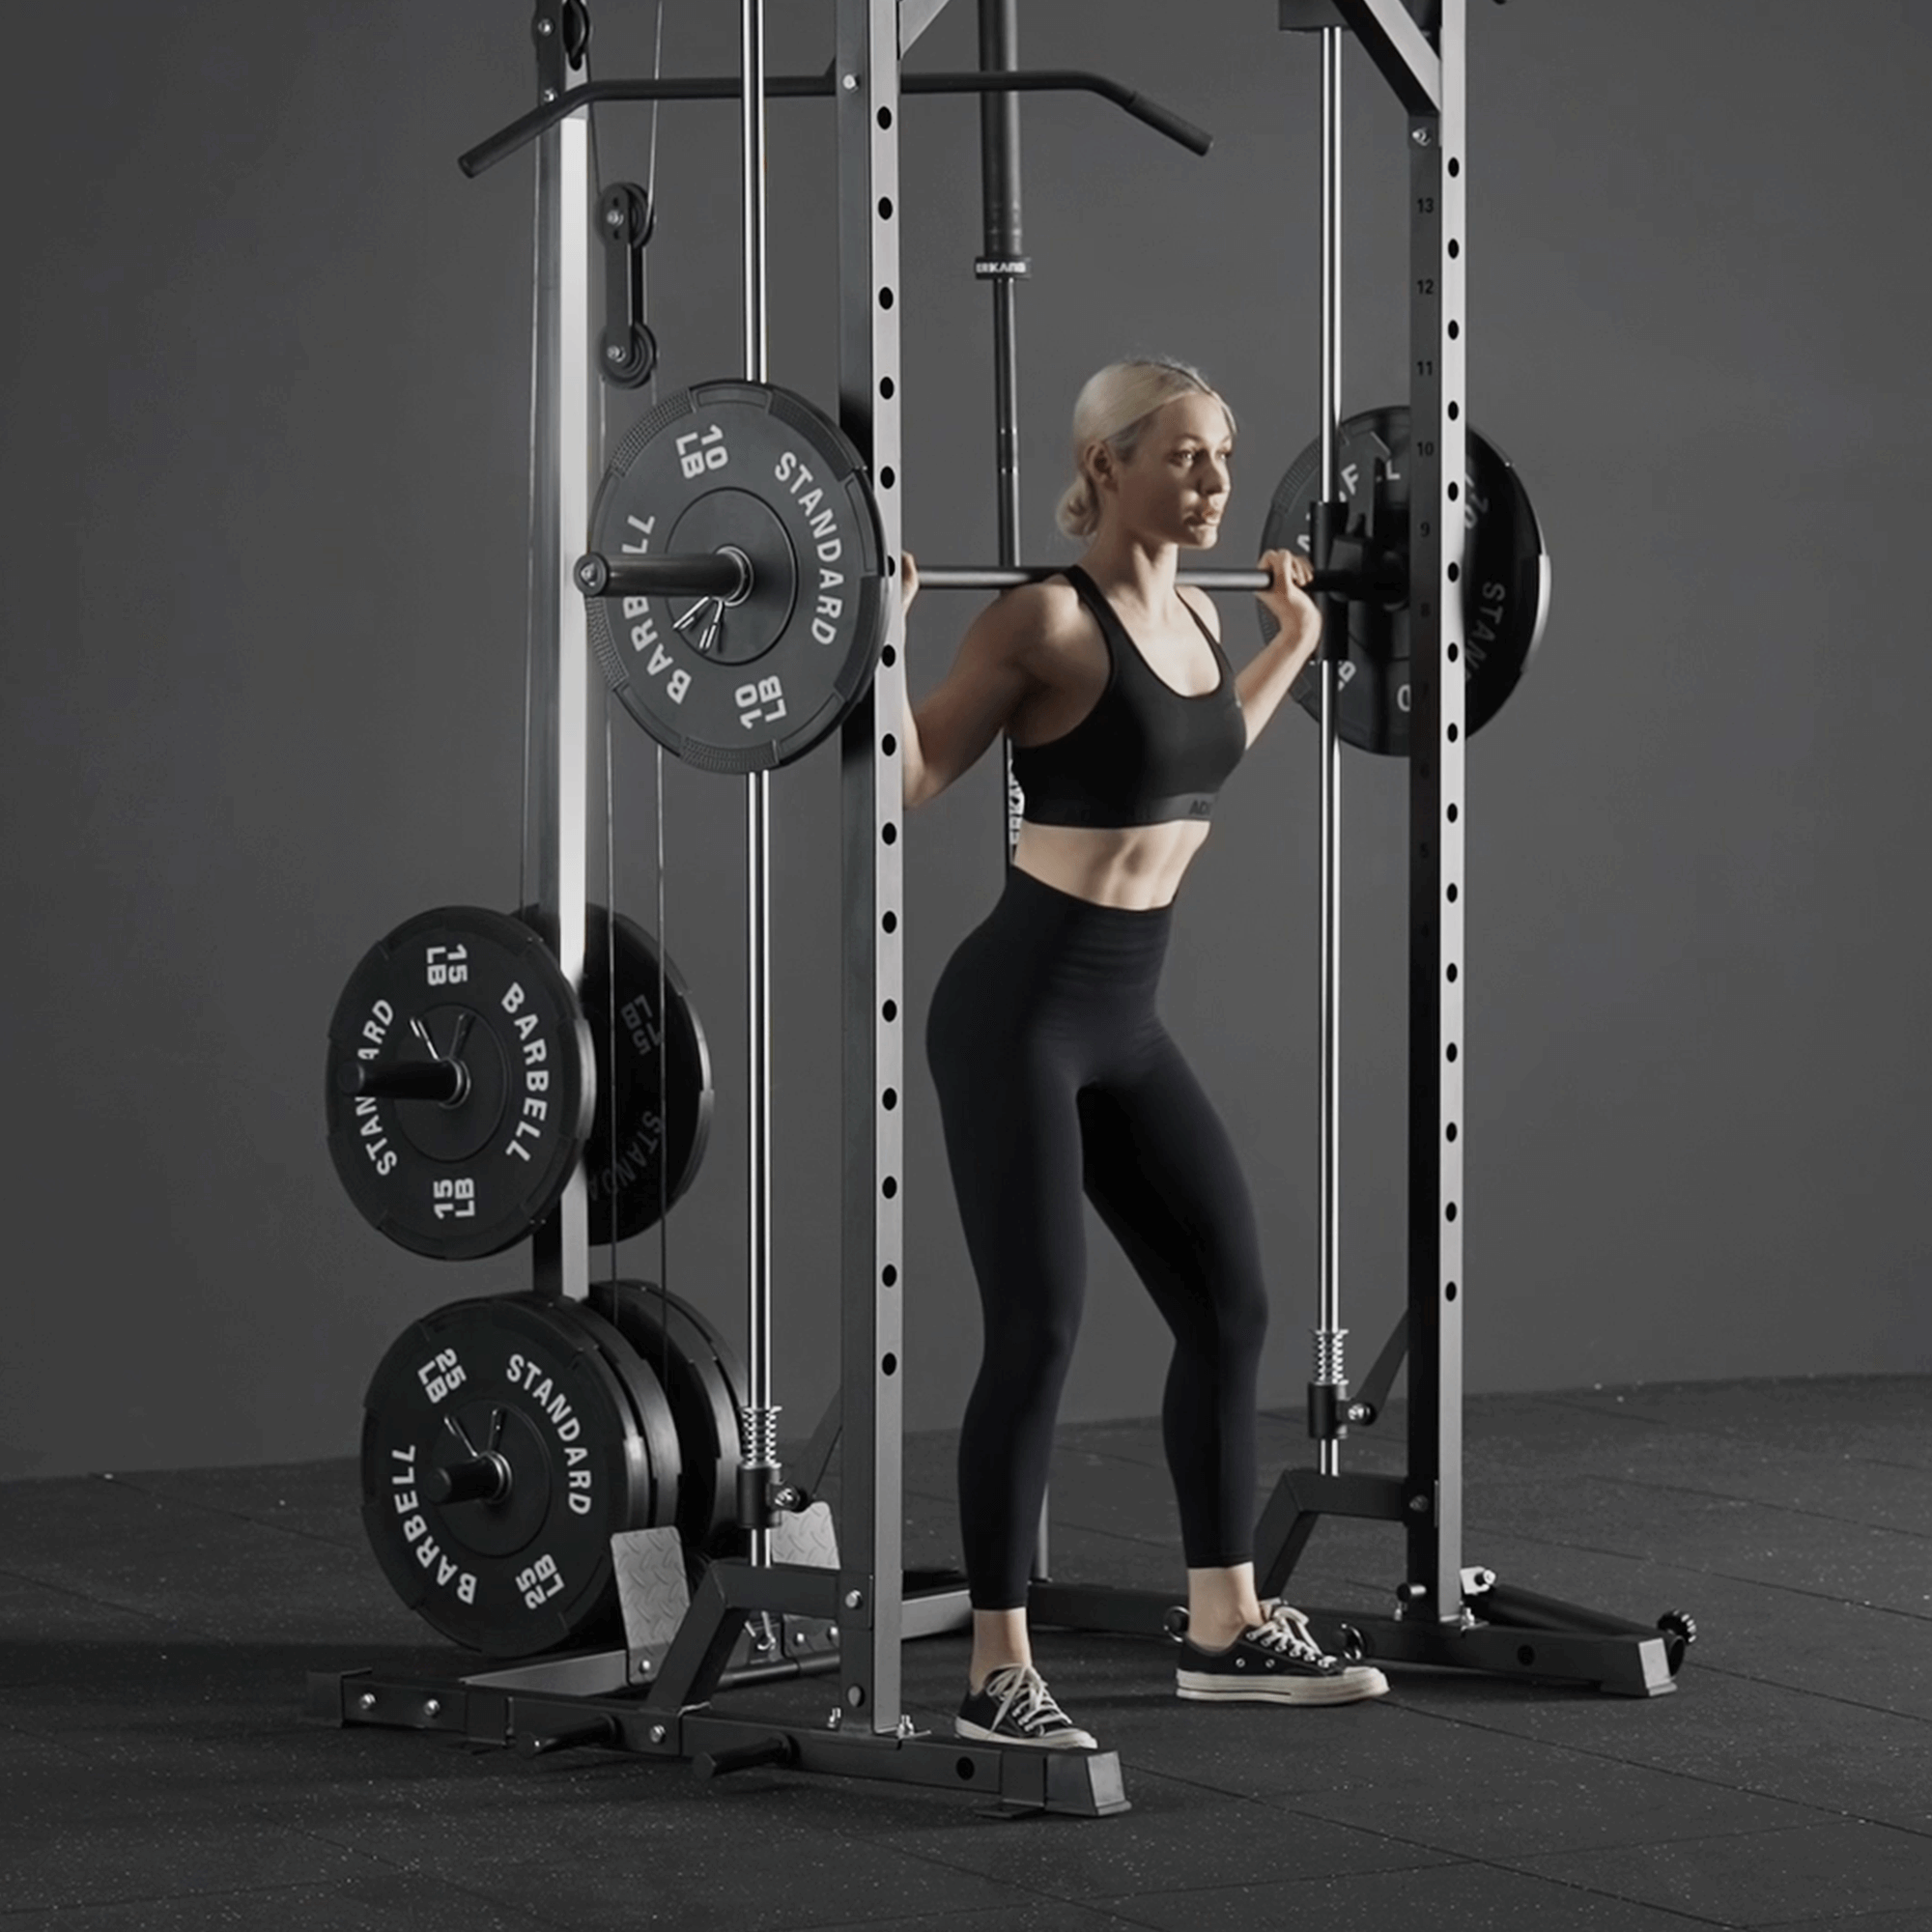
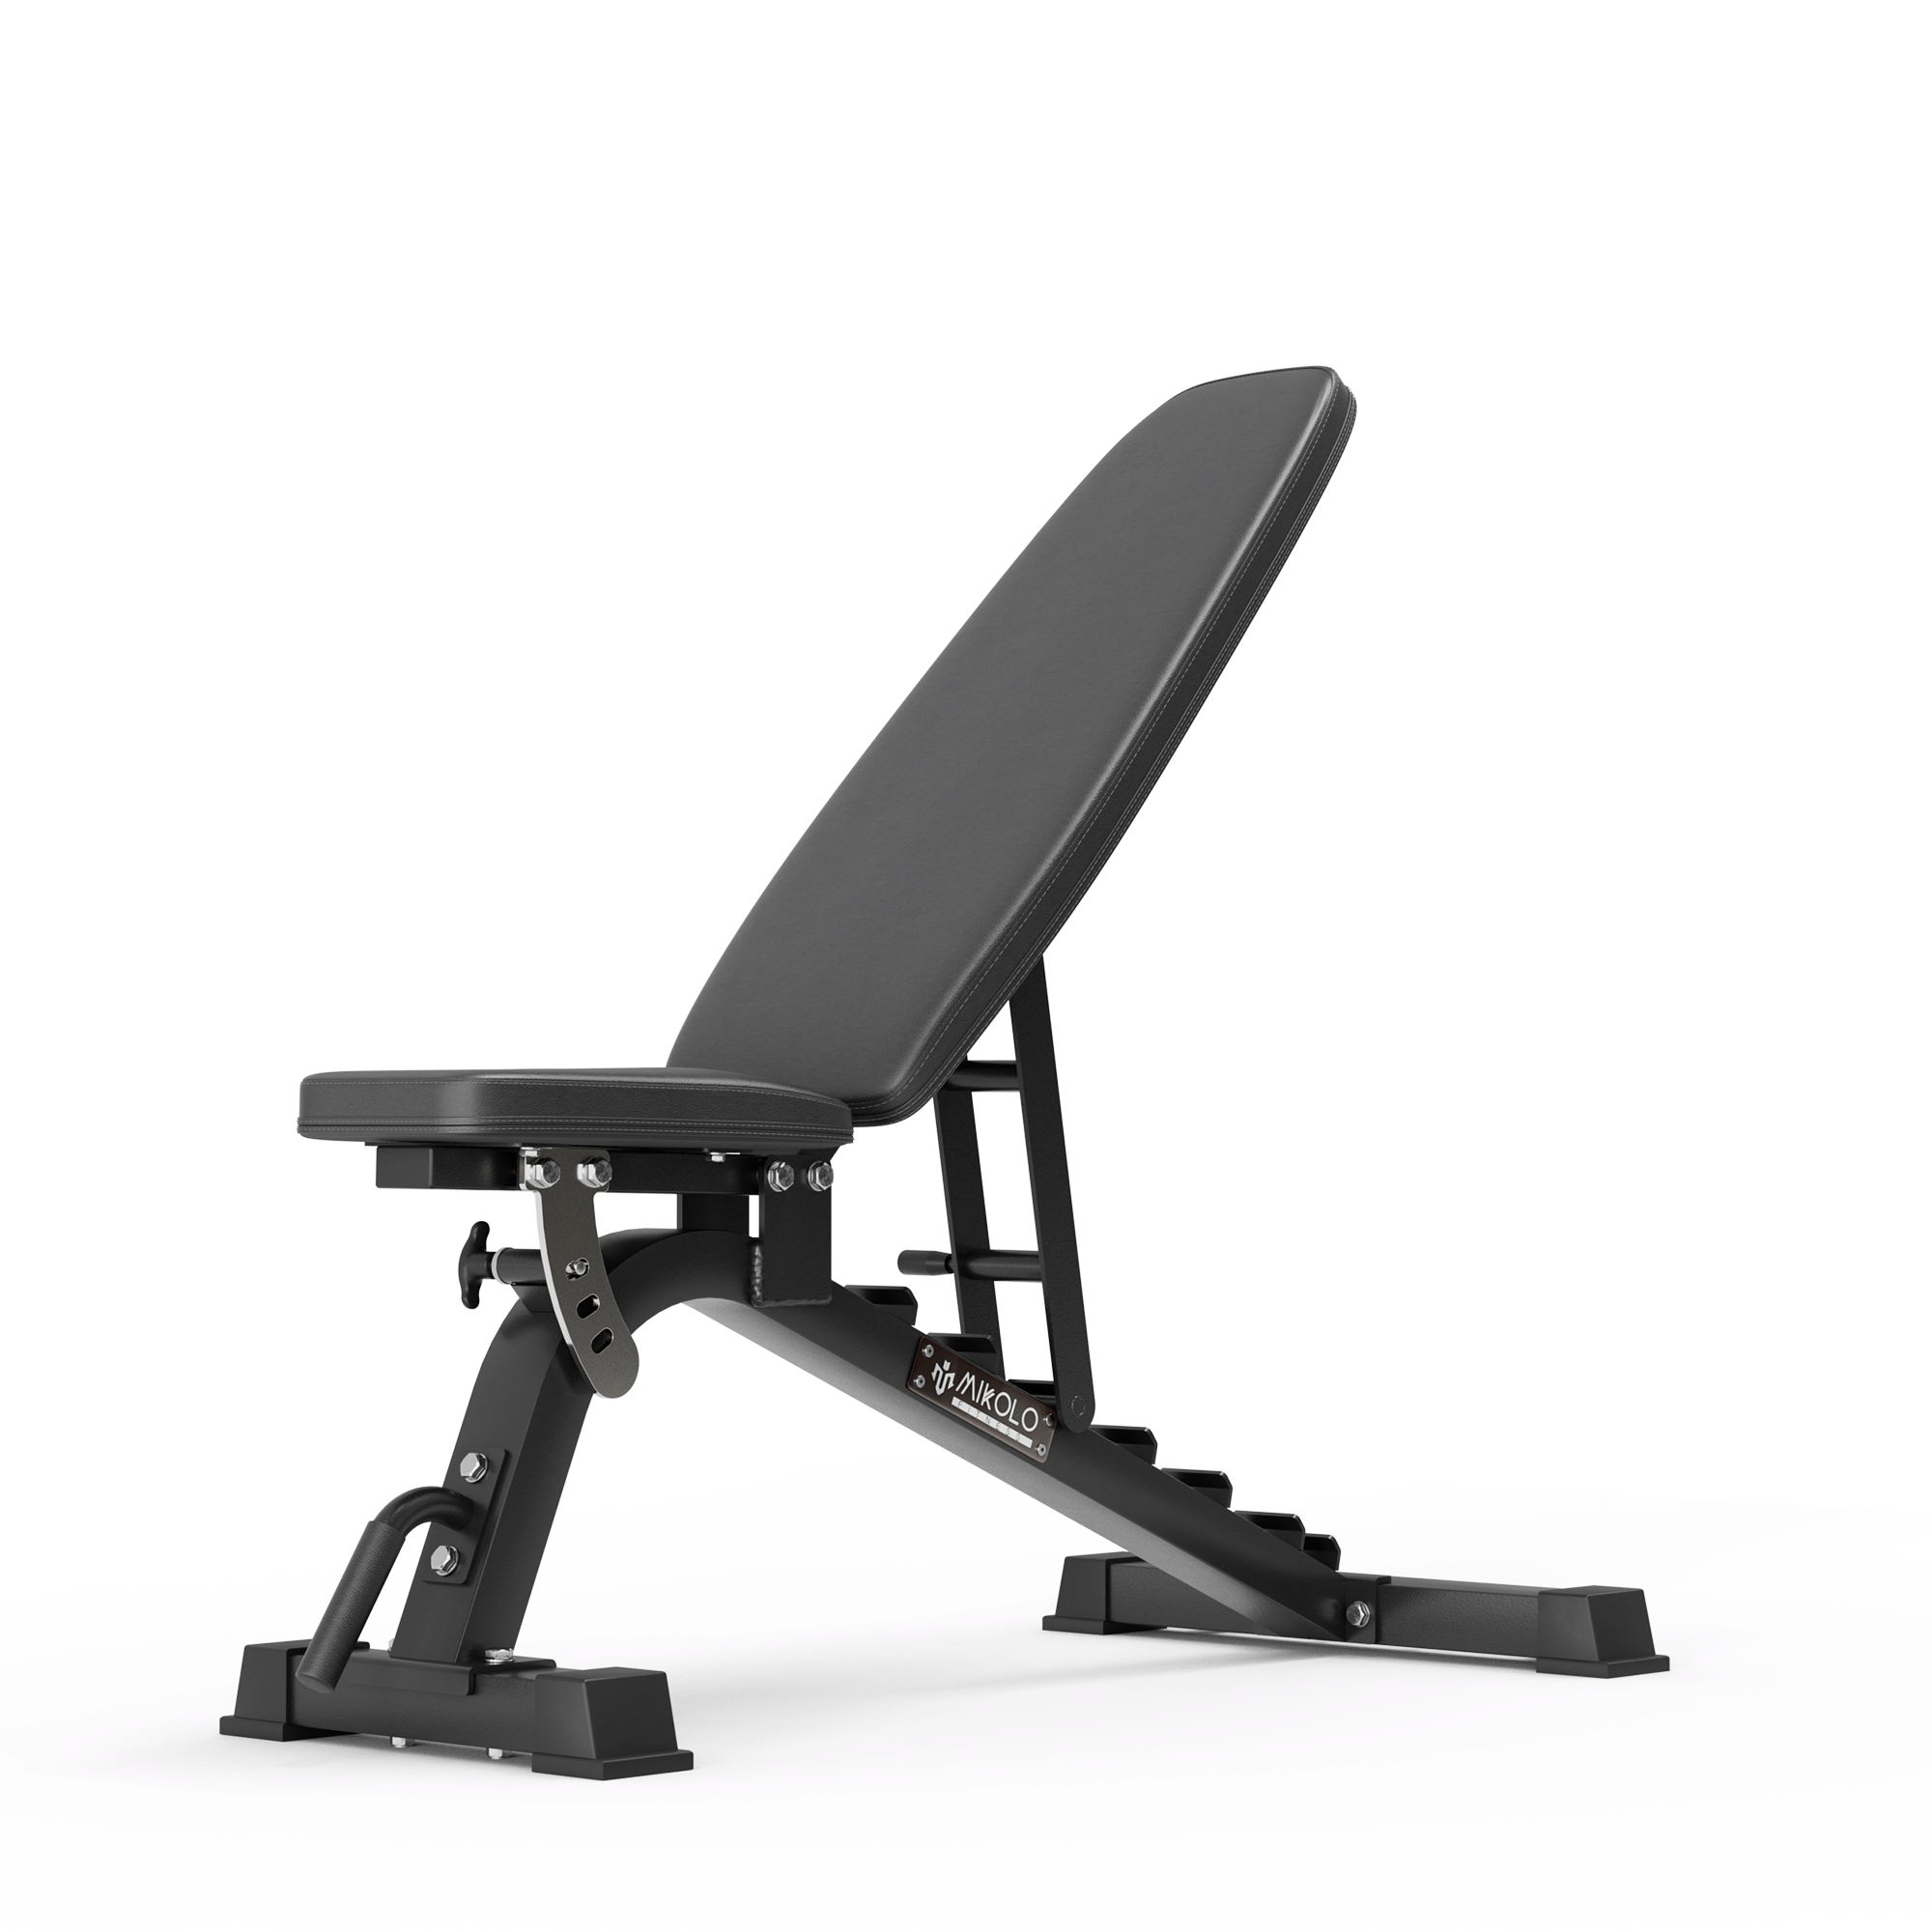
Before starting, determine the dimensions based on your height, barbell length, and workout preferences. A standard power rack is usually 7-8 feet tall, 4 feet wide, and 3-4 feet deep.
Step 2: Cutting and Assembling the Frame
-
Cut the 4x4 or 6x6 wooden posts to the desired height. If using steel, cut the pipes accordingly.
-
When drilling through angled wood, use a wood boring bit for precise drilling, especially if a spade bit is not suitable for the task.
-
Secure the vertical posts to the base frame using bolts and steel brackets.
-
Reinforce the frame with cross beams to prevent wobbling.
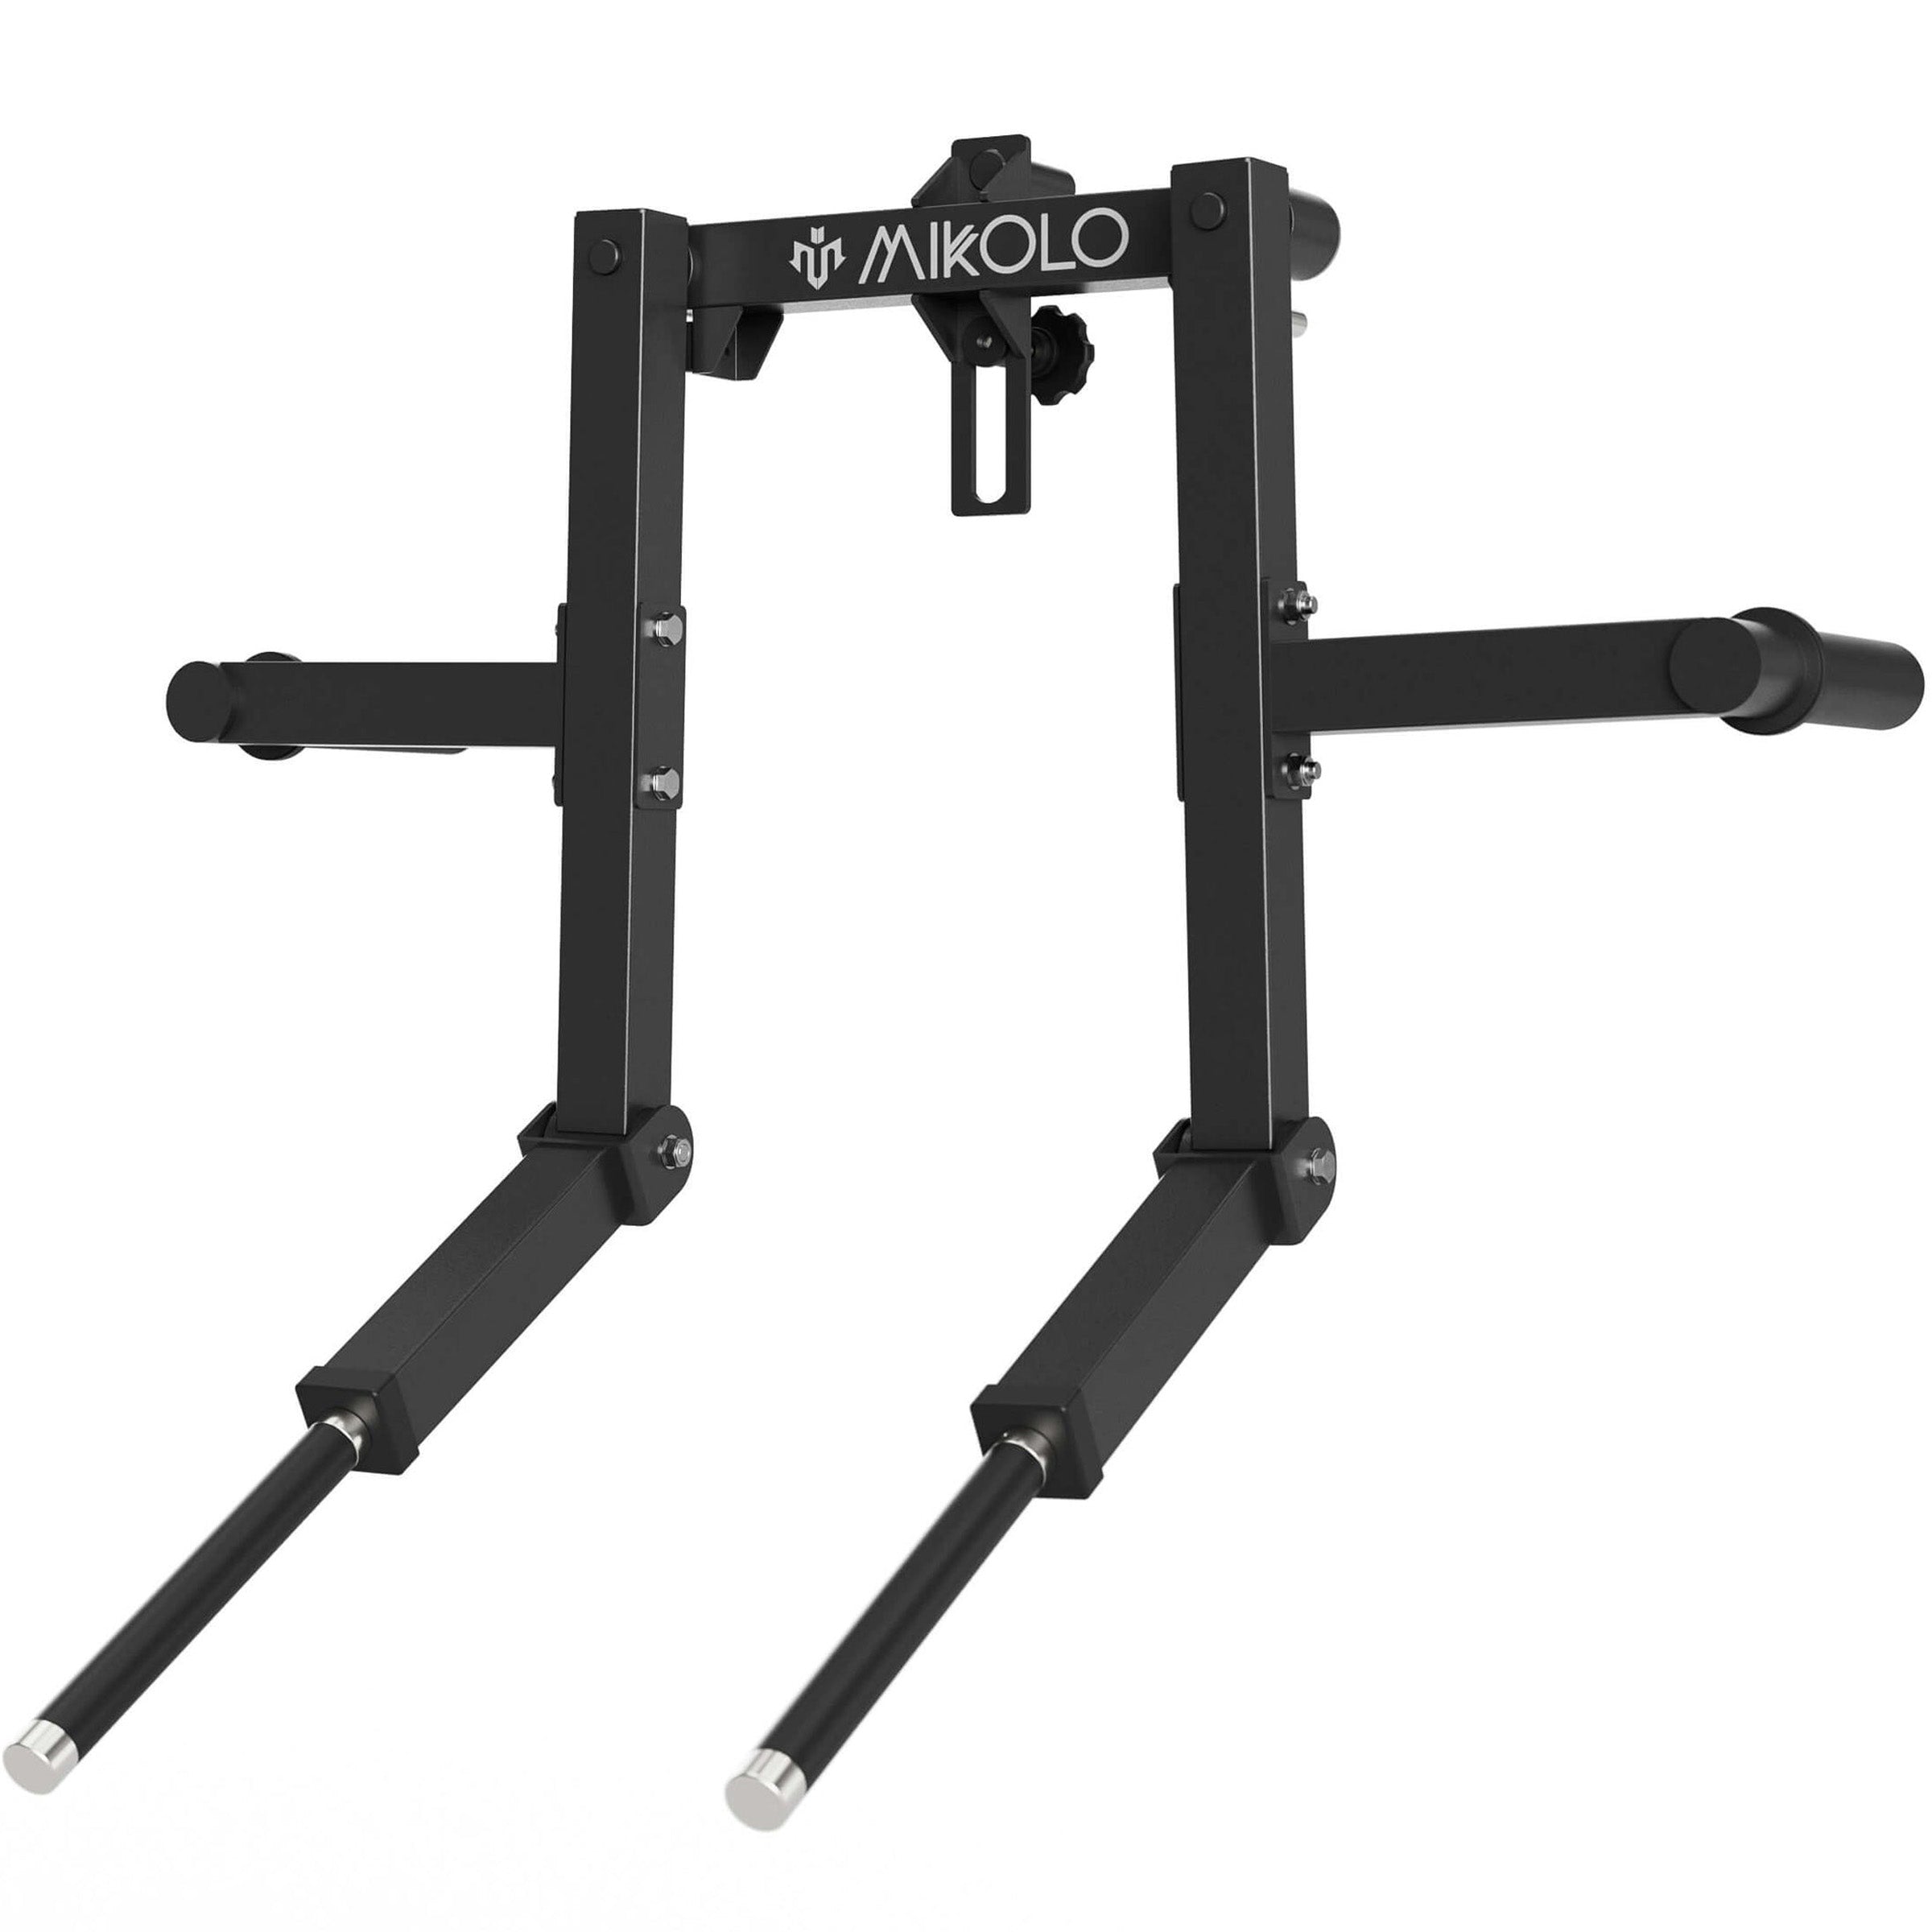
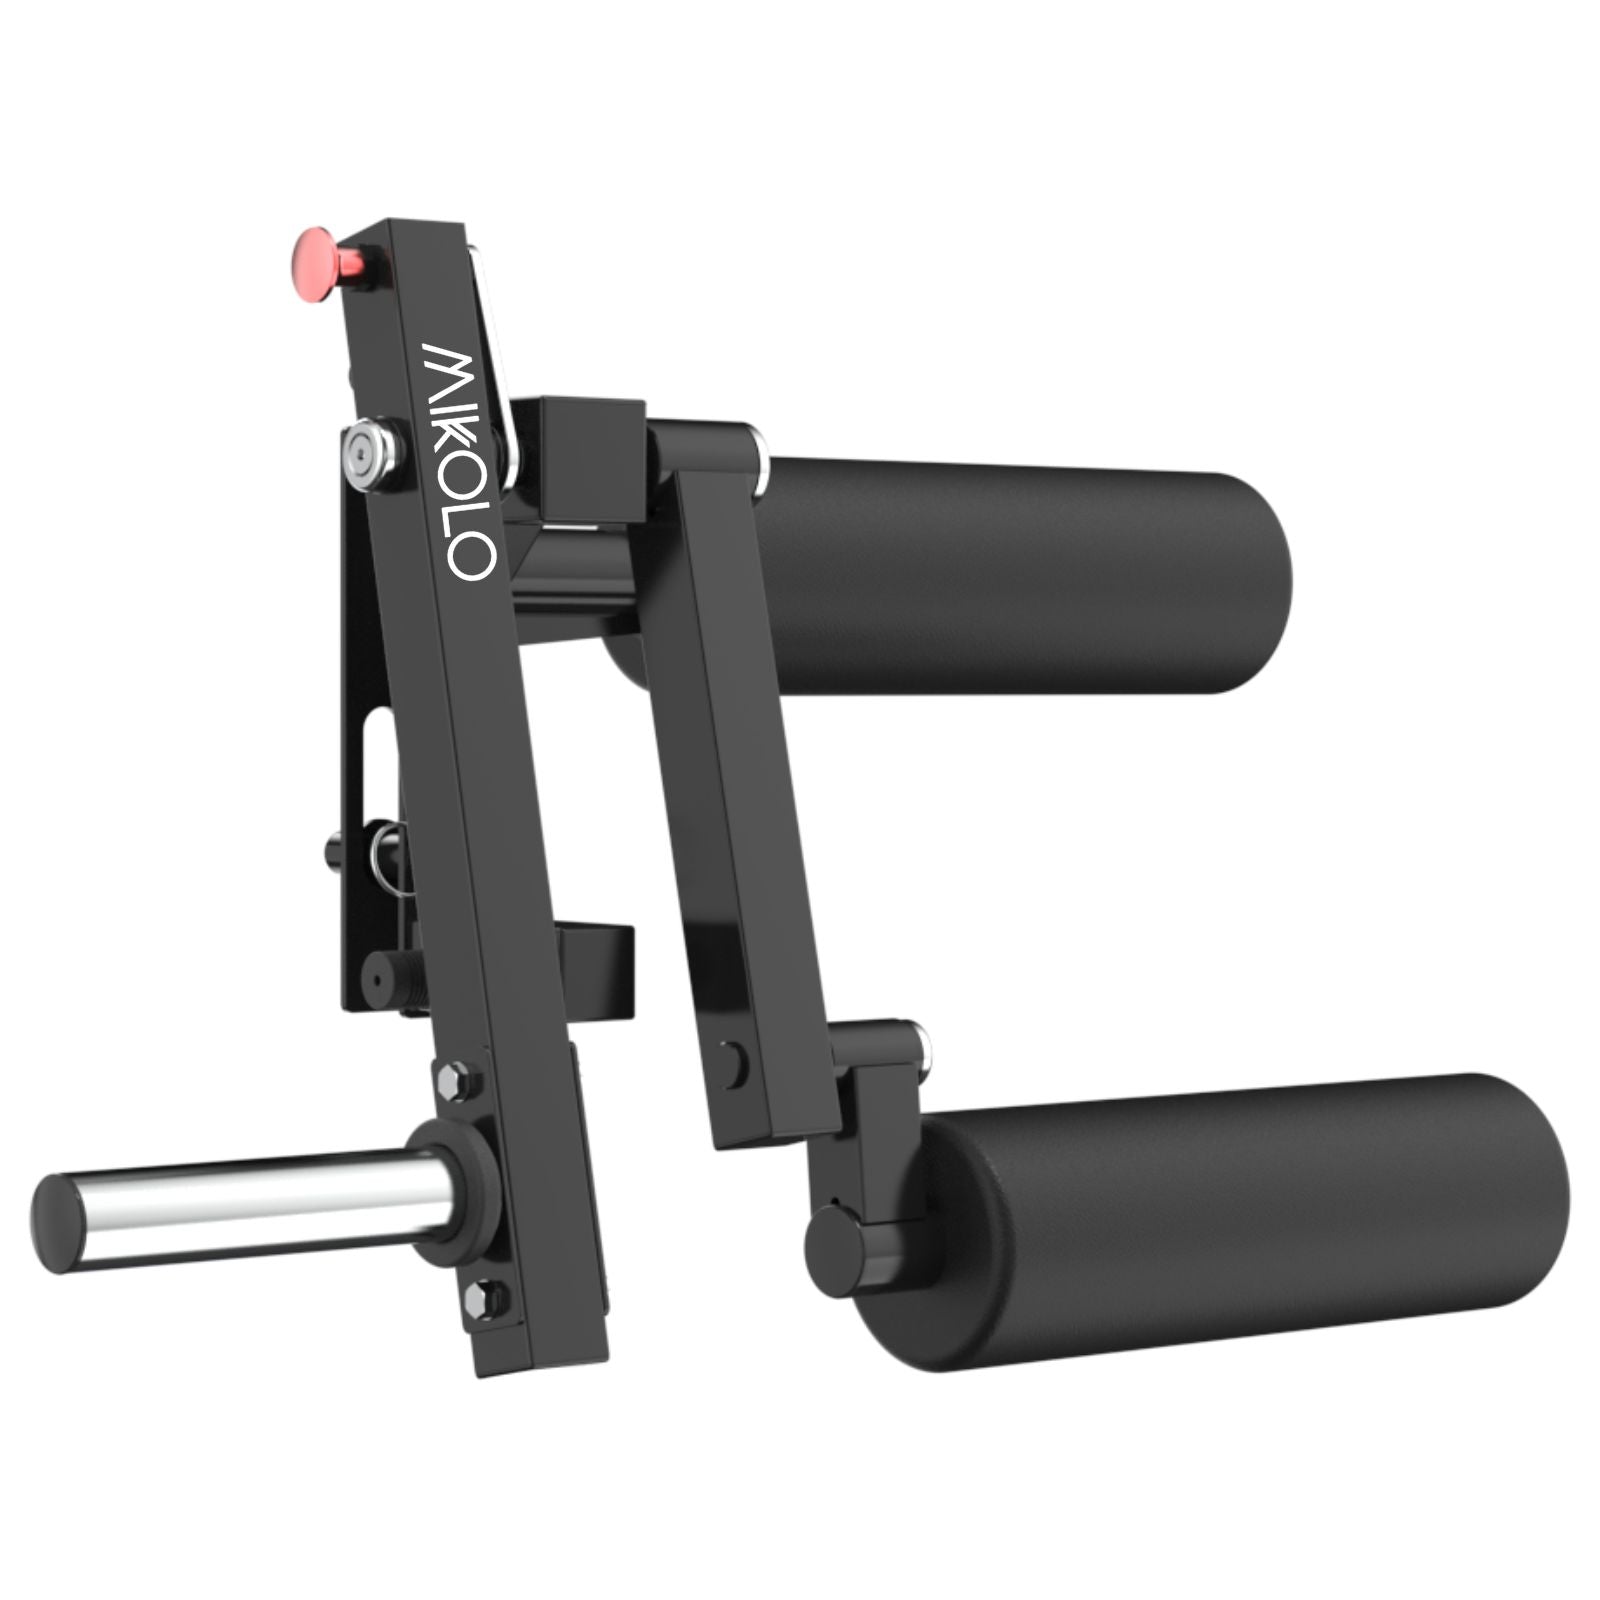
Step 3: Adding Safety Bars and J-Hooks
-
Drill holes into the vertical posts at regular intervals (2-inch spacing) for adjustable J-hooks, spotter arms, and racking pins. The racking pins are crucial for the assembly process, providing stability and allowing for adjustable components.
-
Attach metal pipes or rebar as safety bars to catch the barbell in case of failure.
Step 4: Securing the Rack
-
Anchor the rack to the floor or wall for added stability, especially if lifting heavy weights. For those with limited space or budget, consider a squat stand like the Rogue SML-2, known for its stability, weight capacity, and potential for added accessories.
-
Check that all bolts and fasteners are tightened properly.
Step 5: Testing for Stability
Before loading heavy weights, test the rack using bodyweight exercises like pull-ups or hanging from the bar to ensure it is secure.
Safety Precautions
-
Always use high-quality materials that can support heavy weights.
-
Ensure the rack is anchored properly to prevent tipping over.
-
Regularly inspect the joints, screws, and bolts for wear and tear.
-
Consider using reinforced steel if you plan to lift extremely heavy weights.
Tips for a Successful Build
Customizations and Add-Ons
1. Pull-Up Bar Attachment
Adding a pull-up bar at the top of the rack allows for bodyweight training and grip strength improvement.
2. Plate Storage
Install peg attachments on the sides to keep weight plates organized.
3. Adjustable Safety Arms
For added safety, consider using removable safety pins or reinforced spotter arms.
4. Dip Station
A dip attachment is useful for triceps dips, chest dips, and bodyweight exercises.
Conclusion
Building a homemade gym rack is an excellent way to create a customized, cost-effective home gym setup. By using sturdy materials, following proper safety guidelines, and considering add-ons like pull-up bars, dip stations, and safety spotters, you can have a durable and versatile rack for strength training.


Leave a comment
This site is protected by hCaptcha and the hCaptcha Privacy Policy and Terms of Service apply.