


If you're looking to build powerful legs while protecting your back and joints, the angled leg press is a top-tier tool. Unlike traditional vertical or horizontal setups, the angled leg press machine offers a unique blend of biomechanics and versatility, making it a staple in serious strength training programs.
What Is an Angled Leg Press?
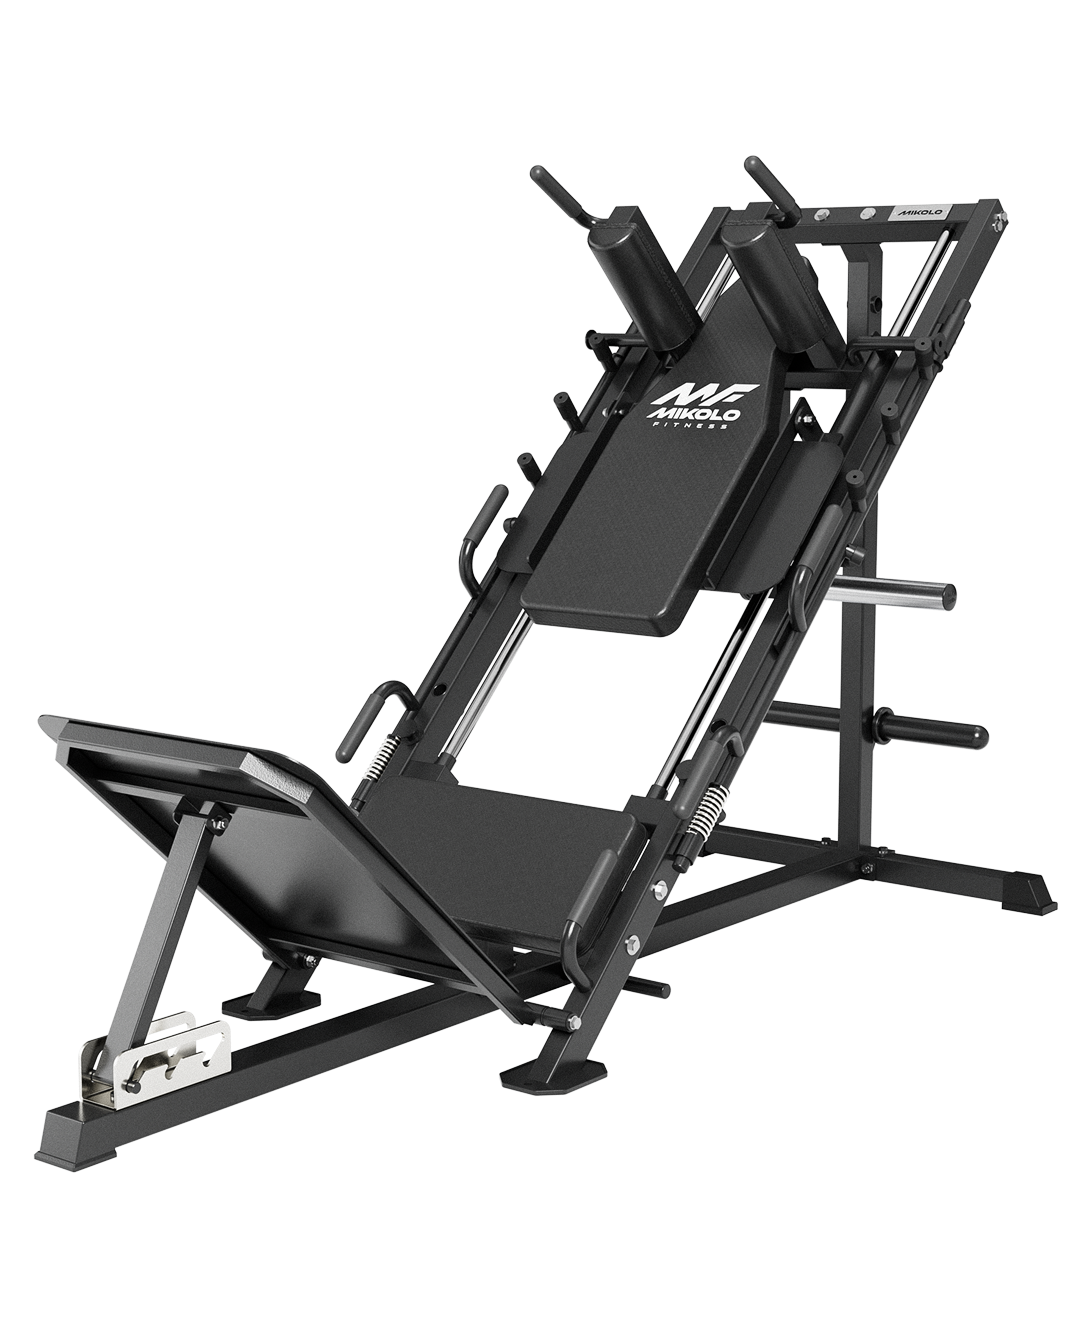
The angled leg press—sometimes referred to as a 45-degree leg press—features a backrest that reclines at an angle, allowing the sled (foot platform) to travel on a diagonal track. This positioning uses gravity to increase resistance while keeping your spine supported and knees aligned, reducing stress on vulnerable joints.
Why the Leg Press Angle Matters
The leg press angle—both in terms of sled track and seat back angle—directly affects which muscles get emphasized, how deep you can go, and how your joints respond under load. A steeper leg press seat angle (more reclined) can shift the work more into the glutes and hamstrings, while a more upright seat can make the movement more quad-dominant.
The leg press back angle also impacts lumbar pressure. Too upright, and your lower back may round under heavy load. Too flat, and you might struggle with range of motion. Finding the sweet spot for your body mechanics is key.
Personal Take: Learning From Trial and Error
When I first began using an angle machine leg press in my home gym, I was so focused on pushing heavy that I overlooked form and seat adjustments. After a few weeks, I noticed tight hips and aching knees. It wasn’t until I adjusted the leg press seat angle to a more open hip position and moved my feet slightly higher on the platform that everything clicked. The tension shifted into my glutes and hamstrings, and the joint discomfort faded.
That small adjustment helped me unlock better depth, better control, and faster progress.
How to Use an Angled Leg Press Correctly
Here’s how to dial in your angled leg press form:
-
Set the seat angle to keep your hips stable and lower back supported. Most machines have adjustable back pads—don’t skip this step.
-
Foot placement: Higher targets glutes and hamstrings; lower emphasizes quads. Wider stance engages inner thighs more.
-
Descent: Lower the sled slowly until your thighs are at or just past parallel. Keep knees tracking over toes.
-
Press up: Drive through your heels without locking out your knees at the top.
-
Breathe and brace: Inhale as you lower, exhale and engage your core as you press.
Exploring Different Leg Press Angles
Varying leg press different angles can help bust plateaus and stimulate new growth. For instance:
-
High seat angle + high foot placement: Glute-dominant, great for posterior chain development.
-
Low seat angle + low feet: Quad-focused, mimics a front squat position.
-
Neutral seat + narrow stance: Emphasizes outer quads and adductors.
Rotating through these variations every few training blocks keeps your workouts fresh and your legs growing.
Final Thoughts
The leg press angled design isn’t just about comfort—it's a precision tool. By understanding and adjusting your leg press angle, seat position, and foot placement, you can customize the exercise to your unique anatomy and goals. Whether you’re rehabbing, bodybuilding, or just chasing stronger legs, this machine delivers—especially when you respect the angles.


Leave a comment
This site is protected by hCaptcha and the hCaptcha Privacy Policy and Terms of Service apply.