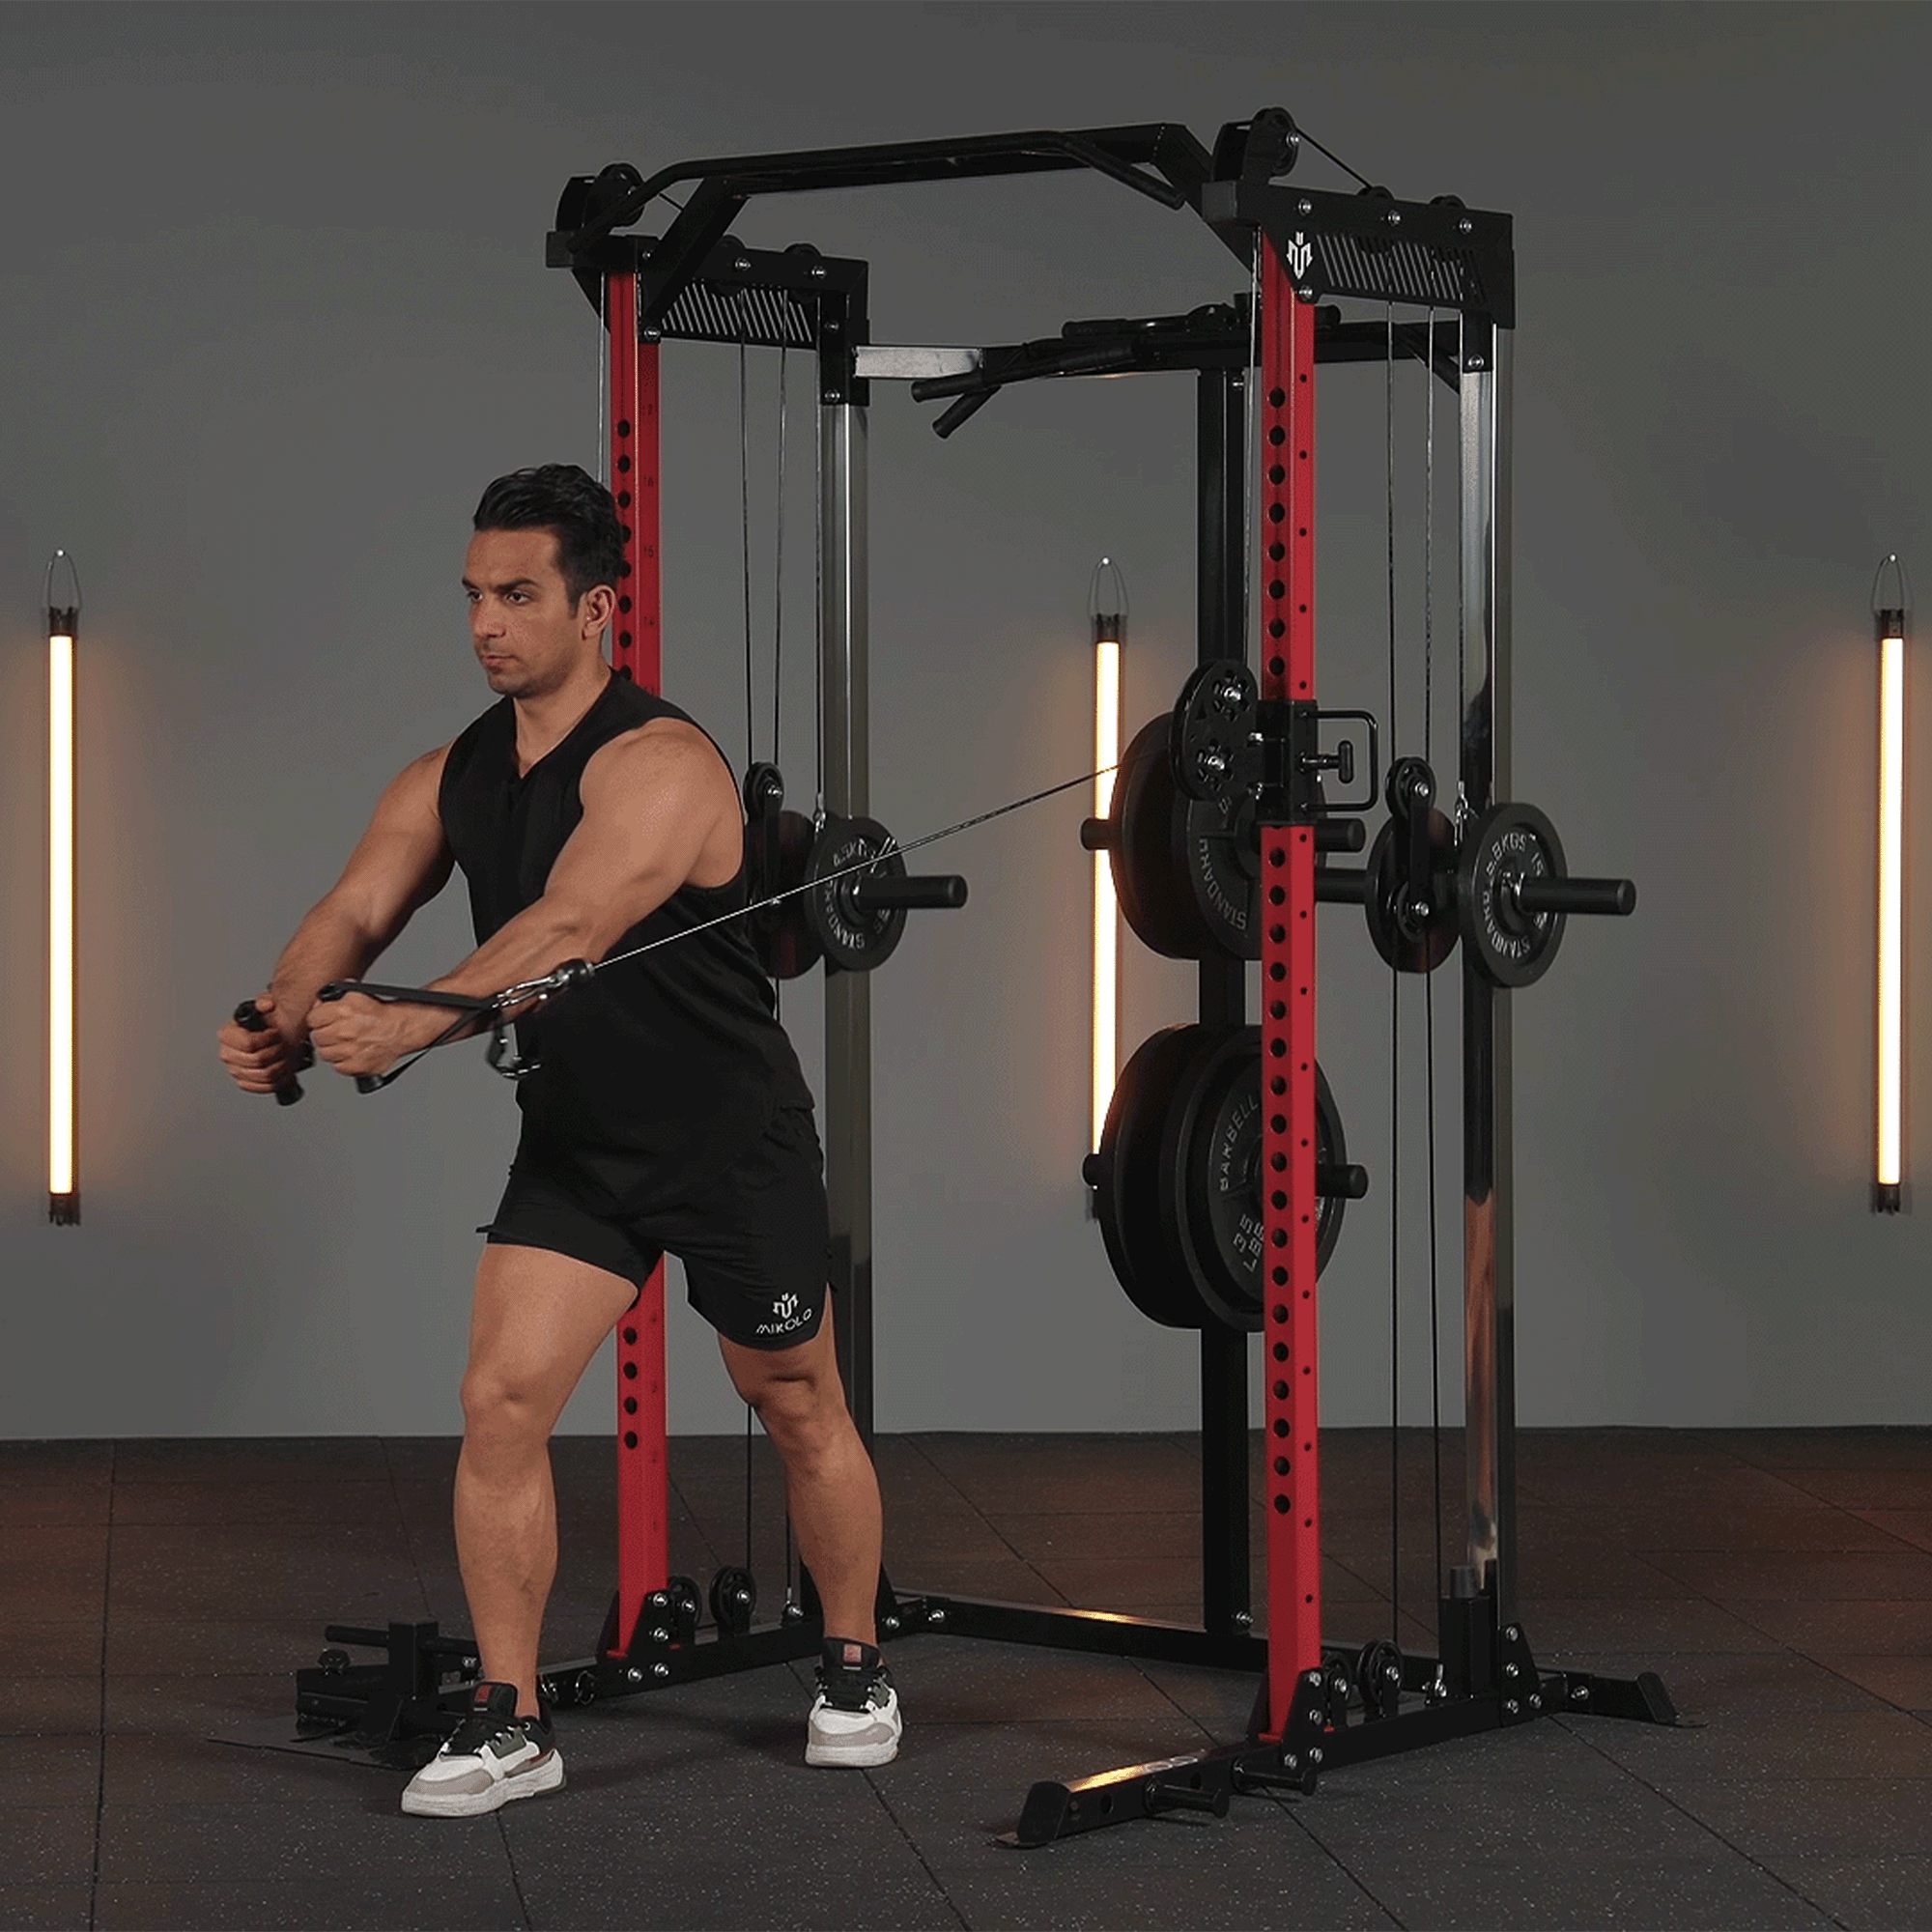


When most people think of push-ups, they imagine building a solid upper body, strengthening the arms, shoulders, and mid-chest. But if you're looking to carve out a more defined lower chest, standard push-ups aren’t enough. Targeting the lower portion of the pectorals requires intention, form, and specific variations. Let's break down the most effective push-ups for your lower chest and how to do them properly.
Why Train the Lower Chest?
The pectoralis major is a large, fan-shaped muscle with upper (clavicular), middle (sternal), and lower (abdominal) fibers. While bench presses and traditional push-ups hit the mid and upper portions, the lower chest often remains undertrained. Strengthening the lower pecs contributes to a well-rounded chest aesthetic, improved posture, and greater overall pushing power.
Do Push-Ups Work the Lower Chest?
Yes—if you do them right. Standard push-ups involve all parts of the chest, but they emphasize the mid-region. To shift the load toward the lower pecs, your body angle and arm path need to change. It’s not about reinventing the wheel; it’s about slight tweaks that make a big difference.
Best Push-Ups for Lower Chest Activation
Here are the most effective push-up variations to target your lower chest:
1. Decline Push-Ups
How it works: Elevate your feet on a bench, step, or sturdy platform (12–24 inches). Hands stay on the ground in a regular push-up position.
Why it works: This angle shifts your body weight forward and downward, emphasizing the lower pectoral fibers.
Tips:
-
Keep your core tight.
-
Avoid flaring elbows—aim for a 45-degree angle.
-
Control your descent for maximum muscle engagement.
2. Incline Explosive Push-Ups (Hands on Bench)
How it works: Place your hands on a low surface (like a step or sturdy block) while keeping feet on the floor. Push up explosively at the top.
Why it works: This helps isolate the lower chest when explosive intent is added, helping with muscle activation and fast-twitch fiber recruitment.
3. Reverse-Grip Push-Ups
How it works: Rotate your hands so fingers face your feet (or slightly outward). Perform a regular push-up with this reversed grip.
Why it works: This position forces the elbows to stay close to your torso and emphasizes the lower and inner chest more than standard grip.
4. Single-Leg Decline Push-Up
How it works: Same as a decline push-up, but raise one foot in the air.
Why it works: This increases core activation and balance demand while amplifying tension on the lower chest.
5. Push-Up to Dumbbell Reach
How it works: After each push-up, reach toward a dumbbell in front of you (alternating arms), keeping hips square.
Why it works: Adds a stretch phase to your pecs and activates stabilizing muscles, helping develop the lower chest line.
How to Build a Lower Chest Push-Up Workout
You can easily integrate these into your current bodyweight routine. Here's an example structure:
Lower Chest Push-Up Routine (3 Rounds):
-
Decline Push-Ups – 10–15 reps
-
Reverse-Grip Push-Ups – 10–12 reps
-
Incline Explosive Push-Ups – 10 reps
-
Single-Leg Decline Push-Ups – 6 each side
-
Push-Up to Dumbbell Reach – 10 reps total
Rest 60–90 seconds between rounds.
My Experience with Lower Chest Training
A few years back, I noticed my chest looked decent from the front but lacked that “bottom shelf” finish. I had decent mass, but the line below the pecs wasn’t there. I started adding decline push-ups to finish every upper-body session, no excuses. After 4–6 weeks of consistency, the difference was obvious—not just visually but functionally. I felt stronger in dips, presses, and even core movements. It’s not about chasing complexity; it’s about doing the right things, repeatedly.
Quick Tips for Success
-
Mind-muscle connection is key. Feel your lower chest stretching and contracting.
-
Train 2–3x a week for best results, with at least 48 hours of rest in between.
-
Form > reps. Quality movement builds muscle better than fast reps.
Final Thoughts
You don’t need fancy equipment or a gym to sculpt a more defined lower chest. With the right push-up variations and consistent effort, your pecs will gain that full, balanced look. Start with the basics, master the angles, and stay consistent. Your chest—especially the lower part—will thank you.


Leave a comment
This site is protected by hCaptcha and the hCaptcha Privacy Policy and Terms of Service apply.