Looking for toned arms? This guide will show you the top exercises for a toned arms workout to build strength and definition. Perfect for both home and gym workouts, you’ll find effective moves to get started today.
Key Takeaways
-
Incorporate a variety of bicep and tricep exercises, including curls and dips, to achieve toned and sculpted arms effectively.
-
Maintain a consistent workout routine while focusing on proper form and progressive overload to maximize muscle growth and strength.
-
Utilize at-home workout options like bodyweight exercises and resistance bands to easily integrate arm training into your lifestyle, achieving results without heavy equipment.
Effective Bicep Workouts for Toned Arms
Bicep workouts play a crucial role in building muscle strength and achieving toned arms. Incorporating a variety of bicep curl variations can maximize muscle engagement and strength development. Utilizing dumbbells, resistance bands, or bodyweight exercises can enhance versatility in bicep workouts, allowing for effective training at home. Aim for 6–12 repetitions and 3–5 sets for effective bicep training. Using proper technique is crucial; maintain a neutral spine and avoid arching your lower back during bicep exercises.
Let’s dive into some of the best bicep workouts that will help you achieve those toned arms. We’ll explore Concentration Curls, Hammer Curls, and Resistance Band Bicep Curls, each offering unique benefits and targeting specific parts of your biceps.
Concentration Curls
Concentration curls are a highly effective exercise for isolating the biceps. To perform concentration curls, sit down while holding a dumbbell in each hand. Focus on making controlled movements to maximize effectiveness. This exercise ensures that your biceps are doing all the work, providing an intense workout that helps build significant muscle strength.
The beauty of concentration curls lies in their simplicity. Sitting down and isolating the movement allows full concentration on your biceps, ensuring each rep counts. This exercise is perfect for those looking to enhance their strength training routine and achieve well-defined arms.
Hammer Curls
Hammer curls primarily target the biceps and forearms. For optimal results, perform hammer curls for 6–12 repetitions and 3–5 sets. Stand with feet flat and hold a dumbbell in each hand with palms facing each other to prepare for hammer curls. Maintain retracted shoulder blades throughout the hammer curl exercise to ensure proper form.
This exercise not only strengthens your biceps but also enhances your grip strength, making it an excellent addition to any arm workout routine. Hammer curls are versatile and can be easily incorporated into both gym and at-home workouts, providing an effective way to get those toned arms.
Resistance Band Bicep Curl
The resistance band bicep curl focuses on tempo and muscle engagement, making it ideal for at-home workouts. The resistance band bicep curl involves a quick upward movement followed by a slow return to enhance muscle tension. This ensures that your biceps are engaged throughout the entire movement, promoting muscle growth and strength.
Resistance bands are a fantastic tool for adding variety to your arm workouts. They are portable, affordable, and provide a different type of resistance compared to dumbbells, which can help break through plateaus and continue progressing towards your fitness goals.
Tricep Exercises for Sculpted Arms
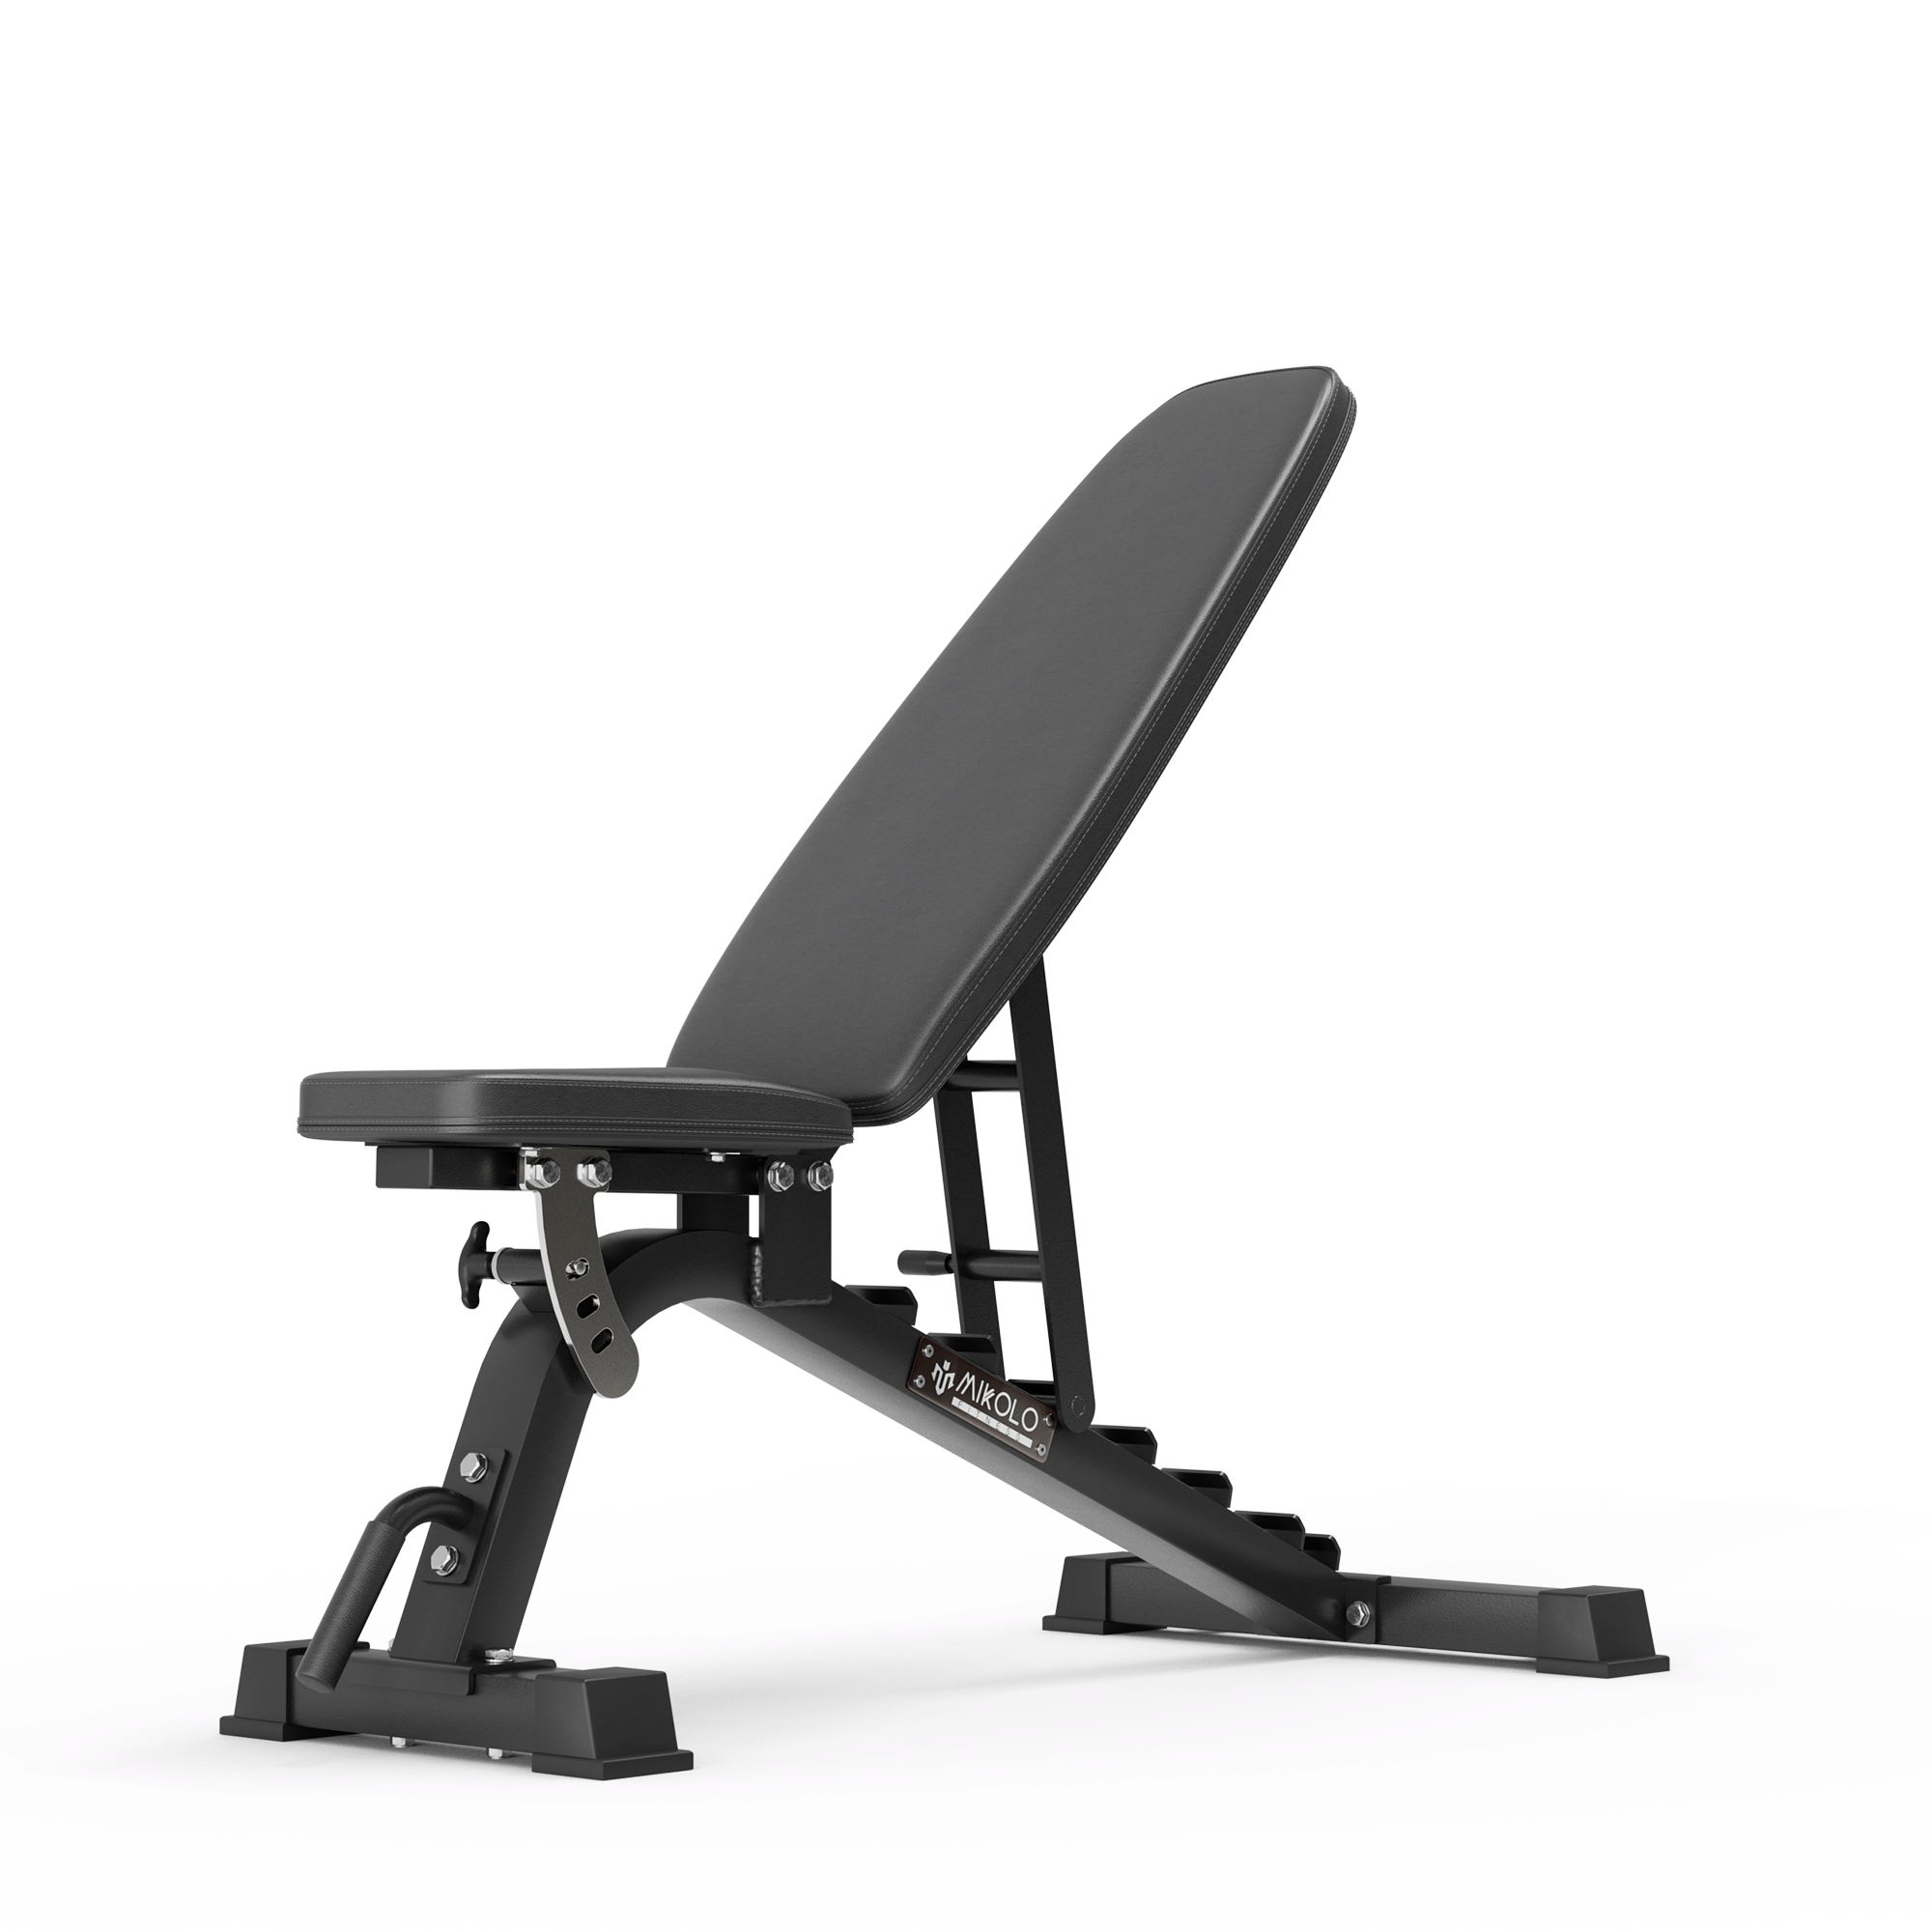
The triceps make up a significant portion of your upper arm, so focusing on tricep exercises is crucial for achieving sculpted arms. The primary focus of tricep exercises like Bench Dumbbell Triceps Extensions is targeting the triceps through the extension of elbows. Incorporating these exercises into your routine will not only enhance muscle strength but also improve the overall appearance of your upper arms.
Let’s explore some effective tricep exercises, including Tricep Dips, Overhead Tricep Extensions, and Tricep Kickbacks. Each of these exercises targets different parts of the tricep muscles, ensuring a comprehensive arm workout.
Tricep Dips
Tricep dips, a bodyweight exercise, effectively tone the upper arms. Position your hands on a bench or chair with your legs extended in front of you to perform tricep dips. As you lower your body, your elbows should bend elbows to about 90 degrees, and then you push yourself back up. These are among the best arm exercises.
This exercise uses bodyweight as resistance, making it effective for strength training. Tricep dips engage the triceps and core muscles, providing a challenging yet rewarding workout.
Overhead Tricep Extension
The overhead tricep extension is an excellent exercise for targeting the long head of the triceps. Lift the dumbbell overhead from elbows at a 90-degree angle and lower it back to perform this exercise. Ensure your feet are hip-width apart while holding a dumbbell at shoulder height with elbows bent.
This exercise strengthens multiple muscles, including triceps, shoulders, core, glutes, and lower back. It’s a comprehensive exercise that contributes to overall upper body stability and strength.
Tricep Kickbacks
Tricep kickbacks emphasize controlled movements to effectively tone the triceps. The starting position for the row to tricep kickback exercise is a supported position with one knee and hand on a bench. At the top of the row to tricep kickback, your elbow should be just past your back.
The final step of the row to tricep kickback exercise involves re-bending the elbow and extending the arm back to the ground. This exercise ensures that your triceps are fully engaged, promoting muscle growth and strength.
Shoulder Workouts for Enhanced Muscle Definition
Shoulder workouts are essential for enhancing muscle definition in the upper body. Exercises like arm circles can improve shoulder joint flexibility and help prevent injuries during upper body exercises. Performing arm circles can significantly enhance shoulder mobility, helping to alleviate stiffness and improve overall joint function.
Let’s delve into some effective shoulder exercises, including Shoulder Press, Lateral Raises, and Front Raises. These exercises will help you build strong, well-defined shoulders, contributing to a balanced and powerful upper body.
Shoulder Press
The Arnold Press is a shoulder press that involves arm rotation targeting deltoids. Shoulder press targets the deltoids, involving pressing dumbbells overhead while maintaining proper posture. This exercise is excellent for building strength in the shoulders and upper arms.
Incorporating shoulder presses into your routine will help you achieve well-defined shoulders. Ensure you maintain proper form throughout the exercise to maximize benefits and avoid injuries.
Lateral Raises
Lateral raises strengthen the shoulders. The primary target of the 90 Degree Lateral Raise is the shoulders. During the 90 Degree Lateral Raise, the elbows should maintain a 90-degree angle. Engaging the core is crucial while performing the 90 Degree Lateral Raise.
This exercise helps build shoulder definition and strength, contributing to a balanced and powerful upper body. Incorporate lateral raises into your routine for optimal shoulder development.
Front Raises
Front raises engage shoulder muscles, focusing on lifting dumbbells forward. Start by standing tall with feet hip-width apart and hold dumbbells in front of your hips. Lift your arms. Make sure your hands are parallel to your shoulders. To make the exercise harder, hold the dumbbells at the top position. Count slowly for 10 seconds during this hold.
This exercise targets the front deltoids, helping to build strength and definition in the shoulders. Add front raises to your shoulder workout routine for comprehensive upper body development.
Combined Arm and Core Exercises
Combining arm and core exercises is essential for enhancing overall strength and stability. Exercises like the shoulder press can be performed seated or standing, enhancing core stability. This combination effectively enhances arm endurance and core stability.
Let’s explore some combined arm and core exercises, including Plank Up Downs, Renegade Rows, and V-Sit Hold and Shoulder Press. These exercises target multiple muscle groups, providing a comprehensive and effective workout.
Plank Up Downs
Plank Up Downs are a plank variation that strengthens arms, core, glutes, and shoulders. The starting position for Plank Up Downs is a high plank position with an engaged core. To perform Plank Up Downs, start by lowering one arm at a time into a forearm plank position. Then, return to the high plank position.
This exercise variation engages the core and strengthens arms, providing a challenging and effective workout. Incorporate Plank Up Downs into your routine for improved strength and stability.
Renegade Rows
Renegade rows combine rowing weights with a plank position, engaging multiple muscle groups. This exercise engages the core, shoulders, and back while providing stability and strength. A modification for renegade rows is to perform single arm bent over rows while standing.
Renegade rows are excellent for developing back strength while also challenging core stability. Add this exercise to your routine for a comprehensive upper body workout.
V-Sit Hold and Shoulder Press
The V-Sit Hold and Shoulder Press is an effective exercise for enhancing stability and strength while targeting deep abs and shoulders. This exercise focuses on the deep transverse abs and rectus abdominis. It also targets the lower abs, shoulders, thighs, and hips. To modify the V-Sit Hold and Shoulder Press, one can keep one or both heels on the ground for additional core support.
Incorporate this exercise into your routine to significantly enhance core stability and shoulder strength.
Full-Body Movements for Toned Arms
Full-body movements are crucial for building upper body strength as they work multiple muscle groups simultaneously. Hammer curls engage both the biceps and forearms, making them a compound exercise for upper arm strength. Incorporating a variety of exercises, grips, and angles enhances muscle growth and keeps workouts engaging.
Let’s explore some full-body movements that contribute to toned arms, including Dumbbell Thrusters, Burpees with Push-Ups, and Kettlebell Swings in this arms workout. These exercises provide a comprehensive workout, enhancing overall strength and endurance.
Dumbbell Thrusters
Dumbbell thrusters combine strength training with cardio, enhancing muscular endurance while significantly elevating heart rate. This exercise engages multiple muscle groups, including the quads, glutes, triceps, shoulders, and core, providing a comprehensive workout. To perform dumbbell thrusters, hold a dumbbell in each hand at shoulder height, squat down, and then thrust upward, pressing the dumbbells overhead as you stand.
Dumbbell thrusters can improve cardiovascular endurance and overall strength. They can be done with other equipment like kettlebells or barbells, adding flexibility to workout routines. Incorporate dumbbell thrusters into your workout for a full-body movement that will help you get toned arms.
Burpees with Push-Ups
Burpees with push-ups are a dynamic exercise that combines multiple movements into one fluid motion. This exercise incorporates cardiovascular training as you jump and push your body off the ground, while simultaneously building upper body strength through push-ups.
To perform burpees with push-ups, start in a standing position, drop into a squat, kick your legs back into a high plank position, perform a push-up, then jump back to the squat position and leap into the air.
This exercise enhances muscle endurance and strength in the arms, shoulders, and core, making it an effective exercise for toning the upper body. Add burpees with push-ups to your routine for a full-body workout that will help you achieve those toned arms.
Kettlebell Swings
Kettlebell swings are a full-body movement exercise that helps tone and strengthen the arms, shoulders, and core. The explosive nature of kettlebell swings requires a powerful hip thrust, making them a great exercise for explosive strength. To perform kettlebell swings, stand with feet shoulder-width apart, hold the kettlebell with both hands, hinge at the hips, and swing the kettlebell between your legs, then thrust your hips forward to swing it up to shoulder height.
Incorporating kettlebell swings into your workout routine can enhance overall fitness and contribute to toned arms. This exercise engages multiple muscle groups, providing a comprehensive and effective workout.
Best Practices for Effective Arm Workouts
Lifting weights is essential for achieving muscle growth and a toned look in arms. It typically takes about 4 to 6 weeks to see improvements in arm muscle definition. To promote muscle growth, it’s crucial to continuously add reps or weight during workouts. Incorporating arm workouts into your routine 2 to 4 times a week for optimal results is recommended.
Sticking with the same arm workout schedule for 6 to 12 weeks can help build consistency and achieve noticeable changes. Focus on proper form, progressive overload, and maintaining a consistent routine to maximize the effectiveness of your arm workouts.
Proper Form
Maintaining good technique is fundamental for avoiding injuries and ensuring the targeted arm muscles are being effectively worked. Proper form reduces the risk of injuries that can result from improper execution of arm workouts. When proper form is maintained, workouts are more efficient as the correct muscles are engaged effectively.
Overall, focusing on proper form not only enhances performance but also fosters a safer workout environment. Always ensure you are in the correct starting position and maintain a neutral position throughout your exercises.
Progressive Overload
Choosing weights that challenge you to reach near failure enhances muscle engagement and leads to better growth. As your strength improves, you should also increase the number of sets and repetitions to continue challenging your muscles. Progressive overload is essential for continuous muscle growth, as it involves gradually increasing the demands placed on your muscles.
Incorporate progressive overload into your strength training routine to ensure you are consistently making progress and achieving your fitness goals. This principle is key to training arms effectively and achieving those toned arms.
Consistent Routine
When training arms 6 days a week, focus on one exercise per muscle group with 2 sets. It is safe to train your arms between 2 to 6 times each week. This frequency will allow for effective workouts. For a full arm workout, performing four rounds is recommended.
To see changes in arm definition, train regularly with heavy weights in a well-rounded program. With consistent lifting, you can expect to see changes in arm definition within 4-8 weeks. Stick to a consistent routine to achieve the best results.
Stretching and Recovery for Arm Workouts
Stretching before and after an arm workout reduces the risk of injuries and prepares mentally for training. Allowing sufficient recovery time between workouts is vital for muscle growth and preventing injuries. Incorporate stretching and recovery practices into your routine to ensure your muscles are well-prepared and can recover effectively.
Let’s explore some effective stretching and recovery exercises, including Arm Circles, Wrist Pulls, and Biceps Stretch. These exercises will help improve flexibility, prevent injuries, and enhance muscle recovery.
Arm Circles
Arm circles enhance flexibility in the shoulders and can be performed by extending arms to the side and making circular motions. This exercise helps improve shoulder joint flexibility, supports the rotator cuff, and prevents injuries.
Incorporating arm circles into your warm-up routine can significantly enhance shoulder mobility, helping to alleviate stiffness and improve overall joint function. This simple exercise is essential for preparing your upper body for a workout.
Wrist Pulls
Wrist pulls enhance grip strength, which is essential for various sports involving gripping activities. Incorporating wrist pulls into an exercise routine can help prevent injuries related to the wrist, such as tendonitis and carpal tunnel syndrome. This exercise targets often neglected muscle groups in the forearm, promoting balanced muscular development.
Wrist pulls engage the core, contributing to overall body stability during upper body workouts. The versatility of wrist pulls allows them to be included in both comprehensive strength training and as standalone exercises.
Biceps Stretch
Stretching post-workout is crucial for preventing injuries and improving muscle recovery. There are various types of stretches, including dynamic and static stretches that enhance flexibility and muscle length. Performing specific biceps stretches can help elongate and relax the bicep muscles after an intense workout.
Incorporate biceps stretches into your post-workout routine to ensure your muscles recover effectively and are prepared for your next workout. This practice will help you maintain flexibility and prevent muscle tightness.
At-Home Arm Workouts
At-home arm workouts are an effective way to achieve toned arms with minimal equipment. The resistance band bicep curl enhances at-home arm workouts focusing on biceps. Arm workouts can be easily done at home, making them accessible for everyone.
Let’s explore some at-home arm workouts, including Bodyweight Exercises, Resistance Bands, and Light Dumbbells. These exercises are designed to be performed with minimal equipment, making them perfect for at-home training.
Bodyweight Exercises
Bodyweight exercises are an effective way to tone your arms. Through bodyweight exercises, individuals can tone their arms without using weights. These exercises are convenient and can be performed anywhere, making them ideal for at-home workouts.
Incorporate bodyweight exercises into your routine to achieve toned arms without the need for additional equipment. These exercises include push-ups, tricep dips, and plank variations, providing a comprehensive arm workout.
Resistance Bands
Resistance bands offer adjustable resistance and are portable, making them ideal for at-home arm workouts. These bands can be used to perform a variety of arm exercises, targeting different muscle groups and enhancing overall strength.
Incorporate resistance bands into your at-home workout routine to add variety and challenge your muscles in new ways. This versatile tool is perfect for those looking to enhance their arm workouts without the need for heavy equipment.
Light Dumbbells
Light dumbbells are a great choice for beginners and those seeking low-impact workouts, as they allow for controlled movement and reduced risk of injury. One effective exercise using light dumbbells is wrist flexion, which targets the forearm muscles.
The starting position for wrist flexion is seated on a bench or stability ball with the arm rested on the thigh or flat surface. Perform 3-5 sets of wrist flexion with 6-12 repetitions to effectively strengthen the forearm.
Incorporate light dumbbells into your routine for a complete arm workout at home.
Summary
Achieving toned arms requires a combination of effective exercises, proper form, and consistency. By incorporating a variety of bicep, tricep, and shoulder workouts, you can target all the muscles in your upper arms. Full-body movements and combined arm and core exercises provide a comprehensive workout, enhancing overall strength and stability.
Best practices such as maintaining proper form, progressive overload, and a consistent routine are crucial for maximizing the effectiveness of your arm workouts. Stretching and recovery are also essential for preventing injuries and promoting muscle growth.
Whether you’re working out at home or in the gym, these exercises and tips will help you achieve stunning upper body results. Stay committed to your fitness journey, and you’ll see the transformation in your arms. Get ready to flaunt your toned arms with confidence!
Frequently Asked Questions
How often should I do arm workouts to see results?
For visible results in arm muscle definition, aim to do arm workouts 2 to 4 times a week. Stay consistent, and focus on progressively increasing the challenge to maximize your gains!
Can I do arm exercises at home without any equipment?
Absolutely! You can tone your arms at home using bodyweight exercises like push-ups and tricep dips, so get started today!
How long will it take to see improvements in my arm muscles?
You can expect to see improvements in your arm muscles in about 4 to 6 weeks if you stay consistent with your workouts. Keep pushing yourself, and those results will come!
What is the best way to ensure proper form during arm exercises?
To ensure proper form during arm exercises, prioritize good technique by starting in the correct position and keeping a neutral alignment throughout. This approach not only prevents injuries but also maximizes the effectiveness of your workout!
How can I prevent muscle soreness after arm workouts?
To prevent muscle soreness after arm workouts, make sure to incorporate stretching and allow for adequate recovery time between sessions. This practice not only helps in minimizing soreness but also supports muscle growth and reduces the risk of injury.





















Leave a comment
This site is protected by hCaptcha and the hCaptcha Privacy Policy and Terms of Service apply.